I have been using Photoshop Elements programs for editing pictures since way back in the digital scrapbooking days! I don’t know about you, but once I learn a program I like to continue with what I know. Sometimes I want to share videos on Instagram that I shoot landscape and don’t want the black bars around the video. I thought the new 2018 version of Premiere Elements came with square video presets, but I don’t think it does. However with a couple of tweaks, you can create square video with Premiere Elements. The catch is, it has to be a new project.
If you want to try Photoshop Premiere Elements out, you can download a free trial here.
You can see how it looks here on my Instagram account.
How to Create Square Video with Premiere Elements for Instagram
Add Square Video to Premiere Elements Presets
Before we get started on the video, we first have to add a preset to the Adobe presets on your computer. This is a one time thing, once you get it in place you’re good to go.
You can download my preset here –> Square Video Preset for Premiere Elements <–
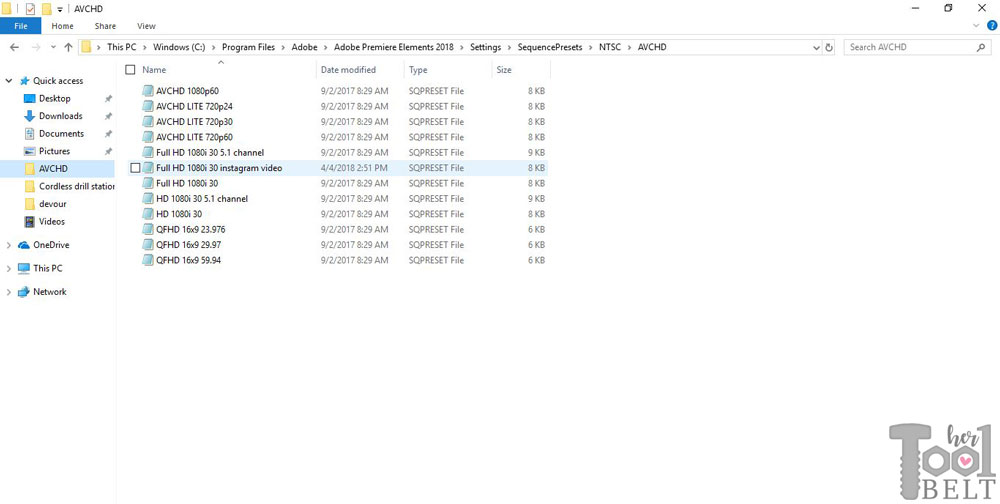
The name of the preset file is: Full HD 1080i 30 instagram video.sqpreset
The preset needs to be saved with the other Premiere Elements presets in the AVCHD folder. On my computer this is:
- Windows (C:) drive
- Program Files
- Adobe
- Adobe Premiere Elements 2018 (or whatever version you have)
- Settings
- SequencePresets
- NTSC
- AVCHD
Starting the New Square Video
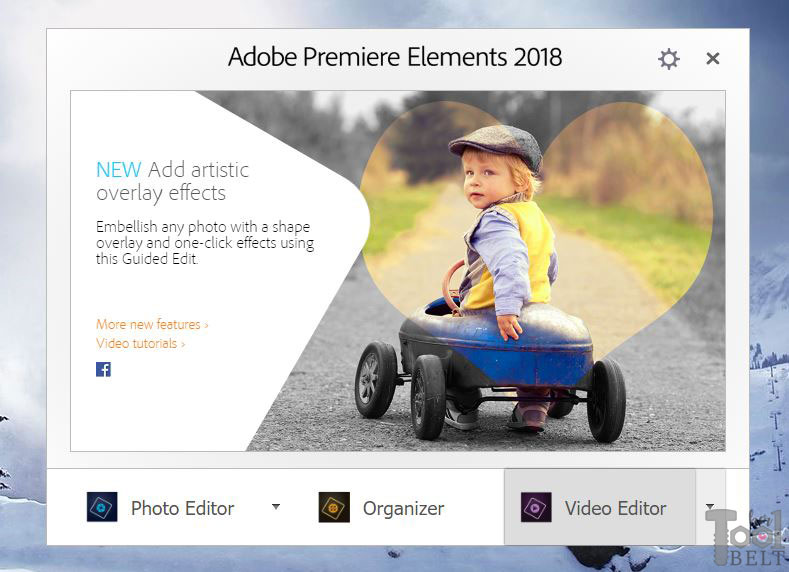
With the square preset in place we are ready to start editing the video. Open Premiere Elements Video Editor.
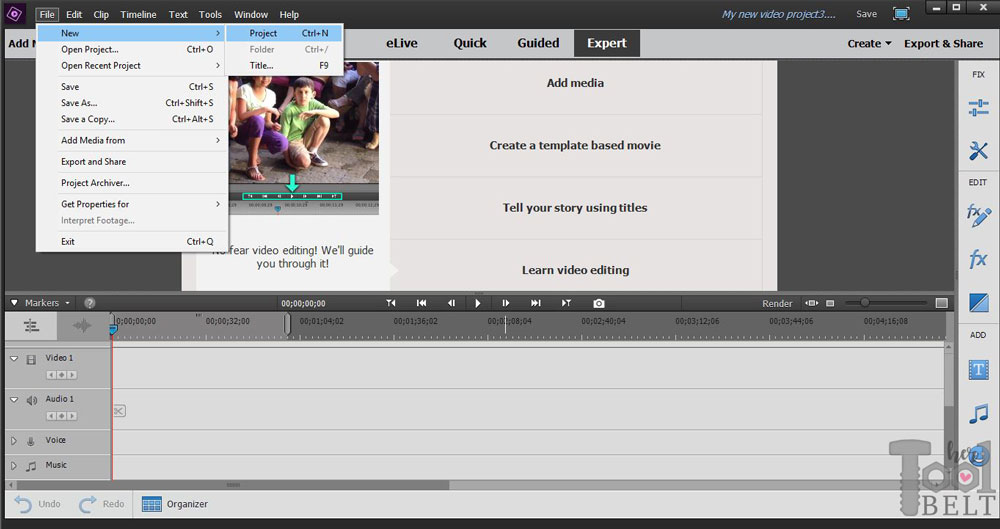
Then click File –> New –>Project
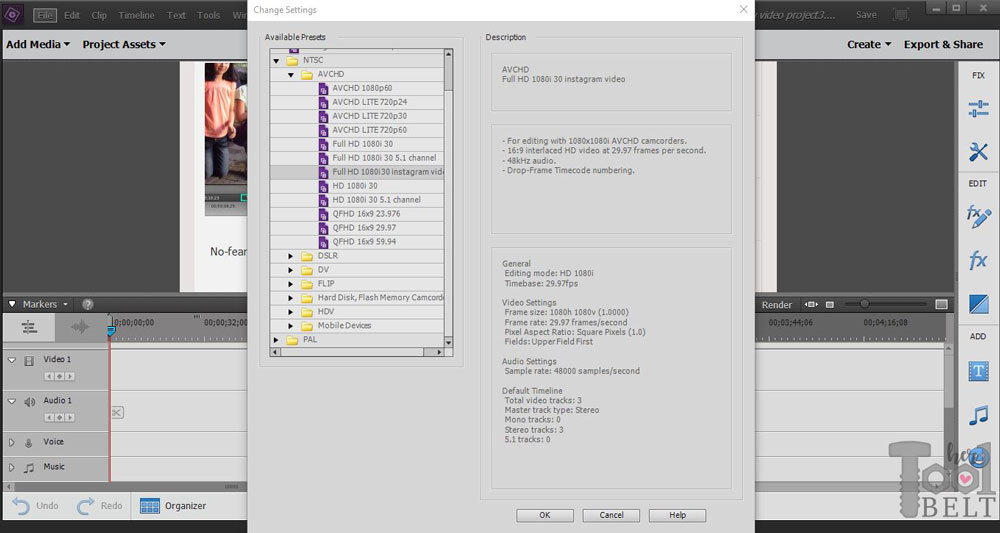
 Make sure the Force selected Project Setting on this project is checked, otherwise the program will automatically switch to whatever format it thinks is best for your video. This is normally a good thing, except when creating a custom size. Click on the Change Settings button.
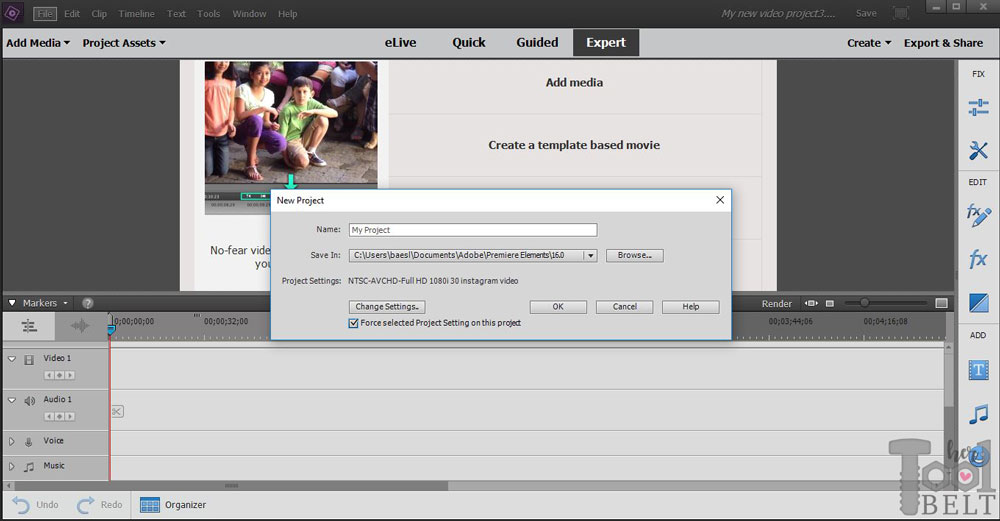
In the NTSC –> AVCHD file, click on the Full HD 1080i 30 instagram video preset and click OK, then OK
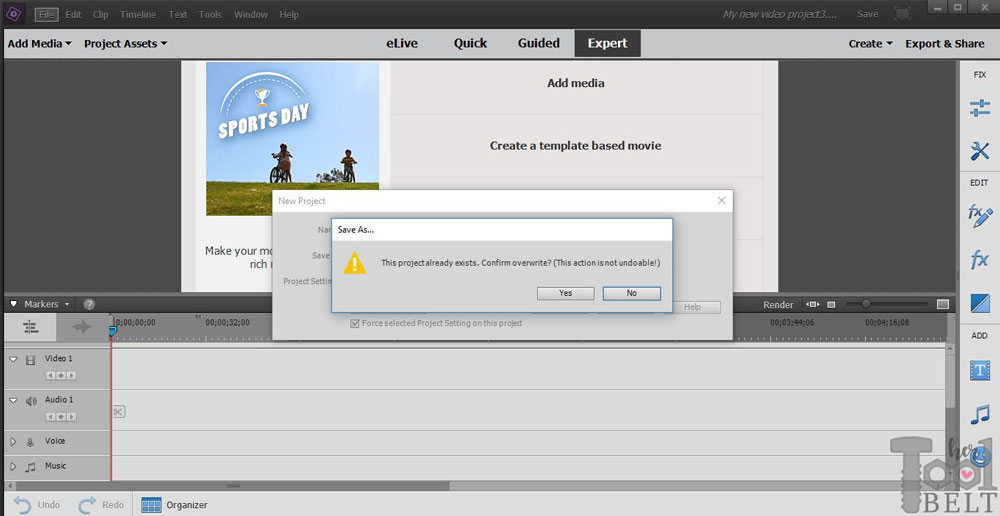
If you get this project already exists window, click Yes.
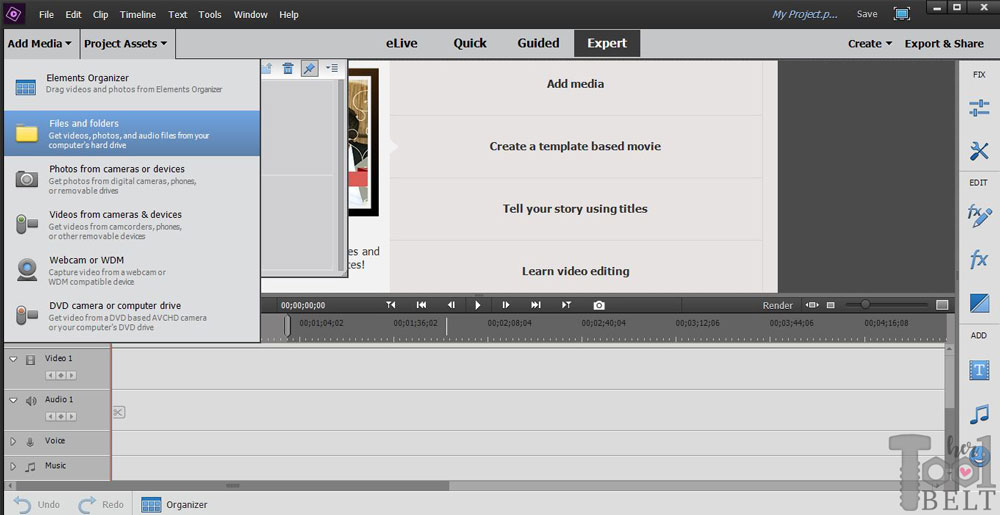
Now you are ready to add your video files. To add videos, go to Add Media –> Files and Folders and pick the videos that you want to add. Once added, go to Project Assets and drag the Videos to Video 1 line, or whatever line you want.
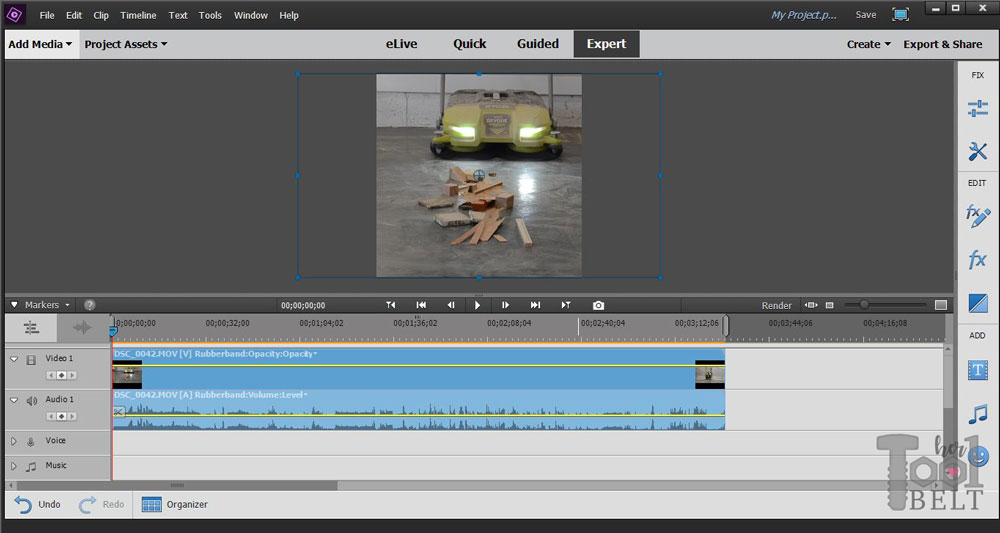
The video will fit to the screen horizontally, but you want it to fit vertically. Click on the video in the screen, and you should get the dots around it.
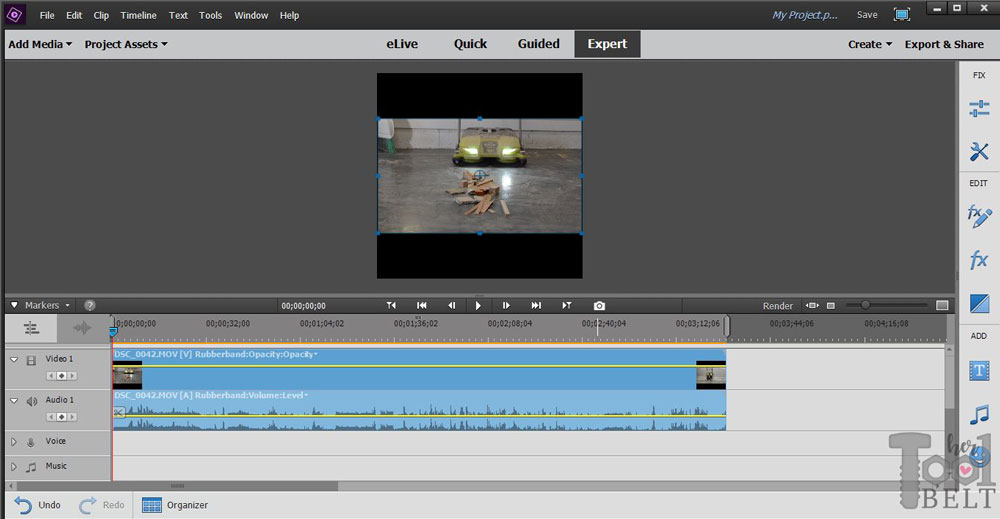
Drag a center dot up, until your video fits vertically within the box.
Ok now you are ready to edit your videos!
After you are done editing the video, there is one more step for video export.
Exporting a Square Video
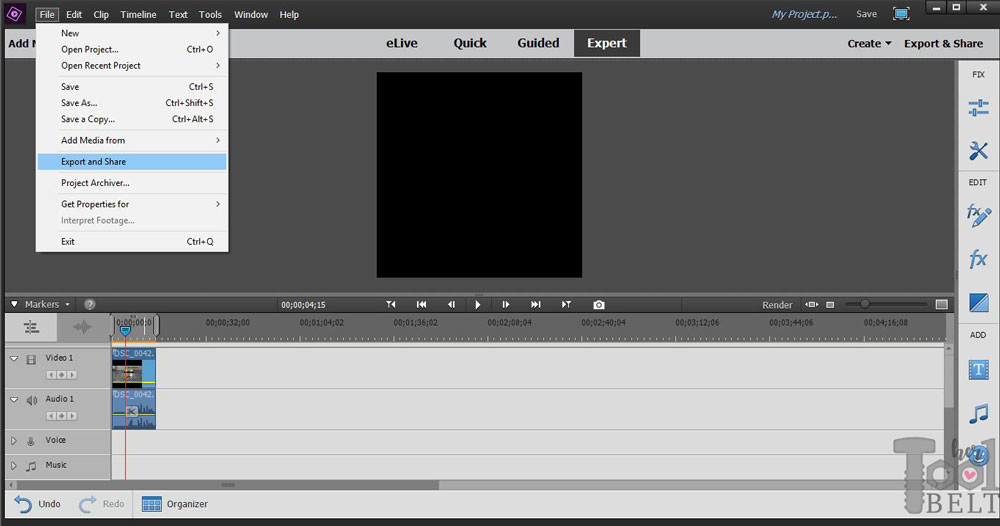
Click on File –> Export and Share
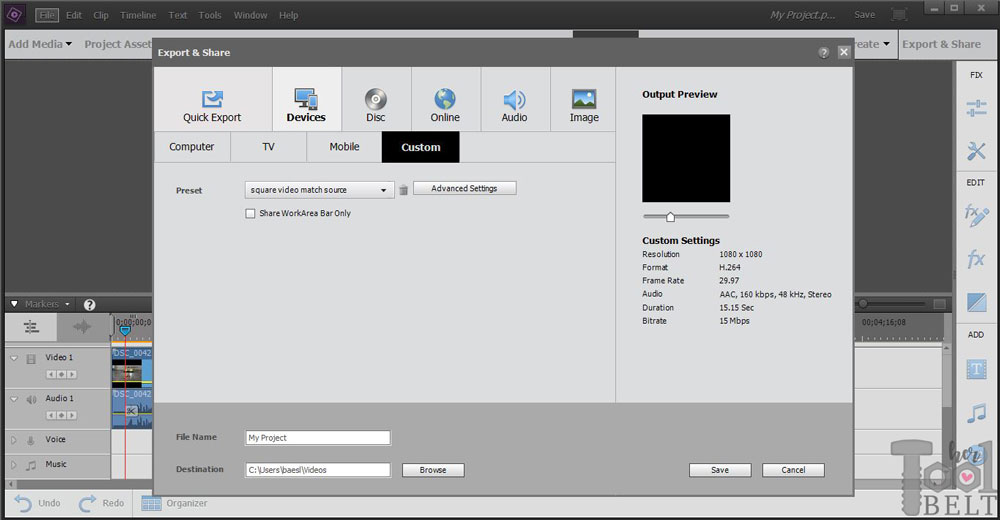
Click on the Devices tab and select Custom. The first time you do this, you’ll have create a custom export preset. Click on the Advanced Settings.
Then under Basic Video Settings check the Match Source box. The width and height should both be 1080. Click ok and save this preset as something like square video…or whatever you want.
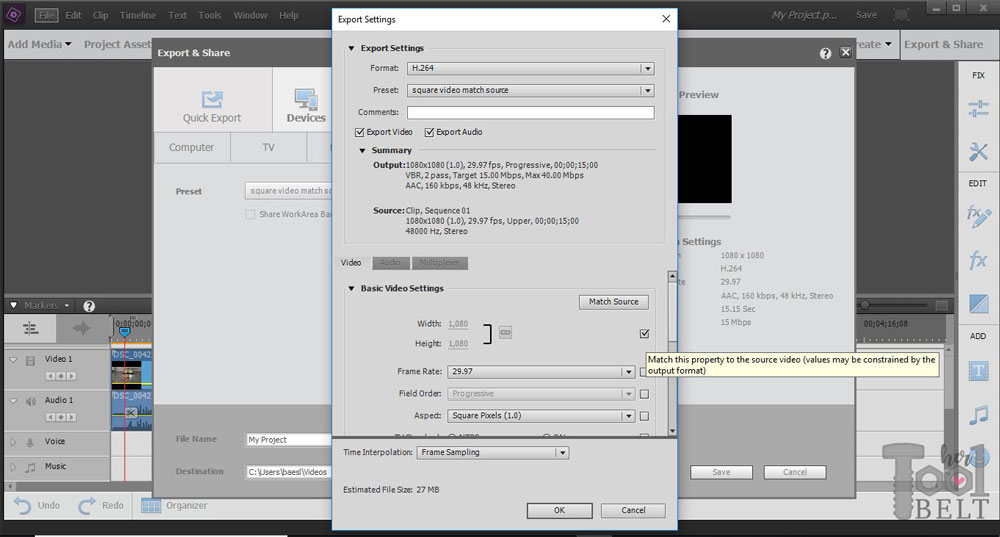
Go ahead and save the video to finish exporting it. That’s it, it takes a bit to set up, but now you are ready to go.
Hi, thanks for this. Do you happen to know how that would work on a Mac? Can’t find the settings folder you mentioned…
In Mac Custom Sequence Presets are located in ~/Documents/Adobe/Premiere Pro/12.0/Profile-username/Settings/Custom
and Default System Sequence Presets are located in /Applications/Adobe Premiere Pro CC 2018/Adobe Premiere Pro CC 2018/Contents/Contents/Settings/Sequence Presets/
Thanks Kim!
I found it here on my Mac:
Macintosh HD/Applications/Adobe Premiere Elements 2018/Support Files/Adobe Premiere Elements/Contents/Settings/SequencePresets/NTSC
Thanks for this!
I hate how unnecessary complicated this software needs to be…
Thanks so much for this! I’ve been searching everywhere for help on this and I’m code illiterate. Appreciate your work!
Thank you so much for sharing this. It worked perfectly.
Thank you very much, I was looking for this square option for ages.
Thanks so much for this. Do you think you’ll make one of these for Instagram Stories?
Thank you very much for your post. It worked very well instantly!
Superior description. Thank you. You covered it from A-to-Z and even had the file to upload…and WHERE to put it. Adobe needs people like you working for them.
Hi, How make the square WHITE and not black ? Thx !
Go under Project assets, on the far right there is a button with 3 lines click that (panel options), click new item, click color matte, pick white. This needs to be on the video 1 layer. You can put an overlaying video or text etc on video 2 or 3 layer.
This is super helpful! I’d tried and failed with some hacks I found on another site, but this worked like magic. I’d also like to try making vertical videos for a project. Is there an easy way to create my own presets for something like that? I can’t figure out how to make my own. Thanks!
Yes, I’ve been meaning to post it, I’ll try to get it up soon.
Thanks Amy – that’s brilliant!
AWESOME tutorial!!! Thank you so much for sharing! xoxox
Great! Works fine in 2020 release. Thanks for this.
Hi Amy, thank you so much for this easy tutorial. I have been looking for a solution for weeks now.
I did everything your tutorial has suggested, however, after inserting the file into the AVCHD folder and opening premiere elements, this preset is not seen in the drop-down of change settings.
Would you know how to solve for this? Thanks in advance
PS: I have unblocked this file in the security settings (within file properties) as well as it alerted me that the file is coming from a different computer.
Wonderful and so helpfull ! Thanks a lot !
Thank you thank you thank you!!!
Thanks for this. It worked for producing a square mp4 video but for some reason it would only play correctly on a laptop. Neither I nor my colleague could get it to play properly on a phone and therefore couldn’t upload to instagram. Any ideas what I’m doing wrong? Thanks!
So pleased to find your post. THANK YOU! One problem, I can’t export it square. I can see it square, it says it’s exporting 1080 x 1080, but when I go to the exported file, it’s the regular rectangular size. Any thoughts? Thanks for your info. VERY helpful.
As a p.s. when I look at properties for the exported file, it tells me it’s 1080 x 1080, although it shows the original 16:9 rectangular format. I did make the Custom setting at above, Tried it with and without Match Source checked, always saying it was 1080 x 1080. Same result.
Brilliant! Thank you!