During this remodel I’m reviewing some tools (designated with *) that are sponsored by The Home Depot. I have been compensated for my time and provided with the tools. All ideas and opinions are my own. This post contains some affiliate links for your convenience. Click here to read my full disclosure policy.
The demolition is done and all the trash is taken out to the dump (my neighbors are happy about that 🙂 ). Now it’s time to rebuild!
I am participating in a Spring Renovation Challenge hosted by Jeffrey Court Tile <– Check out all the DIY’ers and Designers
I would love your vote, click here. You can vote once/week. Thanks so much

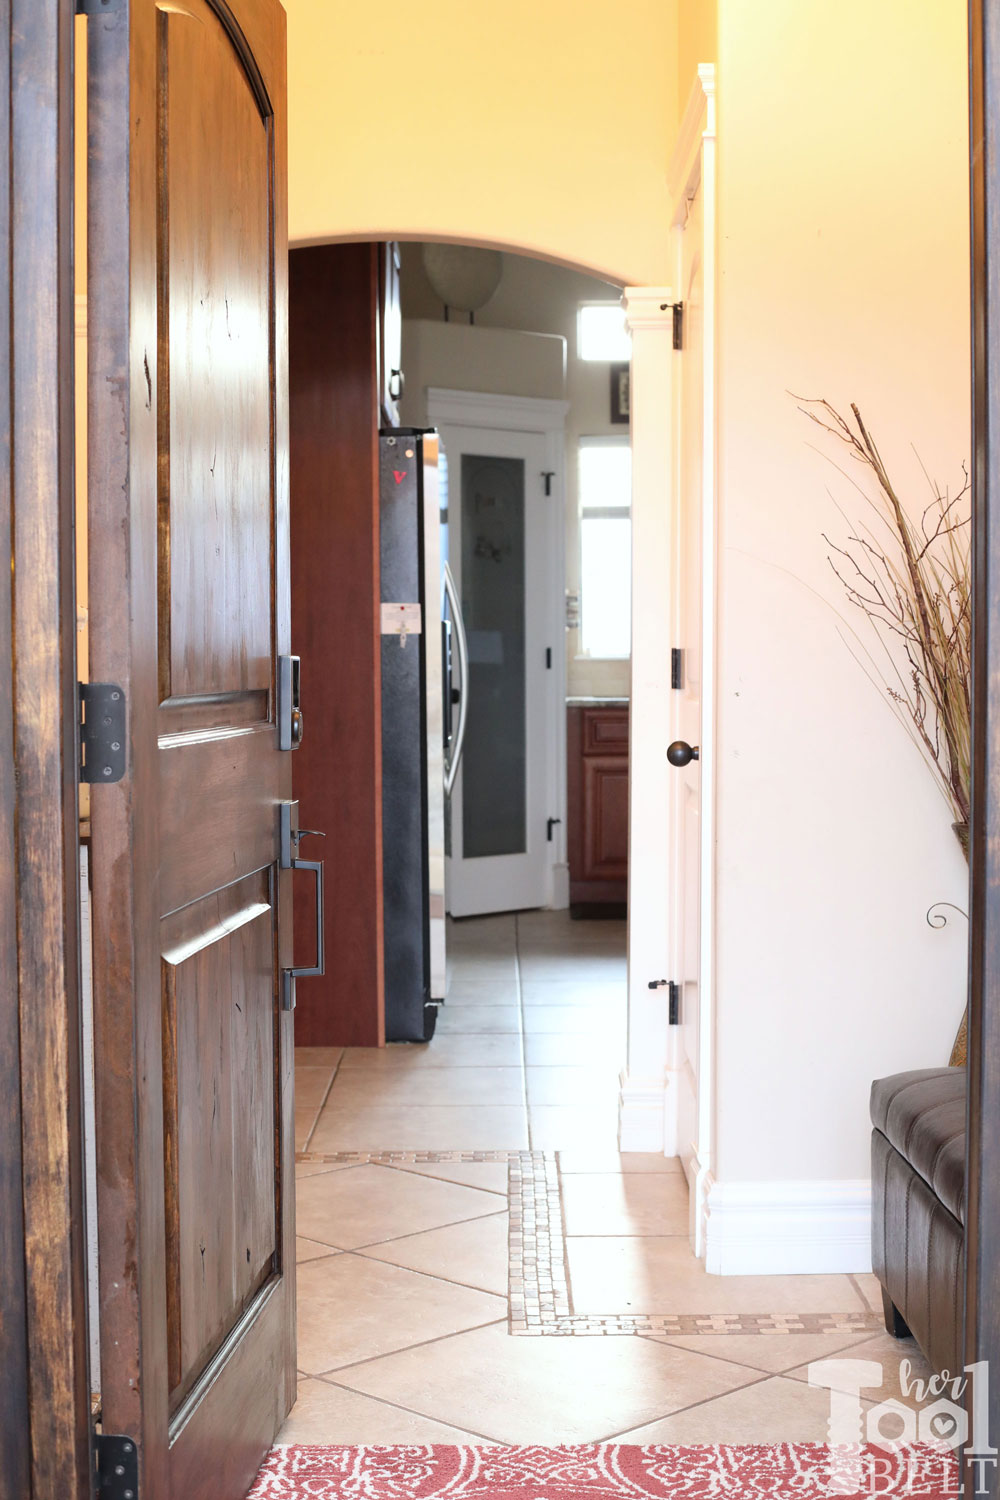
As a reminder, this is what it looked like before…
You can check out Week 1 before pics and the plan here.
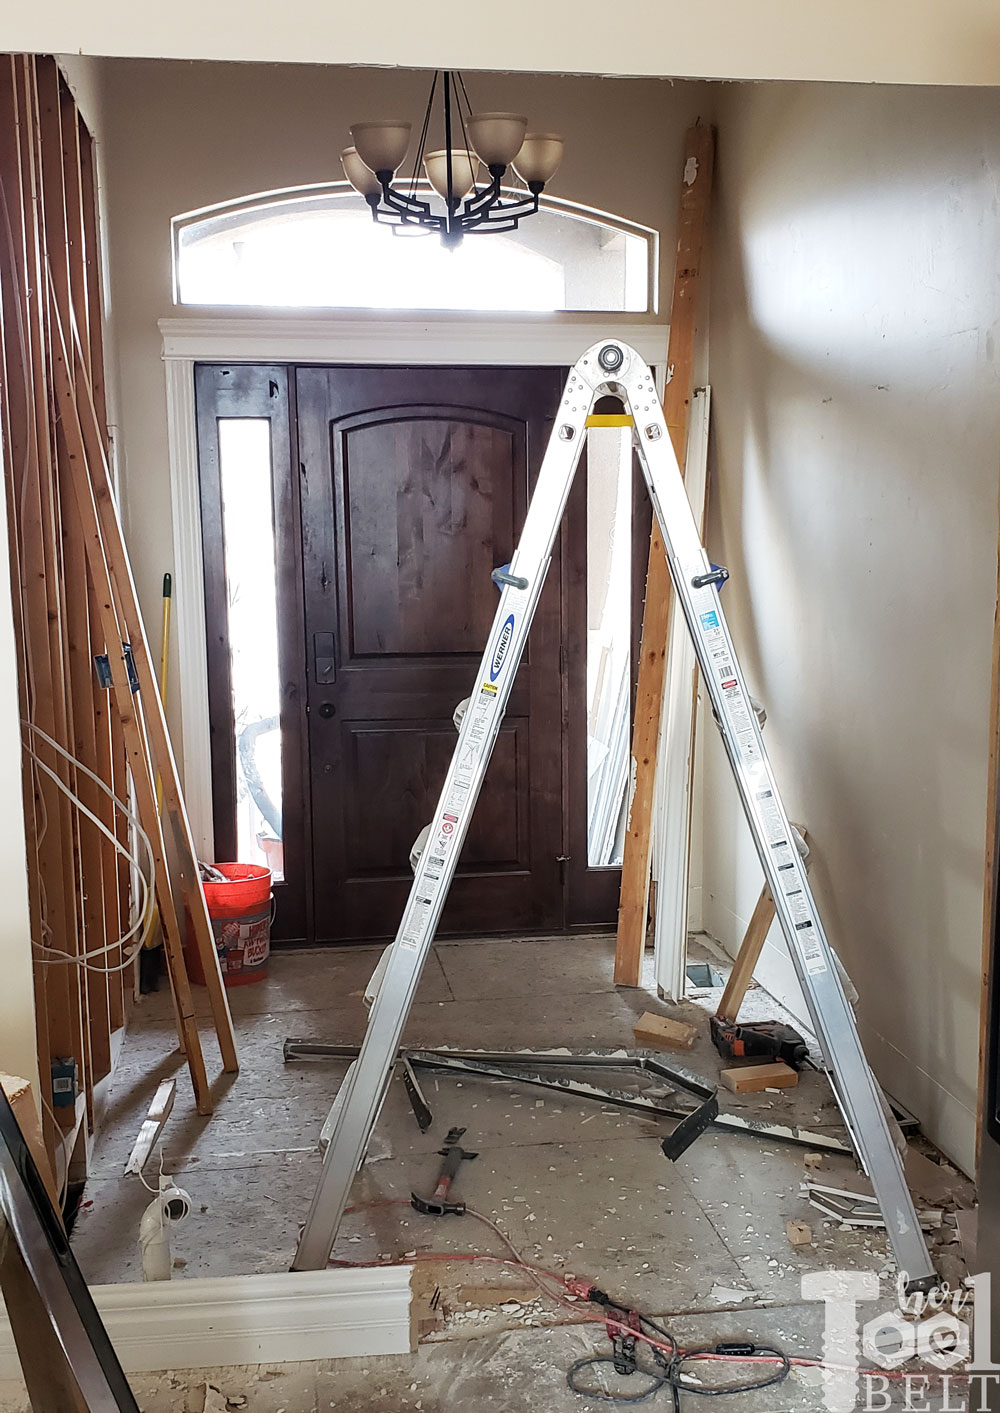
At the end of last week, I had one more thing to demo and that was cutting the hole in the wall for the new doorway. I wanted to save this until all of the really dusty work was done, trying to save the carpet on the other side of the wall from getting too dirty.
Rebuilding!
Walls
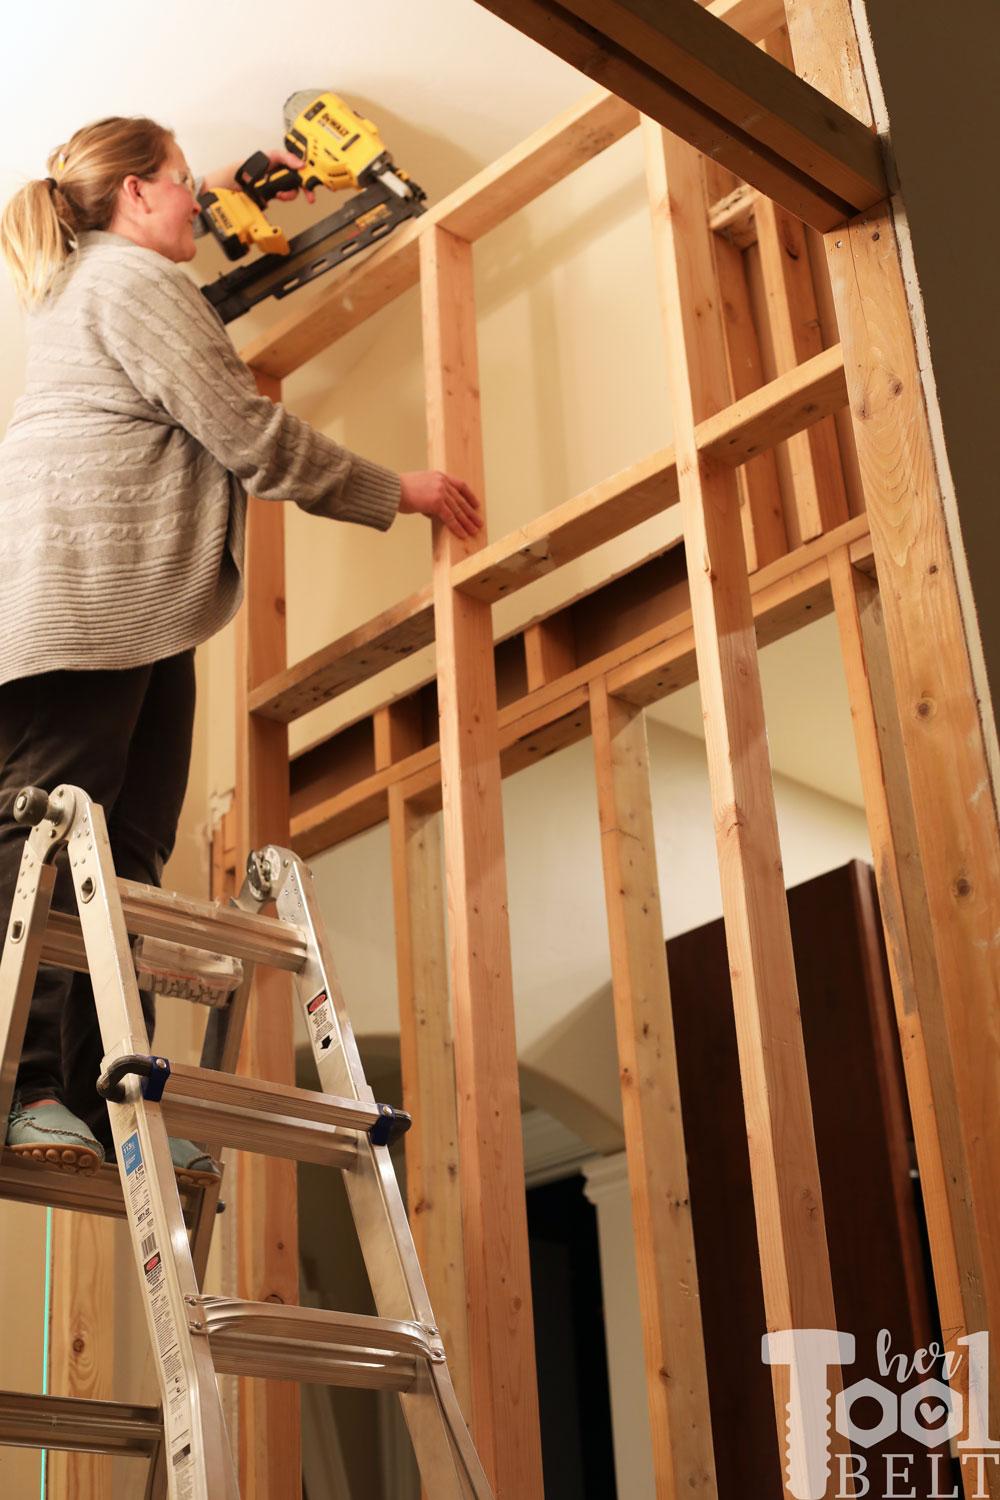
First off I wanted to get the wall of the old doorway supported again. It’s not a load bearing wall, but still the upper portion was just hanging out. I used the *Bosch GLL40-20G a green line laser level to make sure the studs are straight. These studs need to be straight because the cabinets need to slide in-between them. I spent a bit of time trying to get them just right. The *Bosch GLL40-20G is a little different than some of the other laser levels I’ve used. It has a green line visible up to 40 ft, the green is suppose to be 4X brighter than traditional red. It has an auto-leveling switch and will blink at you if the device is too far out of level. This is definitly a handy tool to have around during remodels, I used it time after time after time.

Now the area is starting to take shape. I will be able to have 4 – 18″ x 85″ cabinets in the wall…have I mentioned how excited I am for that yet? The new doorway is around 5 feet wide and has a fun transom window above it.
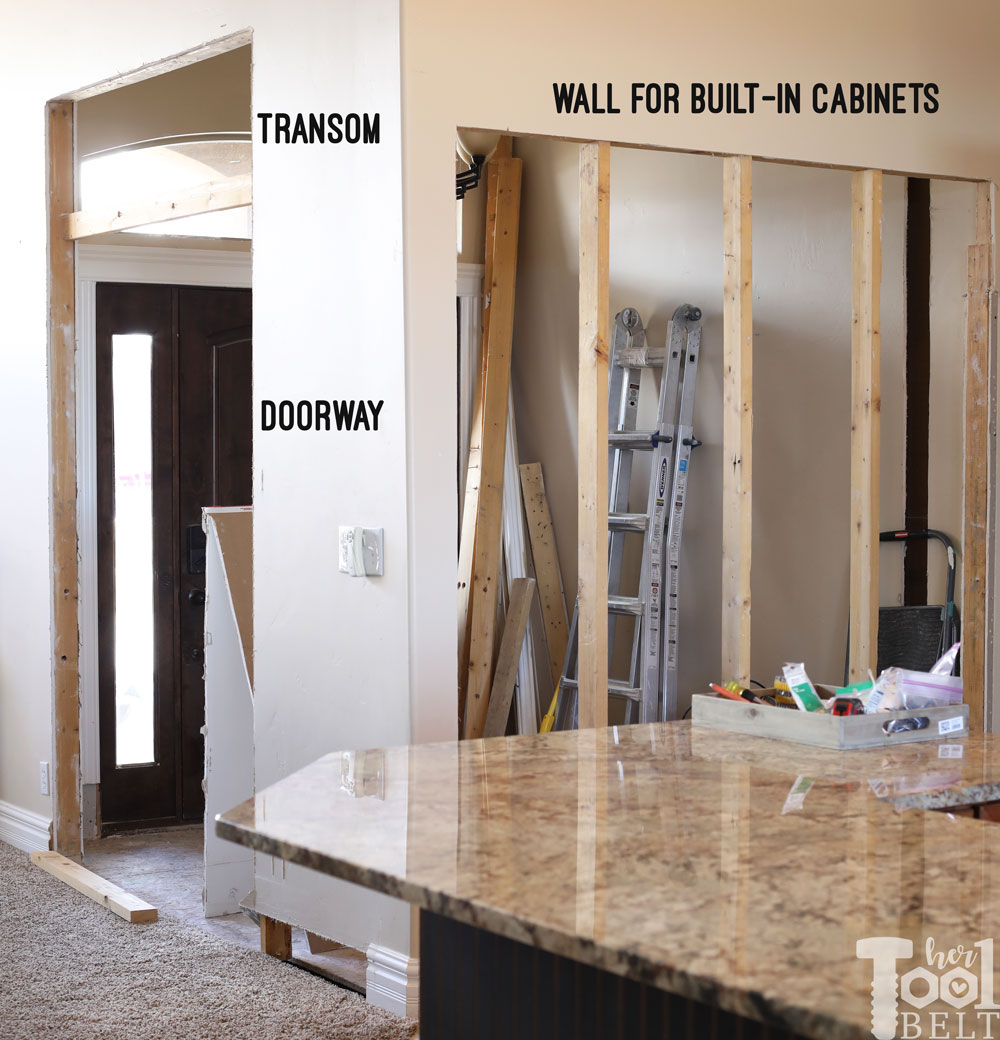
I needed to build another wall behind the cabinets that goes all the way up to the vaulted ceiling. This wall supports the back sides of the cabinets and will have the fun tile feature wall. Again I wanted these studs nice and straight and aligned with the front studs.
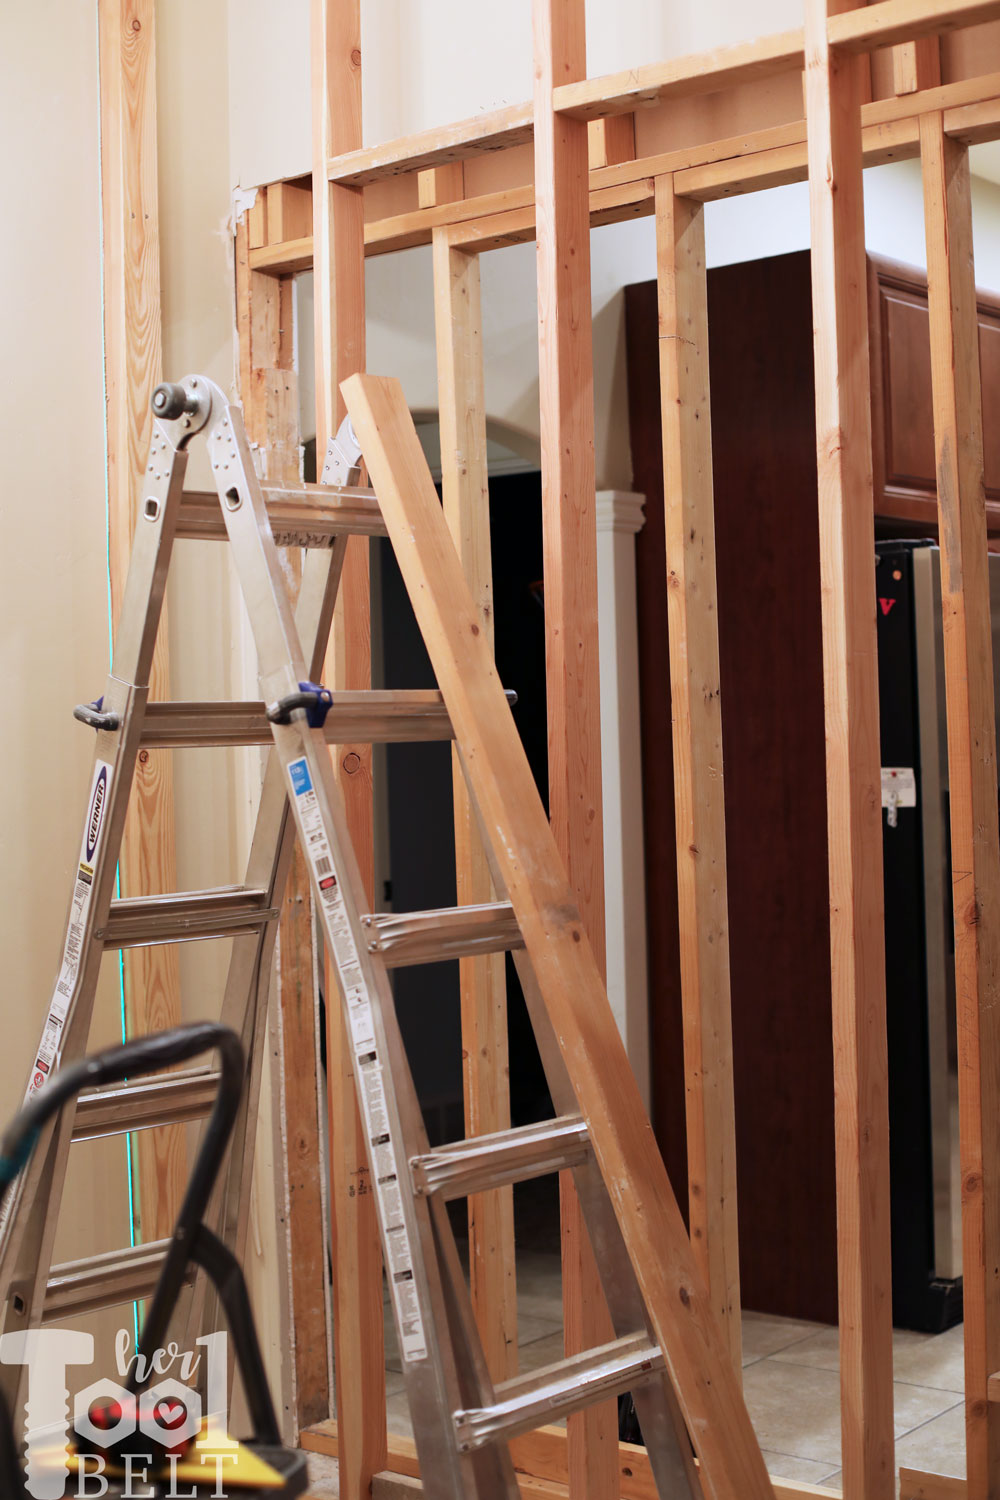
I put 18″ spacer boards in-between the vertical studs to keep them from bowing. I used my framing nailer where practical, but sometimes it was easier to use the old trust pocket hole jig.
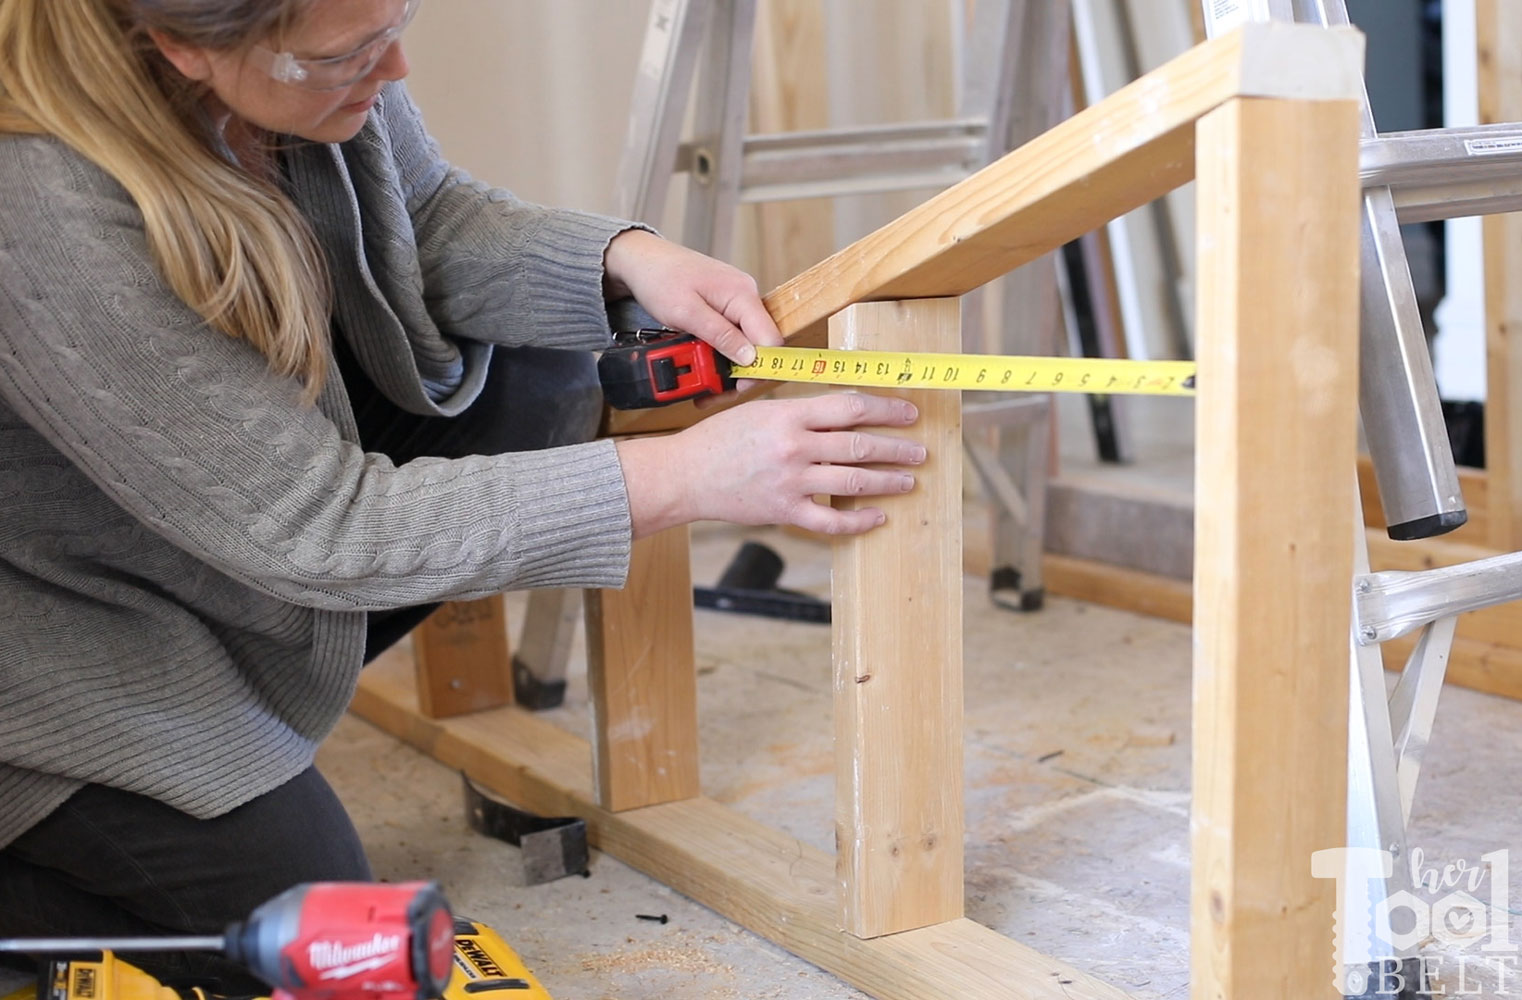
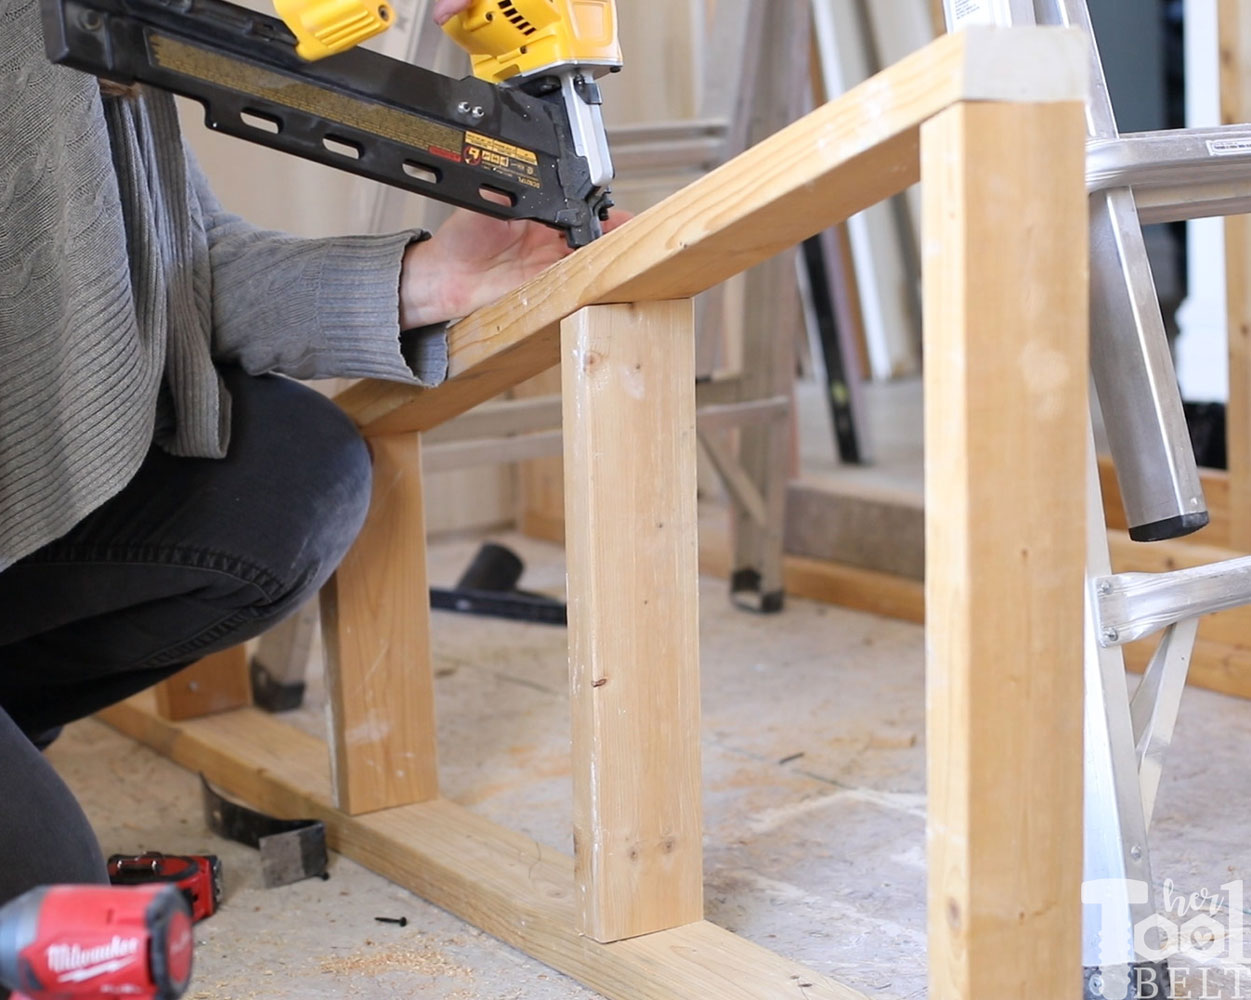
Building with the vaulted ceilings added a little challenge, but it doesn’t stand a chance to a little trigonometry. I first built up a wall that was 10 ft high, then needed to build a triangle upper portion of the wall. I put the studs on 16″ centers and cut the verticals at 18.2 deg :-).
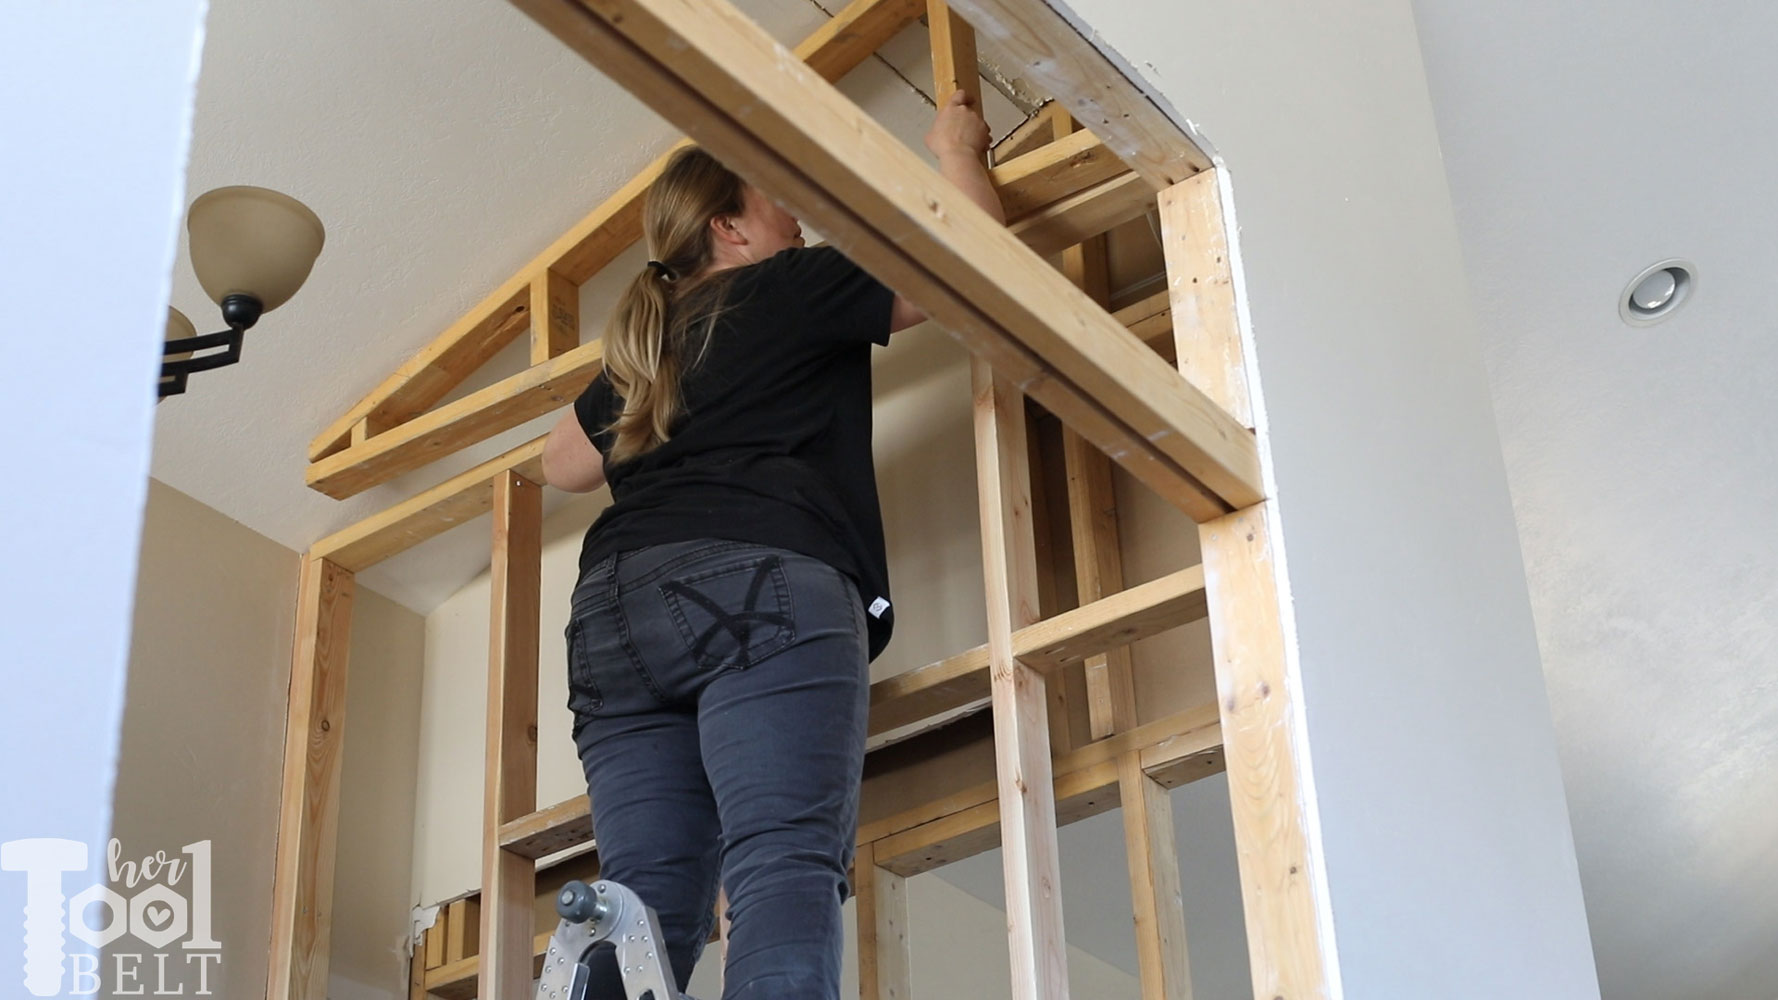
Nailed the upper wall together.
Then placed it onto of the 10 foot wall and secured it in place. Everything is nice and secure now.
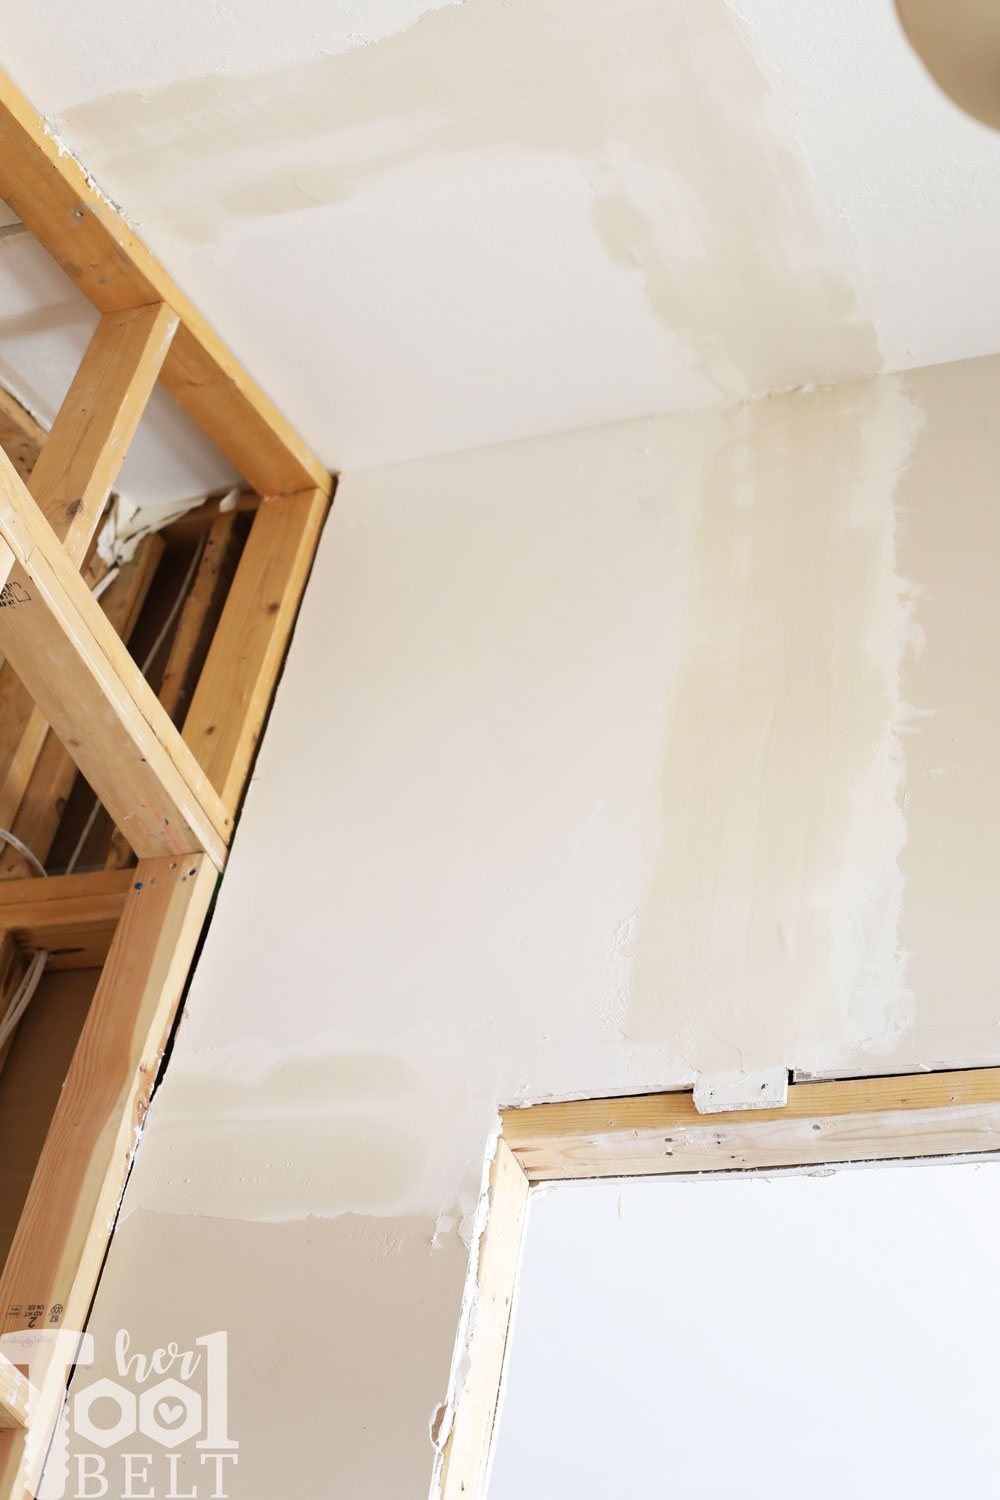
Drywall
Once I finished framing, I fished for left over pieces of sheetrock to fit as needed. This ended up being great because I didn’t have to buy new drywall, it was already textured and I didn’t have to take as much to the dump!
After reattaching drywall, I went around and added tape and mud to any joints or patches.
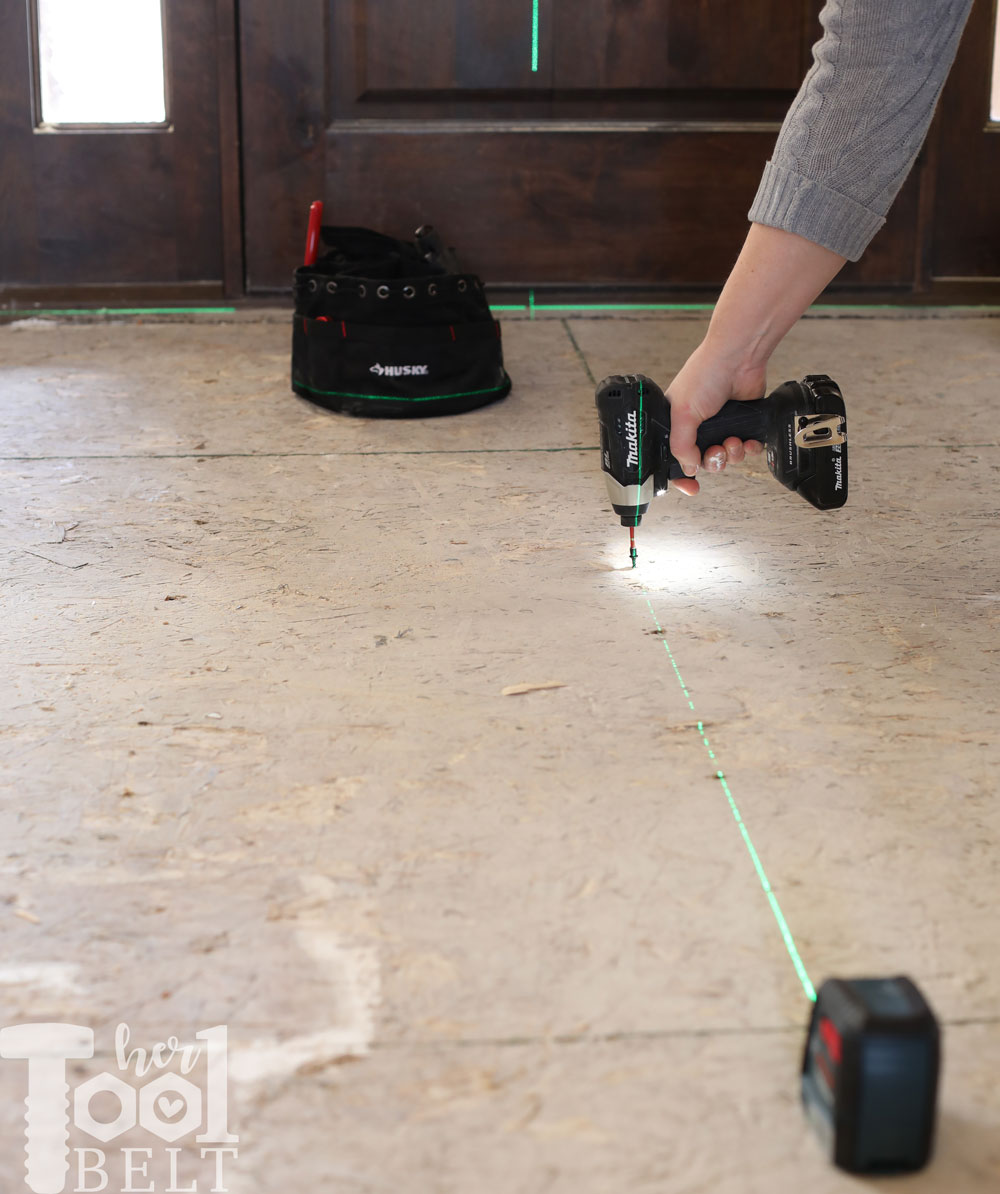
Squeaks
One great thing about tearing out your floor is having the chance to fix ALL THOSE SQUEAKS!!! Is it just my house that has those, ugh! I went down into the basement and measured my floor joist, they are on 16″ centers, then I took 1 1/4″ screws and about every foot or so, I screwed down the subfloor to the joist. Hooray for no more squeaks (in this room).
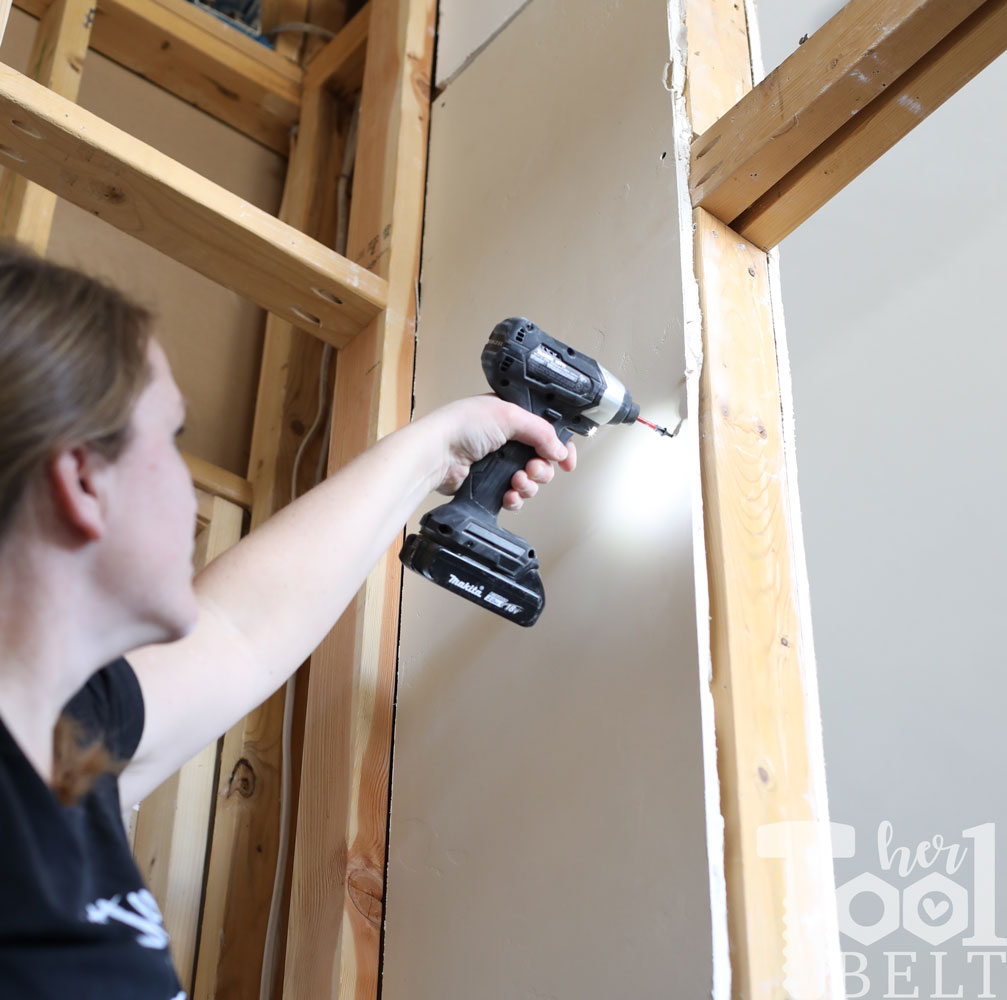
I have been testing out this *Makita subcompact brushless Impact Driver. It is quickly becoming my go to for all things driving. The Makita subcompact line runs off of 18 volt batteries and is super compact and lightweight (2.6 lbs)…it is tiny and dare I say cute! It has multiple options depending on what you’re fastening:
- Variable speed (0-1,300/0-3,000 RPM and 0-1,600/0-3,900 IPM) and 1,240 in. lbs. of max torque.
- Assist mode (A-mode) feature helps eliminate “screw cam-out” and “cross threading” by driving at low speed until tightening begins.
This *little Husky small parts organizer has been fantastic for keeping screws, nails and hand tools organized and accessible for this remodel! It has 6 large compartments in the center for different nail/screw sizes and 13 more pockets for lots of other supporting hand tools.
Next week I’ll get the tile down!
Here is a break down of the work:
Remove the closet and tileCut a hole in the wallFrame new doorway- Add transom windows in doorway
Frame new wallMove around some electrical- Build the wall cabinets on the kitchen side
- Tile the floor
- Tile the new wall
- Add beams to the ceiling
- Replace chandelier shades
- Paint the walls
- Make a coat rack
- Build a console table
A few things checked off and quite a few things to do.
“I acknowledge that The Home Depot is partnering with me to participate in the Tool Review Program. As a part of the Program, I am receiving compensation in the form of products and services, for the purpose of promoting The Home Depot. All expressed opinions and experiences are my own words. My post complies with the Word Of Mouth Marketing Association (WOMMA) Ethics Code and applicable Federal Trade Commission guidelines.”
I am so impressed! I’ll be looking forward to the full reveal.
That is going to be so beautiful when you are finished. WOW! You are amazing!!!
Thanks so much Aunt Sarah!!!