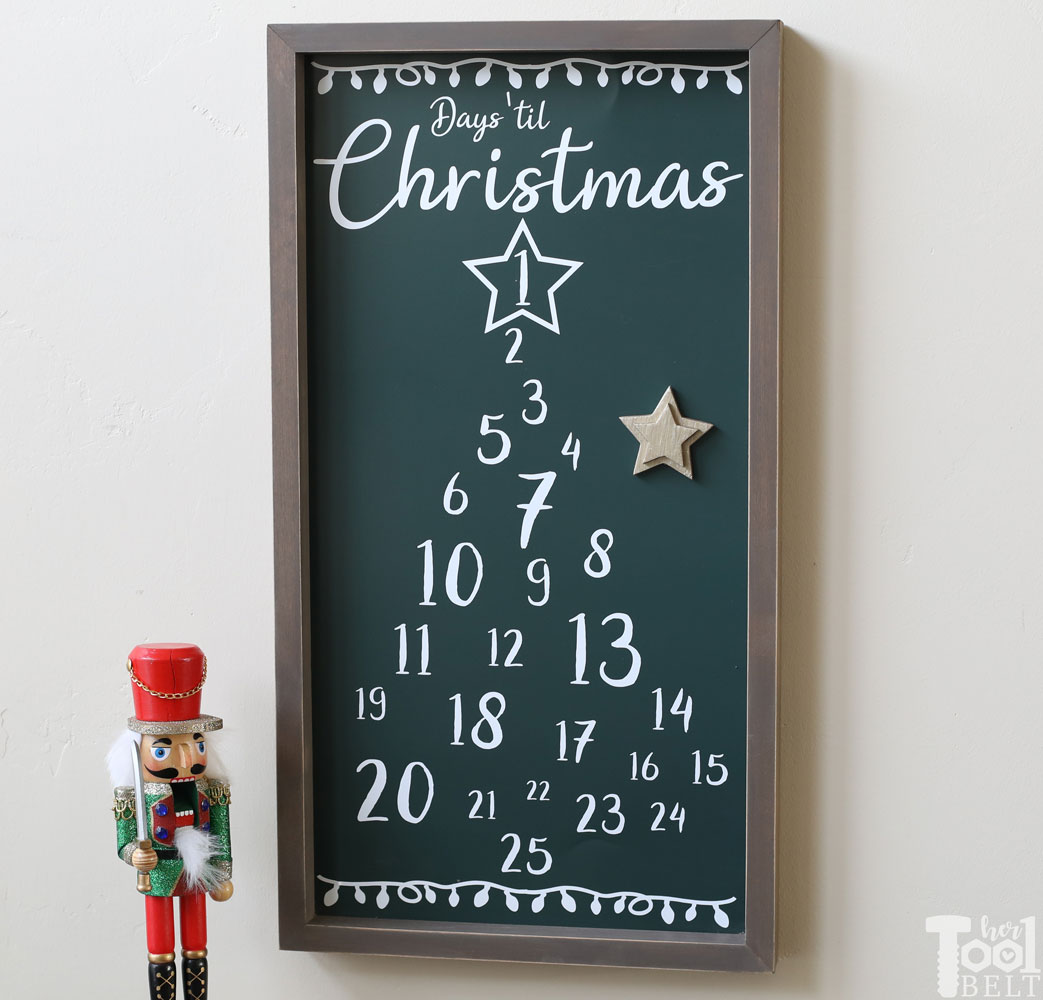
My kids LOVE counting down holidays and events. My daughter even gets her calendar out and starts counting down to her next birthday…the day after her birthday. 🙂 To say that we love advent calendars around here, would be an understatement. I’m joining in on a Deck the Home Christmas challenge this week, and the theme is wood signs. I had a piece of scrap sheet metal, so I thought it would be fun to make a magnetic Christmas Countdown wood sign. The little golden star helps the kids countdown how many more days until Christmas. Also check out the rest of the wood signs in this challenge at the bottom of the post.
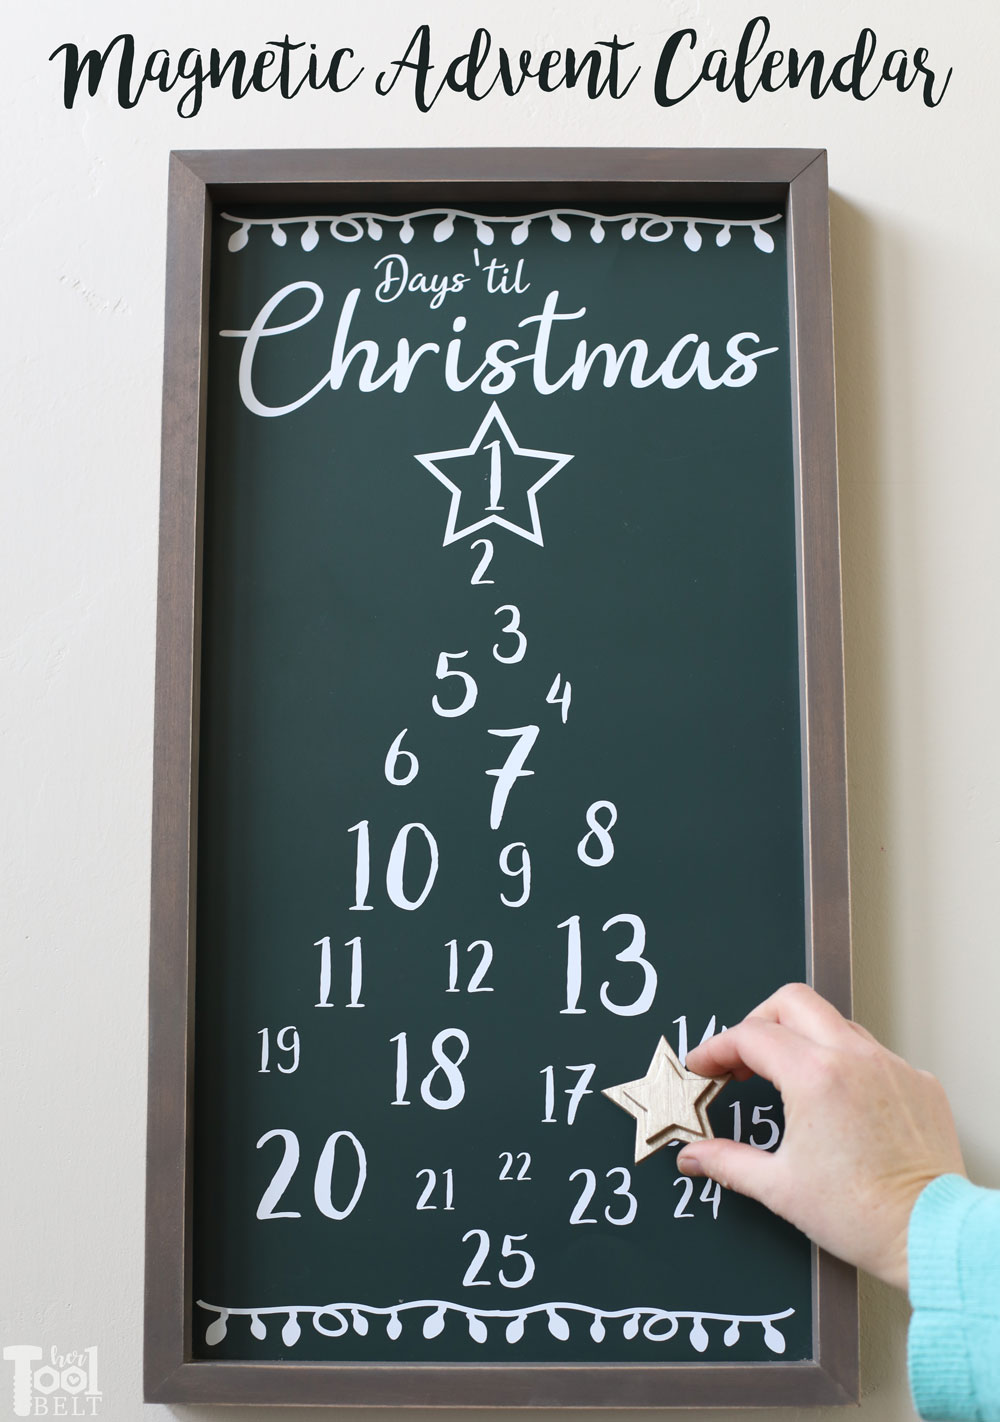
How to Make a Magnetic Christmas Countdown Advent Calendar
Materials
- 11 1/2″ x 22 1/4″ or larger piece of sheet metal
- 1 – 1″ x 2″ x 8′ board
- 11 1/2″ x 22 1/4″ backer board or scrap thin plywood
- wood glue
- stain (I used Varathane Briar Smoke)
- spray paint (primer and hunter green satin paint)
- white vinyl (12″ x 24″)
- transfer tape
- 1 1/4″ brad nails
- magnet
- glue
- sawtooth picture hanger, if needed
Tools Used
- Tin Snips
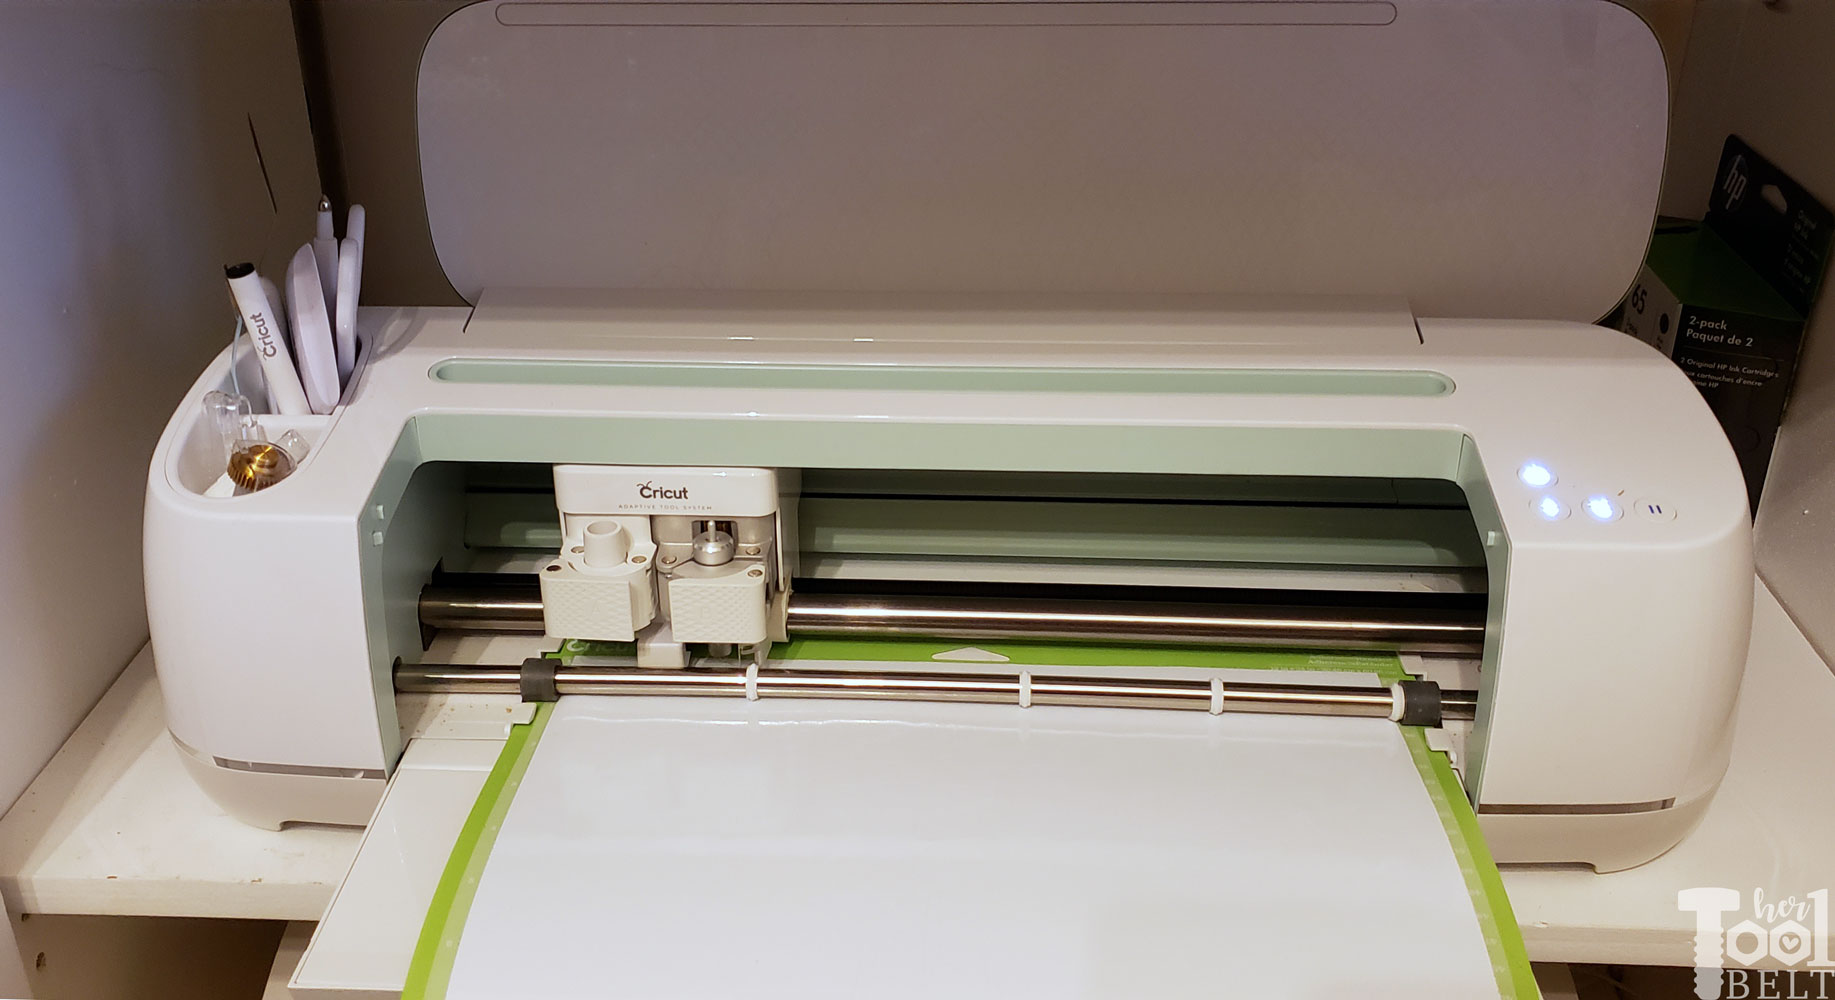
- Cricut cutting machine to cut vinyl
- miter saw
- sander
- brad nailer
- jig saw, scroll saw or band saw
- table saw for grooves, optional
Step 1 – Cut and Paint Sheet Metal (Tin)
Use tin snips and cut the sheet metal to 11 1/2″ x 22 1/4″. Wipe the sheet metal clean.
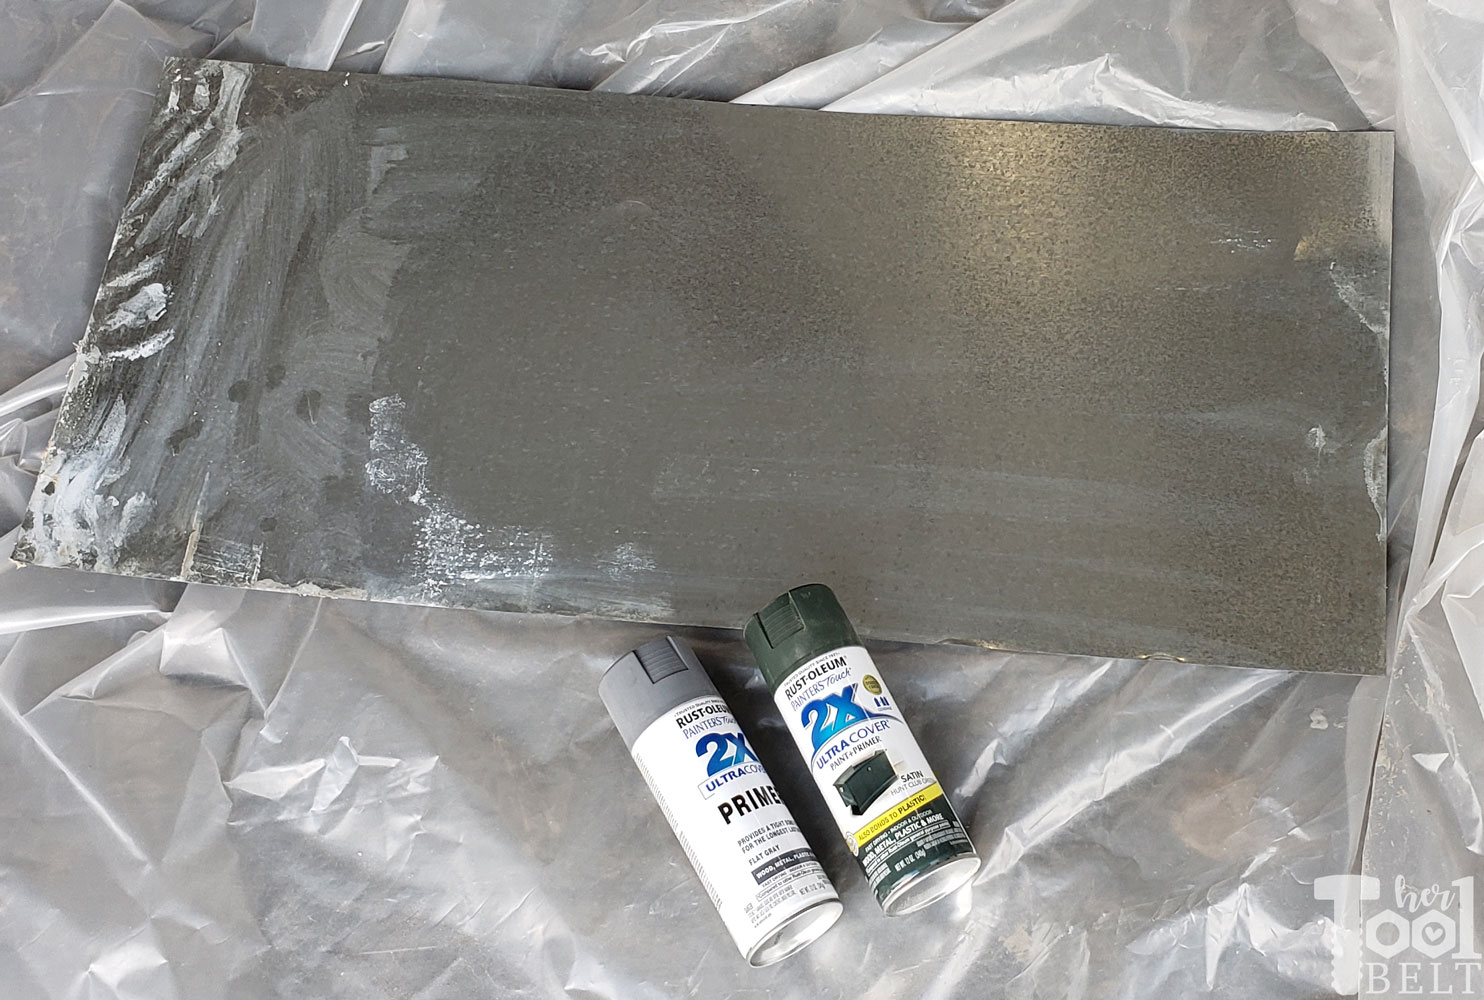
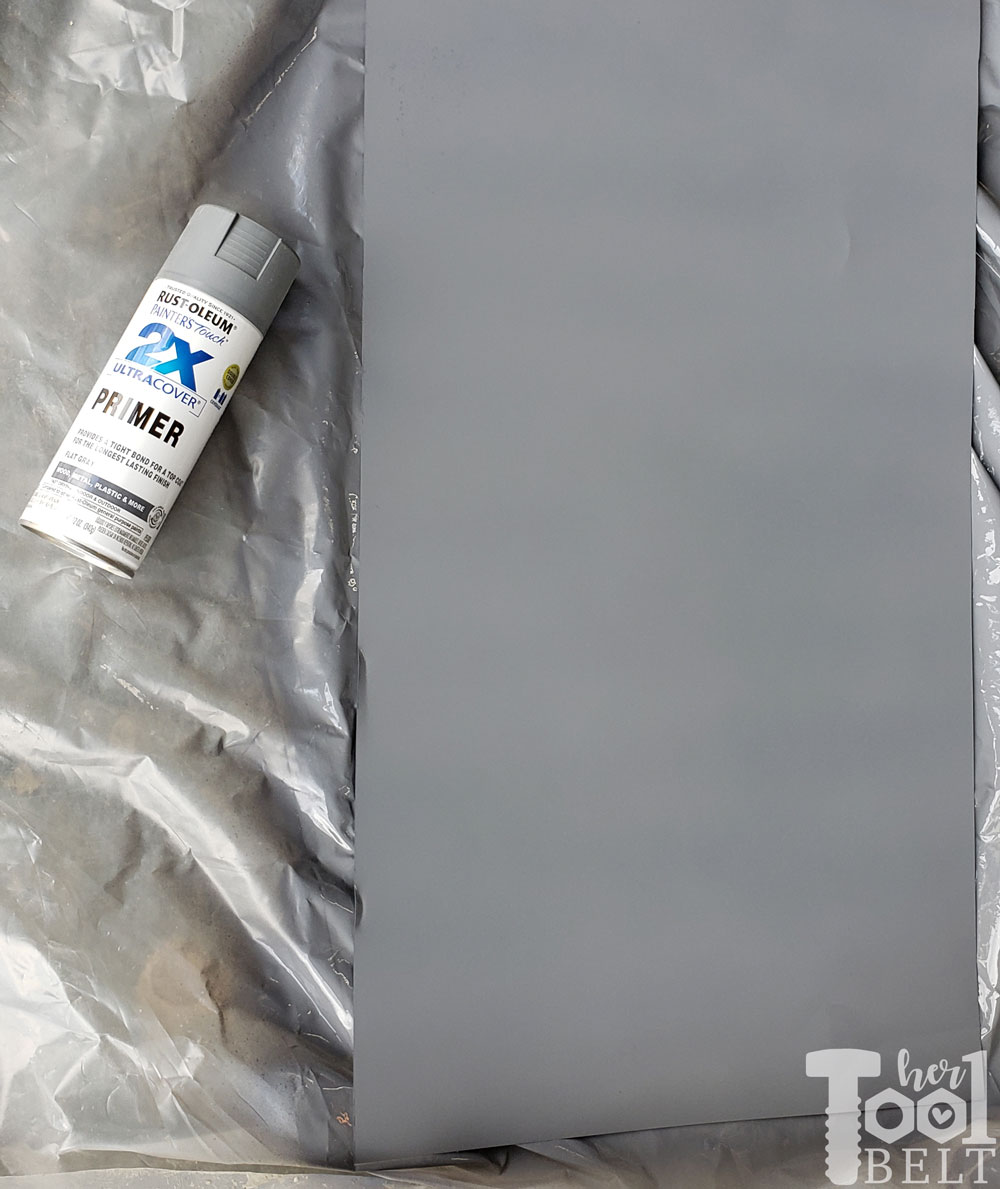
Then spray with primer.
Once the primer is dry, spray with whatever background color you prefer (mine is hunter green in satin.)
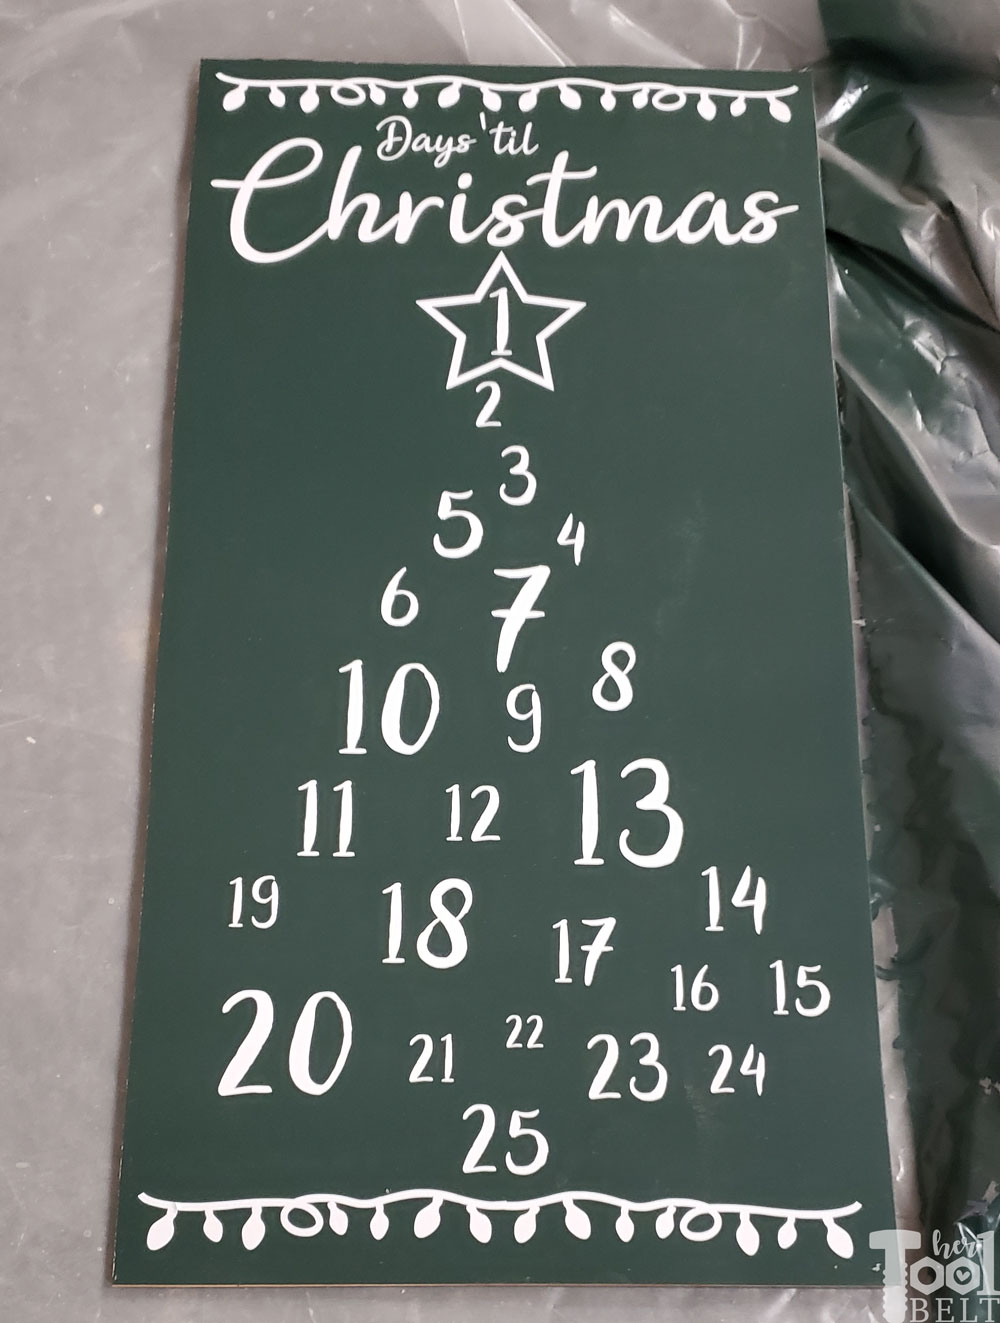
Step 2 – Cut Vinyl
I used the Cricut Maker to cut out the 12″ x 24″ white vinyl for this project.
The two extra stars on the left side are to be cut out of wood.
Weed the extra vinyl off, leaving the design. Then apply transfer tape to the front side of the vinyl.
Once the sheet metal paint is fully dry, remove the backing on the vinyl and press the vinyl firmly on the sheet metal painted side. Carefully remove the transfer tape at a steep angle and press down the vinyl.
![]()
Step 3 – Backer board
Cut a piece of backer board or any type of thin plywood (1/4″ thick or thinner) to 11 1/2″ x 22 1/4″. Glue the sheet metal to the backer board (used a little spray adhesive.)
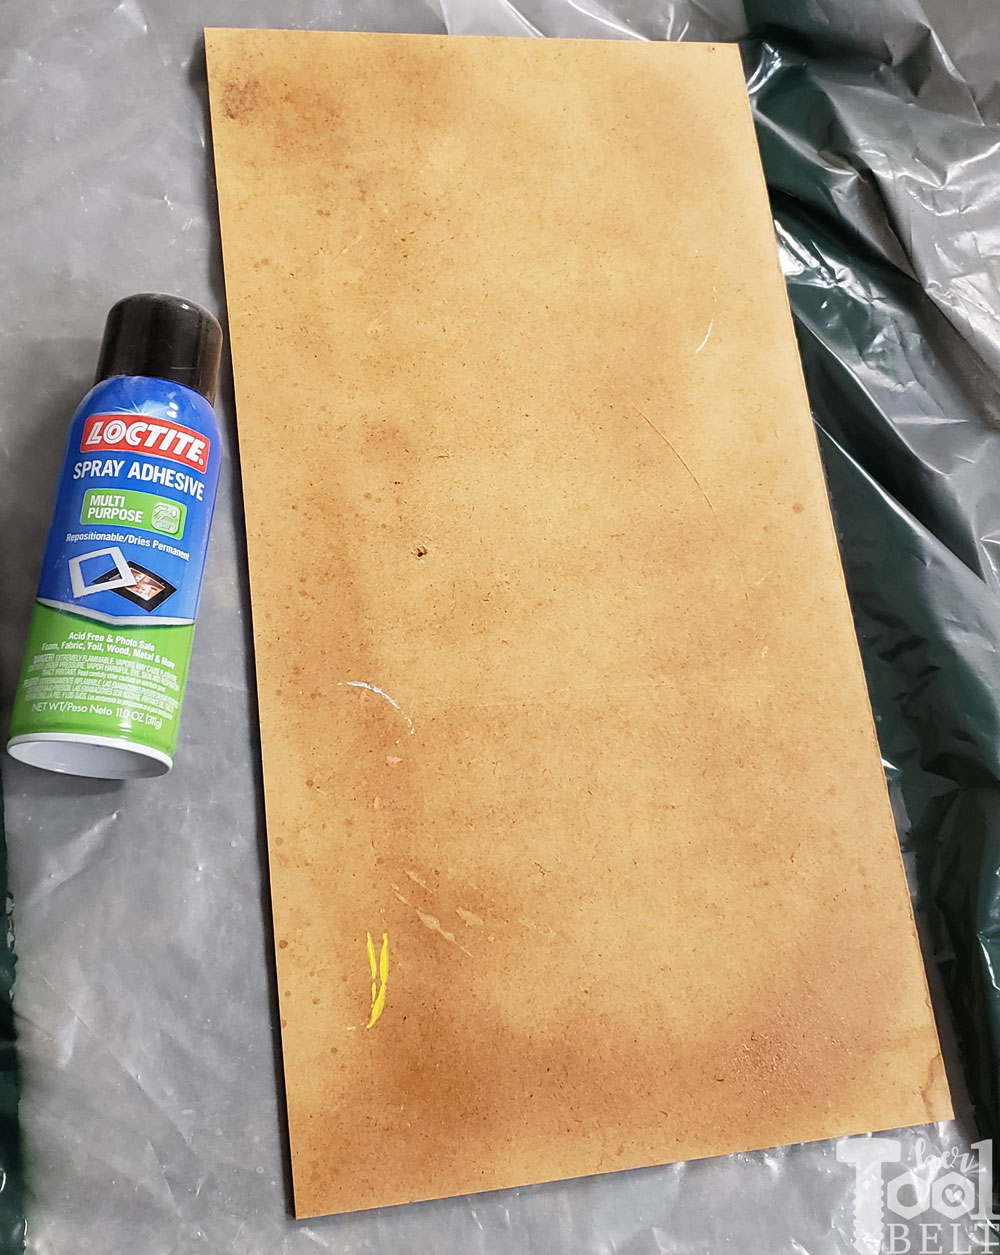
Then place the sheet metal on the backer board.
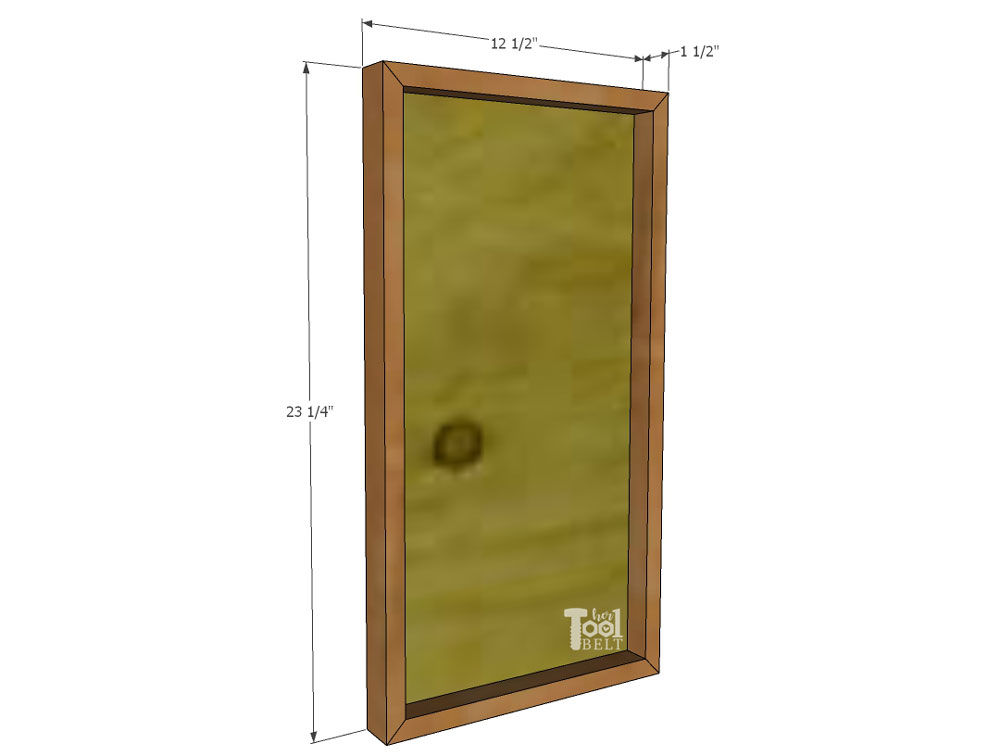
Step 4 – Frame the Sign
I made my sign frame with miter corners and a slot in the back, to pop in the sheet metal and backer board. If you don’t want to use this method, scroll down for a simpler alternate frame.
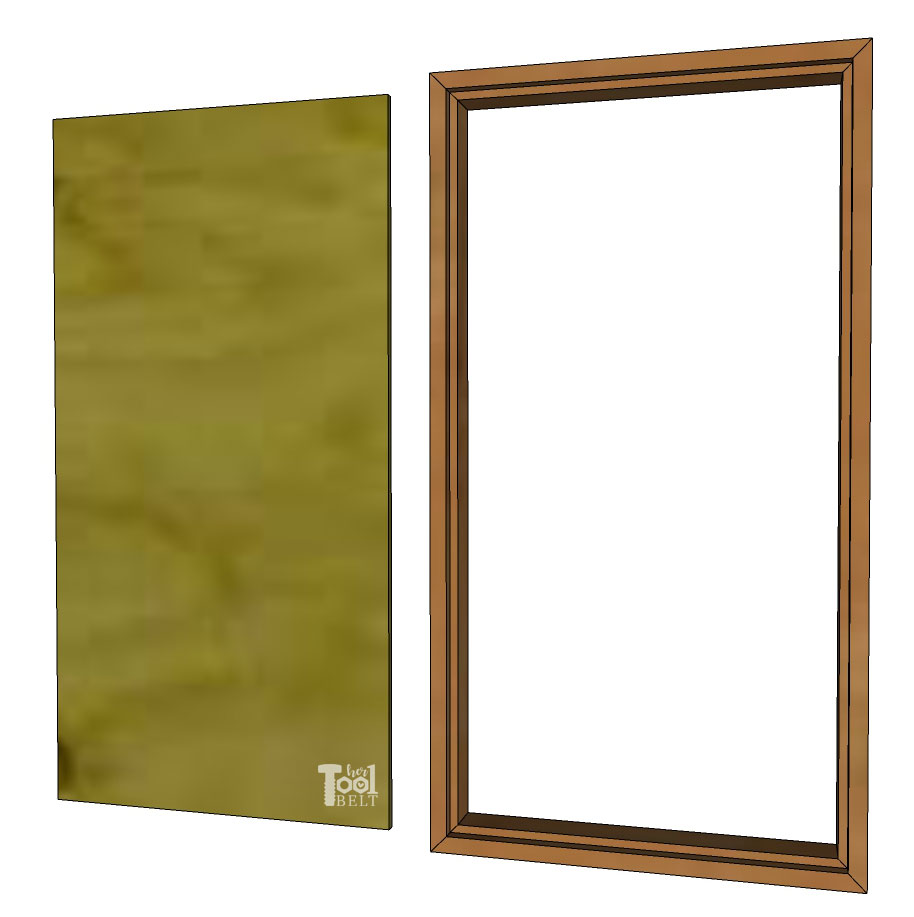
Mitered Frame Cut List
- 2 – 3/4″ x 1 1/2″ x 12 1/2″ with 45 deg miters on each end
- 2 – 3/4″ x 1 1/2″ x 23 1/4″ with 45 deg miters on each end
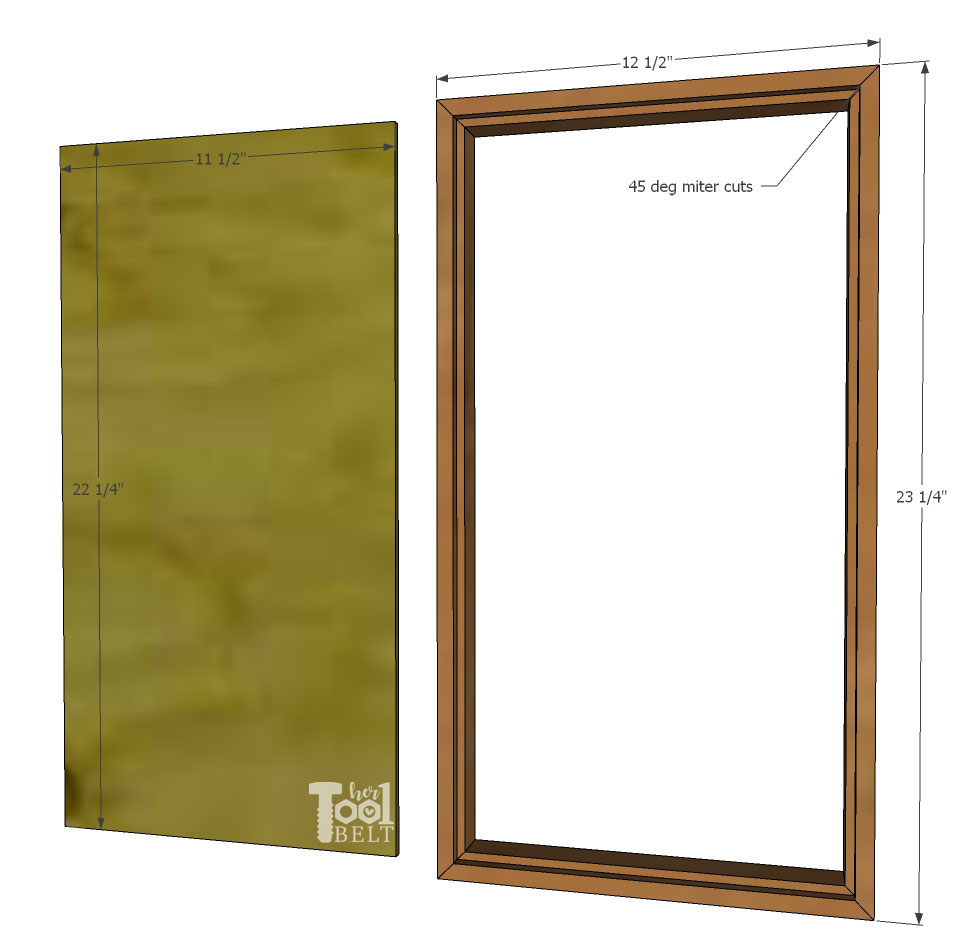
I cut the groove in the back using the table saw, but a router is also a good method.
Set the table saw blade to 3/8″ high. Place the fence so the blade is 1/4″ to the outside of the blade. Run the frame pieces through the table saw ‘standing up’ on the 3/4″ side and the ‘shortest side’ of the miters towards the fence.
lower the blade to 1/4″ high and move the fence so the blade outside is 3/8″ away from the fence. Lay the frame pieces flat on the 1 1/2″ side and run each frame piece through the table saw.

Use wood glue and 1 1/4″ brad nails to secure the frame pieces together.
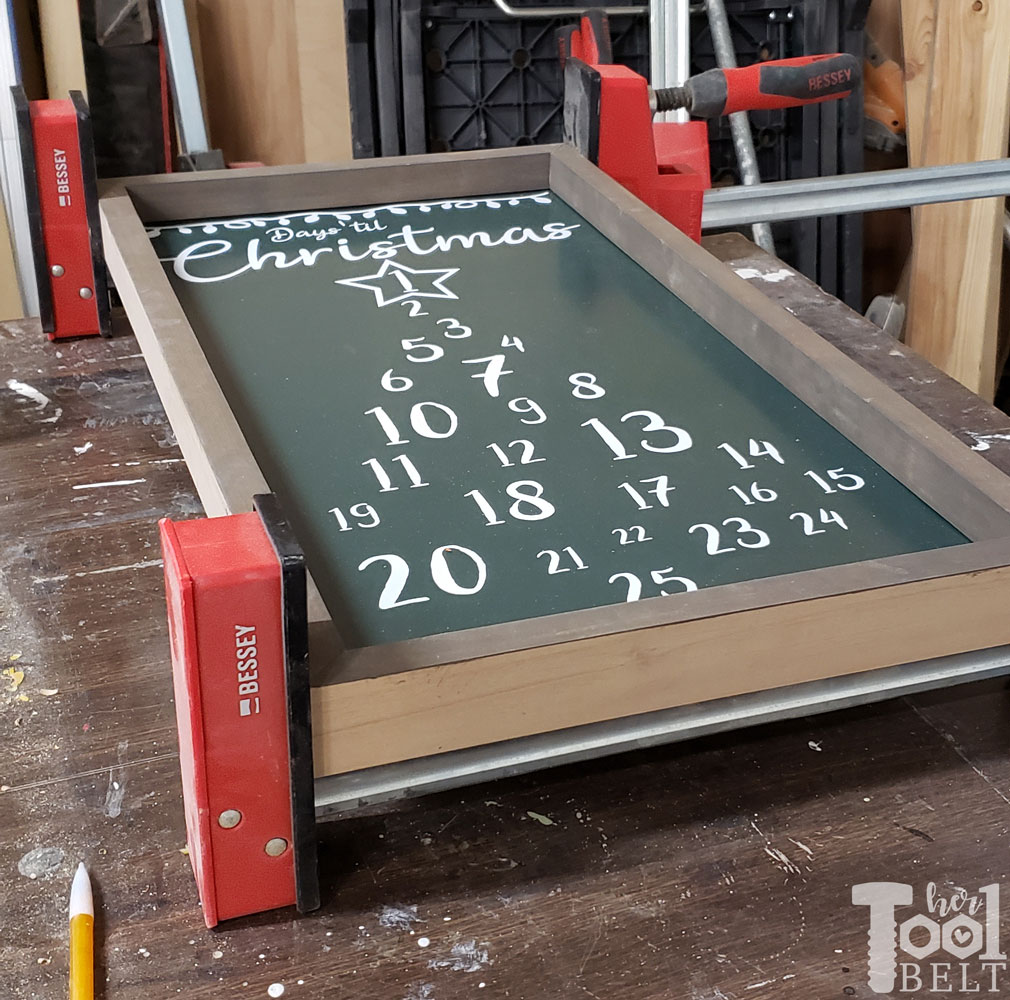
I stained the frame with Varathane Briar Smoke.
Alternate Frame without miter corners
This frame doesn’t require mitered corners and the backer board is nailed or stapled to the back of the frame.
Alternate Frame Cut List
- 2 – 3/4″ x 1 1/2″ x 10 3/4″
- 2 – 3/4″ x 1 1/2″ x 23″
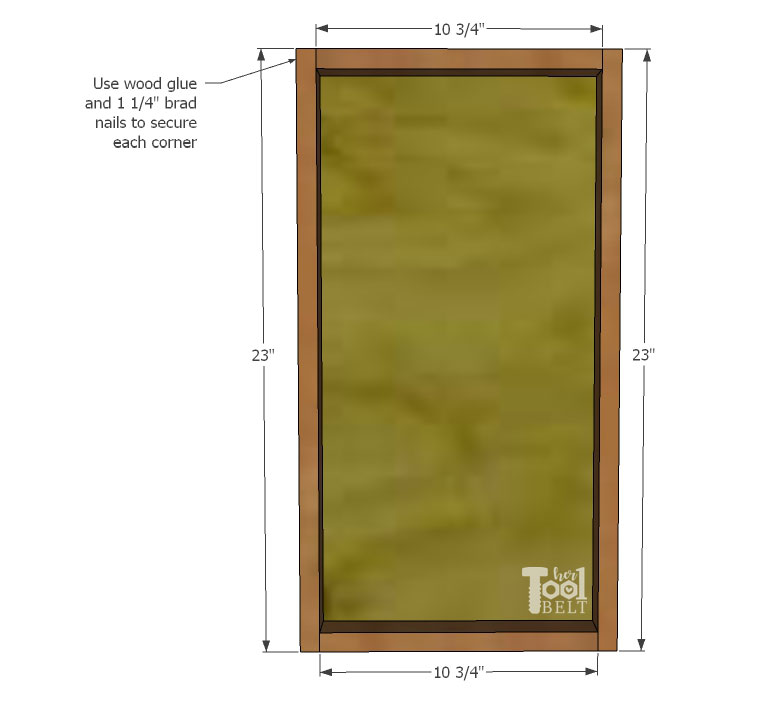
Use wood glue and 1 1/4″ brad nails to secure the 23″ frame pieces to the 10 3/4″ pieces.
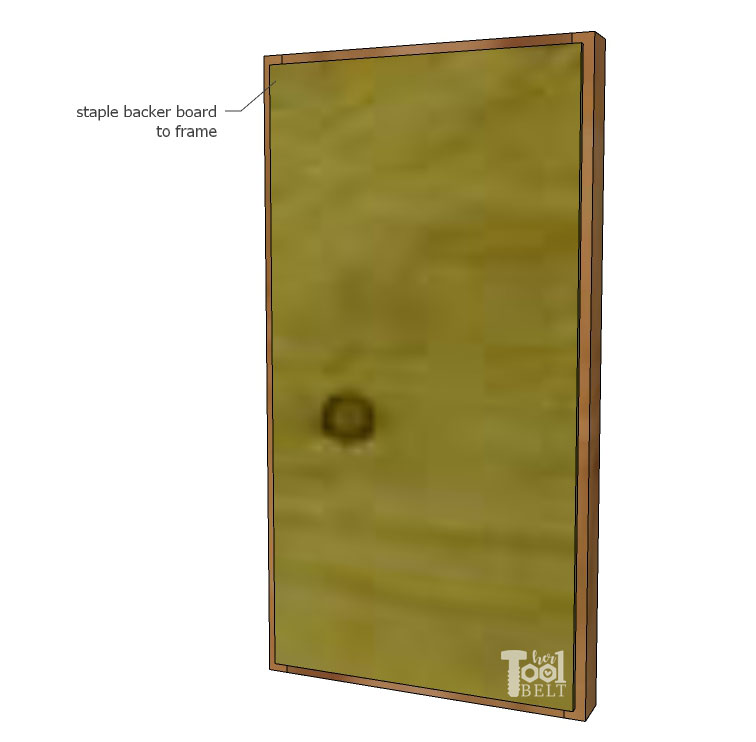
Staple or nail the backer board to the back of the frame.
Step 5 – The Counting Star
Apply the two extra stars to scrap backer board or 1/4″ plywood.
Cut out the stars with either a band saw, scroll saw, or jig saw. Then remove the vinyl and sand the edges smooth.
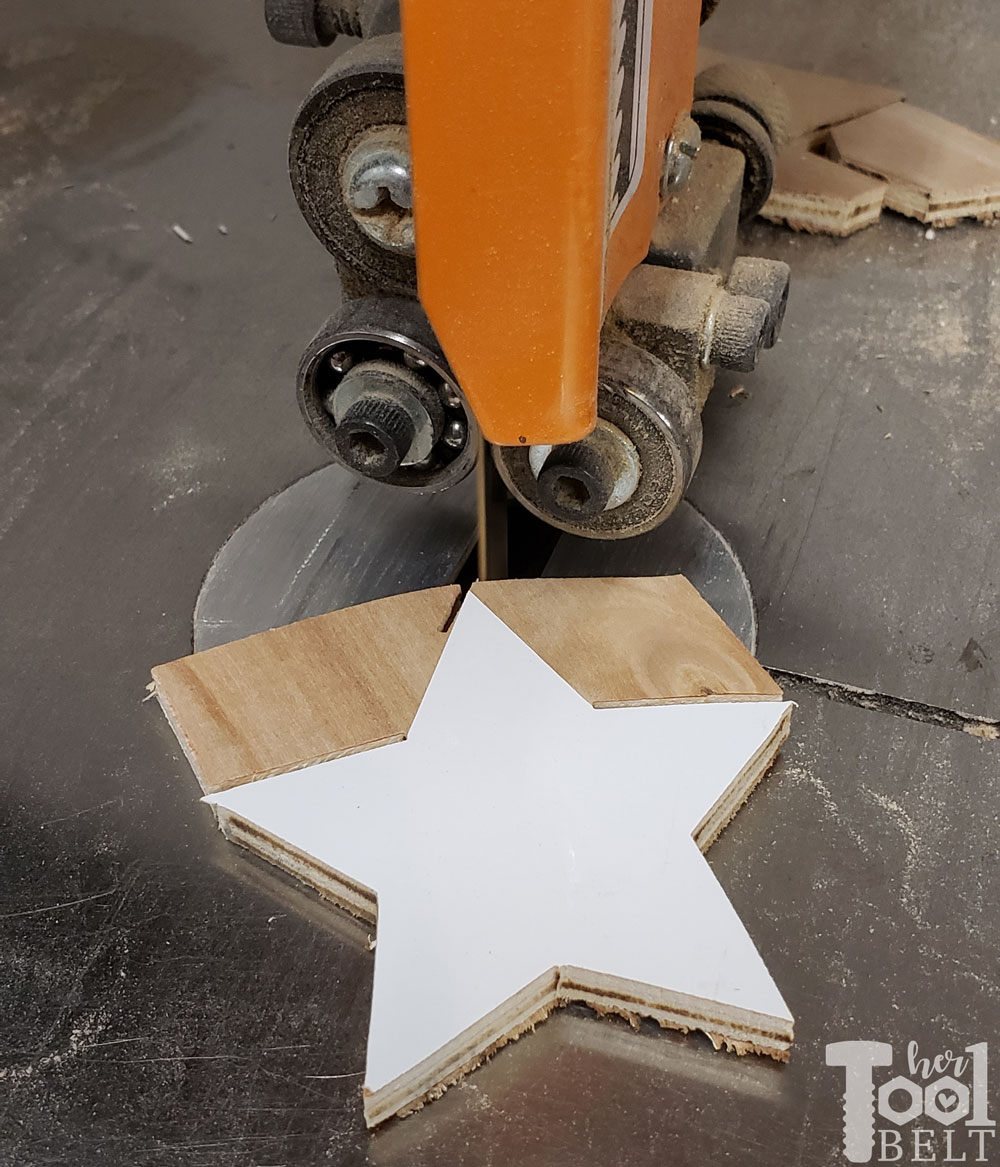
Paint the star gold (or whatever color you like). Then glue the small star on the large star, and glue a magnet on the back of the large star.


Awesome countdown idea and magnetic is always good. It looks so pretty!
Beautiful countdown!!! Such a great idea to make it magnetic! Wonderful!
YOU are amazing! What a wonderful way to enjoy the Christmas season.
Thanks for sharing. Pinned!
Love this Ame! How about sending one down south???