Sometimes Grandparents can be hard to buy gifts for, they seem to have everything already. But hey you can’t go wrong with darling gifts of grand kids, right!?! In this post I’m going to share a couple of ideas for personalized photo gifts. To make the photo gifts, I will be using Photoshop Elements 2018. I have been using Photoshop Elements ever since I graduated from trying to do digital scrapbooking with power point 🙂 Power point got the job done, but using the layers in Elements made scrapbooking so much easier. Adobe just released their 2018 version, and it has some fun editing tricks to make cute personalized photo gift projects.
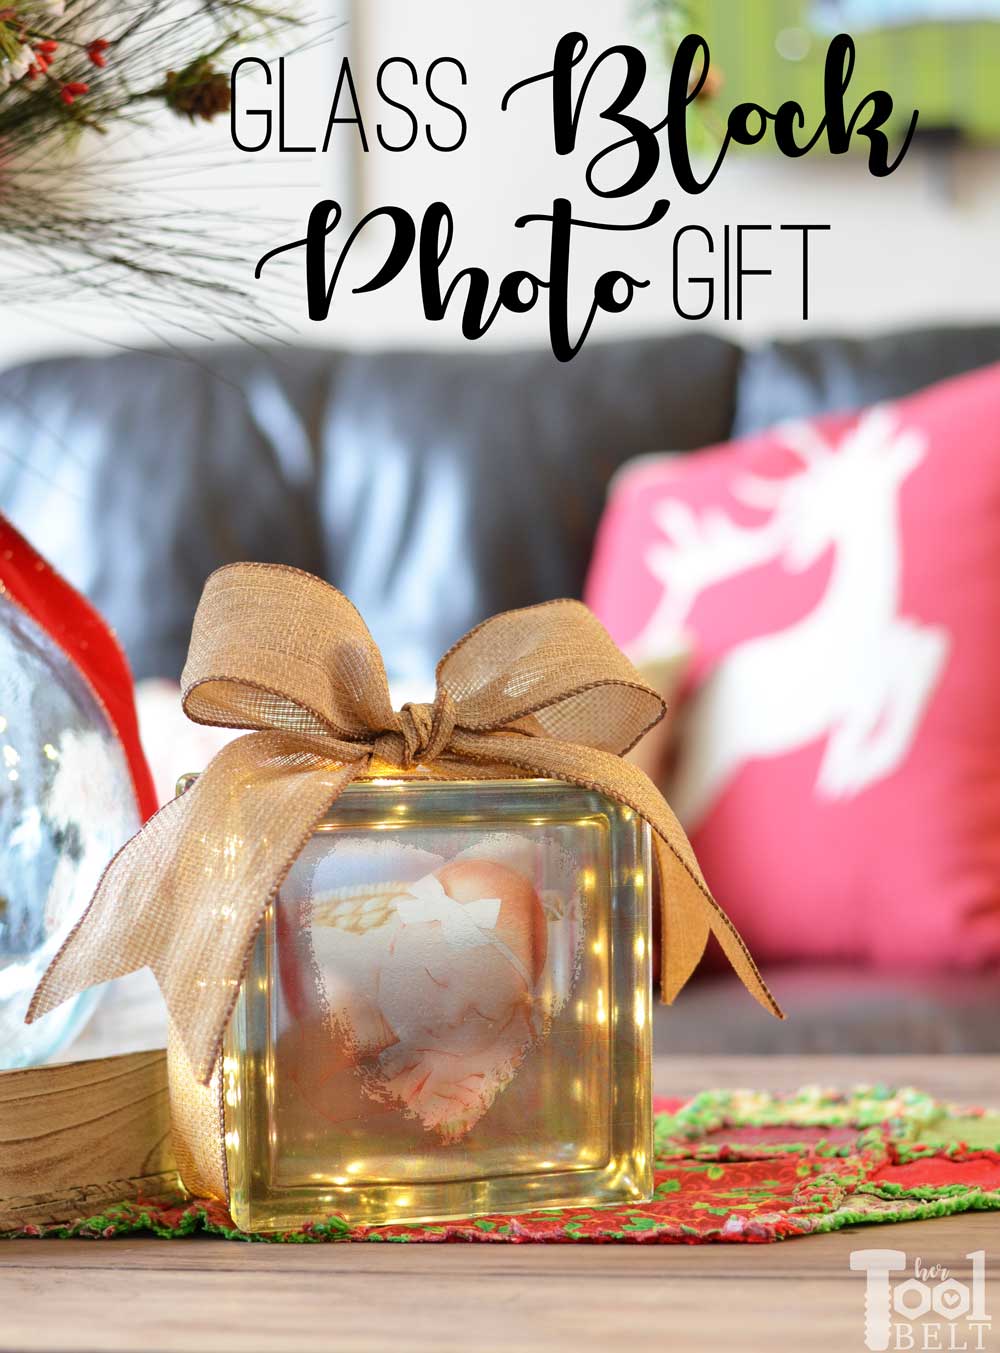
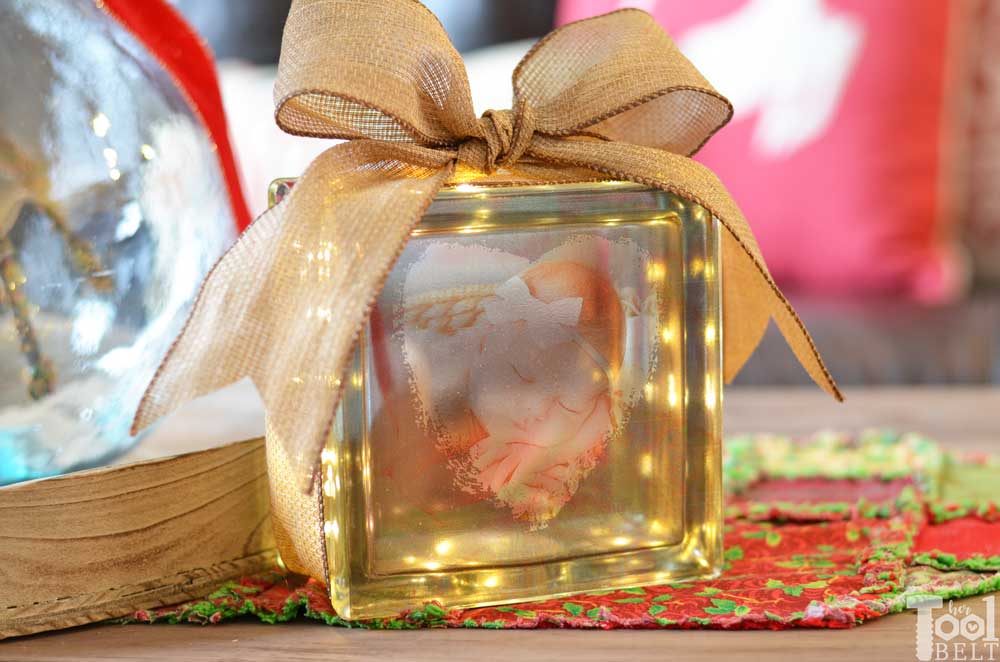
- One photo gift is a cute illuminated glass block.
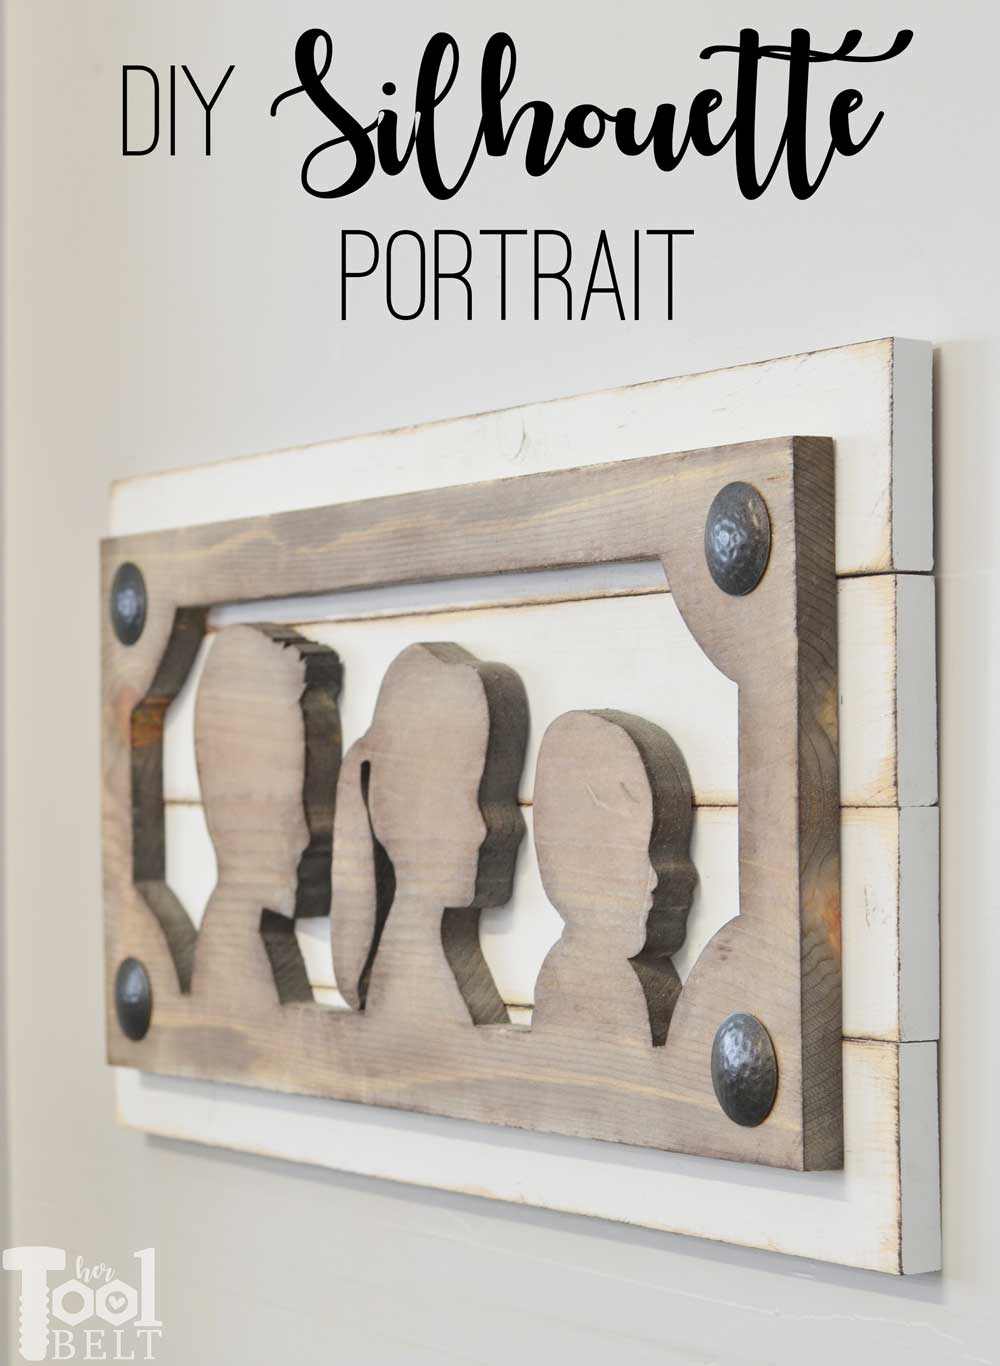
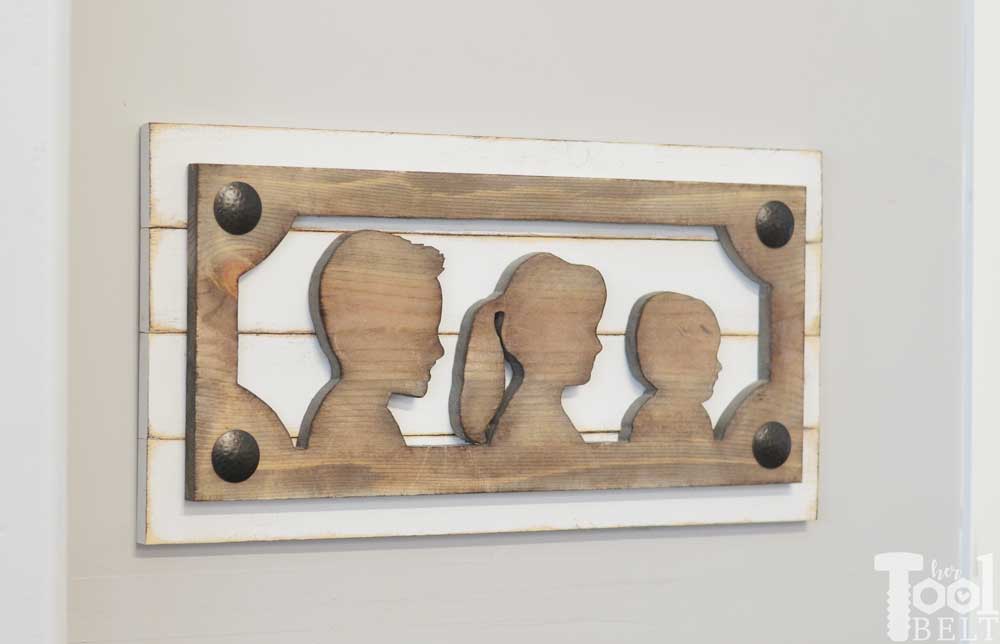
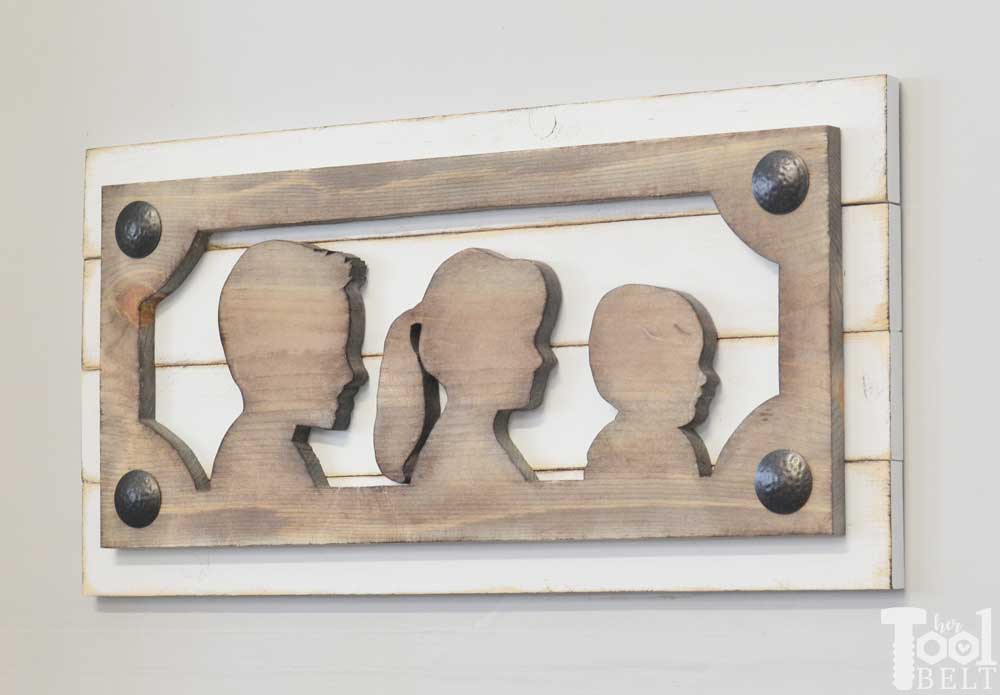
- The other is a farmhouse style silhouette portrait out of wood.
This post contains some affiliate links for your convenience. Click here to read my full disclosure policy.
Glass Block Photo Gift
Making the glass block photo gift is really easy and fun. You’ll need Photoshop Elements, but you can get a free 30 day trial.
Materials Needed:
- Glass Block
- Clear Sticker Paper
- Lights
- Ribbon
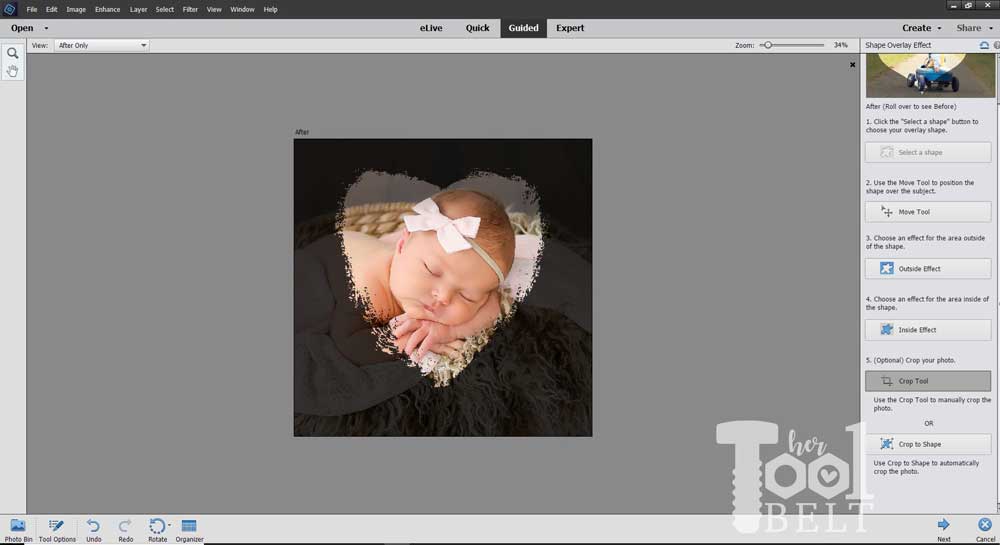
To make the photo sticker, I chose my favorite picture of my daughter and followed the easy tutorial by It’s Always Autumn. She provides a nice video to follow along with.
A couple of notes about the process.
- At first I chose a light background for my picture, but when I applied the sticker onto the glass it was hard to see the shape.
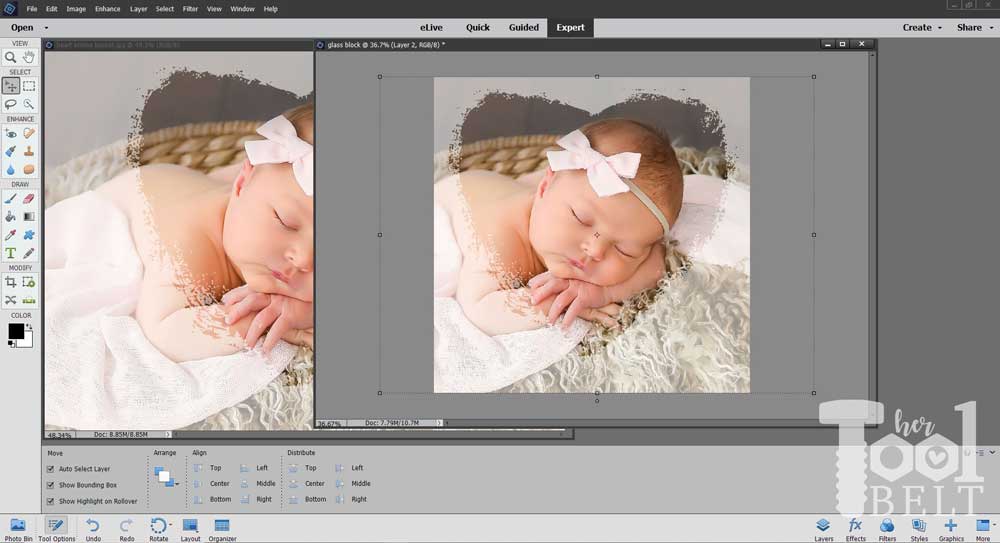
I switched the background to a dark background and that made it easier to see when applied to the block.
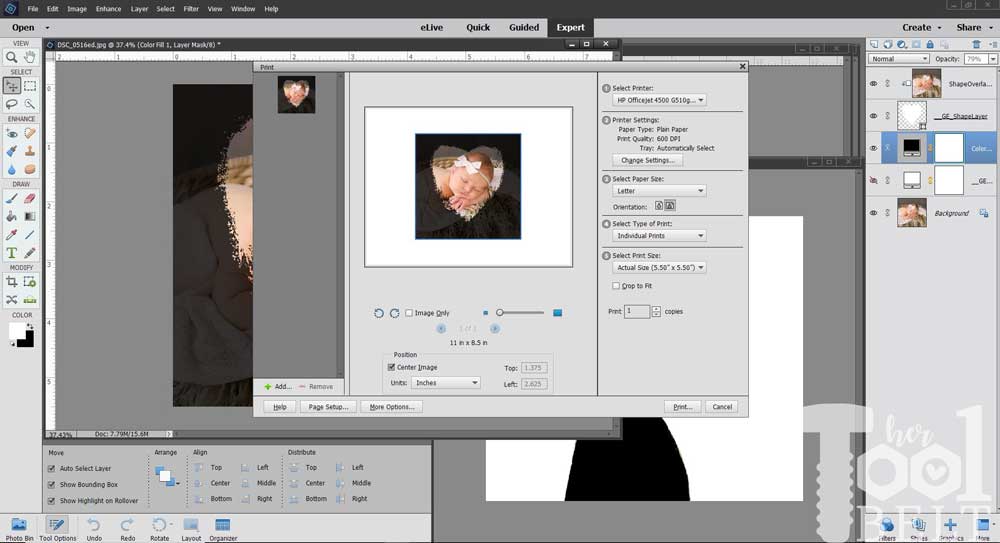
- Make sure to measure the size of your block before cropping the photo, there are different sizes of blocks, mine is 5 1/2″ x 5 1/2″.
- When printing the picture onto the clear sticker paper, make sure you set your print settings to actual size.
Once I attached my photo sticker to the glass block, I wrapped some fairy lights around the outside of the block. To finish it off, I added ribbon and tied a bow. Super simple and fun.
DIY Silhouette Portrait
To make the silhouettes you’ll need Photoshop Elements, you can get a free 30 day trial. The idea for this project is from a picture I spotted on Pinterest that wasn’t linked to it’s proper source, after some detective work, I finally found the origin.
Materials Needed:
- 1 – 1″ x 12″ x 4′ board (actual dimensions 3/4″ x 11 1/4″)
- 2 – 1″ x 4″ x 8′ boards (actual dimensions 3/4″ x 3 1/2″)
- 1 1/4″ pocket hole screws
- 1 1/4″ brad nails
- wood glue
- sandpaper
- paint/stain
- 4 – decorative nail heads
- paint brush
- tape
- picture hanger
Tools Needed:
- Scroll Saw
or Jig Saw
- Miter Saw – optional
- Drill
- Sander
- Printer
- Camera
Step 1 – Take profile shots and make silhouettes
Depending on the age of your kids, this may be the most difficult step of this project! 🙂 Take profile shots of each person for the silhouette portrait. The quality doesn’t need to be that great.
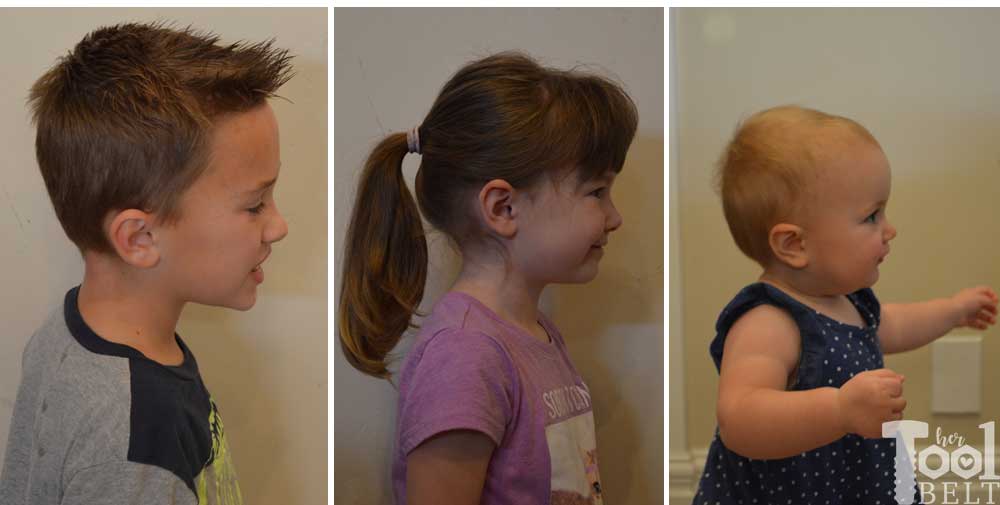
Photoshop elements has a pretty slick way of turning profile shots into silhouettes. I followed The Gingerbread House’s video tutorial for making the silhouettes.
Step 2 – Create pattern and cut out silhouettes
The open area in the ‘frame’ is 8 1/4″, so make sure you size the height of each head less than that. My tallest silhouette head is 7 3/4″ and the shortest is 5 3/4″ from the top of the head to the lower frame border.
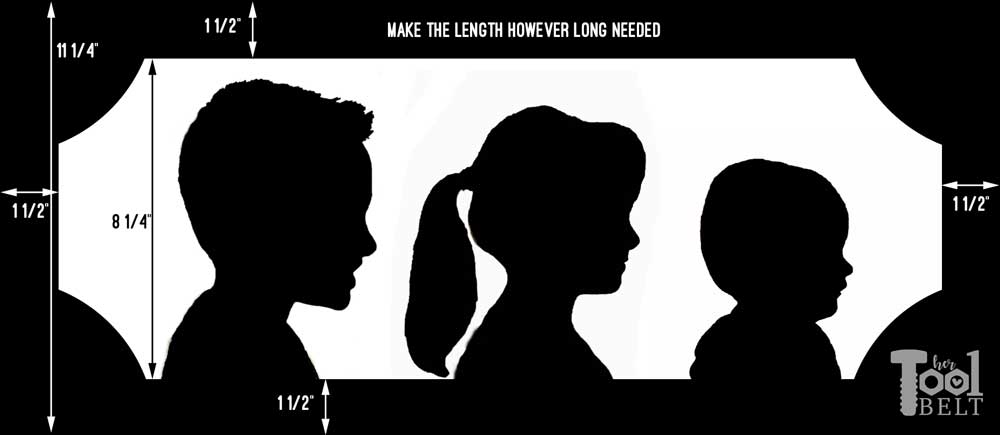 Here are the patters for the Left and Right Brackets. Download pattern here. Cut out the brackets inside (curvy part) and the silhouette heads.
- Place the left bracket on the left end of the board, line the paper up with the upper left corner of the board. (Note the printer will probably not print all of the way to the edge and that’s fine. Also the bottom of the board will stick out about 1/4″ and that is fine too.)
- Space the silhouette heads along the board as desired.
- Place the right bracket on the board and mark where to cut the board length to.
- Trace all of the patterns onto the board, connect the lines between the left and right upper frames and left and right lower frames.
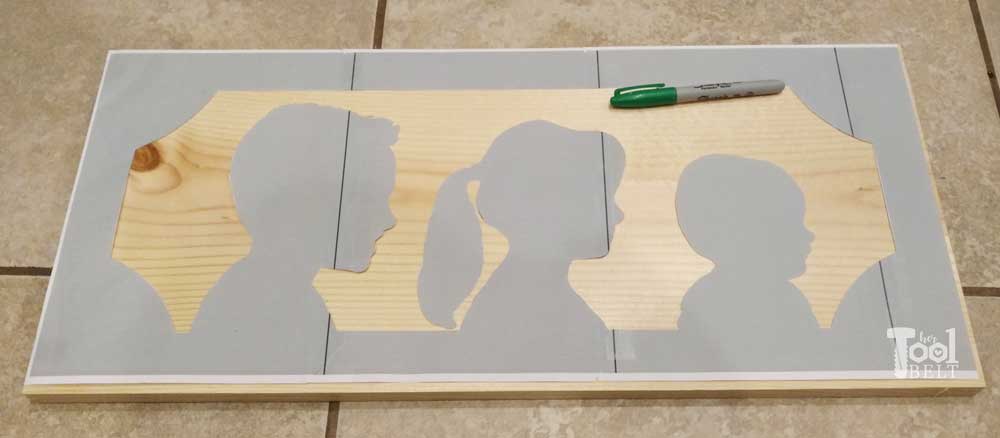
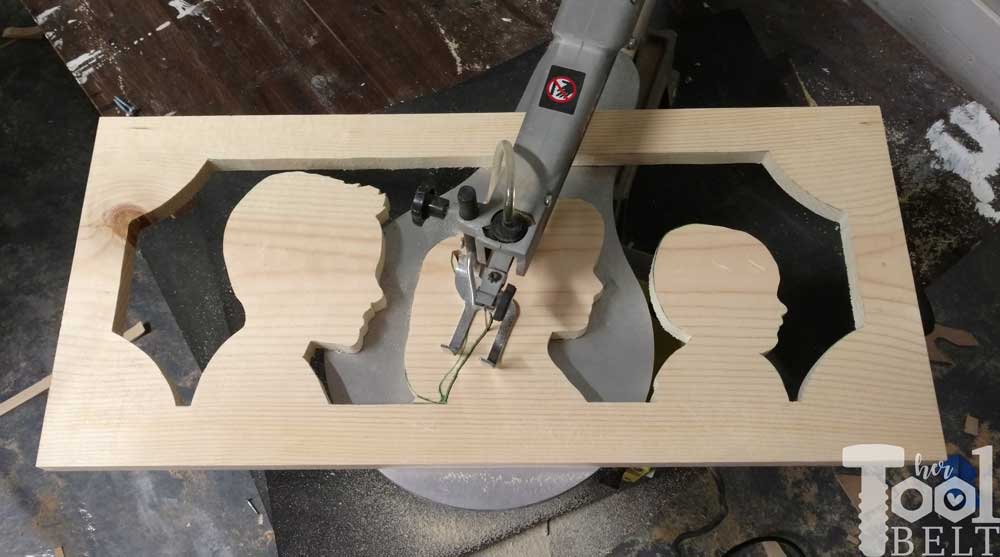
Use a scroll saw or jig saw to cut out the pattern. After cutting out the wood, sand as needed to smooth any rough areas.
Stain or paint the silhouettes whatever colors you’d like. I used Varathane wood accelerator, antiqued with a little Varathane Kona and a quick rub of wood conditioner to blend it.
How to create the weathered wood look:
Step 3 – Measure and cut back boards
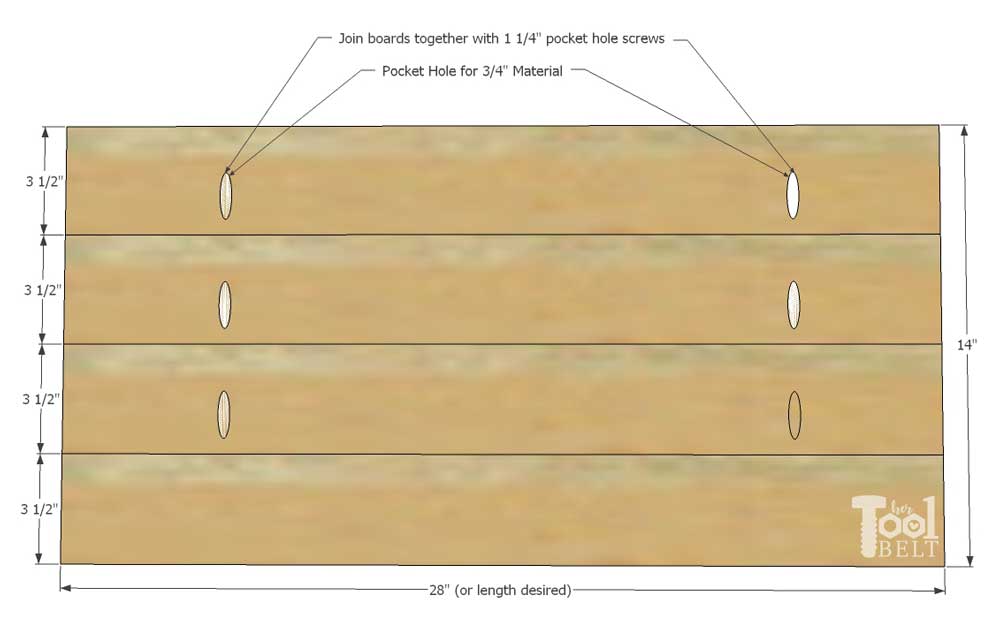
Measure the length of the silhouette board. Add 2 3/4″ to the length of the silhouette board measured. My board is 25 1/4″ + 2 3/4″ = 28″. Cut 4 – 1×4 boards to that length (28″). Drill a couple of pocket holes for 3/4″ material in the back of 3 boards.
Paint or stain the boards as desired. I painted mine with Rustoleum Linen White chalked paint. After the paint dried I used sandpaper to rough up the edges and used a tiny amount of Kona to highlight the edges.
Secure the silhouette cut out to the front of the 1×4 boards with some wood glue and 1 1/4″ brad nails.
If you want, add some decorative nail heads to the corners. Tell me what you think, are these nail heads too big?
*** Disclosure: Adobe provided some products for this post.
wow, the wood portrait is amazing!
b
An amazing new twist to giving silhouettes as gifts. Love this!
Thanks Karen!
That turned out so rad! Incredible!