My 5 year old son has been begging me to paint his bedroom walls, apparently he is tired of the boring beige color. He wants a Star Wars room! I’m not sure why he’s such a big Star Wars fan, but he is…that and Lego’s. We are working on making an awesome bedroom for him. While gathering some inspiration on Pinterest, I really liked the room colors and stars at the top of the walls from this room. I also thought it would be fun to have a focal wall that looks like it’s in hyperspace. So I painted one wall, ceiling and 1 foot down on the other three walls dark blue, the rest of the walls sky blue.
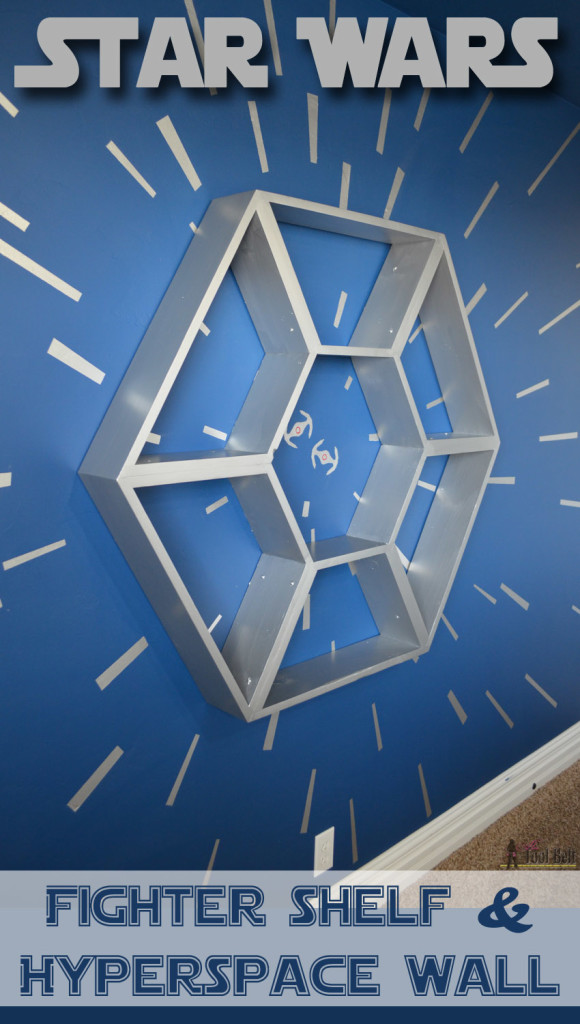
Everyone knows that you can’t go through hyperspace without being in a fighter ship, right! I designed a large Star Wars Fighter Shelf to be the center of the hyperspace wall. The Star Wars fighter ‘window’ should be round, but that’s too much of a pain…I opted for a hexagon with nice straight edges.
How to Build a Star Wars Shelf
Materials
- 5 – 1″ x 6″ x 8′ pine boards (actual 3/4″ x 5 1/2″)
- 1 1/4″ pocket holes screws (affiliate link)
- wood glue
- wood filler
- sand paper
- paint primer
- Modern Masters Silver Metallic Paint (ME150)*
- Modern Masters Sashay Red Metallic Paint (ME513)*
*I have heard lots of great things about the Modern Masters paint. I was able to do a review of a quart of metallic paint…perfect for this project. Modern Masters will sponsor a giveaway, wahoo!
Step 1
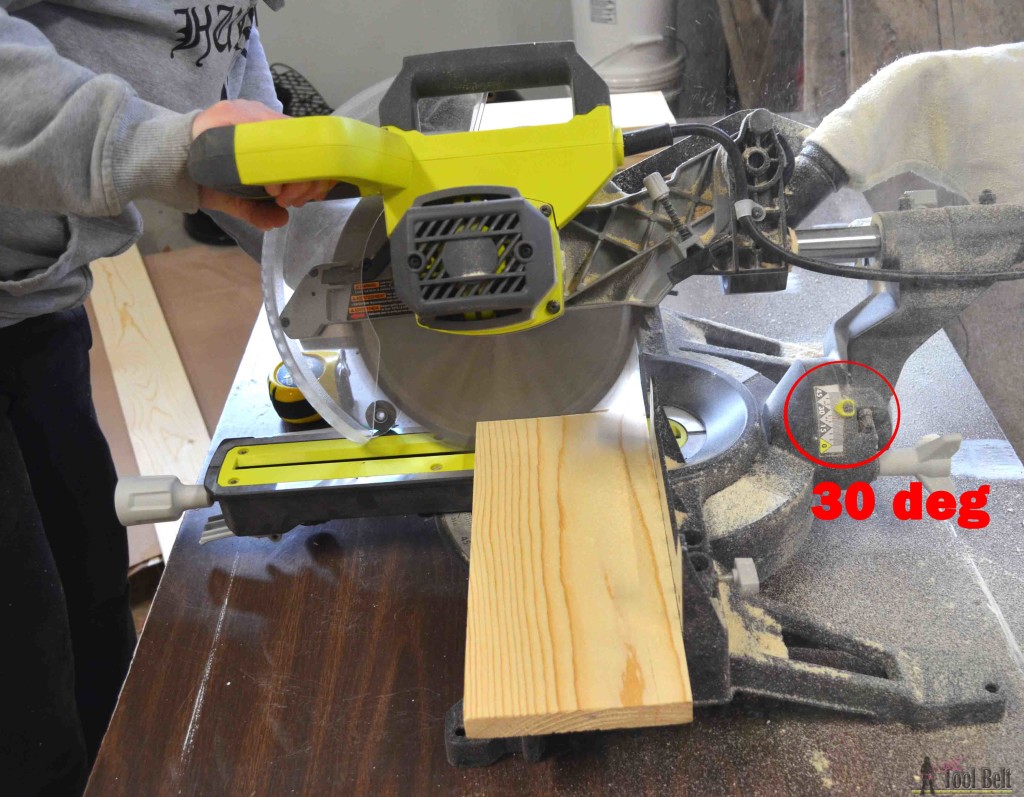
Cut 6 pieces of 1 x 6 that are 24″ long and have a 30 deg bevel on each end.
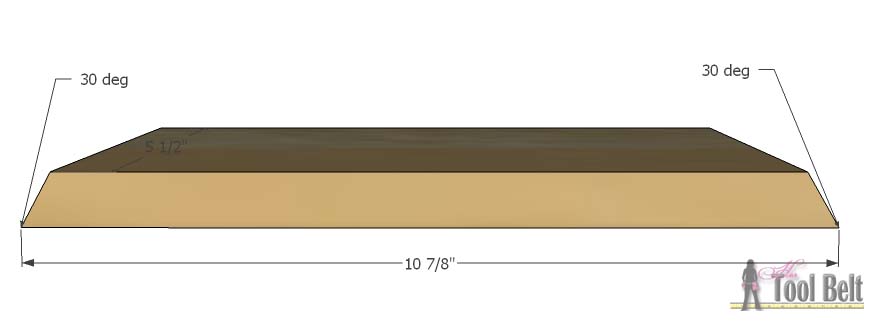
Cut 6 pieces of 1 x 6 that are 10 7/8″ long and have a 30 deg bevel on each end.
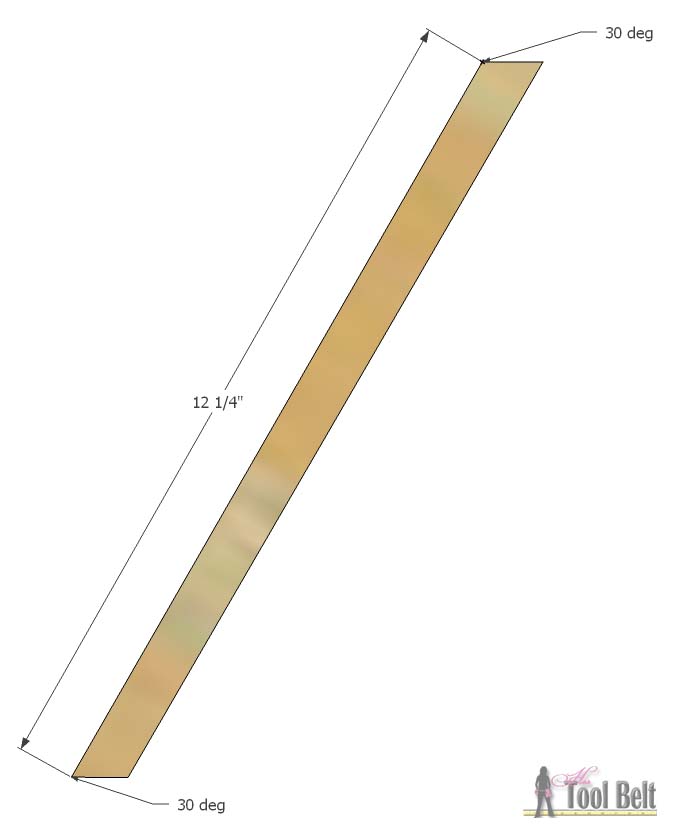
Cut 12 pieces of 1 x 6 that are 12 1/4″ long and have a 30 deg bevel on each end, except the bevel needs to be facing the same direction this time.
Step 2
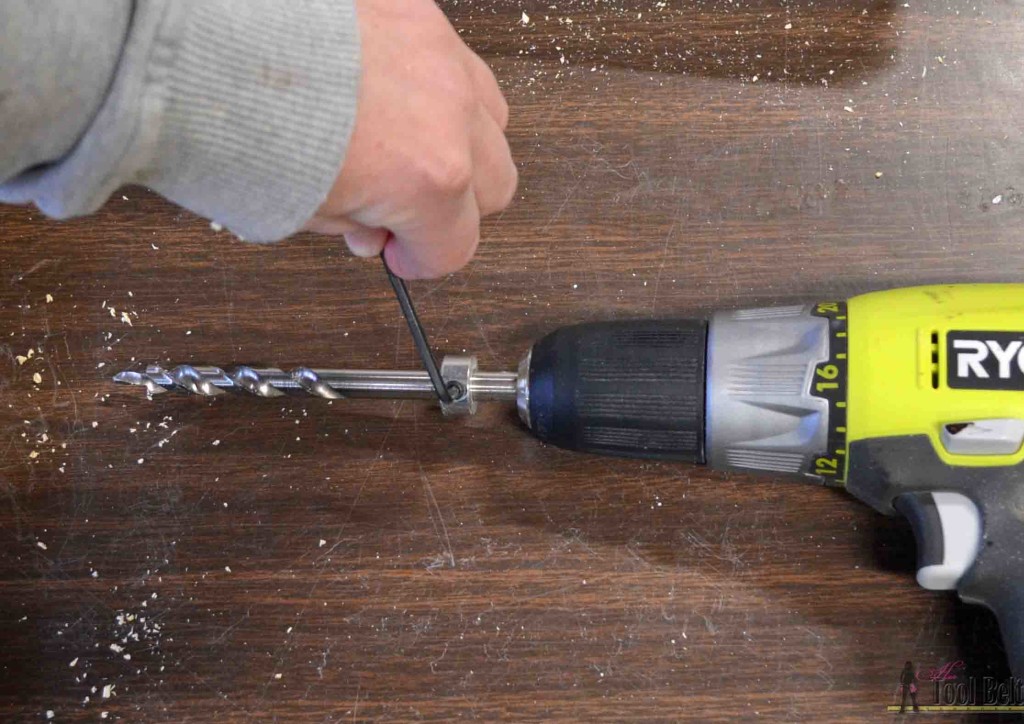
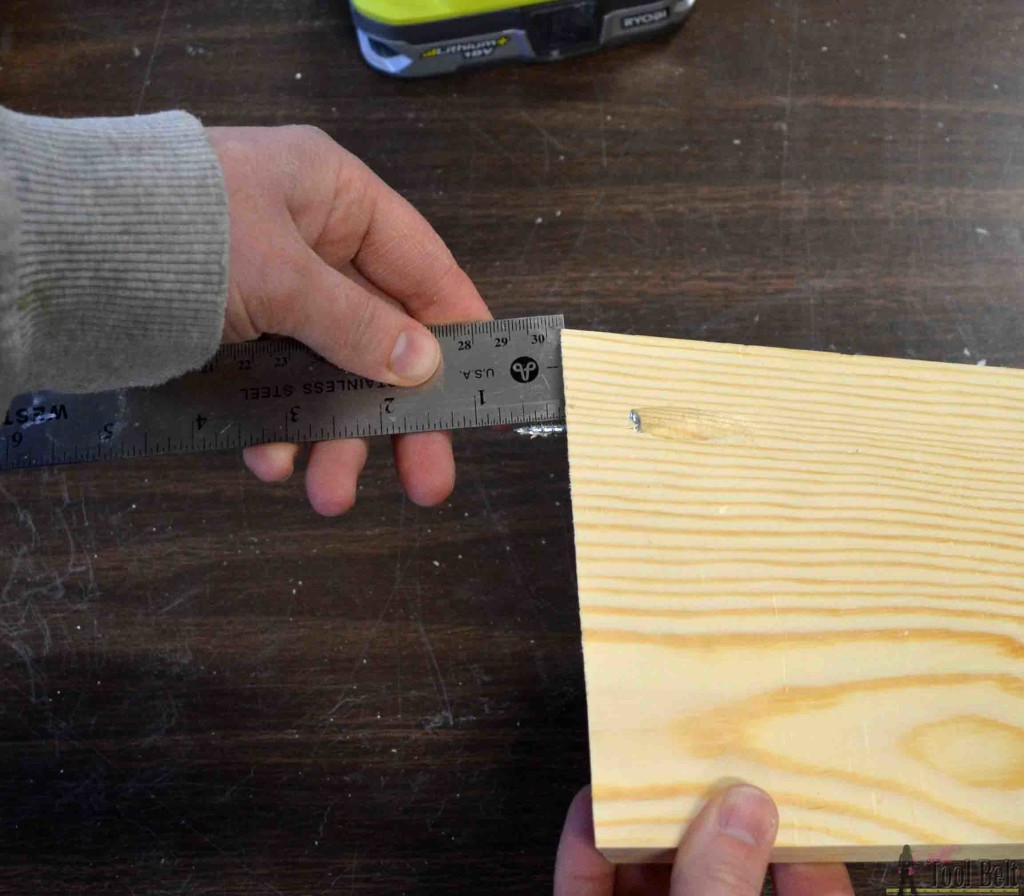
On one face of the 12 1/4″ pieces, drill 2 pocket holes (affiliate) on each end. Since this is an odd joint, to make sure you are getting enough thread engagement, screw in a 1 1/4″ pocket hole screw and see how much thread is showing, aim for about 5/8″ – move your collar fwd or back and re-drill to get the right depth.
Needs to be drilled deeper.
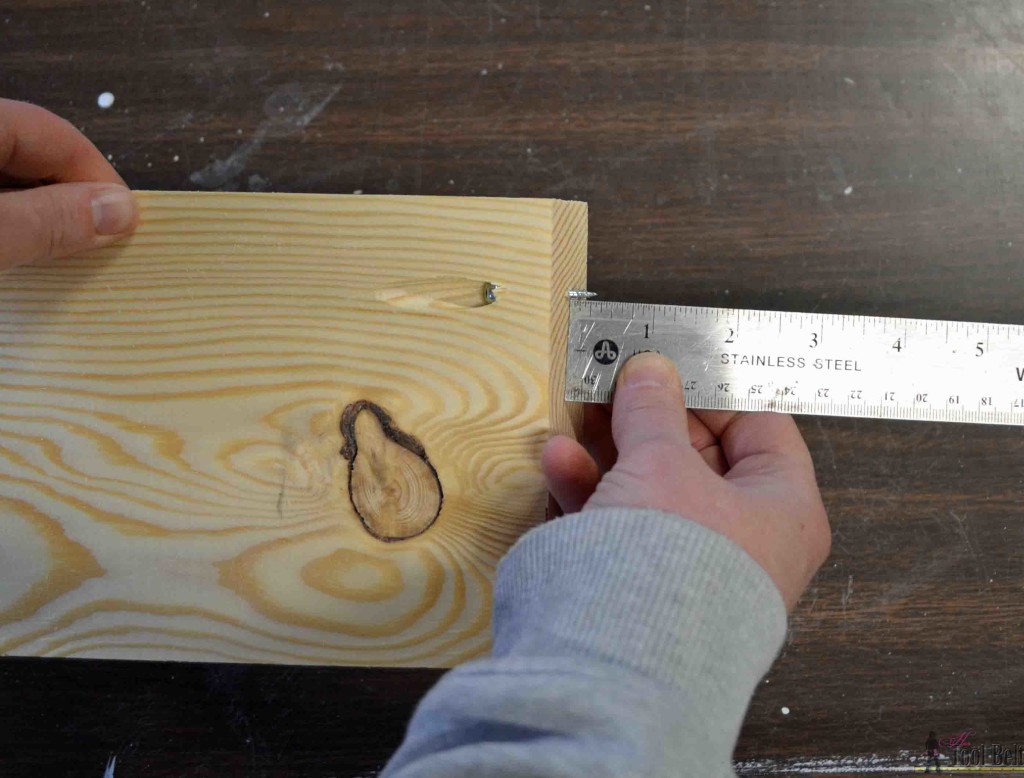 Adjust collar depth.
Step 3
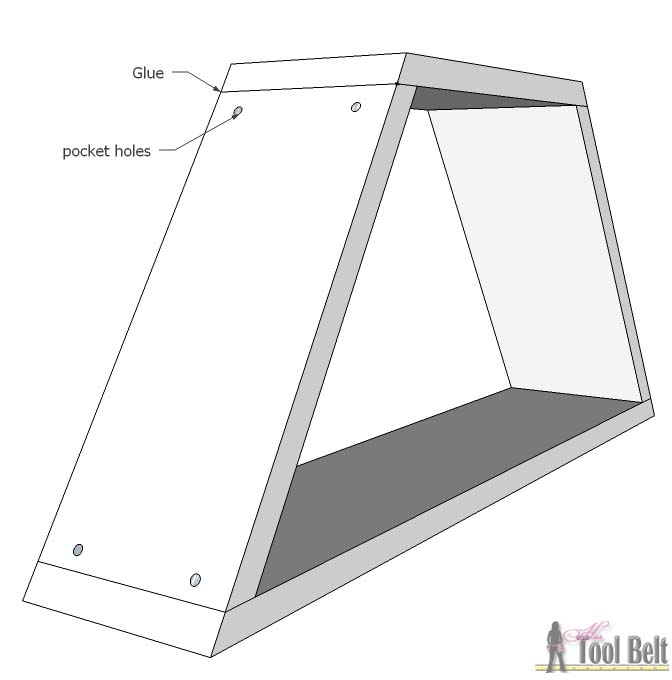
Now we’ll make 6 trapezoids, the pocket holes are going to be on the outside of each trapezoid. Add a bead of wood glue on the ends of the 12 1/4″ pieces and join to the 24″ and 10 7/8″ pieces.
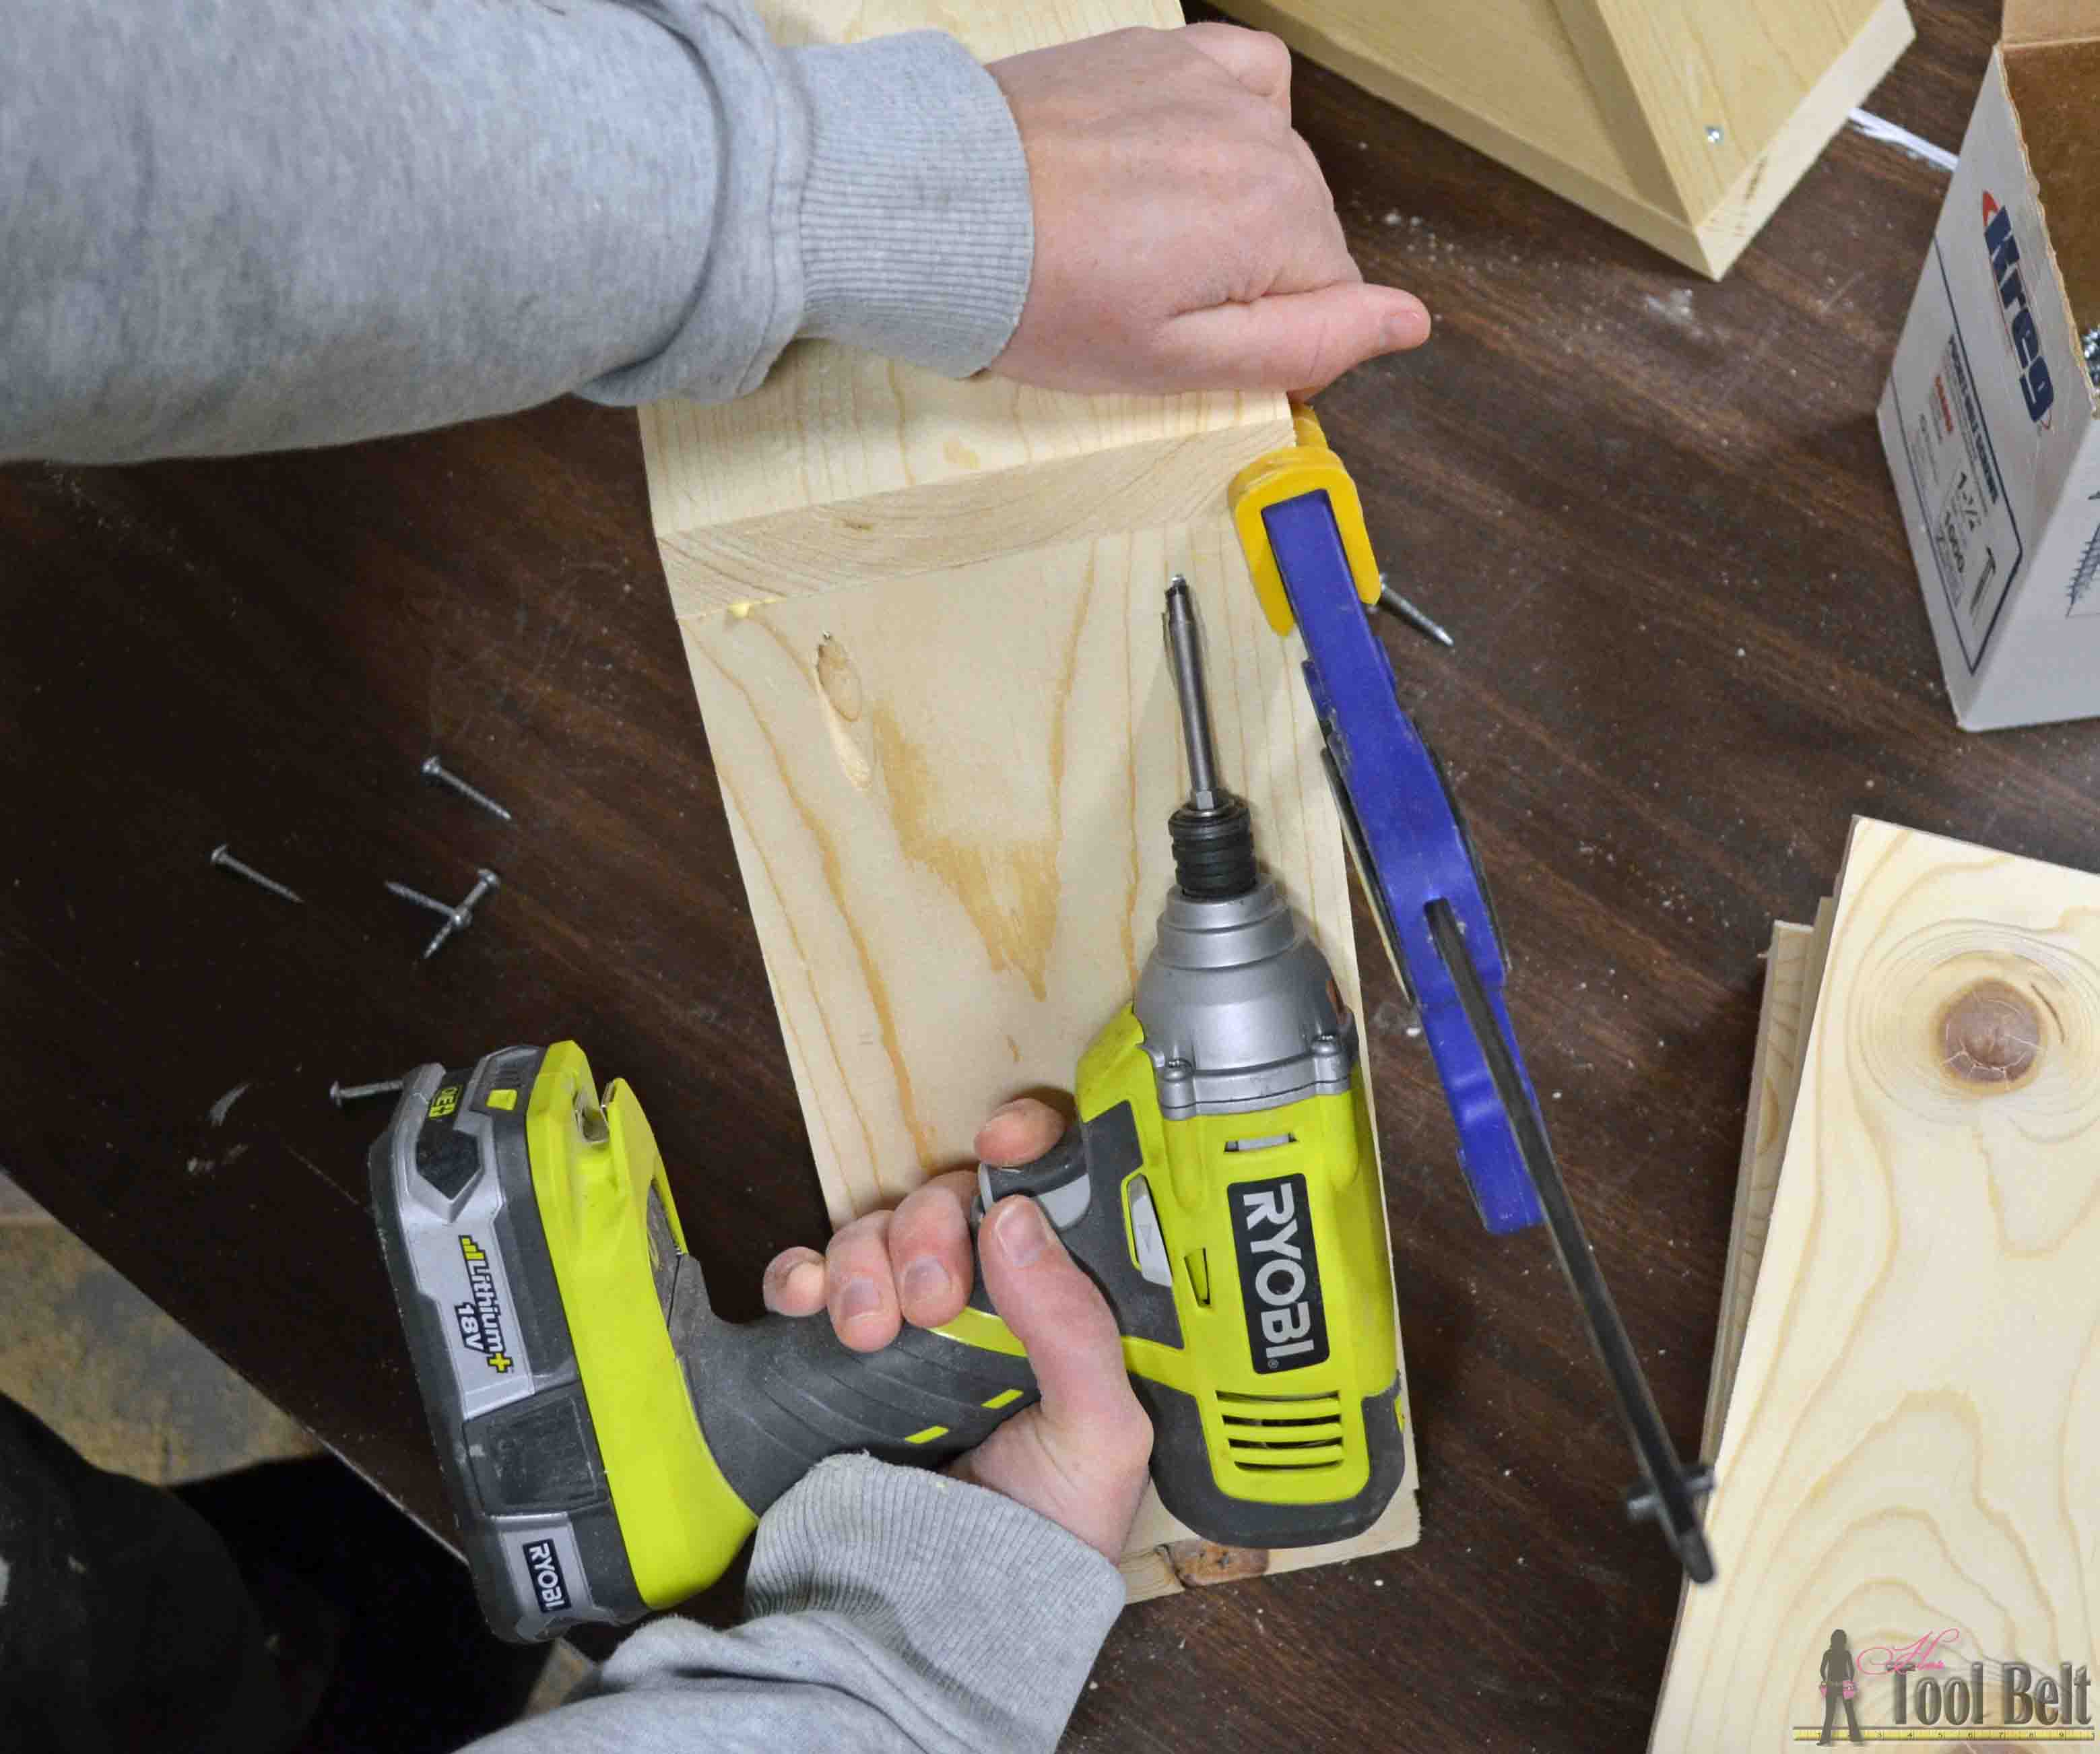 Step 4
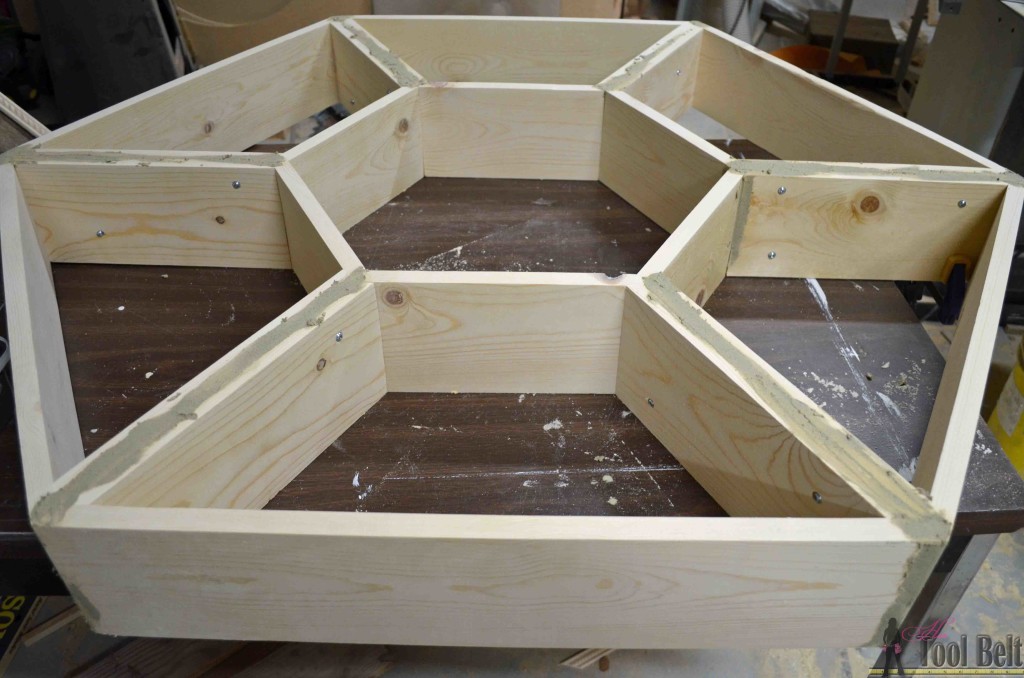
To assemble the hexagon, I glued the side faces of the trapezoids and used 1 1/4″ screws to secure them together.
 I left the screw heads showing to make it look more industrial. Then I filled any cracks and gaps with wood filler, let it dry.
Step 5
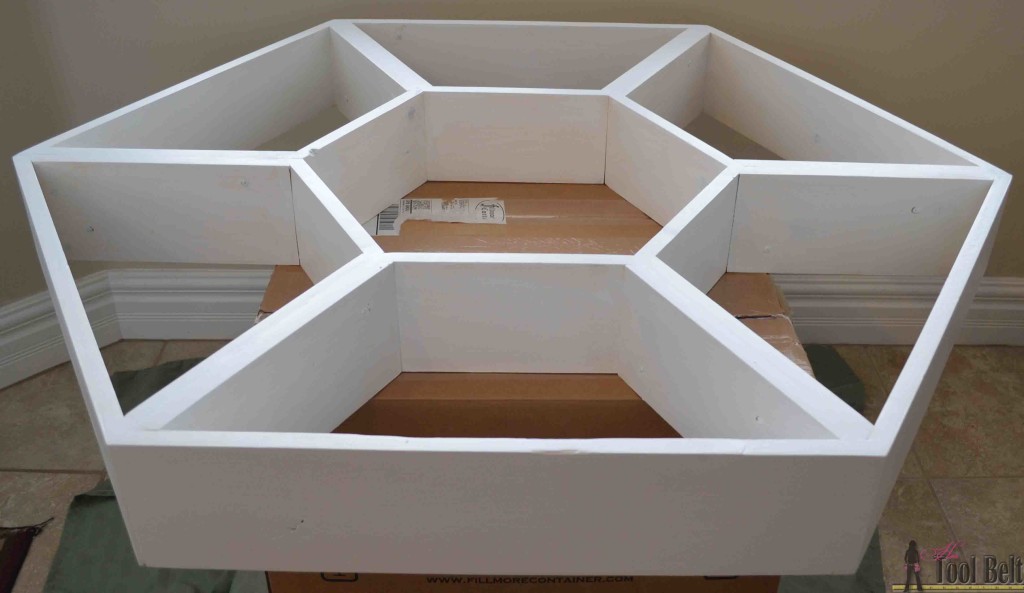
Sand the hexagon smooth and remove the dust. I primed the wood with Zinsser Bullseye, and let it dry.
Then I painted it with the Modern Masters Silver Metallic paint, I have to tell you that I am really impressed. The paint went on very smooth and the coverage was awesome. I applied two coats of paint, even though I probably only needed one. In real life, it looks like shiny metal.
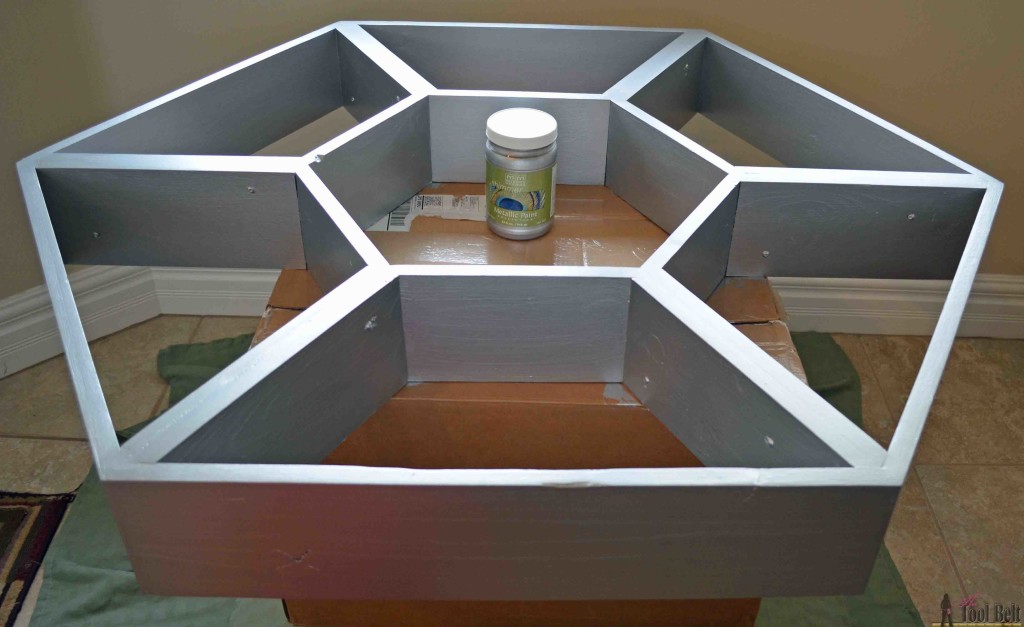 Step 6
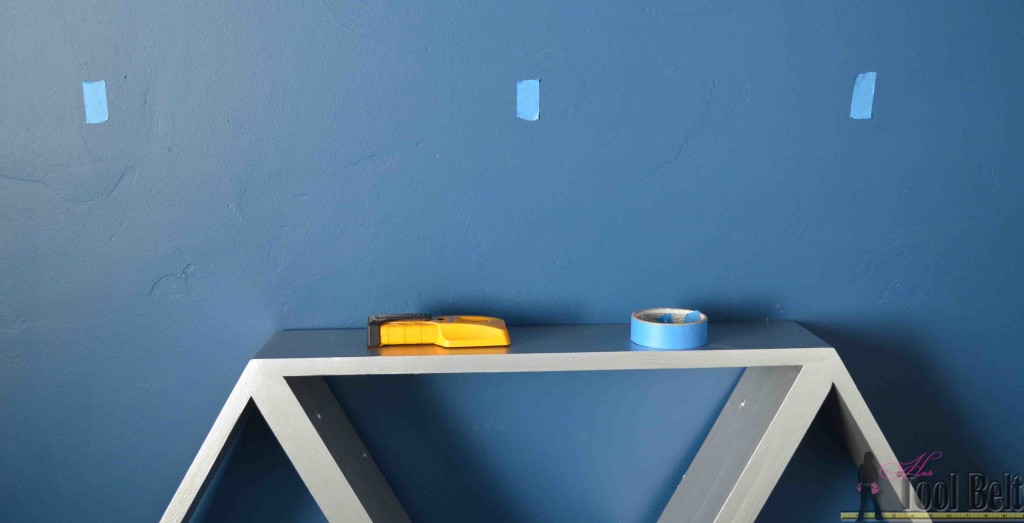
Find the studs in the wall to hang the shelf. I like to mark mine with painters tape. Then level and mark where the screws should go. I drilled 2 1/2″ screws into the studs to hang the shelf.
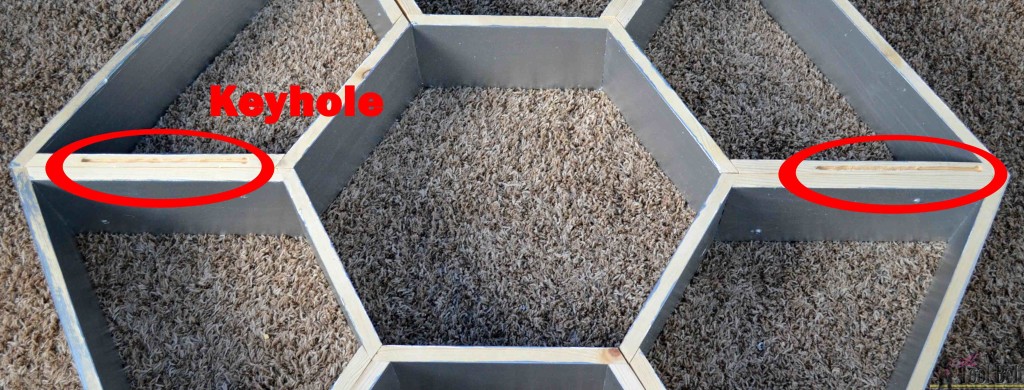
Take the corresponding screw distances and put hangers on the shelf, or route keyholes in the shelf to hang it.
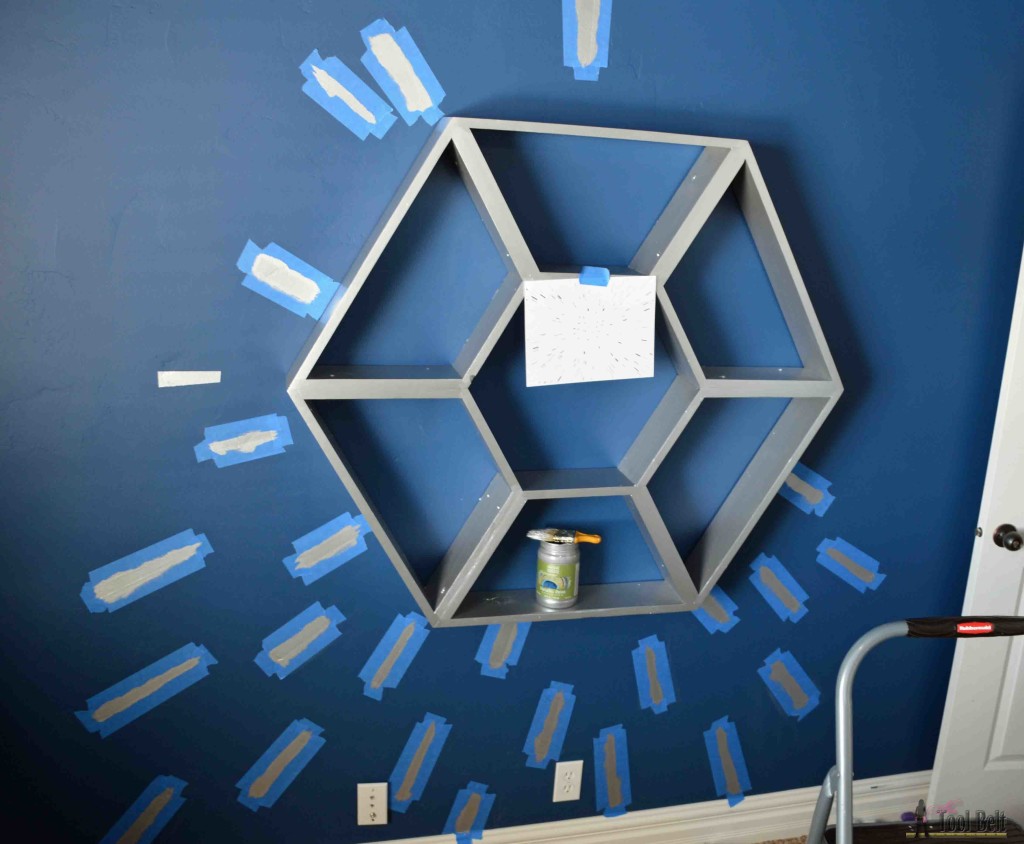
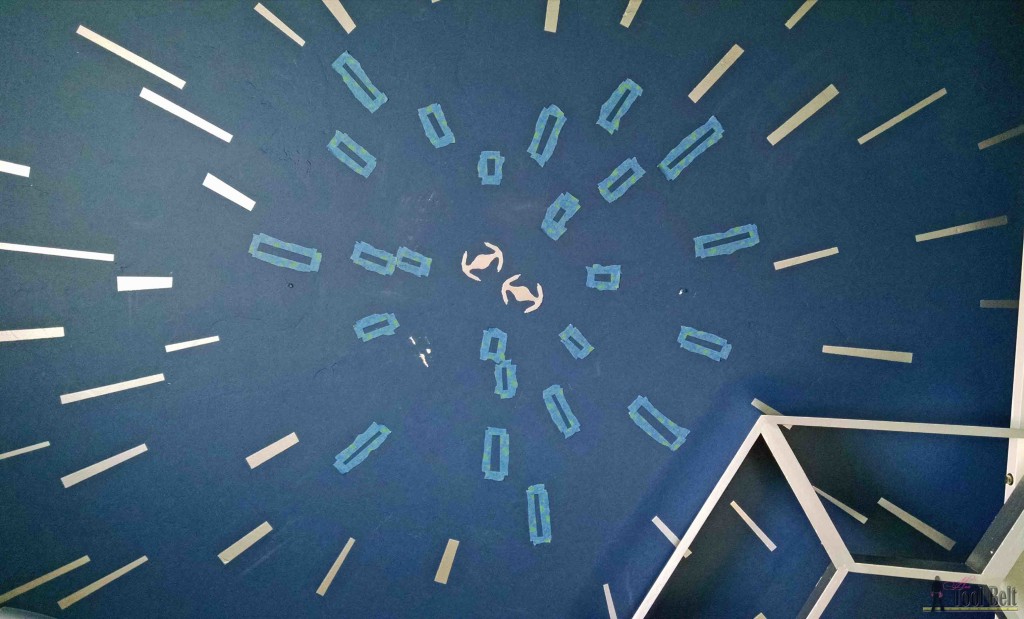
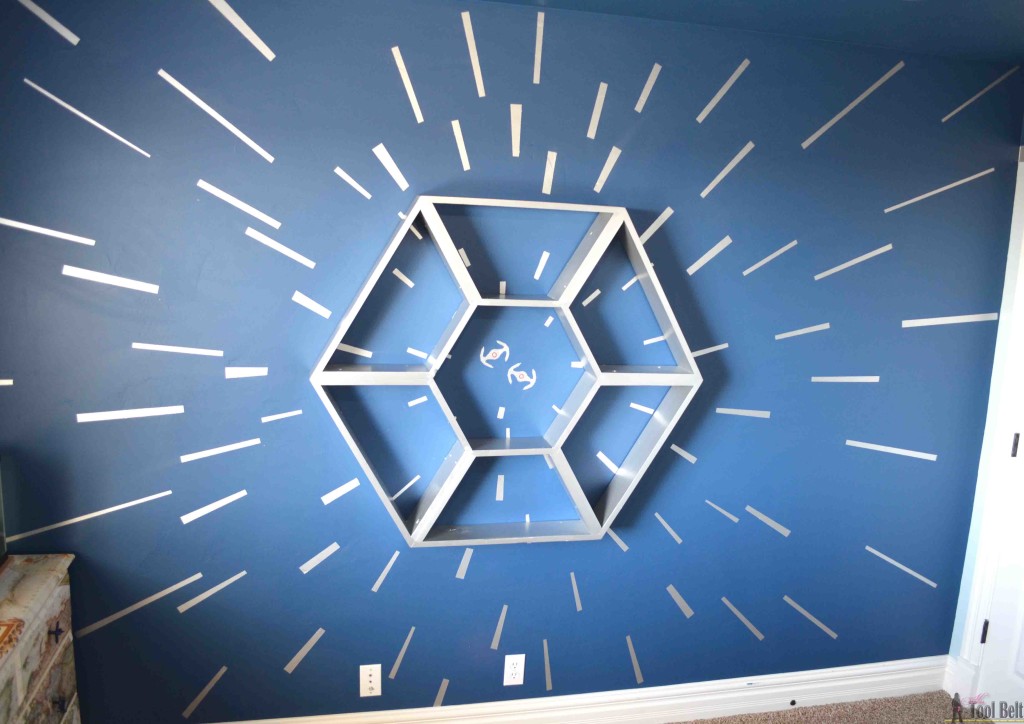
Next step is the hyperspace wall! I taped random stripes on the wall that radiated out from the shelf and gradually got longer. I really struggle with random, and since the stars should be random, I printed a picture of hyperspace for a guide.
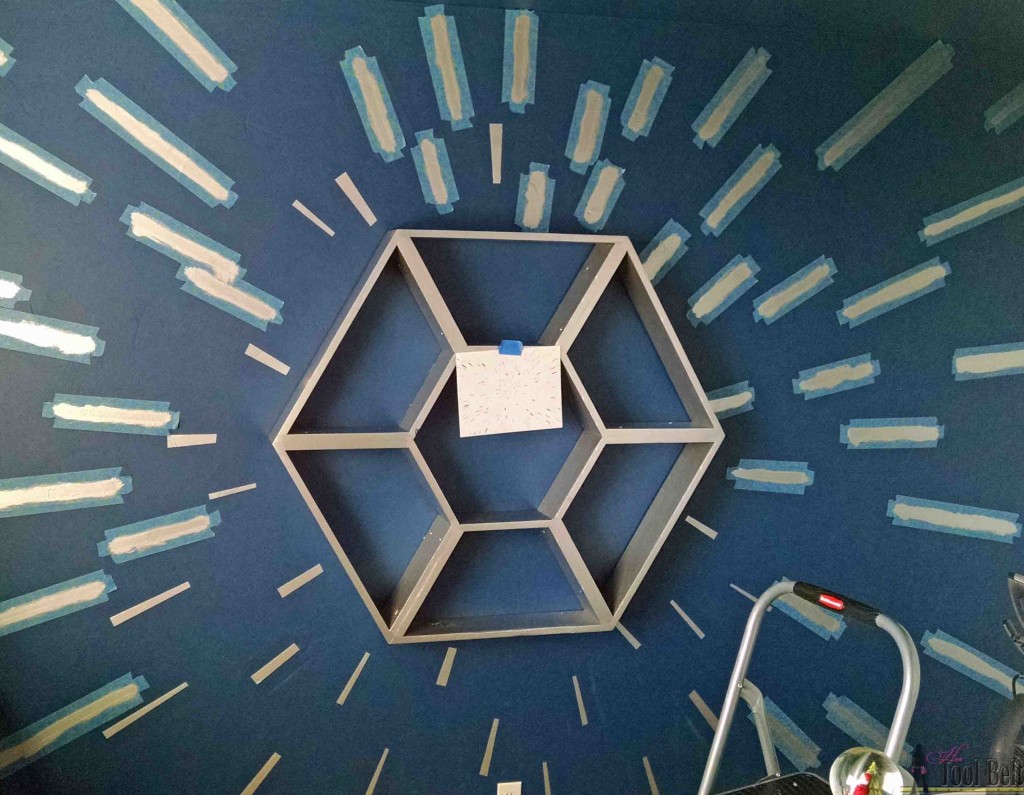
In the center I traced a couple of tie fighters, as if we are chasing them 🙂 Again the silver paint went on great and only required one coat.
The finished hyperspace wall.
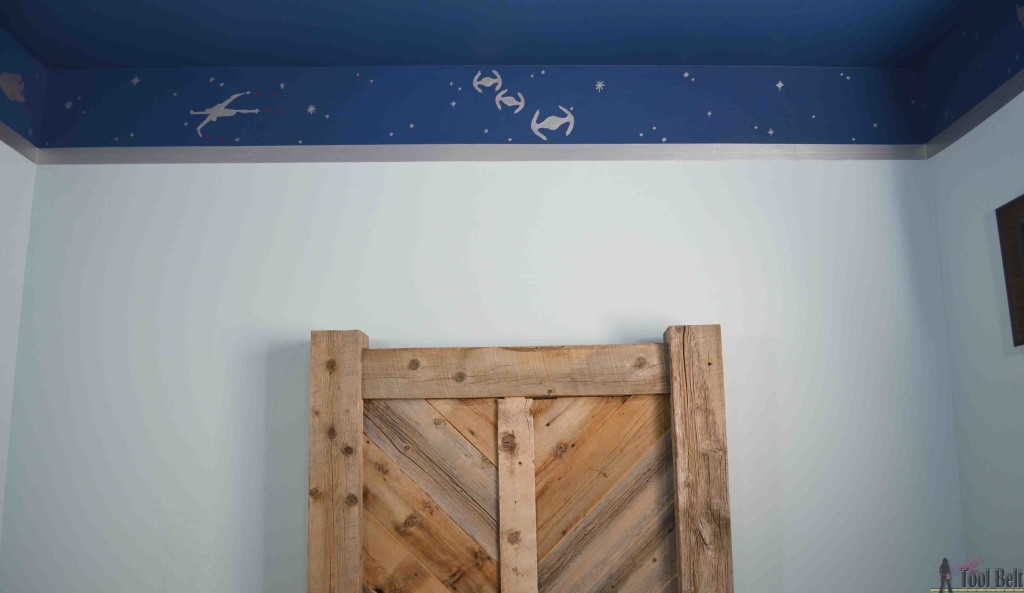
To finish off painting around the room, I painted a 3″ silver stripe between the dark blue and sky blue. Then I printed off some Star Wars dingbats and traced them on the wall, then filled in the tracing with silver paint. Added some red accents with Sashay red. Finally I painted stars on the wall, don’t look to close because I hand painted them and I’m not an artist 🙂 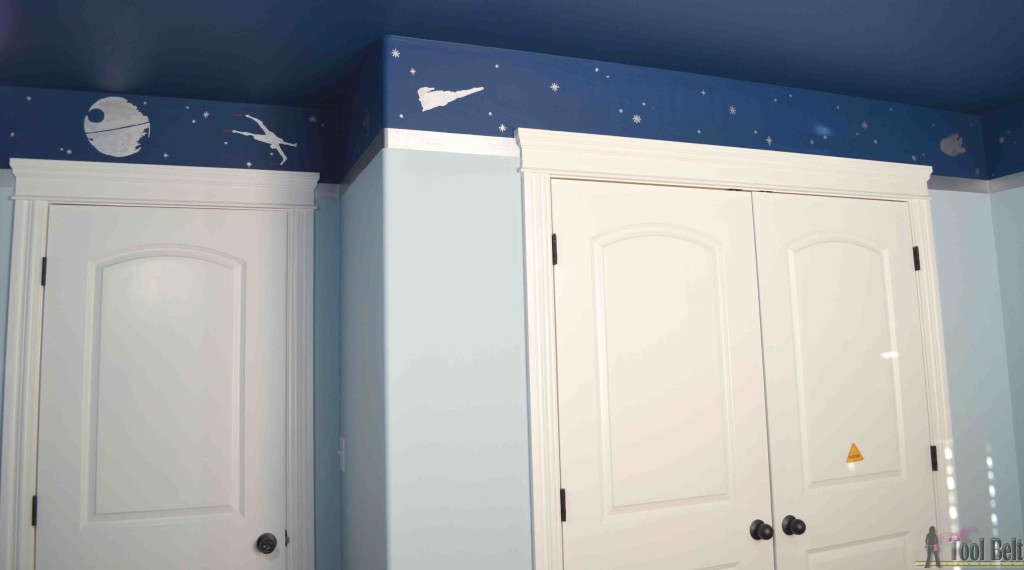
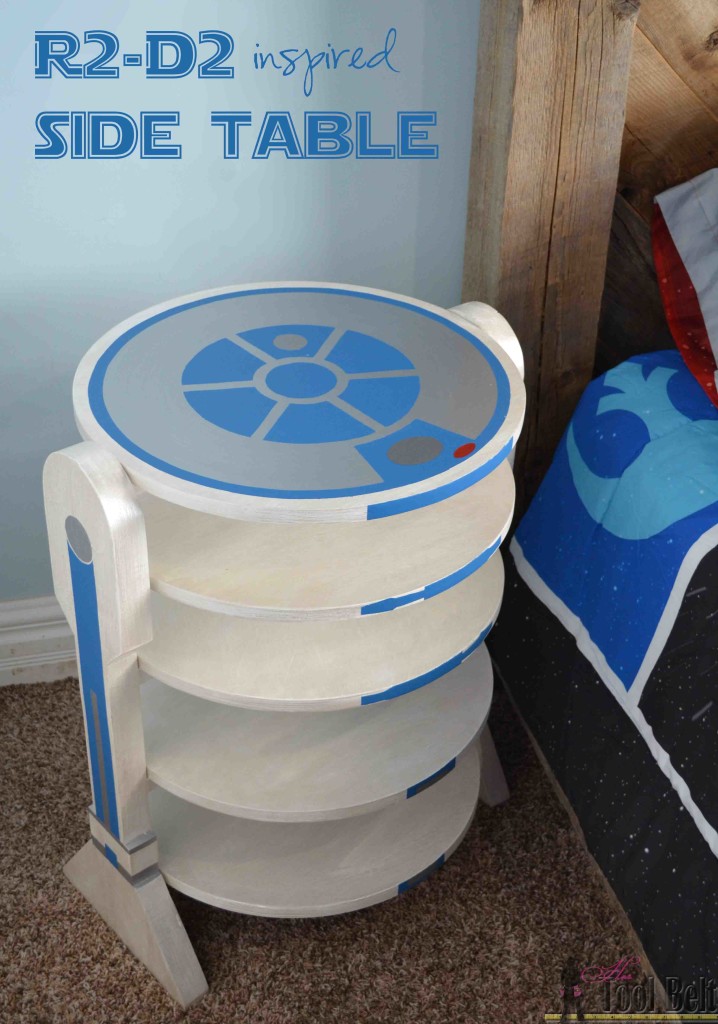
My son is thrilled about the room so far. After all of that silver painting, I only used 1/3 of the quart. Sweet now I have some for future projects. We are planning on a R2D2 side table, rustic shelves, glow in the dark stars on the ceiling and a few Star Wars type art pieces.
Pin it:
Download How to Build a Star Wars Shelf Plan
Star Wars Shelf plans-hertoolbelt
Linked to my Favorite Link Parties, Remodelaholic, Savvy Southern Style

Awesome job so far.
Thanks Gina
Amy,
The room looks AMAZING! We wish we could have jumped up and down with joy right along with your son. Thanks so much for the kudos on our Metallic Paint and we look forward to seeing the room unfold. Can’t wait for the Giveaway next week! 🙂
/Modern Masters
This is so creative and awesome! MY son would love it!
This is SO COOL! My husband and daughter are huge Star Wars fans – this would be the perfect background for their light saber fights!
Thanks Karen! Yes it definitely is…
The extra added touch of the tie fighters is super cool! Just had to share for all my star warsy friends.
Thank you Stella
This is the first time I’ve ever been scrolling through a link party (Lou Lou Girls), stopped in my tracks and yelled out “How cool is that!!”
Because seriously, how freaking cool is that?? Thanks so much for sharing and giving me all sorts of ideas 🙂
As a big Star Wars fan who converted her son as well, I can only say: Awesome work! Love it and I am sure he’d as well. Have to pin it just for the pure awesomeness.
Thanks Alex!
This is amazing as a big nerd and Star Wars fan this gets a thumbs up from me!
Thanks Zelda!
SO . COOL.
I introduced my kids to Star Wars when my youngest was about 5, there must be something about that age as he has been a massive fan ever since!
Saw this on You’re Gonna Love It and I had to come over and pin it! This is amazing!
Thank you Audrey
The force is strong with this one 🙂 I have a teenage son that would love this! Such an awesome theme!
Totally cool!!!! Great job…love this Star Wars shelf!!! You rock, Amy!!! Pinning 😉
Wow you are amazing! I’m excited to browse through your blog!
This looks incredible! You are so talented. Pinned and tweeted. We are so thrilled to have you at our party. Please stop by on Monday at 7, so we can see your amazing projects. Lou Lou Girls
Can we be best friends because this is so awesome I think I am in love with you!! <3
This is such a cool idea. We’ve talked about redoing our boys bedroom with a Star Wars theme for months now, and this is so perfect! Thanks for the tutorial! Pinned for when we finally get around to doing it. 🙂 #loulougirlsfabulousparty
Hello beautiful! I’m stopping by to let you know that you Star Wars shelf was the most viewed at our last party. Happy dance time! We will be featuring it tonight’s party at 7. I hope to see you there! Lou Lou Girls
Awesome!!! Thank you
This is Star Wars shelf is so awesome! Found you over at the Lou Lou girls party.
This is too cool!! I am sure your son is ecstatic.
Oh my gosh- how cool! My husband would LOVE this, so I can’t show it to him. 😉 So glad you linked up at Snickerdoodle Sunday- can’t wait to see your latest makes this weekend!
Sarah (Sadie Seasongoods)
I LOVE it! Your son has got to be so excited with how his room is coming together! I can’t wait to see what else you do!
Can you please tell the finished size of the shelf?
It is 48″ wide and about 42″ tall.
Would love to recreate a smaller version. Need it to fit a 24″ wide space. Do u know if the angled cuts would still remain the same? Thx for your input!
Yes the angles are the same for the 24″ shelf. Since the original shelf is 48″ to make a 24″ shelf, the cuts to make the trapezoids are exactly half of the original and at the same angle. HTH
Great idea! Such a cool project. I love how you figured out to recreate hyper space. The background blue is such a good match for Star Wars, I am curious what color that is?
Did you complete the R2D2 end table yet? I’d like to see it if so. Thanks!
Finally finished it – https://www.hertoolbelt.com/r2d2-side-table/
Can you tell me what color blue paint you used on the wall?
It’s Valspar Midnight Sonata VR085A, I got it at Ace.
Is there any downloadable plans for this project? My grandson would love me forever if I built this for him. 🙂
I’ve added a downloadable plan at the bottom. Have fun!
I’m wondering if you put anything on the shelves or left them empty? If you put something on them, can I see a picture?!
Hi Shelley,
It’s not picture worthy, but my son puts all of his little knick knacks on the shelves like his latest lego creations, robots and school projects.
Great idea, thank you!
We are finishing ours up right now and I want you to know we are beginners! It’s actually working….now to fill, sand and paint. Thank you for the great plans!
Amy, if I wanted to make the shelf smaller, would my angles have to be changed from 30 ??
The angles will stay the same, the boards will be shorter. How big are you wanting the shelf?