The tile is down and grouted, hallelujah!
I am participating in a Spring Renovation Challenge hosted by Jeffrey Court Tile <– Check out all the DIY’ers and Designers
I would love your vote, click here. You can vote once/week. Thanks so much!!!

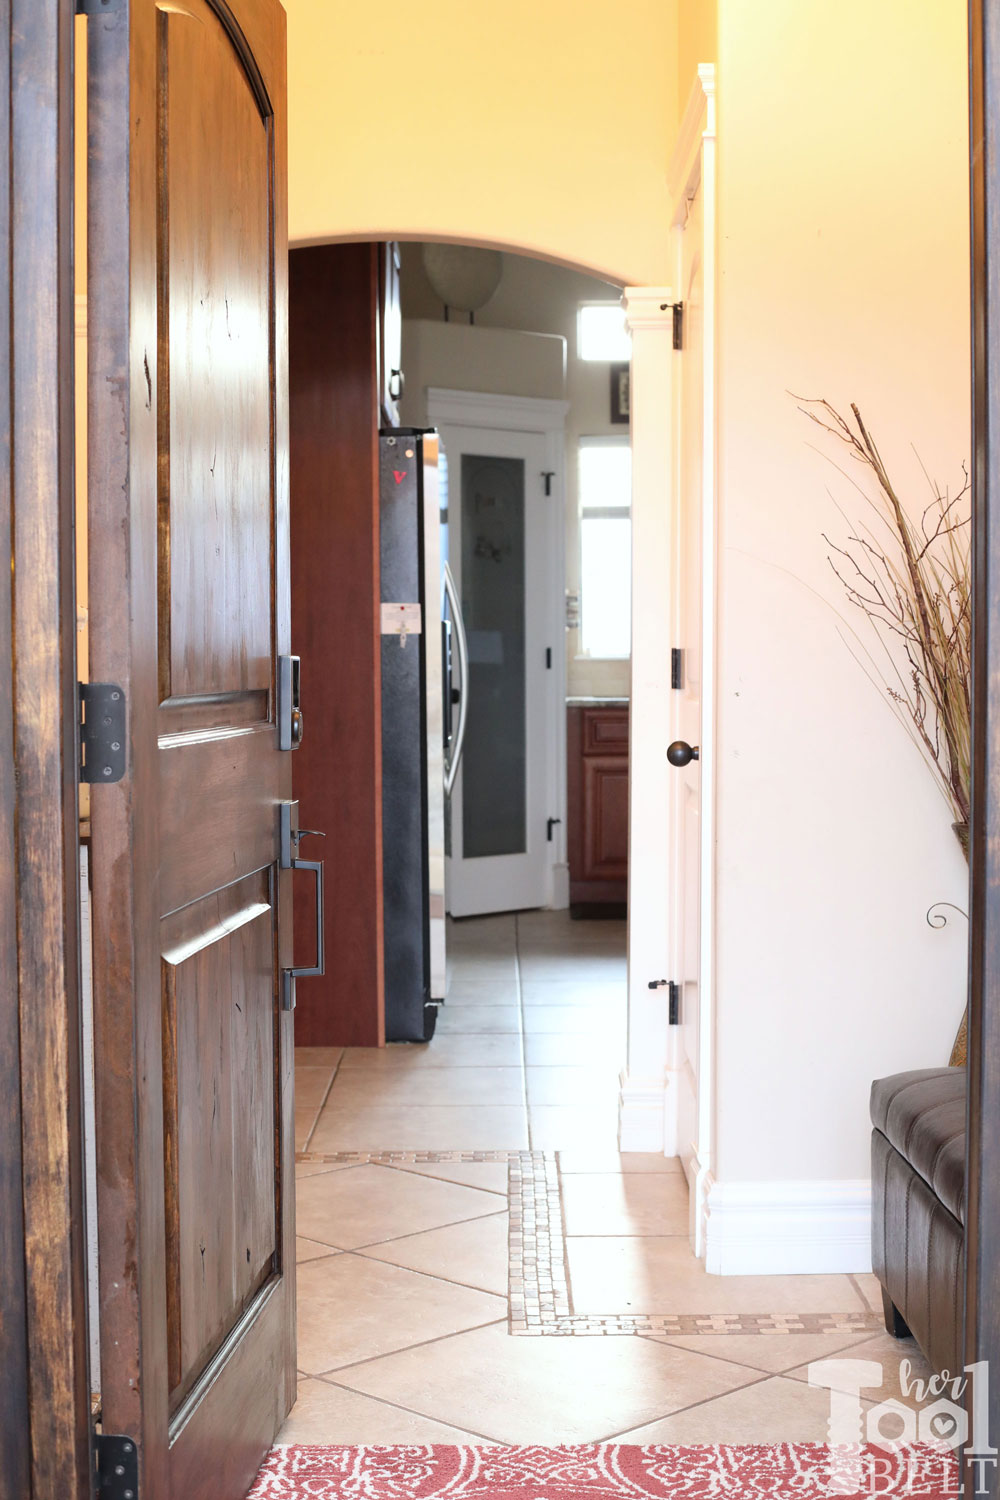
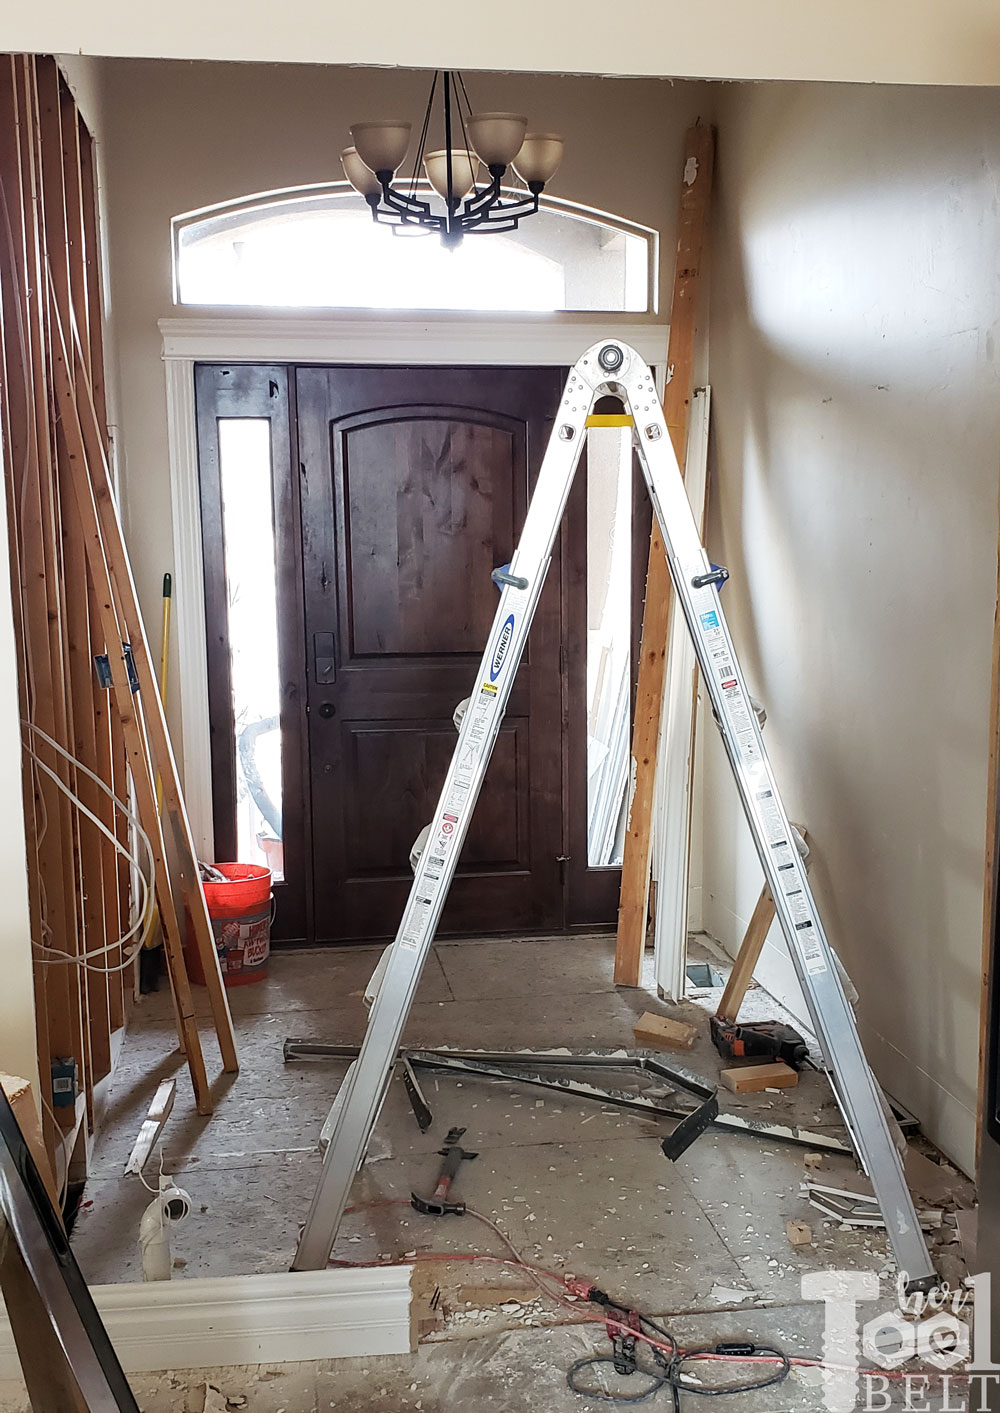
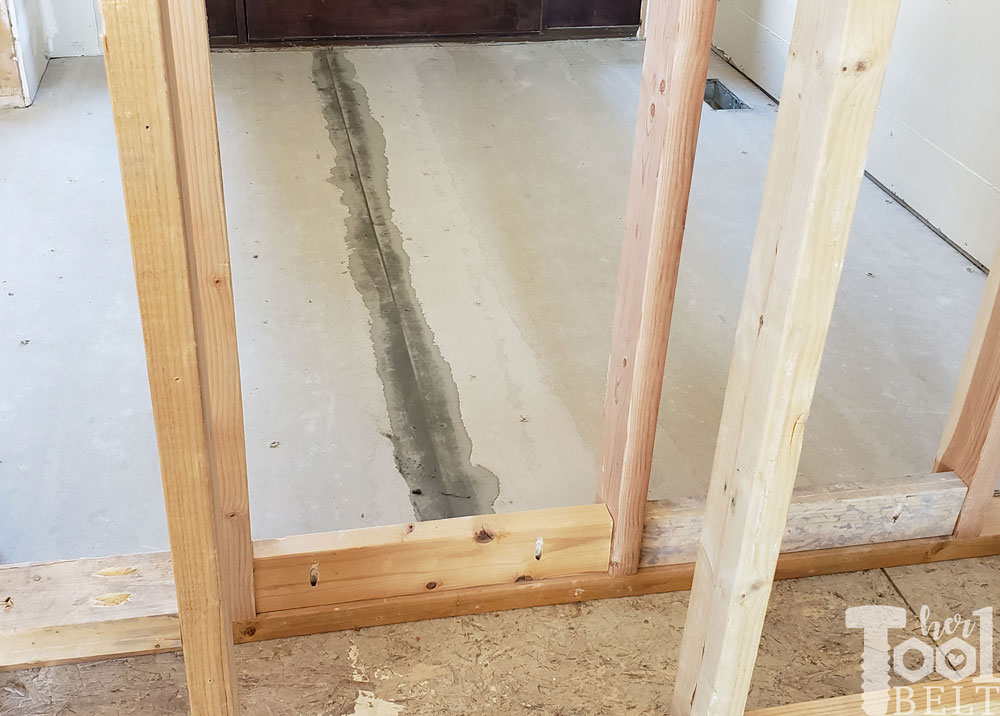
As a reminder, this is what it looked like before…
You can check out Week 1 before pics and the plan here.

During this remodel I’m reviewing some tools (designated with *) that are sponsored by The Home Depot. I have been compensated for my time and provided with the tools. All ideas and opinions are my own. This post contains some affiliate links for your convenience. Click here to read my full disclosure policy.
Tiling!
Prepping the Floor
Materials Used
Tools Used
- 1/4 x 1/4 Square trowel
- Spatula
- Husky Knee Pads*
- Makita Subcompact Impact Driver*
- Bucket
- 1/2″ Drill (heavy drill)
- Thinset mixing paddle
- Bosch Green Line Laser Level* or Chalk-line*
- DeWALT bluetooth speaker* (for entertainment 🙂 during the mundane)
- Ridgid shop vac
- Utility knife to cut the hardie backer
The rotary hammer did a pretty great job at cleaning up the subfloor during floor demo, but I did have about a million staples to pull up from the metal mesh. I vacuumed up all the dust and started with the mortar bed.
A good system for DIY’ers to get a good solid base for tile is with mortar (thinset) and cement board. My room was small enough that if I bought the larger 4’x8′ cement board sheets, then I’d only have 1 seam to tape. I mixed up a batch of mortar and used the 1/4 x 1/4 square notch trowel to spread the mortar.
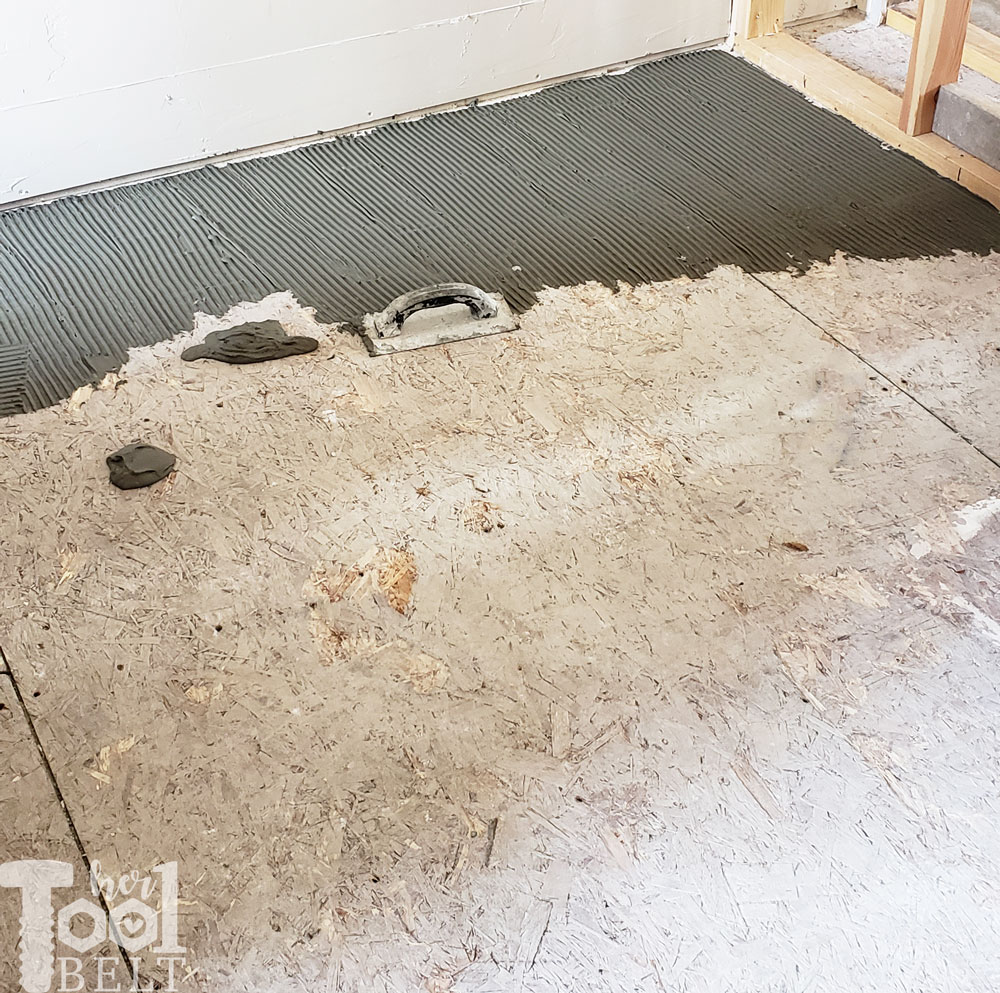
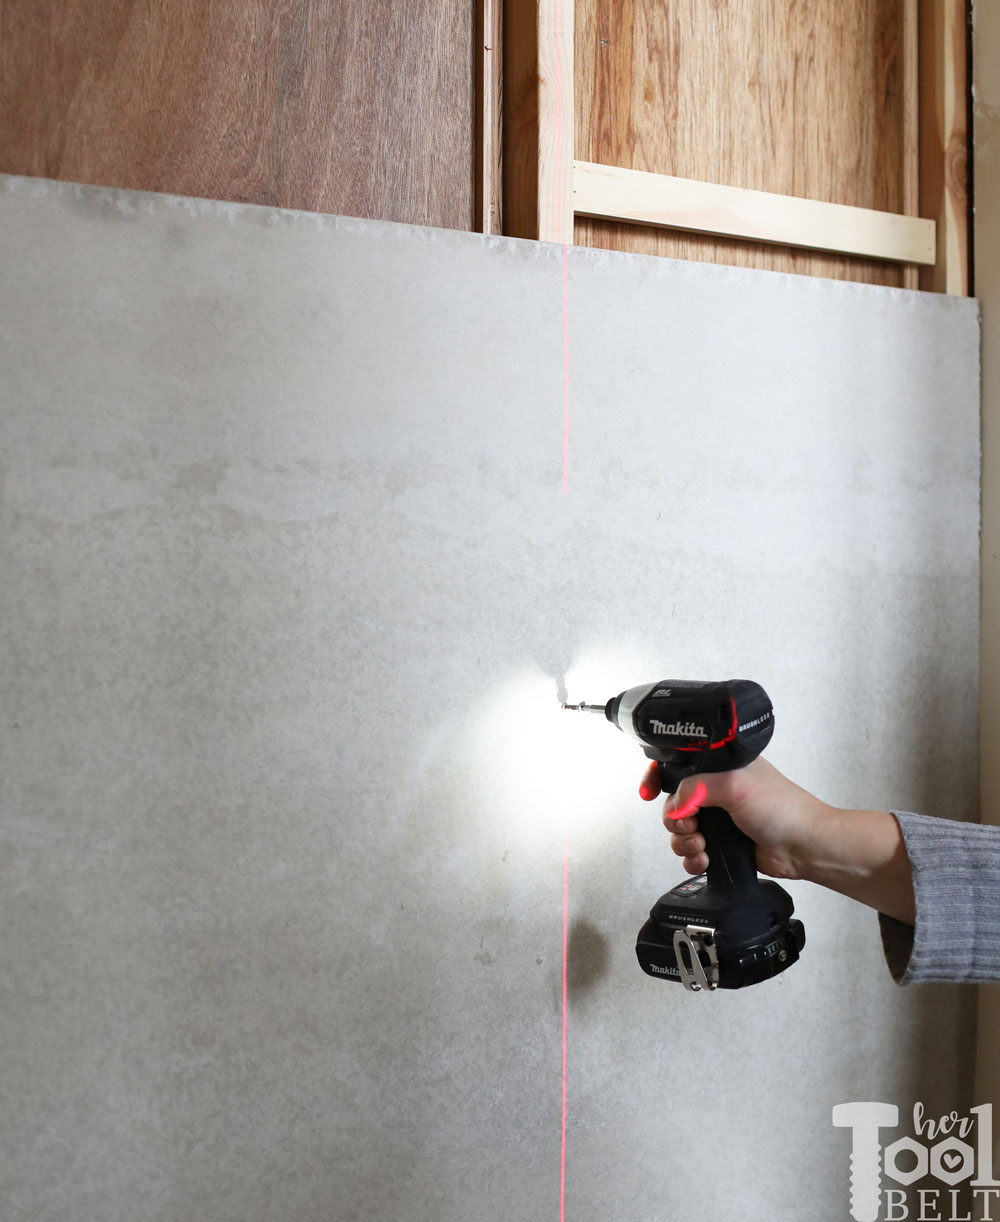
Then I laid the cement board on top. Using a laser line, I secured the cement board down on my floor joists. Really you should put the rock-on screws every 12″. The easiest way to install the rock-on screws thru cement board is with an impact driver. The impact driver really takes out the effort on drilling through cement board.
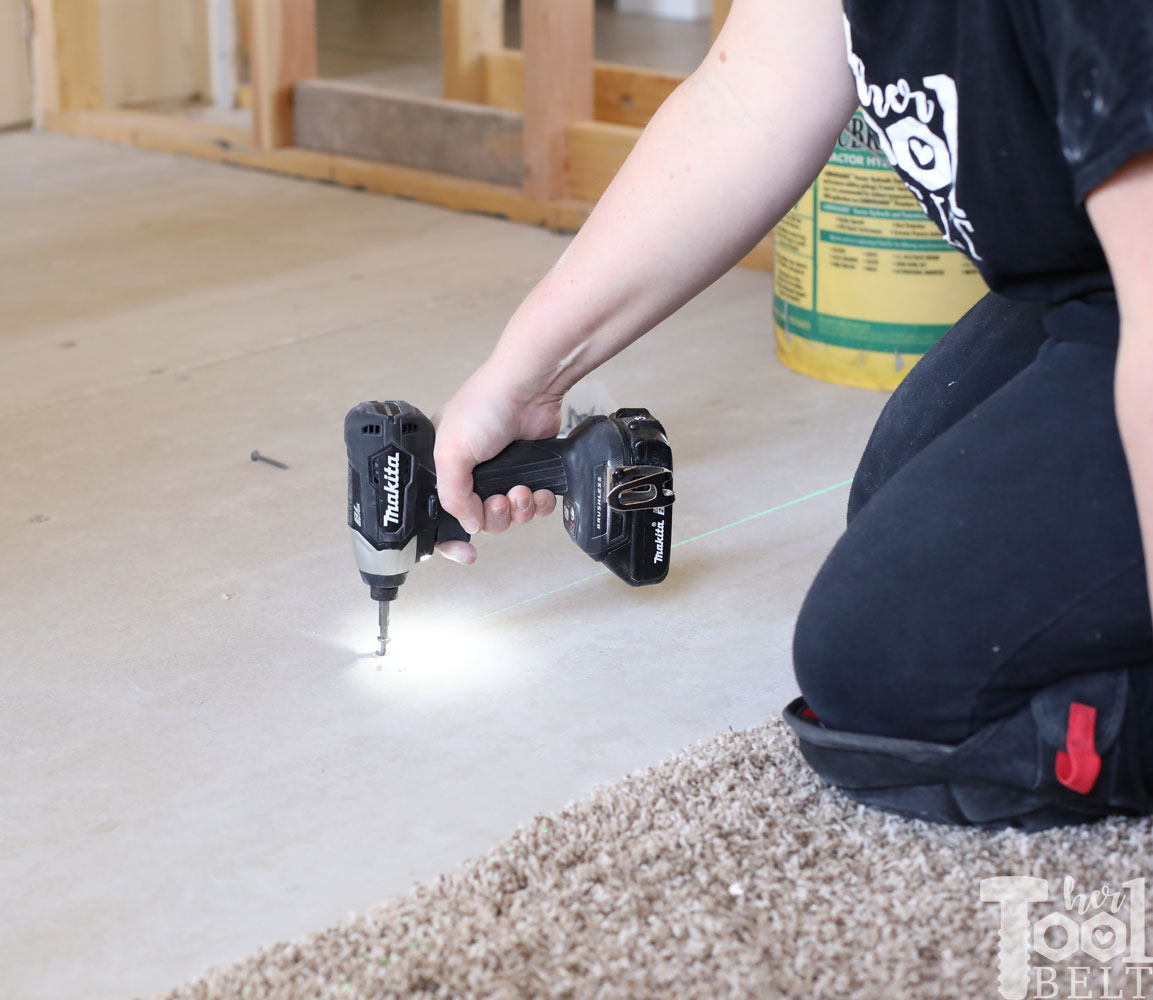
If you’re working on the floor, make sure you grab a pair of knee pads. I have 3 pair of knee pads and these *Husky soft cap gel knee pads are currently my favorite. They don’t have a top strap that cuts off your circulation after kneeling for a long time, just one wide Velcro (hook and loop) strap on the bottom. They have a tough nylon shell on the outside, but the gel and foam on the inside is really comfortable.
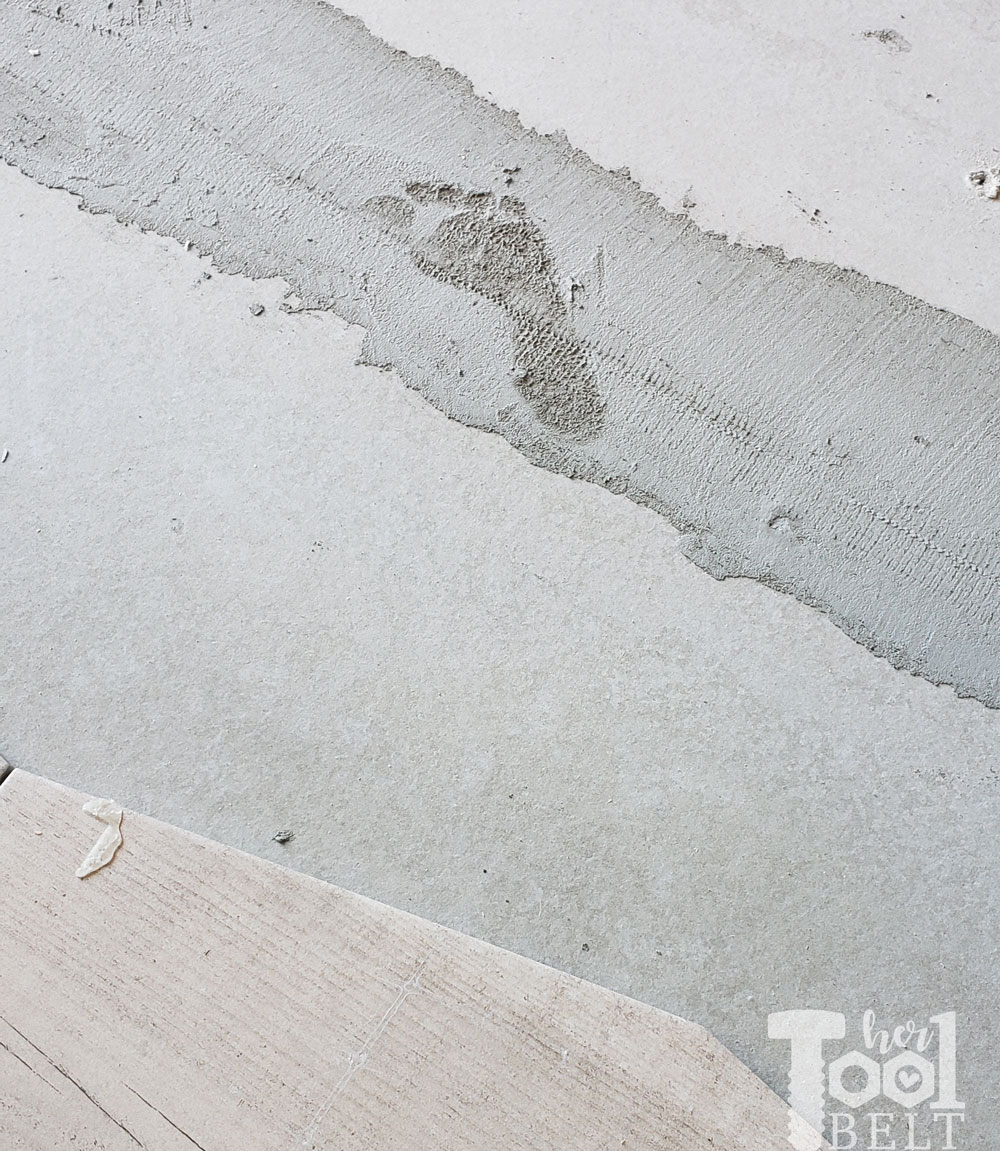
Once all the cement board was secured to the subfloor, I taped the seam with seam tape and mortar/thinset.
And my little helper ‘signed’ the floor with her footprint.
I let the cement board layer cure for 24 hrs.
Setting the Floor Tile
Materials Used
Tools Used
- 3/8 x 1/4 Square trowel
- Spatula
- Tile Saw
- Husky Knee Pads*
- Bucket
- 1/2″ Drill (heavy drill)
- Thinset mixing paddle
- Bosch Green Line Laser Level* or Chalk-line*
- Straight board or Level
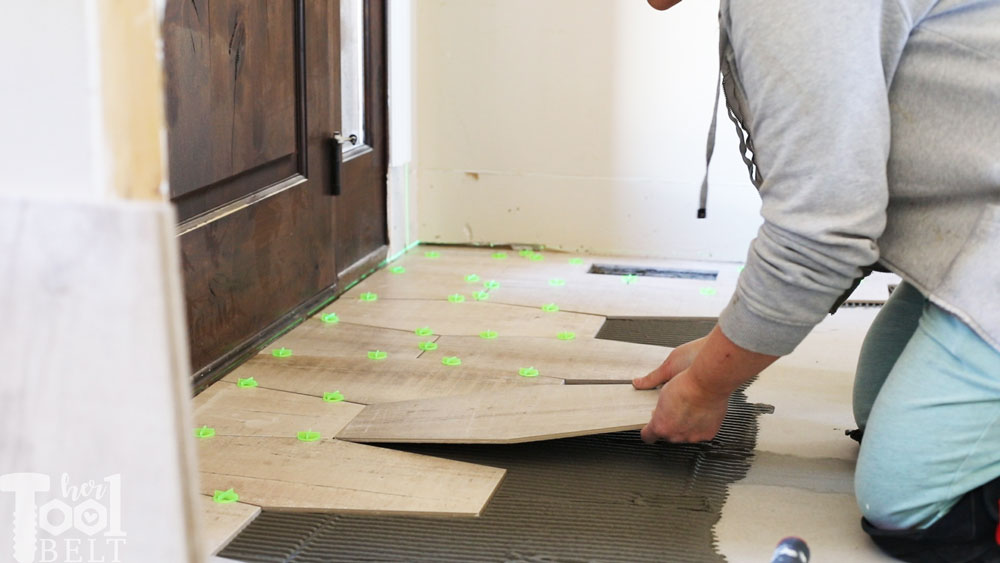
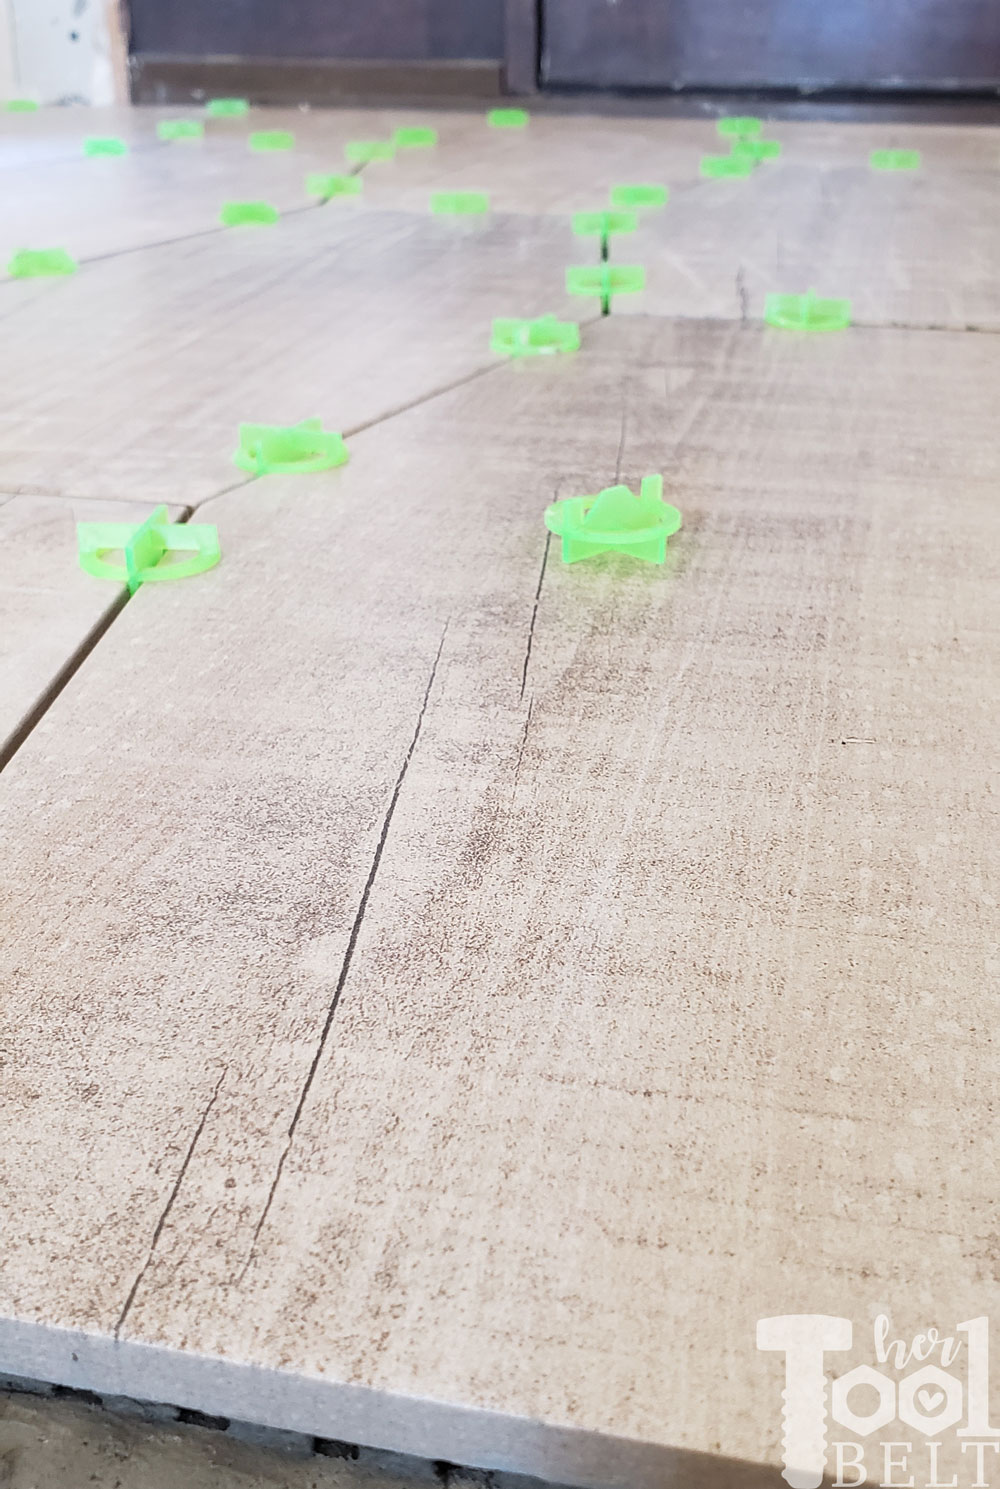
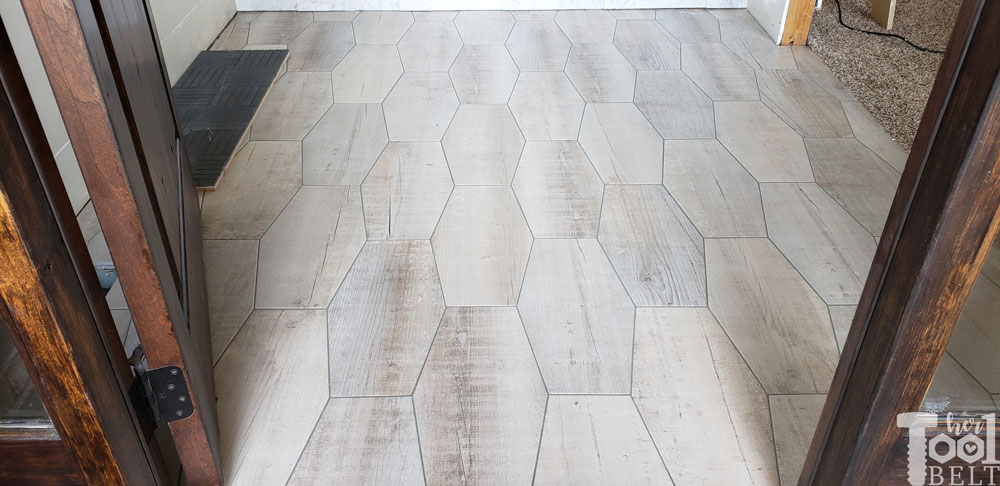
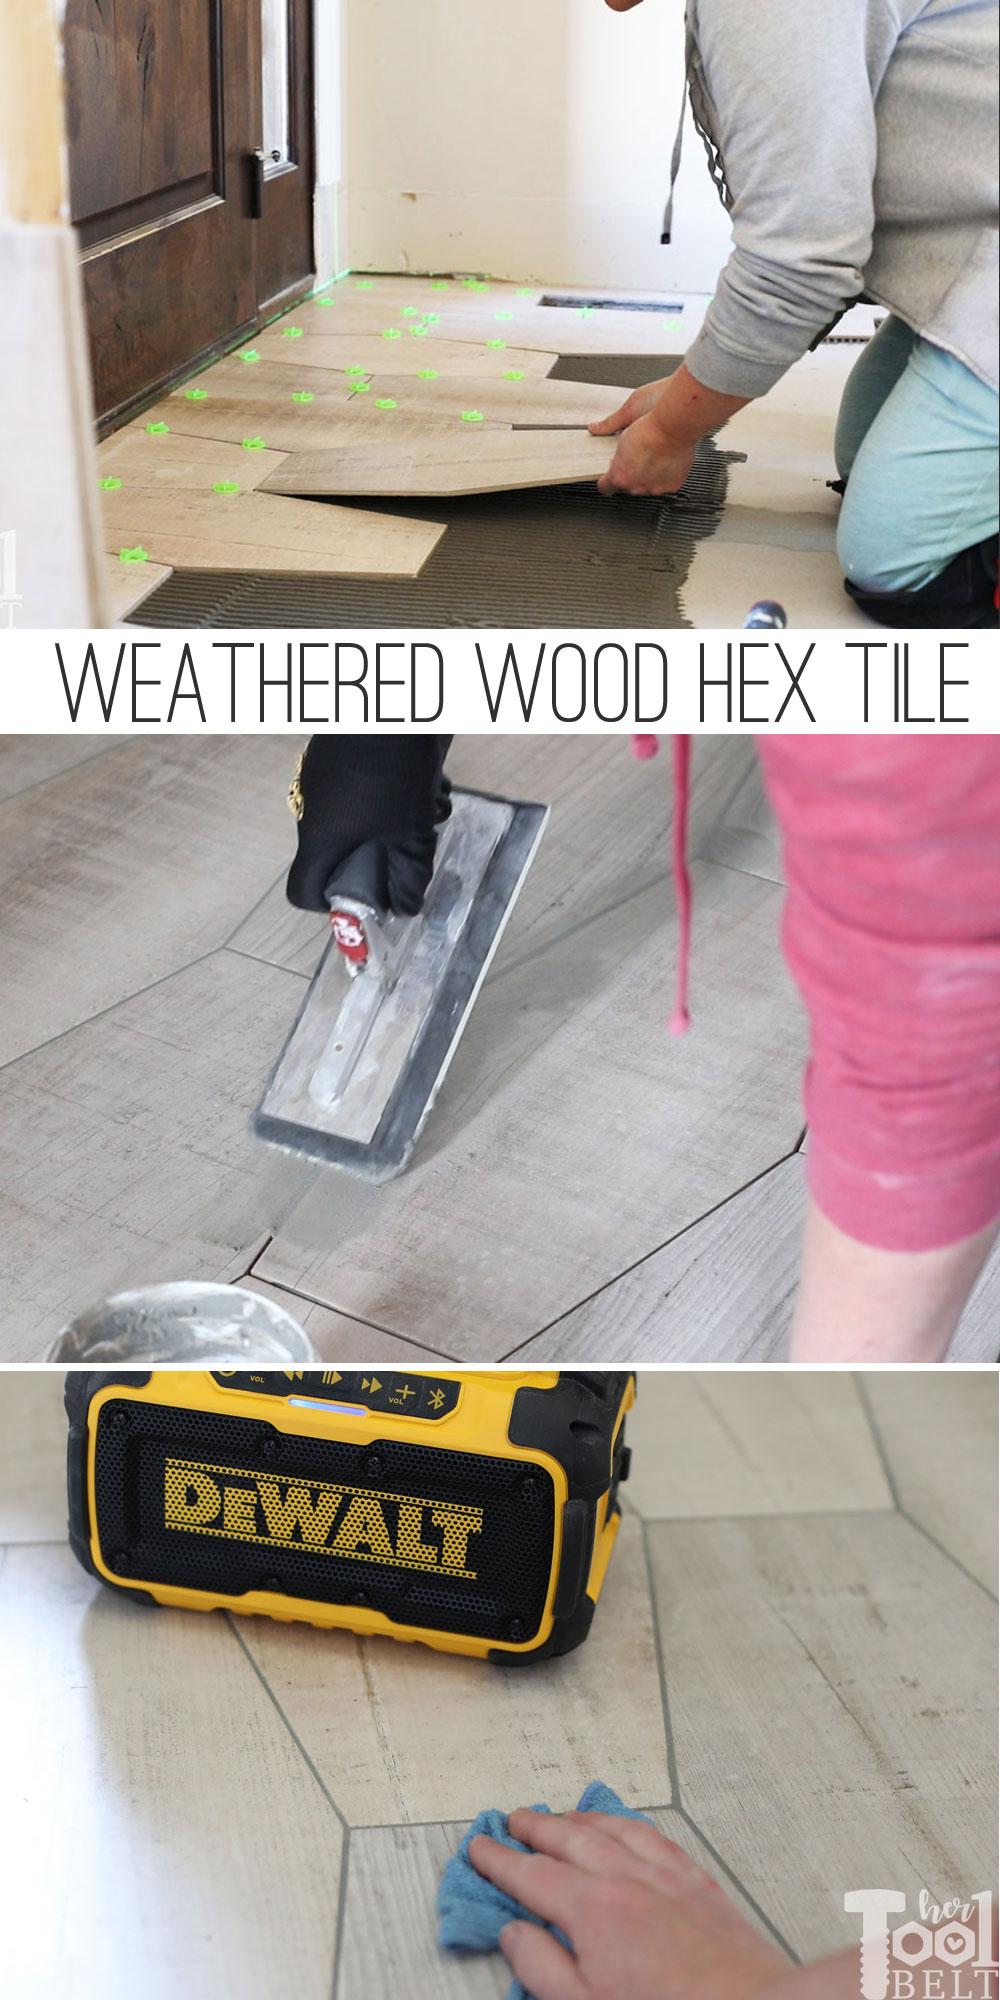
For the floor tile I picked this fun Oakwood Lily Hexagon tile by Jeffrey Court (sold at Home Depot), it’s a fun twist on the standard wood looking tile. I like the long hexagon look and it looks very weathered.
I first laid out a few rows of the tile to see how the spacing would work out. Luckily about a 1/2 tile on one side of the room ends with about a 1/2 on the other. At the door I started with a whole tile and a half tile and that worked out great. I was able to make some preliminary cuts to make the tile laying process go smoother.
For this size of tile, I used a 1/4 x 3/8 square notch trowel. I evenly applied thinset to the cement board and pulled back on the trowel at a 45 deg angle for the final pass.
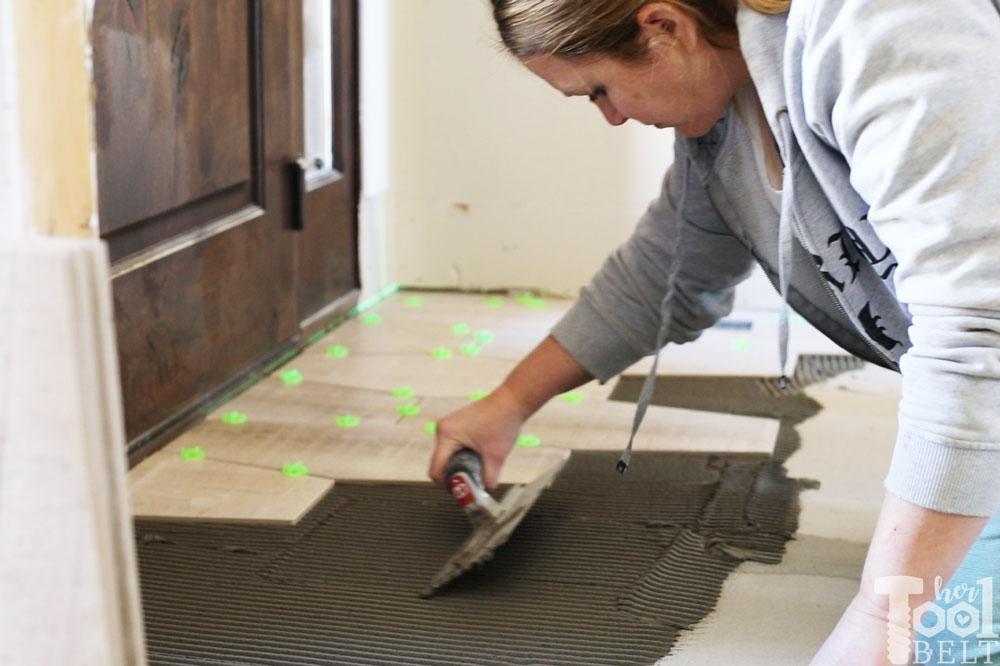
The tile was placed on the thinset and slightly jiggled. I used 1/16″ spacers. The tile box suggested 1/8″, but I really wanted small grout lines and 1/16th worked out perfect. A straight board or level are helpful to make sure you’re level between tiles.
A little close up of the action.
Once the tiles were all set, I allowed the thinset to cure for 48 hours with out any little helpers walking on it…that may have proved difficult!
Grouting the Oakwood Lily Hex
Materials Used
Tools Used
- Float
- Spatula
- Sponge
- Microfiber cloth
- Husky Knee Pads*
- Bucket (if mixing your own)
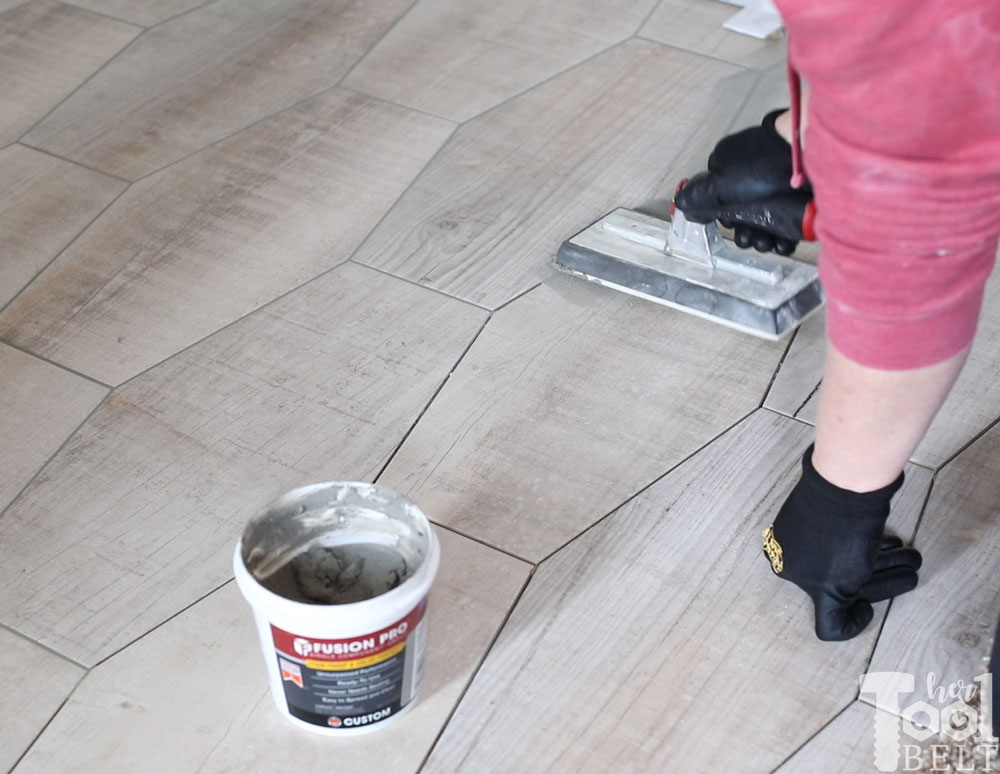
I took a piece of the oakwood lily tile to the Home Depot to pick out the grout. There were a couple of grouts that looked really nice, but I settled on natural gray. I decided to use a premix grout since my area is pretty small. The Fusion Pro grout promised no sealing and no staining (what???) so I tried that option.
Grouting is a simple job, but takes some time.
I take my float and just put grout on the front tip and pack it into the grout lines.
Then use the float to scrape off the excess grout going in the direction of the grout lines. This seemed to give me the smoothest result.
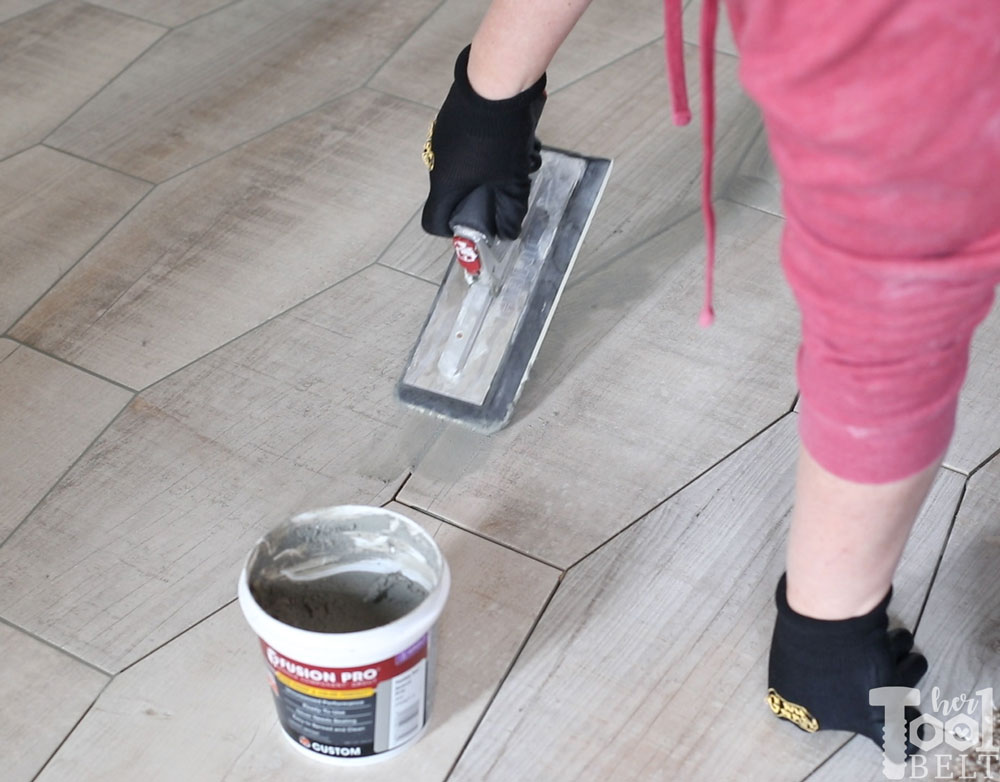
The Fusion Pro grout was a little different than the regular stuff, you only wait 1-4 minutes before you wipe off the tile with a wet sponge.
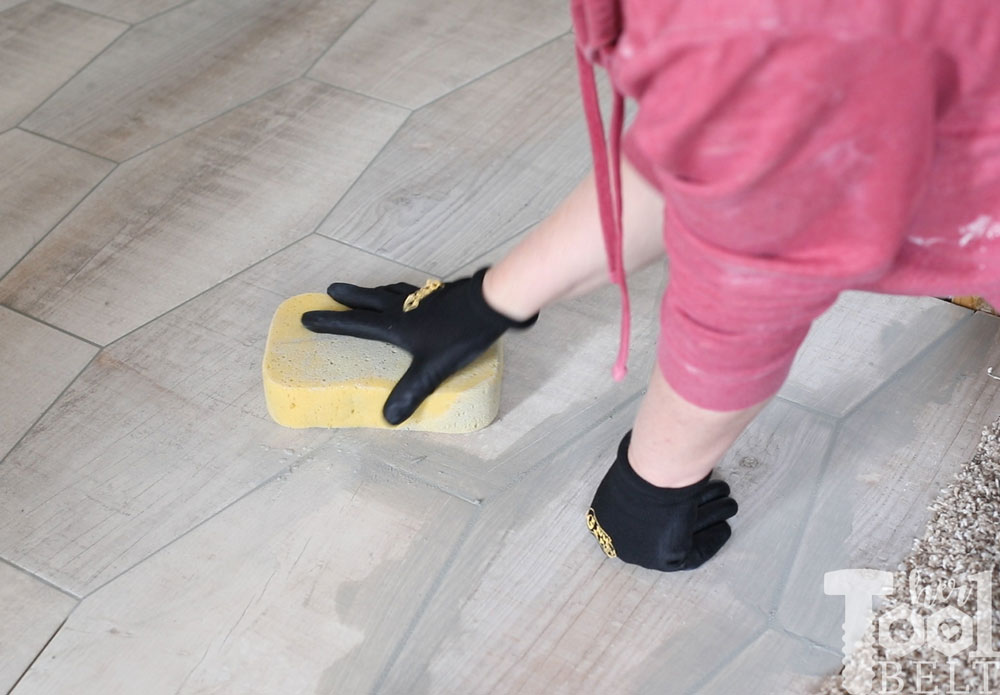
Then take a wet microfiber cloth to wipe off any residue of grout from the tiles…and move on.
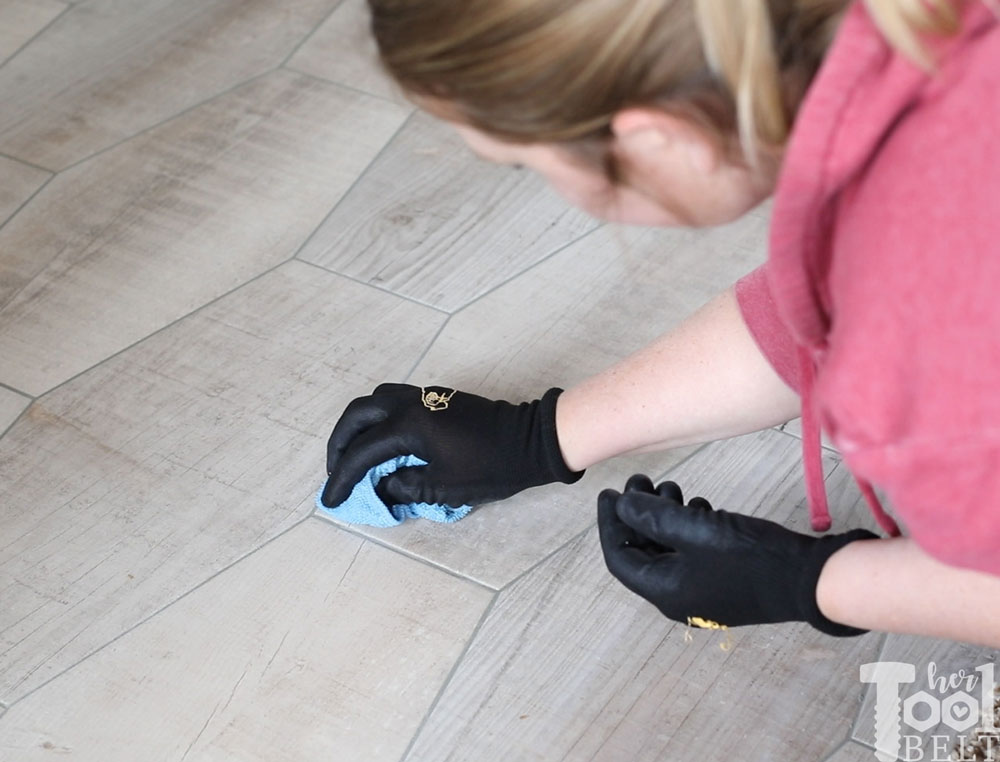
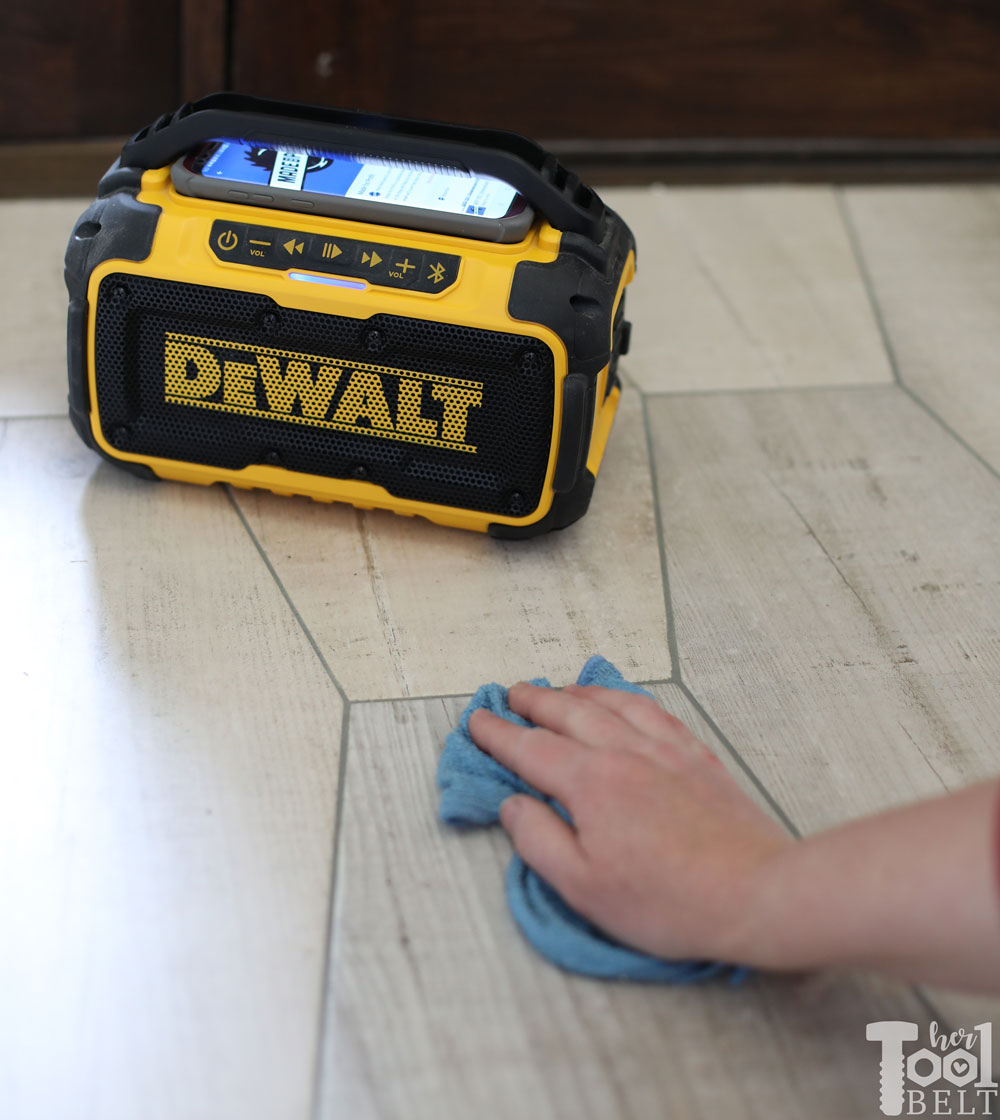
As I wipe and wipe and wipe and wipe away the grout, it’s a great time to catch up on your favorite podcasts or books. I’ve been testing out *DeWALTs bluetooth speaker. It’s a fun entertainment tool that runs off of the 20V power tool batteries I’m already using. I like the small compact size and it has a nice little spot on top for my phone. The bluetooth will stay connected within 100 ft of the phone. Super convenient and fun.
The grout needs to dry for 24 hours. It looks pretty darn nice.
Tile Wall Prep
Materials Used
Tools Used
- Makita Subcompact Impact Driver*
- Bosch Green Line Laser Level*
- Utility knife
- Straight edge or 4′ level
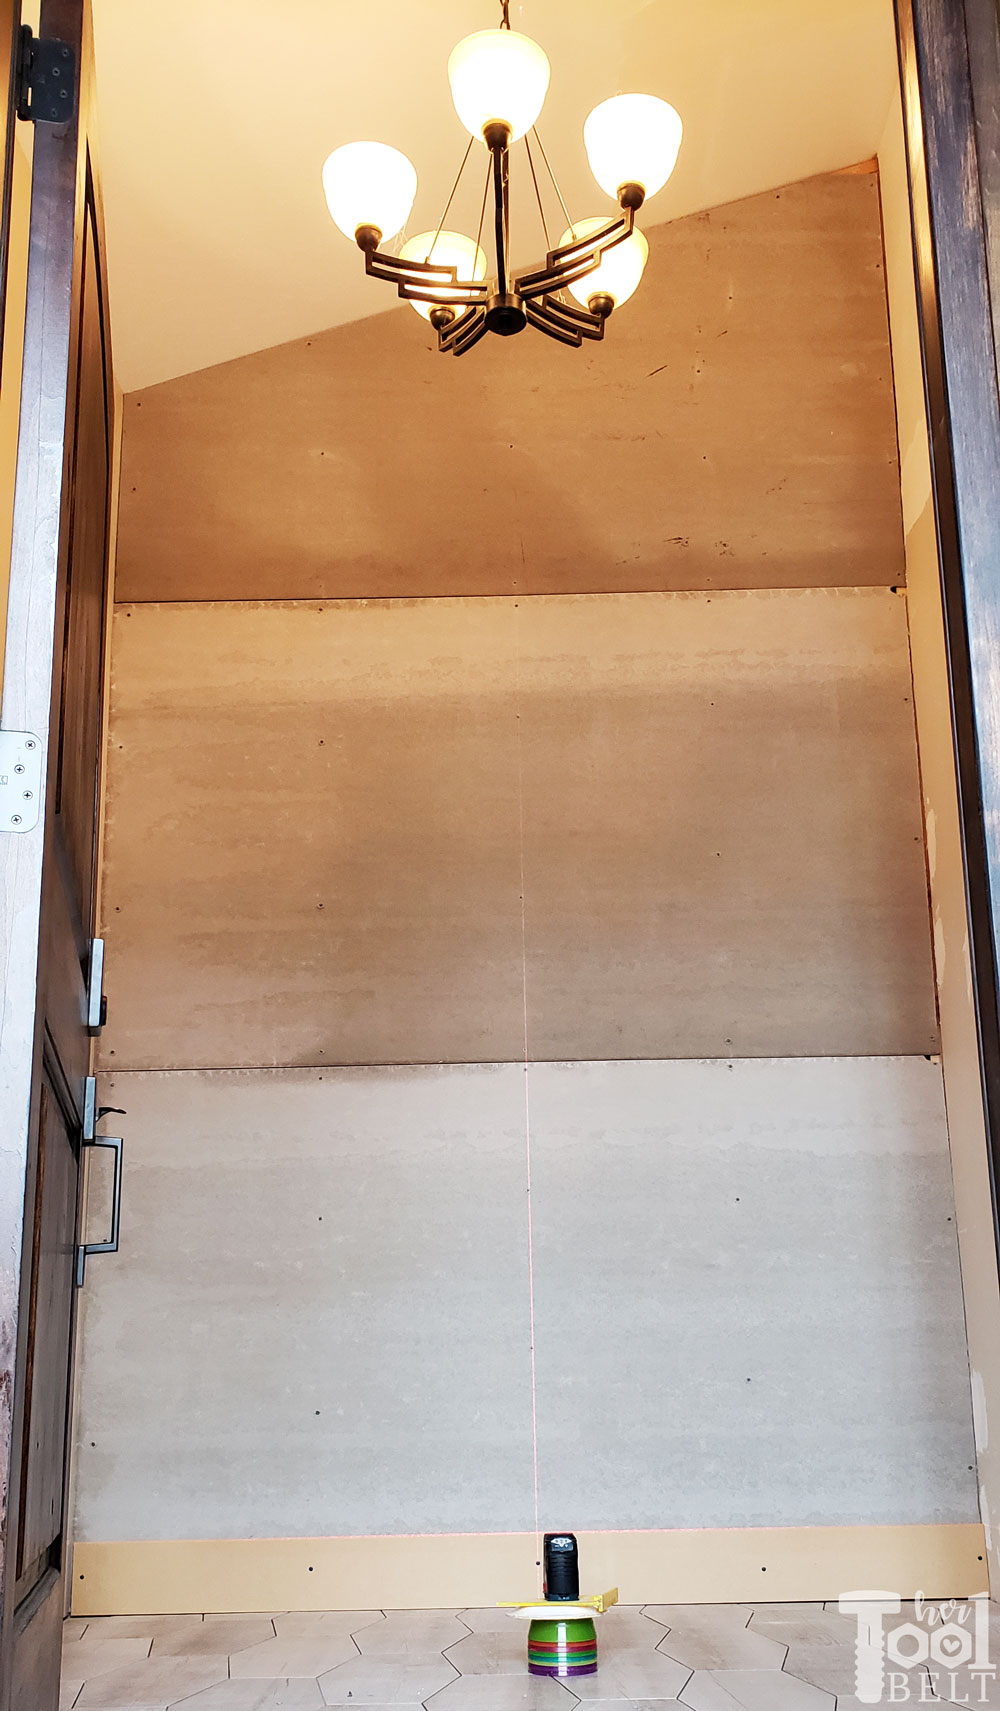
The new wall in the entry will be covered with tile, so instead of sheetrock I chose to put up 1/4″ cement board. I used the 4’x8′ sheets, so it doesn’t have the typical lines that cement board has. I used Rock-on screws and my impact driver to attach it to the wall studs. Cutting the angle was fun, along with hanging cement board 12′ up. 🙂 My husband had to give me a hand there, I like to pretend I’m tough, but I’m not that tough.
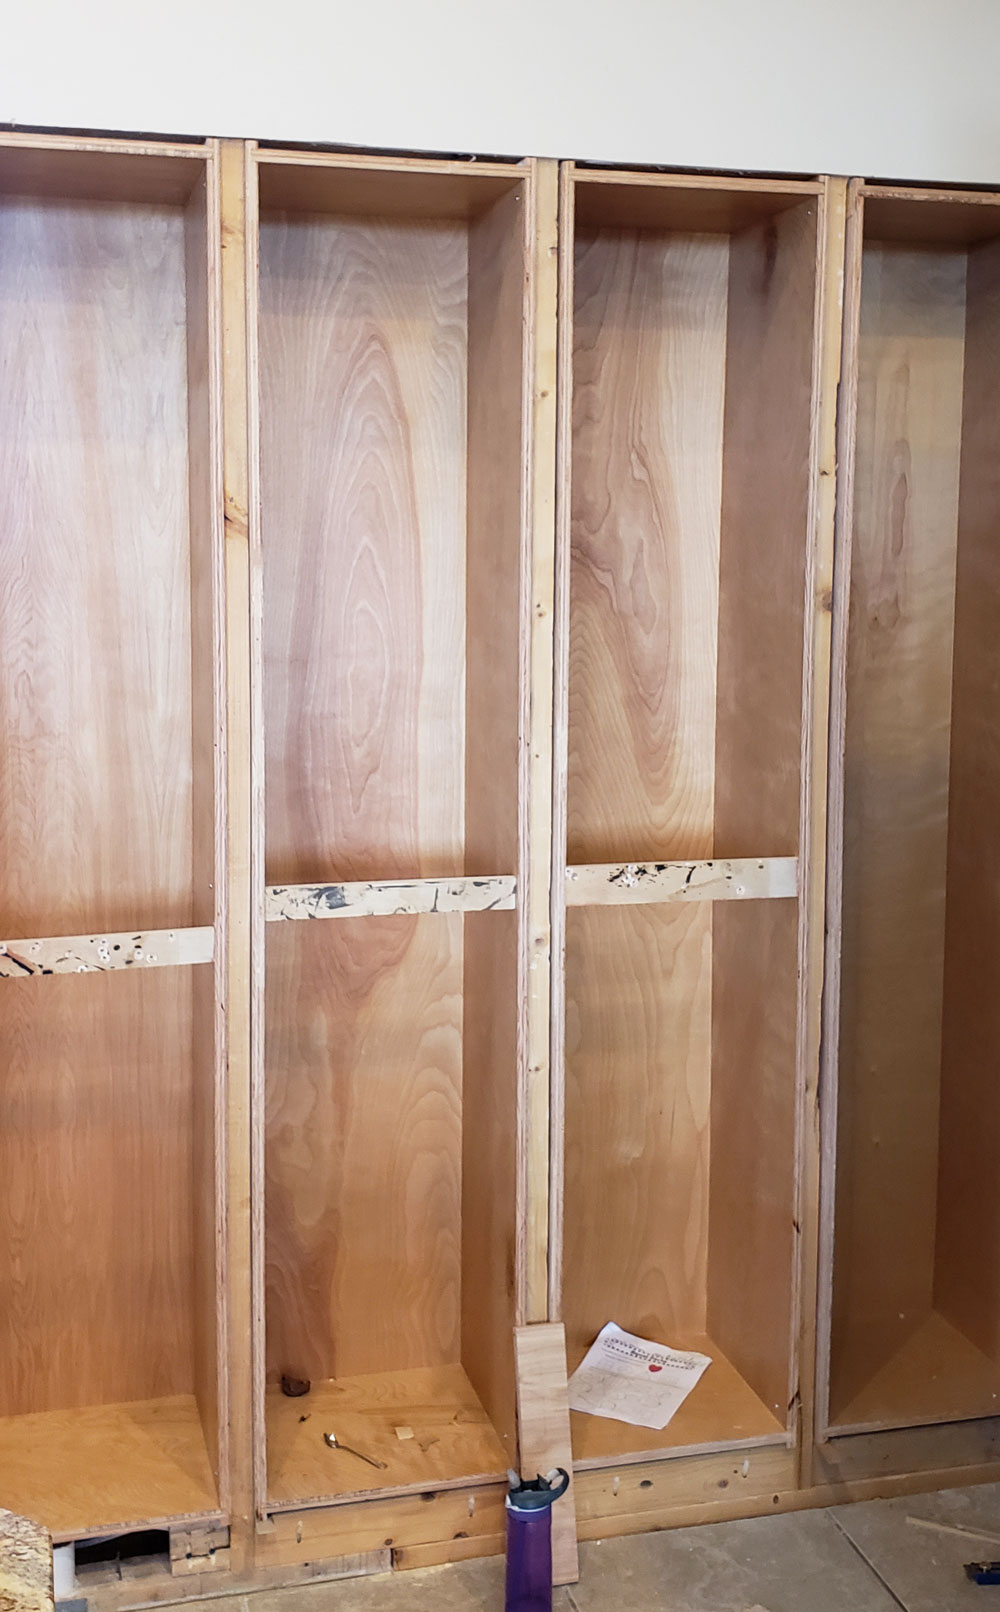
As you can see between the studs, I slid my cabinet carcasses in before attaching the cement board. I wanted to make sure they fit before covering up the wall.
I’m so excited for all that cabinet space, they are 7′ tall.
Setting the Marble Ledger Tile
Materials Used
- Carrara Marble Ledger Tile Mosaic
- Tile Adhesive (mastic)
- 6″ wide piece of mdf – to make sure I started on level + a few screws
Tools Used
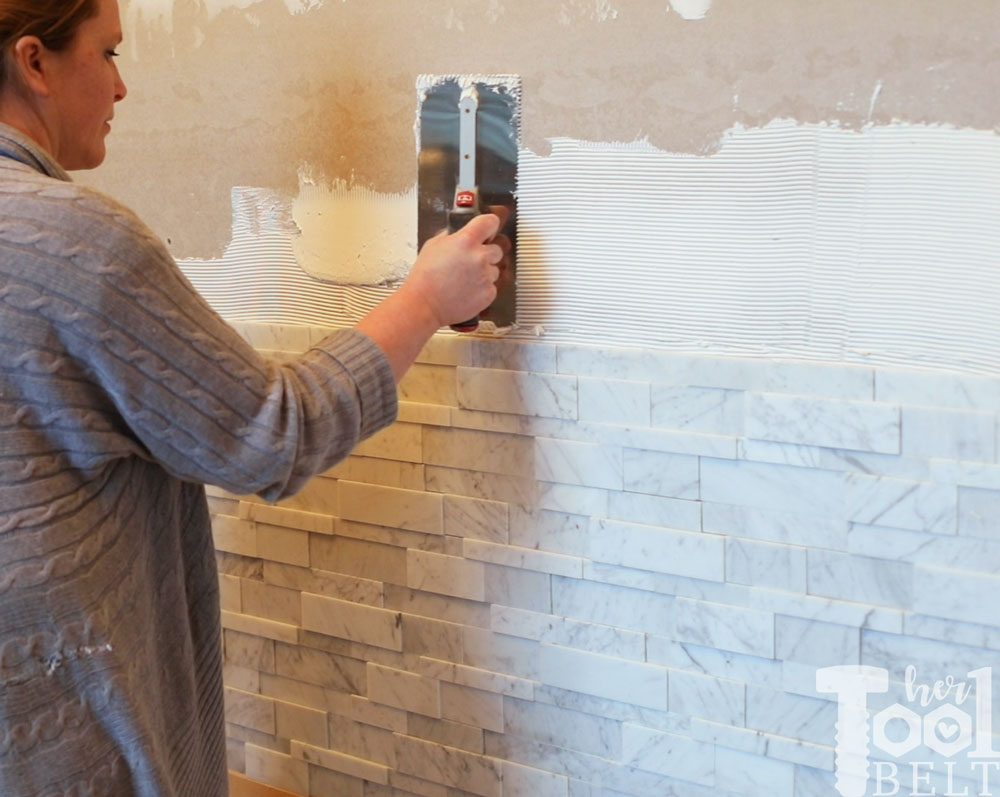
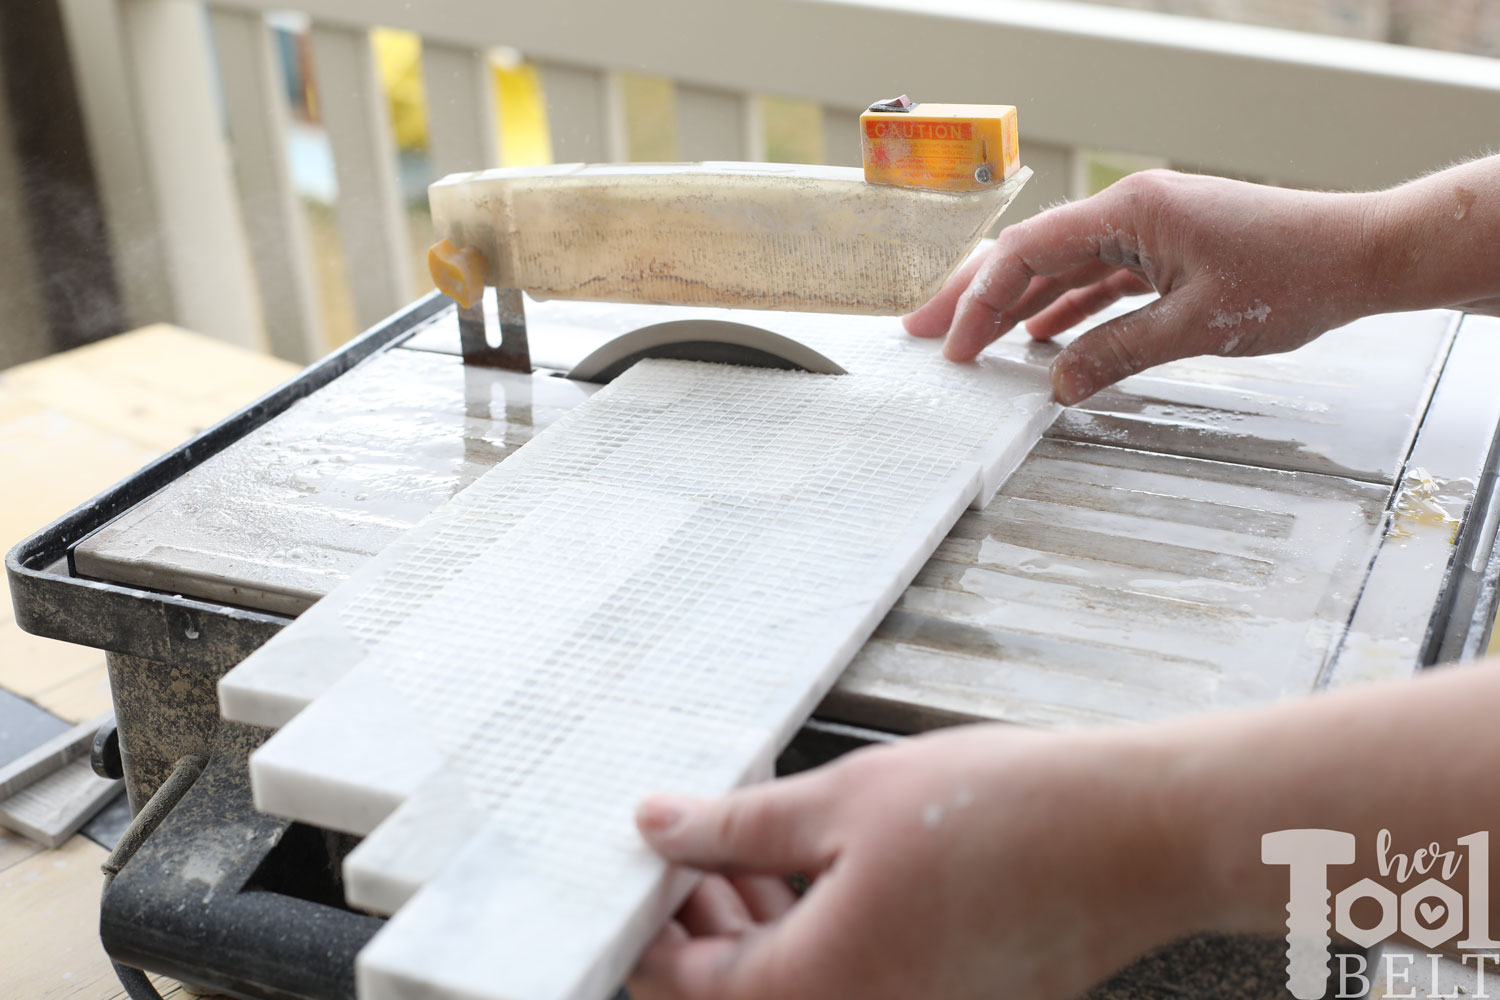
The Carrara Ledger mosaic tile was so easy to install. It only took me about 6 hours to do this whole wall, and half the time was probably unwrapping the tile. They are lovingly packaged. 🙂
I wanted to make sure I started off perfectly level, so I cut a 6″ piece of wood and leveled it and screwed it to the wall.
Then I used the V-notch trowel to spread tile adhesive (mastic).
And pressed the mosaic ledger tile into the adhesive.
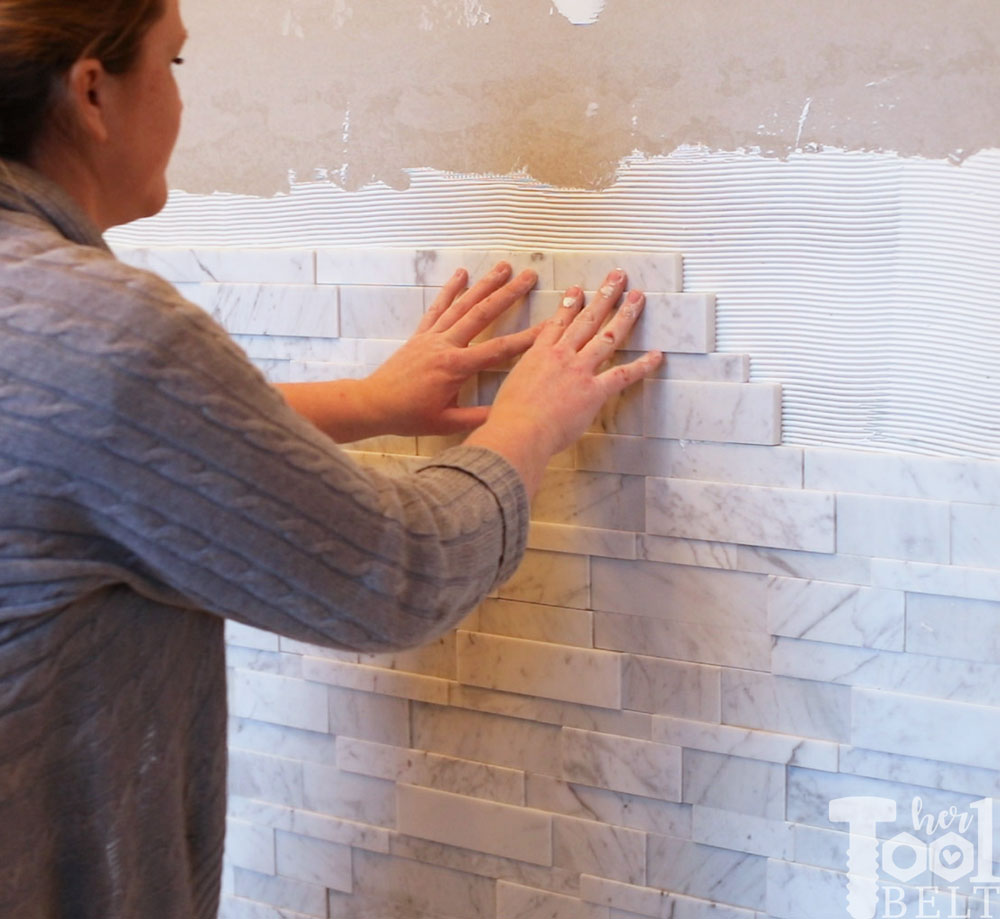
I was ridiculously lucky and I would have to cut a mosaic to start the row. However that cut off fit perfectly at the end of the row. How did I get so lucky. Also I find that when cutting natural stone mosaics, I get a cleaner cut if I cut the mosaic upside down. (This might only be the case with my type of tile saw.)
Shoe Tray Tile
Materials Used
- Hudson Basalt Mosaic tile
- Tile Adhesive (mastic)
- 12″ x 36″ x 1/2″ piece of plywood
Tools Used
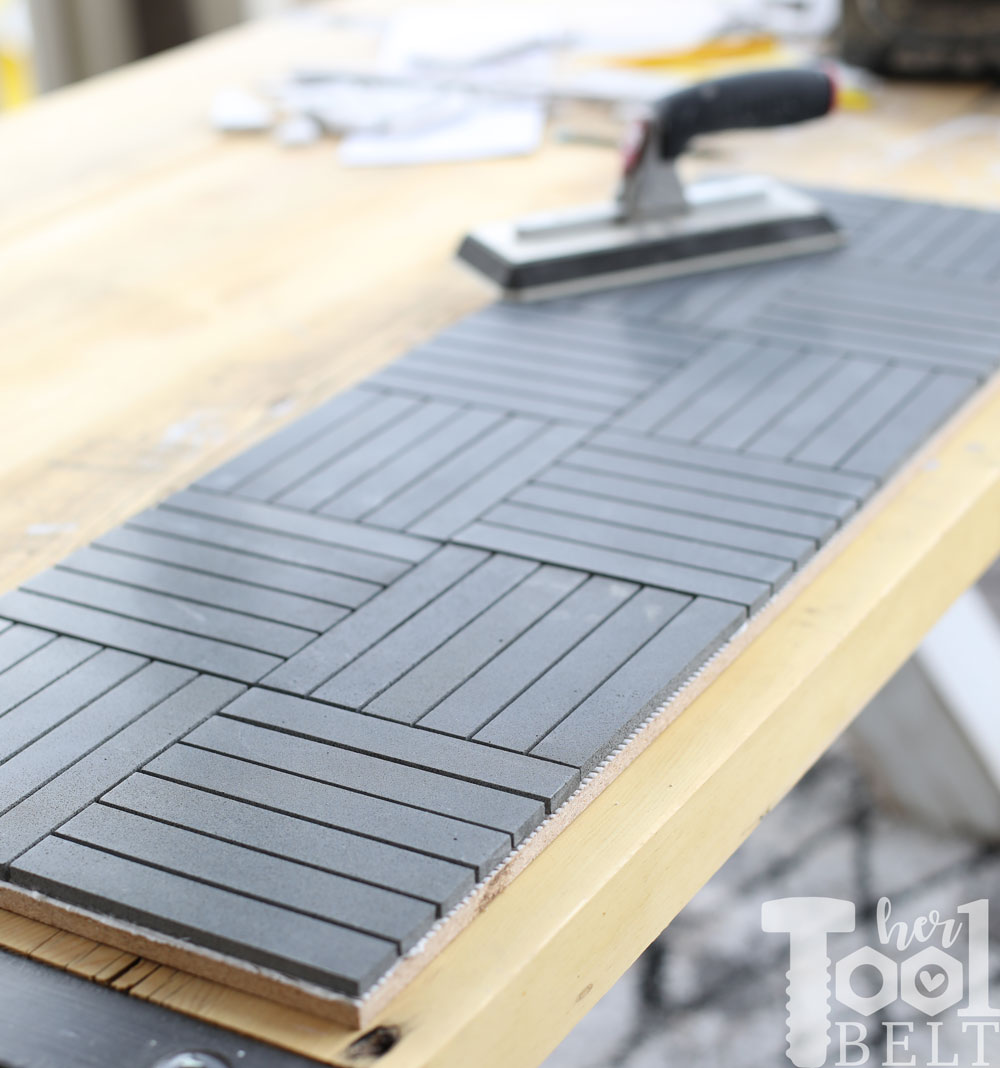
I applied some of these cool Hudson Basalt tiles to scrap piece of plywood in preparation for the shoe tray.
Next week I’ll get to the trim and painting!
Here is a break down of the work:
Remove the closet and tileCut a hole in the wallFrame new doorway- Add transom windows in doorway
Frame new wallMove around some electricalBuild the wall cabinets on the kitchen sideTile the floorTile the new wall- Replace chandelier shades
- Paint the walls
- Make a coat rack
- Build a console table
A few things checked off and quite a few things left to do and not much time. Ahh/
“I acknowledge that The Home Depot is partnering with me to participate in the Tool Review Program. As a part of the Program, I am receiving compensation in the form of products and services, for the purpose of promoting The Home Depot. All expressed opinions and experiences are my own words. My post complies with the Word Of Mouth Marketing Association (WOMMA) Ethics Code and applicable Federal Trade Commission guidelines.”
Leave a Reply