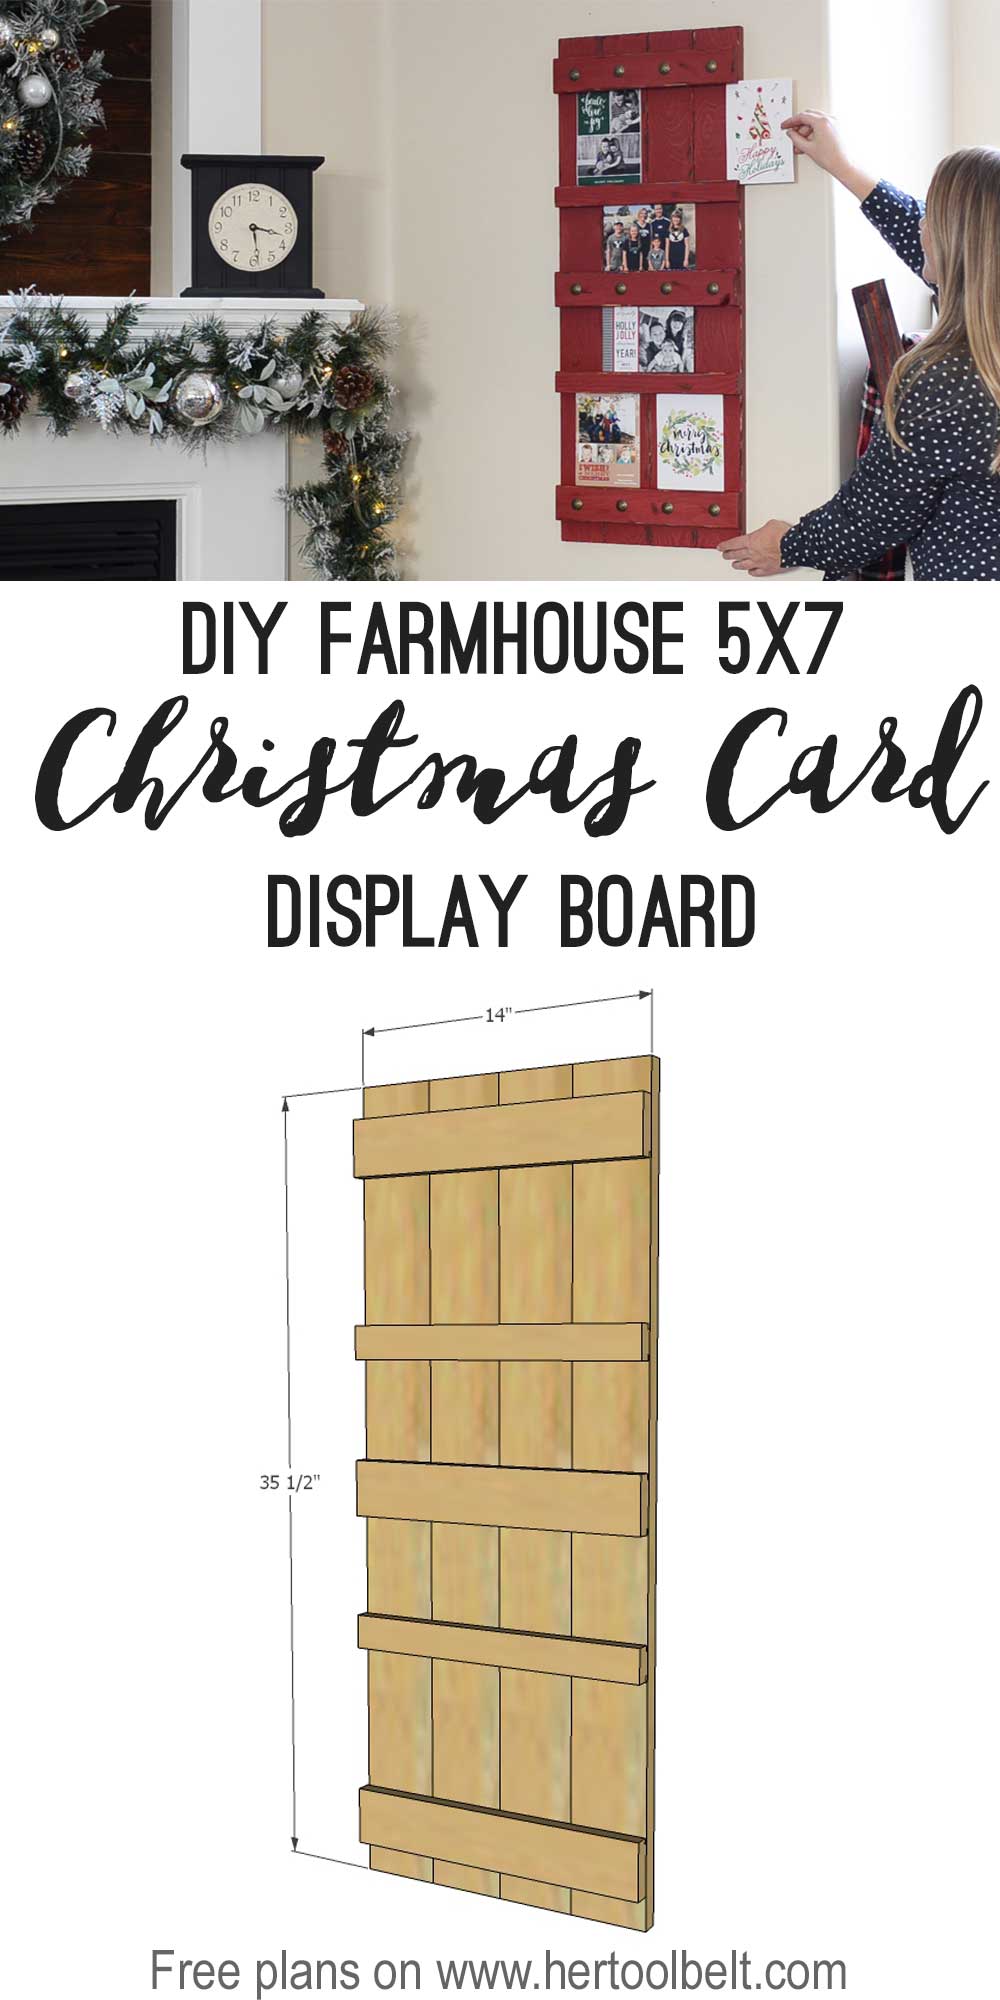
It’s that time of year when those beautiful Christmas Cards start arriving in the mail of your favorite loved ones. Today’s project will make it easy to display them, it’s a 5×7 photo display board. But you can use this display board all year long to display your favorite 5×7 prints.
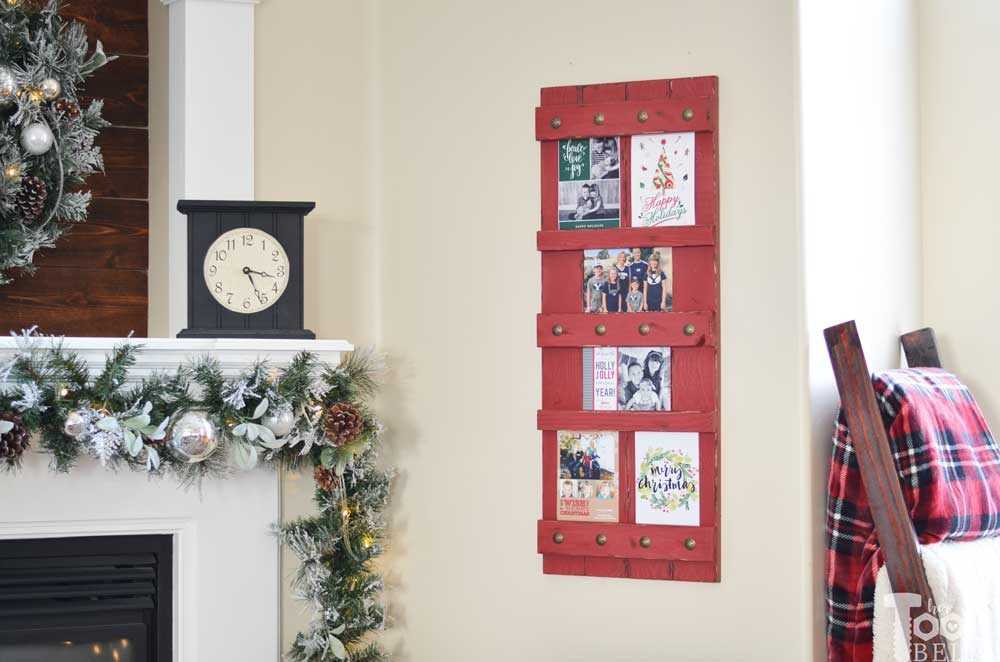
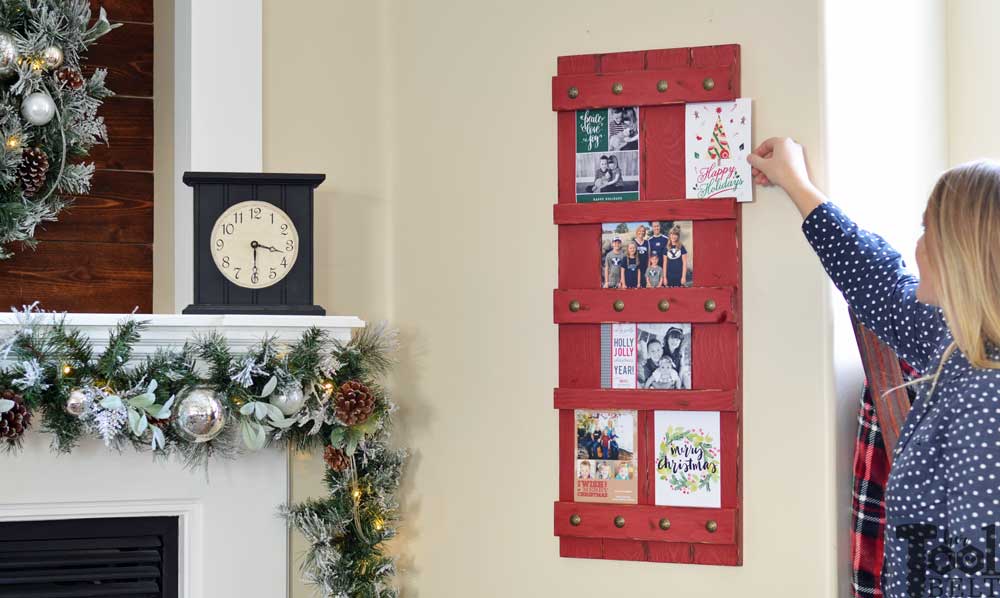
This photo holder makes changing out cards and photos really slick, they just slide out!
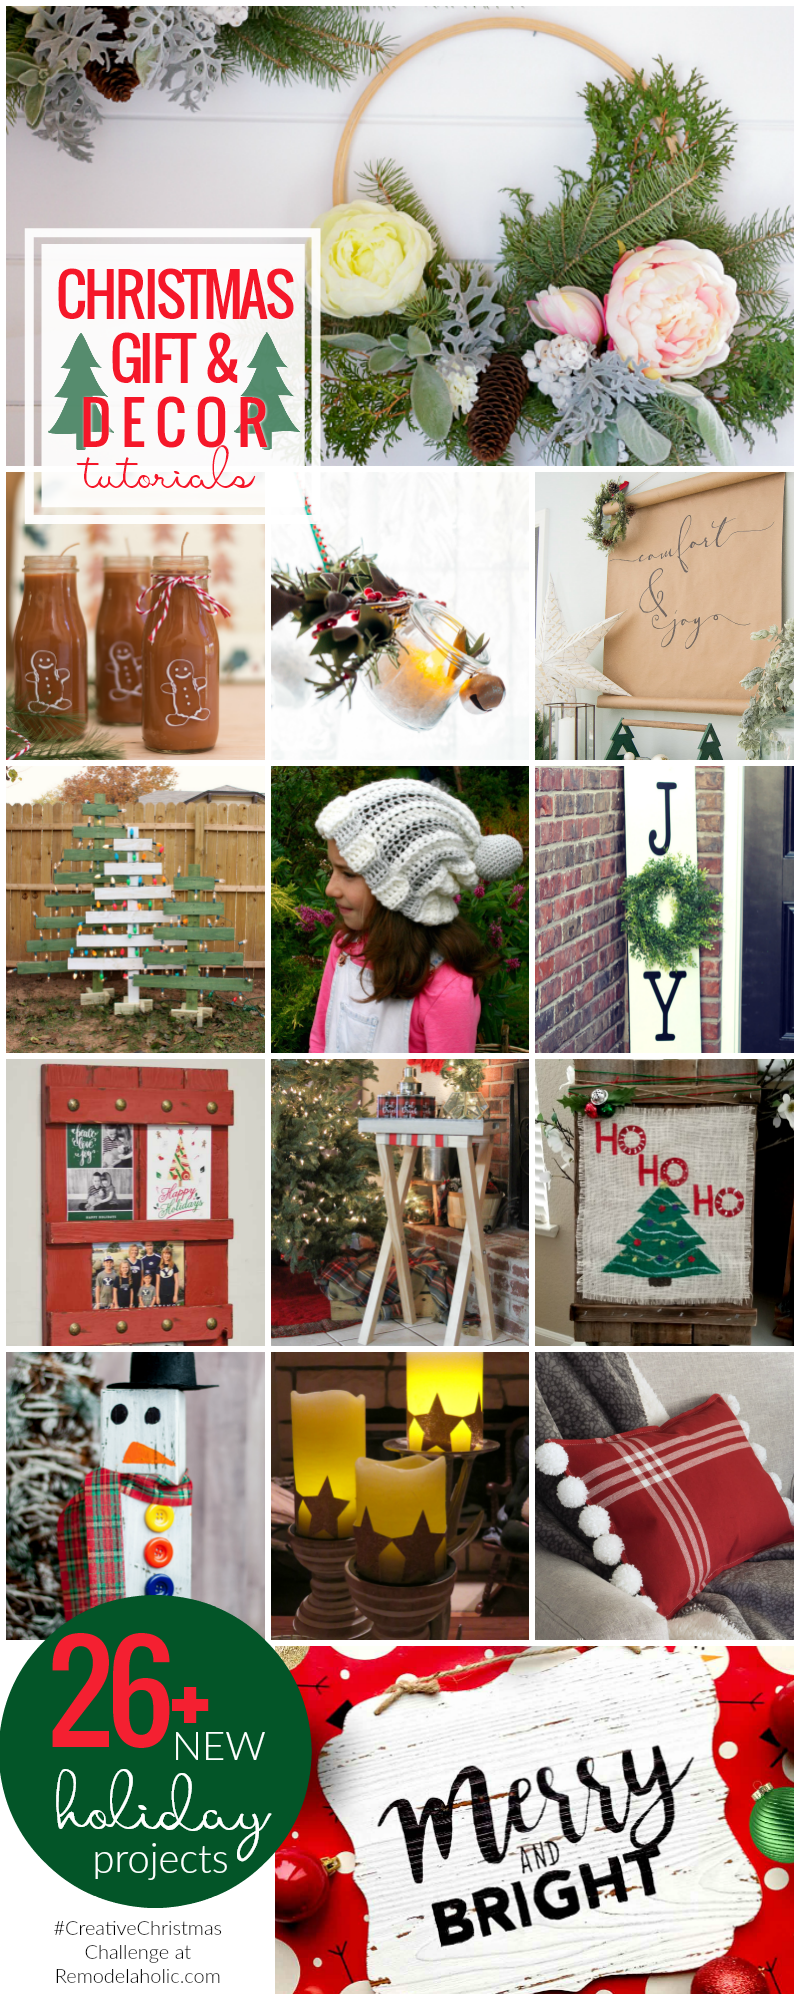
I’m joining with a few other bloggers for a Creative Christmas Challenge hosted by Remodelaholic. You can check out all of the fun and festive projects at the end of the post. Plus Remodelaholic will have features and a link party all week long, it’ll be fun to check out.

This post contains some affiliate links for your convenience. Click here to read my full disclosure policy.
How to Build a 5×7 Photo Display Board
Materials
- 2 – 1″ x 4″ x 8′
- 1 – 1″ x 3″ x 8′
- 1 – 1″ x 2″ x 8′ (not required if you can cut them from the extra 1×4 pieces)
- Wood glue
- Sandpaper
- 1 1/4″ brad nails
- Antique Brass Star Decorative Nails – optional
- Spackle or wood filler
- Paint or Stain (I used Varathane Kona, Vaseline and Rustoleum Heritage Red)
- Picture hanger or route a keyhole in the back.
Tools Used (may be substituted)
- Miter Saw
- Sander
- Table Saw
- Brad Nailer
- Hammer
- Tape Measure
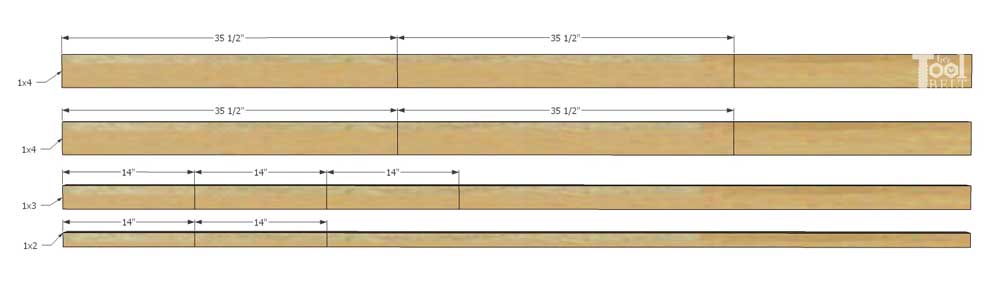
Cut List
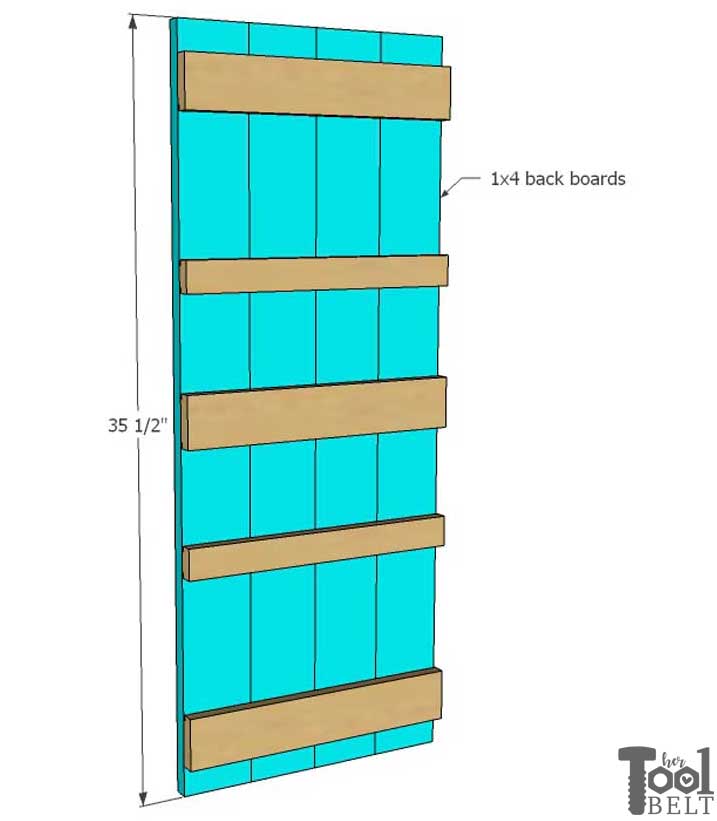
- 4 – 3/4″ x 3 1/2″ x 35 1/2″
- 3 – 3/4″ x 2 1/2″ x 14″ (cut to fit)
- 2 – 3/4″ x 1 1/2″ x 14″ (cut to fit)
Cut Diagram
Step 1
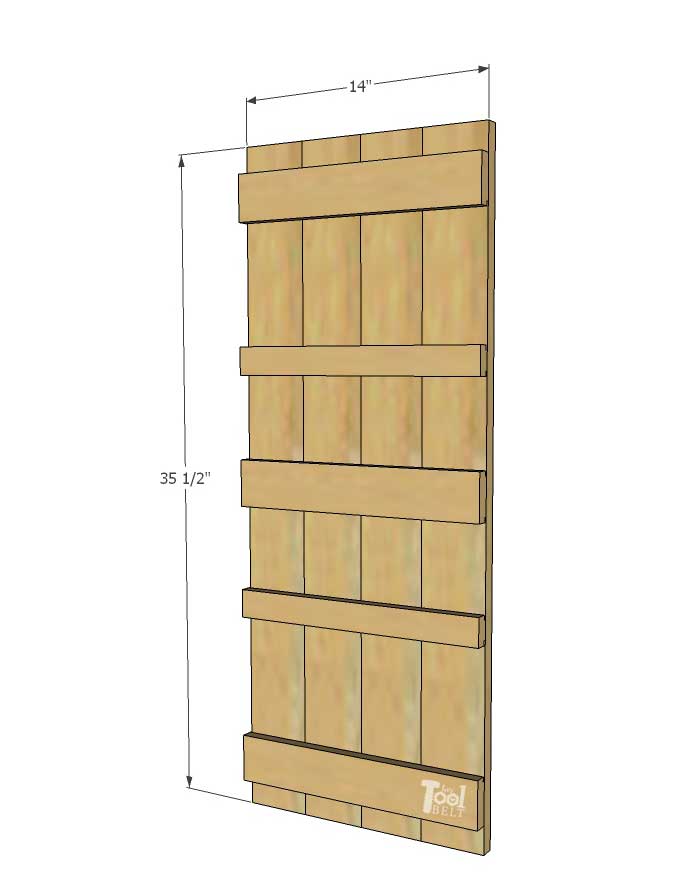
Cut the 4 – 1×4 back boards to 35 1/2″ long.
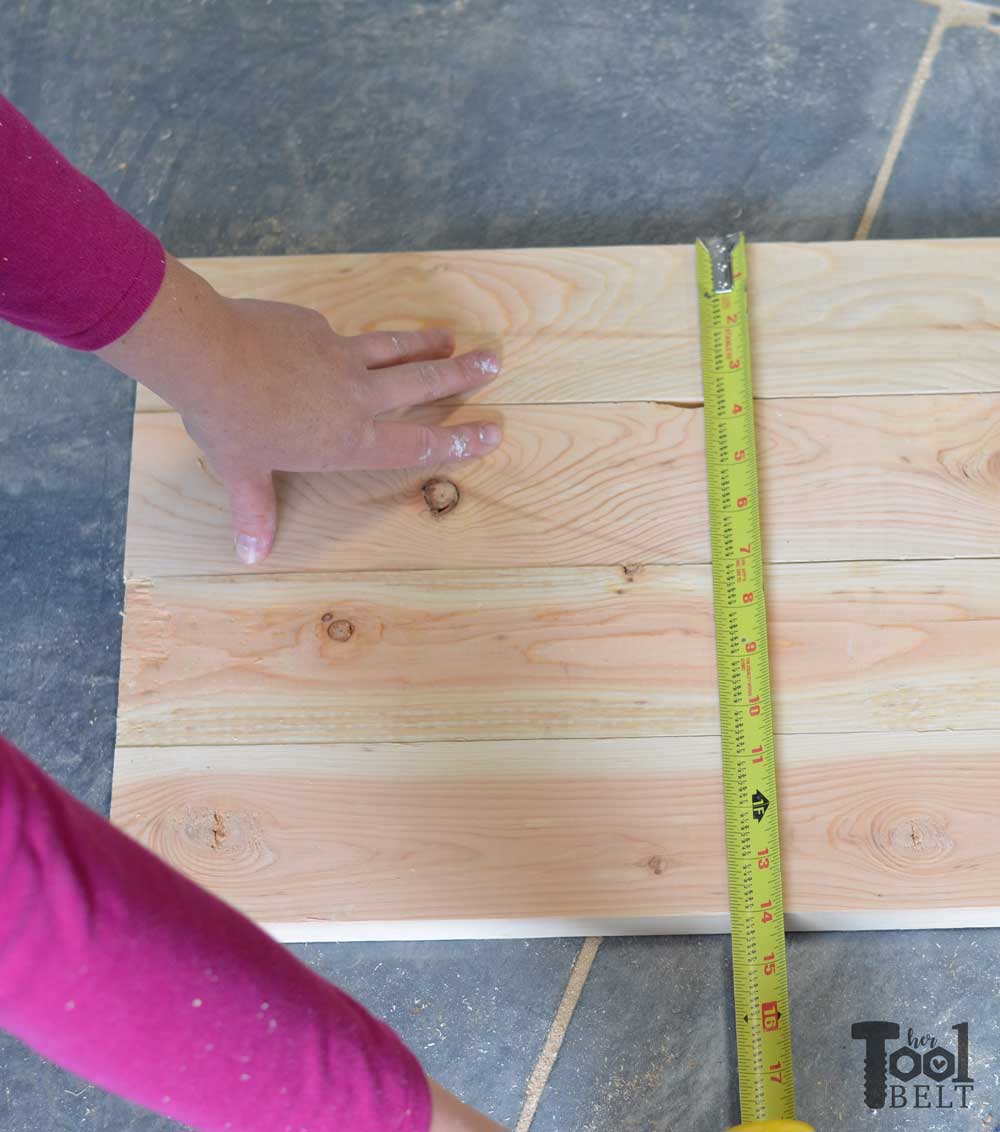
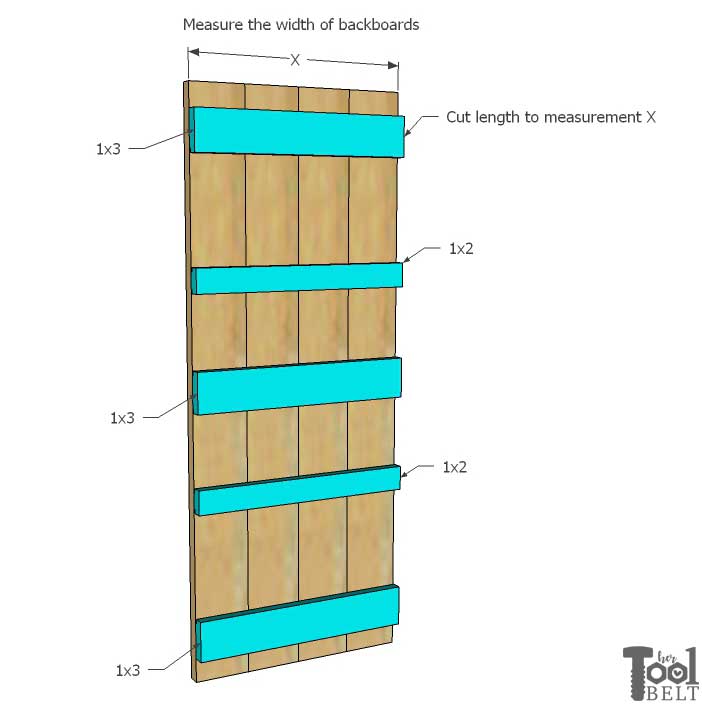
Place the 4 backboard side by side and measure the width, this will be the length of the 1×3 and 1×2 boards. The widths of some 1x4s will vary between 3 1/4″ – 3 1/2″. Mine is 14″.
Cut the 3 – 1×3’s and 2 – 1×2’s to the measured length.
Step 2
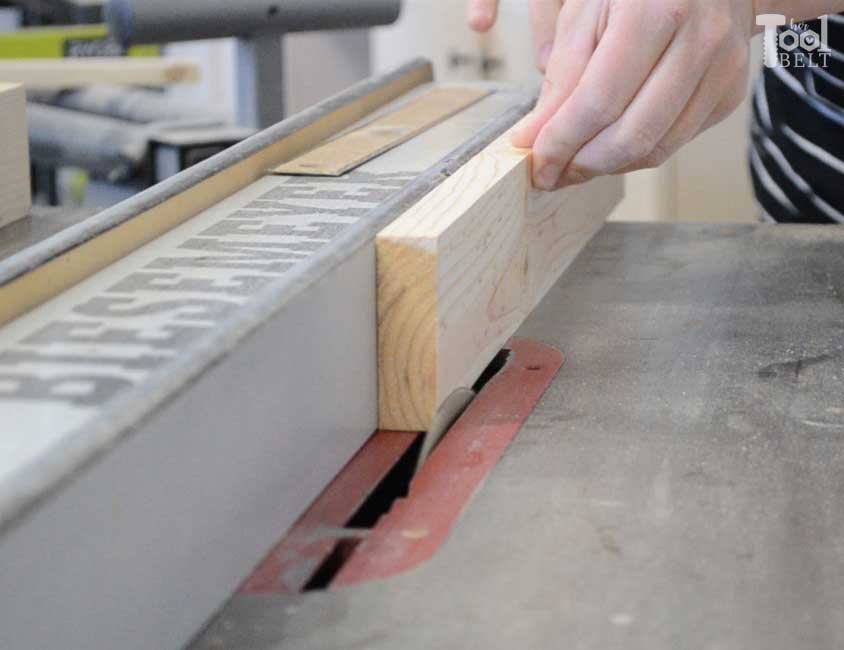
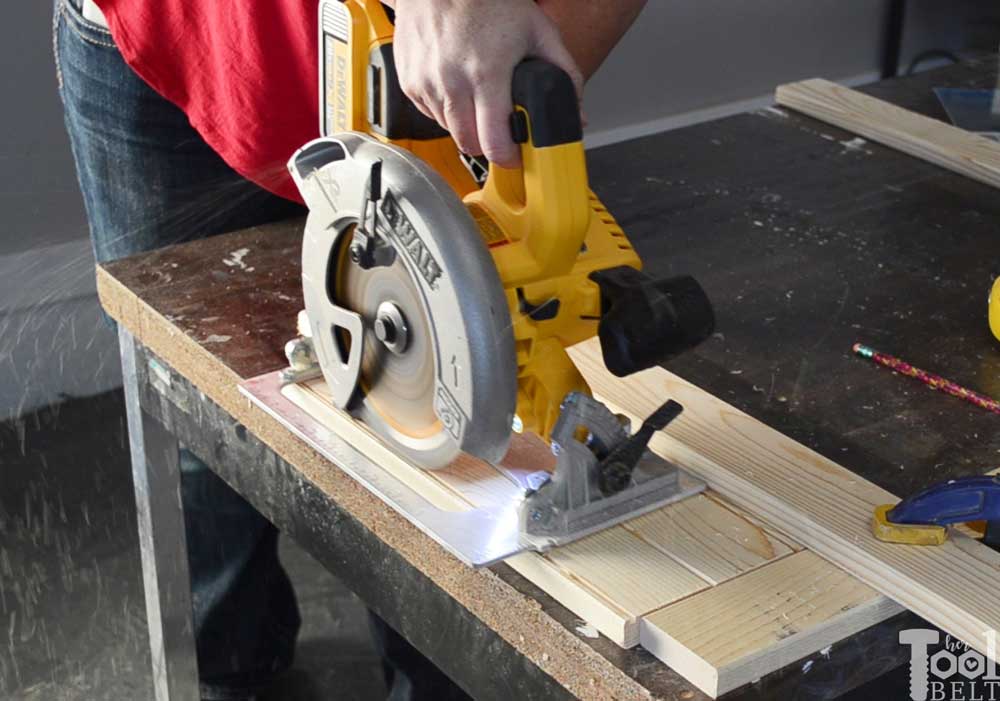
To let the photo prints slide we need to cut grooves in the horizontal 1×3 and 1x2s. The top and bottom 1×3’s will only have 1 groove cut, the other 3 boards will have two grooves cut (one along the top and one along the bottom). The groove should be 1/4″ tall (or a hair higher) and about 1/16″-1/8″ wide.

I use a table saw to cut the grooves.
But you can alternatively use a circular saw with the blade depth set at 1/8″ and doing multiple passes or a router will work really slick too.
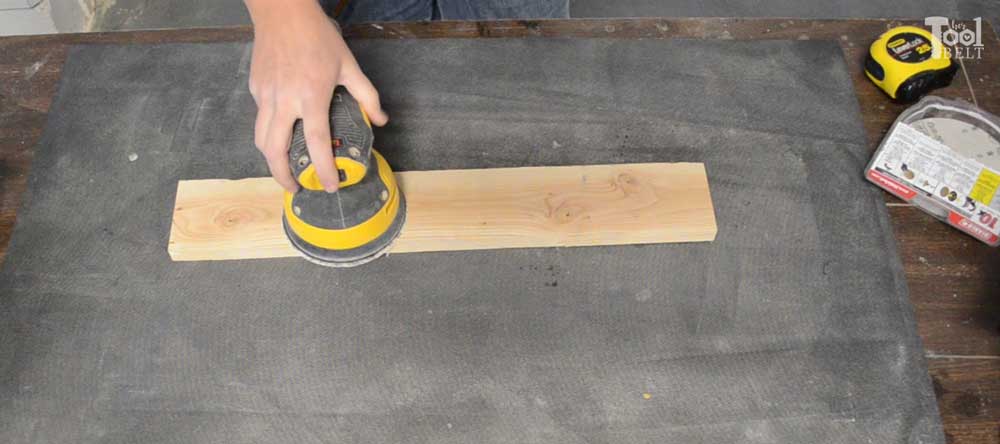
Once all of the boards are cut and grooves made, sand the boards.
Step 3
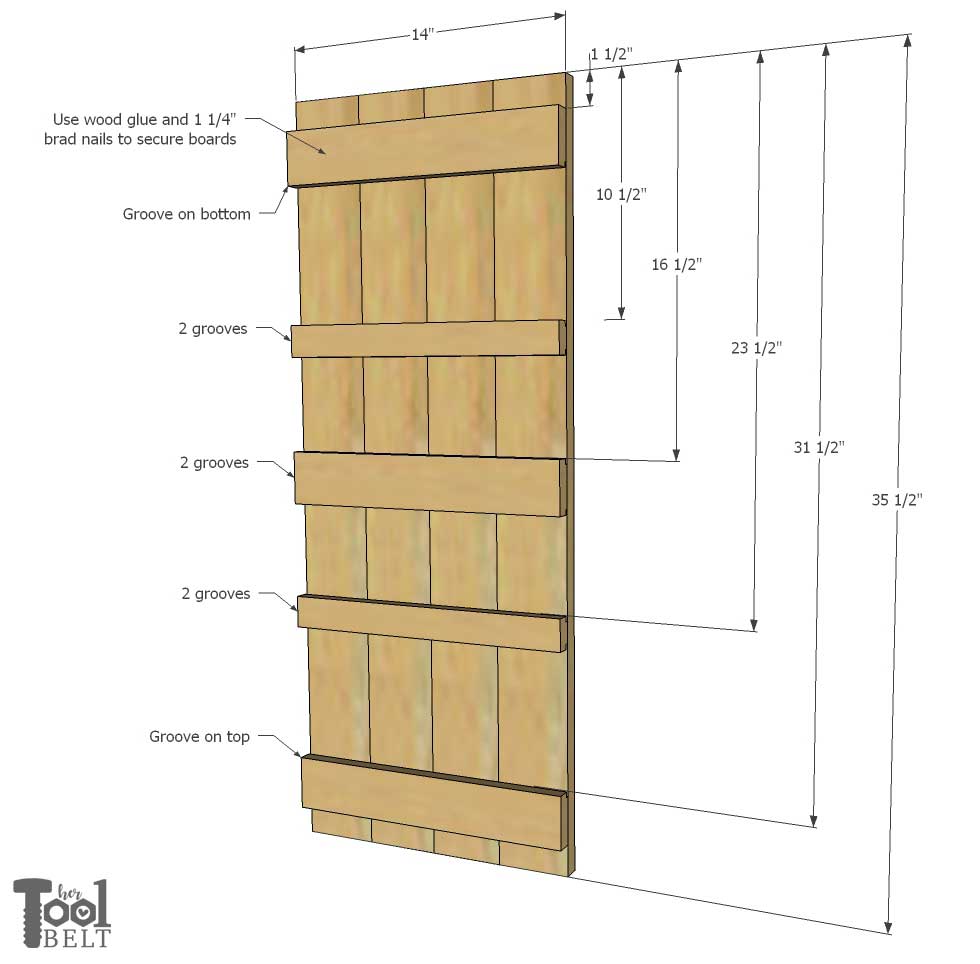
Time to assemble the 5×7 photo display board. Line up the 4 backboard and mark the locations for the horizontal 1×3 and 1x2s.
Board Locations (top down)
- 1 1/2″
- 10 1/2″
- 16 1/2″
- 23 1/2″
- 31 1/2″
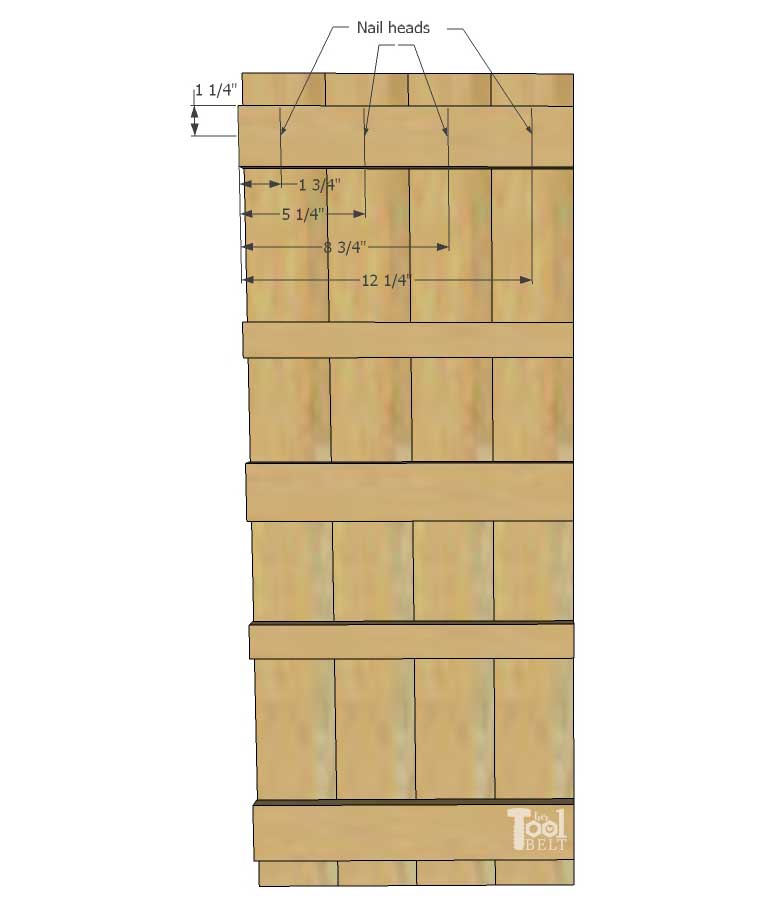
Use wood glue and 1 1/4″ brad nails to secure the horizontal 1×3 and 1x2s in place. Try to avoid getting glue to close to the groove, that will stop the photo from sliding easily.
Step 4
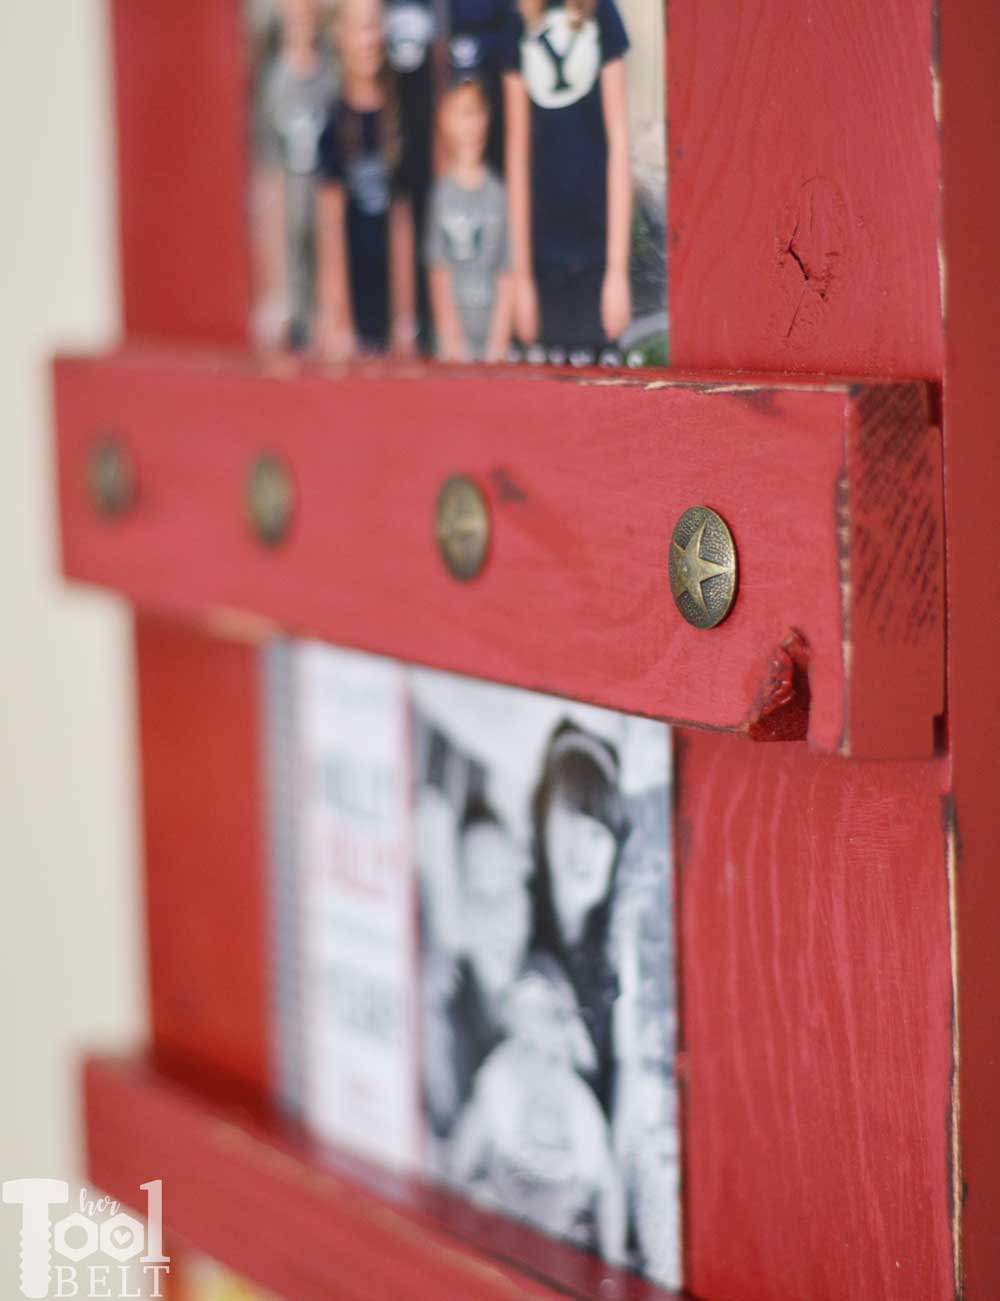
If you want fill all of the nail holes with spackle or wood filler, when dry sand smooth. Paint or stain the photo board as you’d like. I first stained the board with dark brown Kona and let the dry. I put a little vaseline in areas that I didn’t want paint to stick, like the board edges. Then I spray painted the board with Rustoleum Heritage Red (you can use paint you brush on too, I wanted to use up a partial can of spray paint.) Let the paint fully dry, then use sand paper to distress the paint letting the dark brown peak through.
I added cute star nail heads for character.
See how it’s made!
Download the Free Plans
5×7 Photo Display Holder
Check out all of the other creative Christmas projects in the challenge…
Christmas Pine Hoop Wreath | This Mama’s Dance
Gingerbread Man Candles | Nourish and Nestle
Wire and Glass Chandelier | Home with Cupcakes and Crinoline
Christmas Scroll Wall Art | Grace In My Space
Lighted Wood Trees | Frazzled Joy
Crocheted Christmas Hat | Luz Patterns
Christmas Card Photo Display| Hertoolbelt
JOY Porch Sign | Ginger Snap Crafts
Folding Bar Cart Table | Everyday Party Magazine
Wood and Burlap Christmas Sign | Leap of Faith Crafting
Wood Block Snowman | Anika’s DIY Life
Holiday Candle Wrap | Dragonfly & Lily Pads
Christmas Pom Pom Pillow | Small Home Soul
Handlettered Wall Art | Smiling Colors
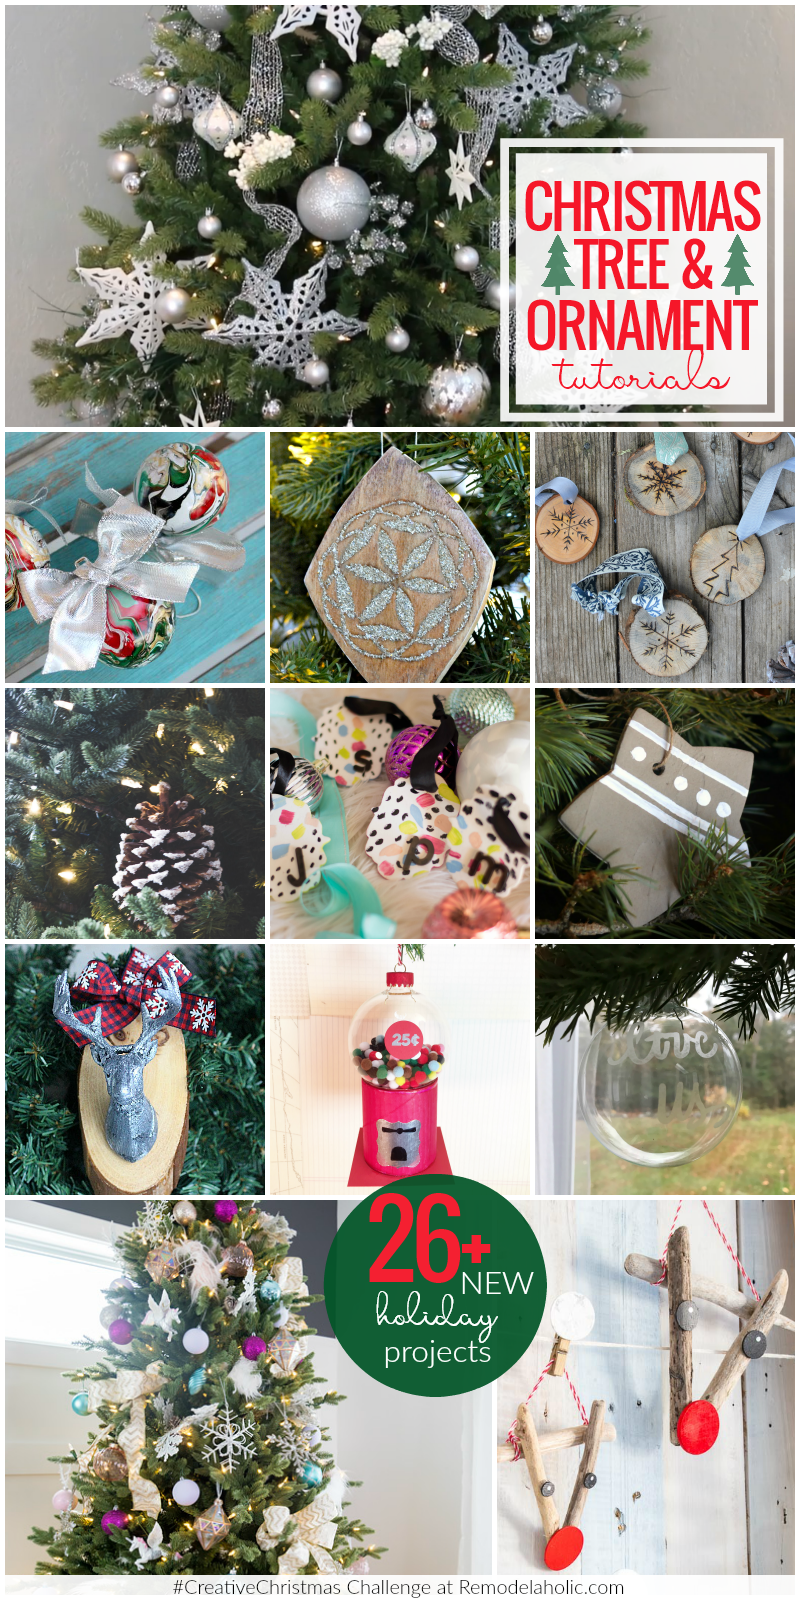
DIY Christmas Trees and Ornaments
Wintry Silver Dollar Store Christmas Tree Decor | Remodelaholic
Marbled Christmas Ornaments | Doodlecraft
Scrap Wood Inlay Ornaments | The Ugly Duckling House
Woodburned Wood Slice Ornaments | Sisters What
Flocked Pine Cones | Practical and Pretty
Abstract Monogram Ornaments | Domicile37
Concrete Christmas Ornaments | The Palette Muse
Wood Slice Deer Ornaments | Our Crafty Mom
Vintage Gumball Machine Ornaments | Beth Watson Design Studio
Etched Glass Ornaments | Just Call Me Homegirl
Unicorn Inspired Christmas Tree | The DIY Mommy
Driftwood Reindeer Ornaments | Sustain My Craft Habit
I love this idea for displaying pictures and photocards. You can switch them out ever few days for a completely different look and feature your friends through the season <3
Love this (and would make perfect reuse of some of my scrap)! Great project. 🙂
What a cute project! Great way to use up some scrap lumber. Thanks for the plans!
This is suh a fun idea! I love that it can also br used year round!