Update: So I’m a little embarrassed that I posted about my FAIL before I figured out what I did wrong. Thanks to Stacy at NotJustahousewife.net, I’ve corrected my ways. The tutorial updates are in RED.
I am way outside of my norm with this project. I rarely venture into the textiles arena. I’m not much of a sewer, but I do like hand embroidery, go figure! So if I can do this project, ANYONE can do this project.
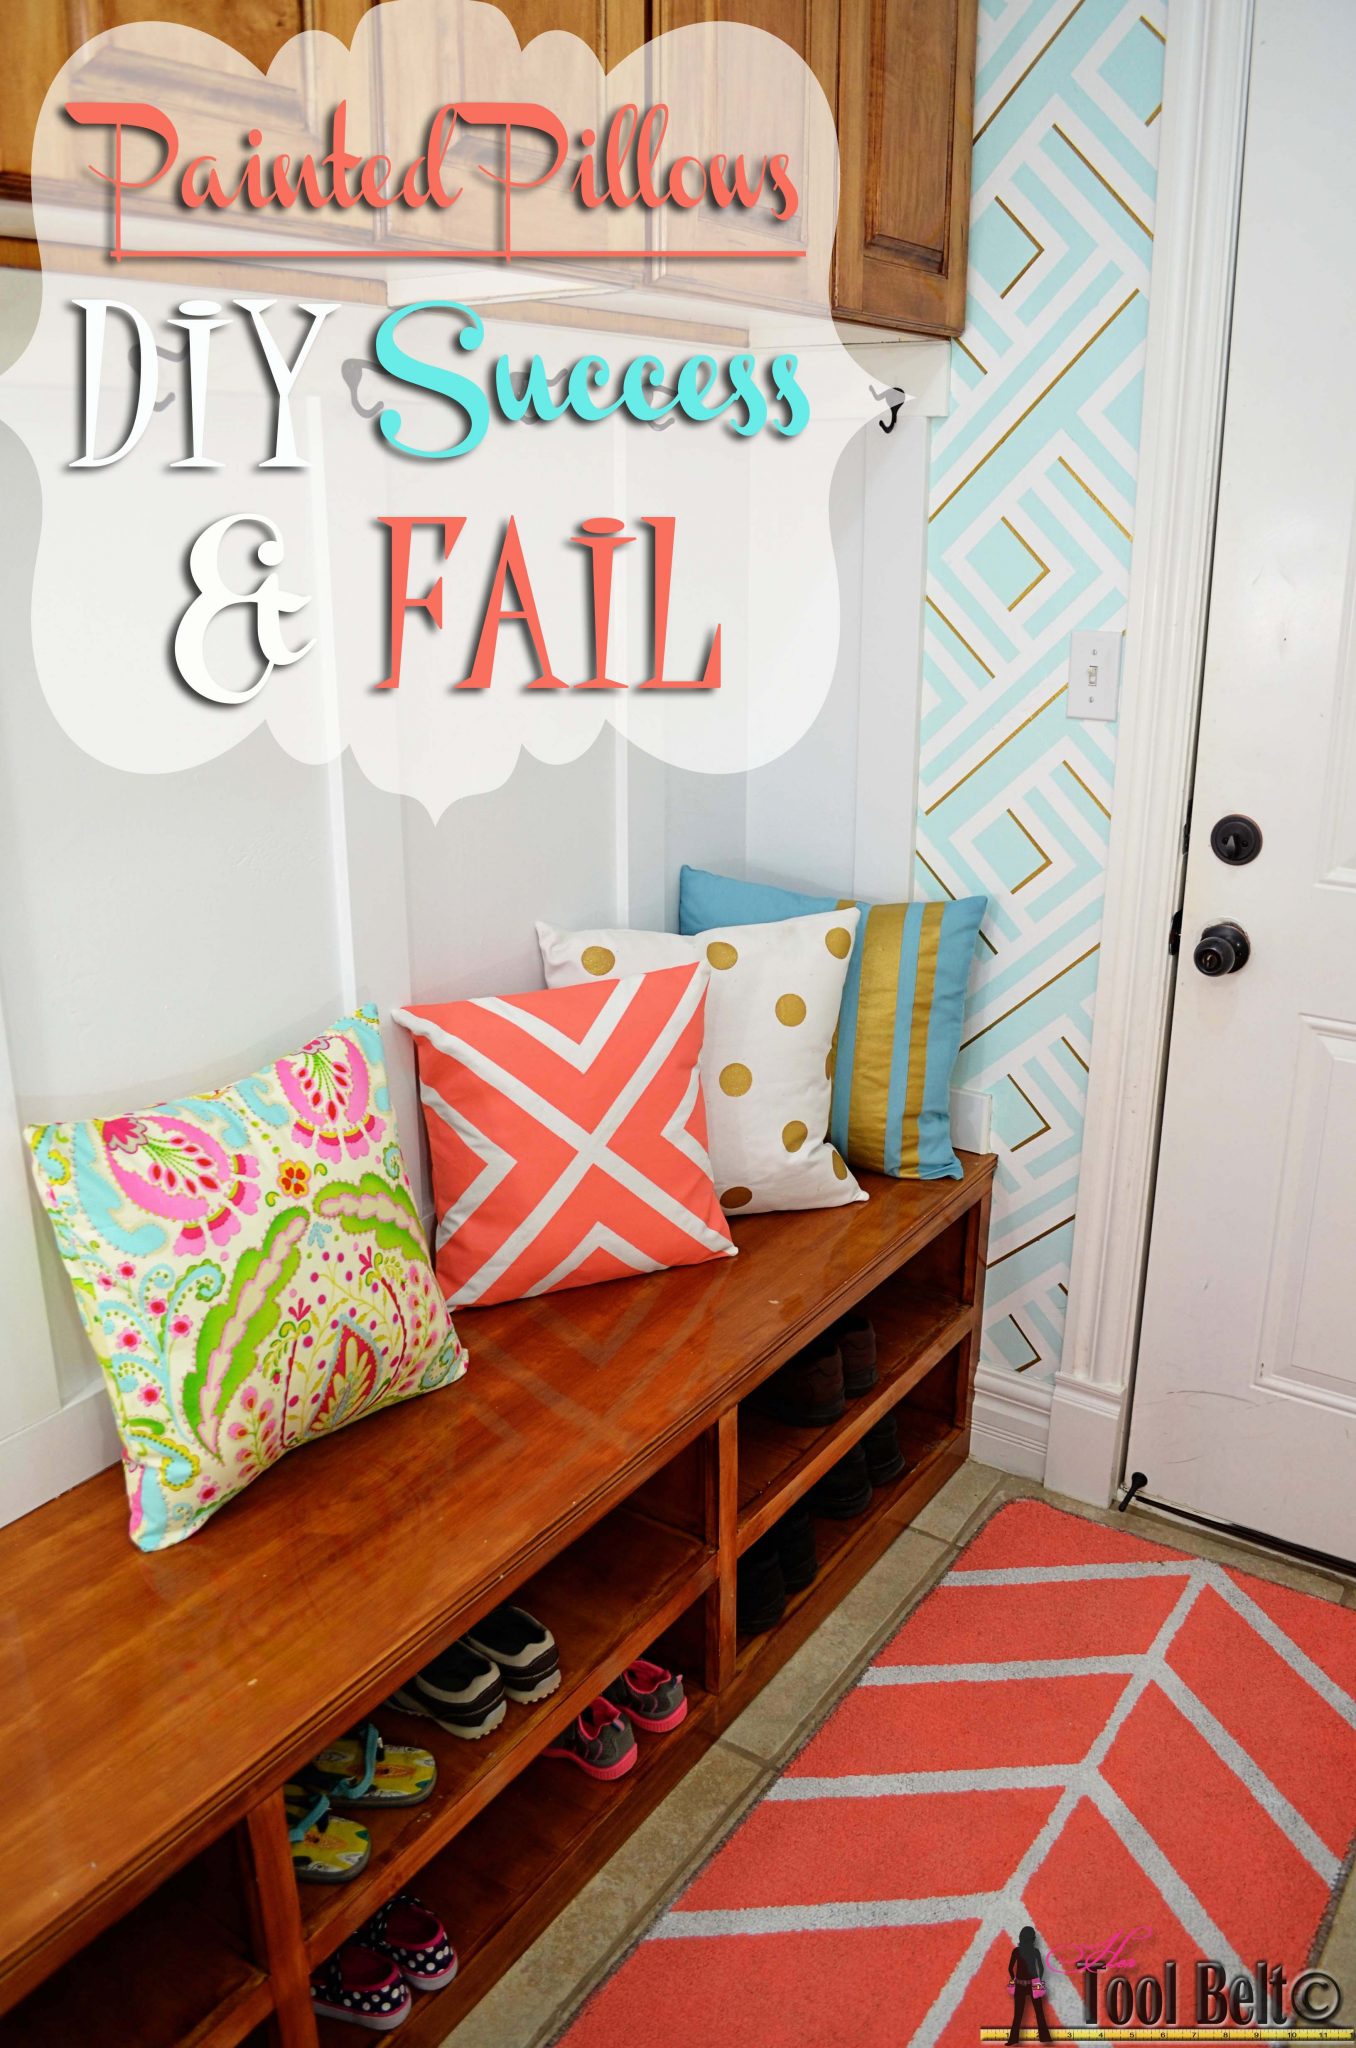
I am updating my mudroom and wanted to add pillows on the bench. Pillows can be so expensive. I’ve seen painted curtains and pillows on Pinterest and thought I would try it out.
First off was the matter of pillow forms. I bought a couple really cheap ones at JoAnn’s at 50% off. I also had an old pillow that wasn’t worthy of sleeping on any more. I tried to separate the filling, then I cut the pillow in half and sewed the opening before too much filling could escape. This worked out really well for 2 DIY pillow forms.
For the pillow material, I had some white canvas material sitting around and I found a blue polyester curtain panel at IKEA clearance for $3. This way if this painted pillow experiment was a flop, I wouldn’t be out much money. I prewashed the fabric. I followed this tutorial for 18″ envelope pillows, I adjusted the numbers for 16″ too.
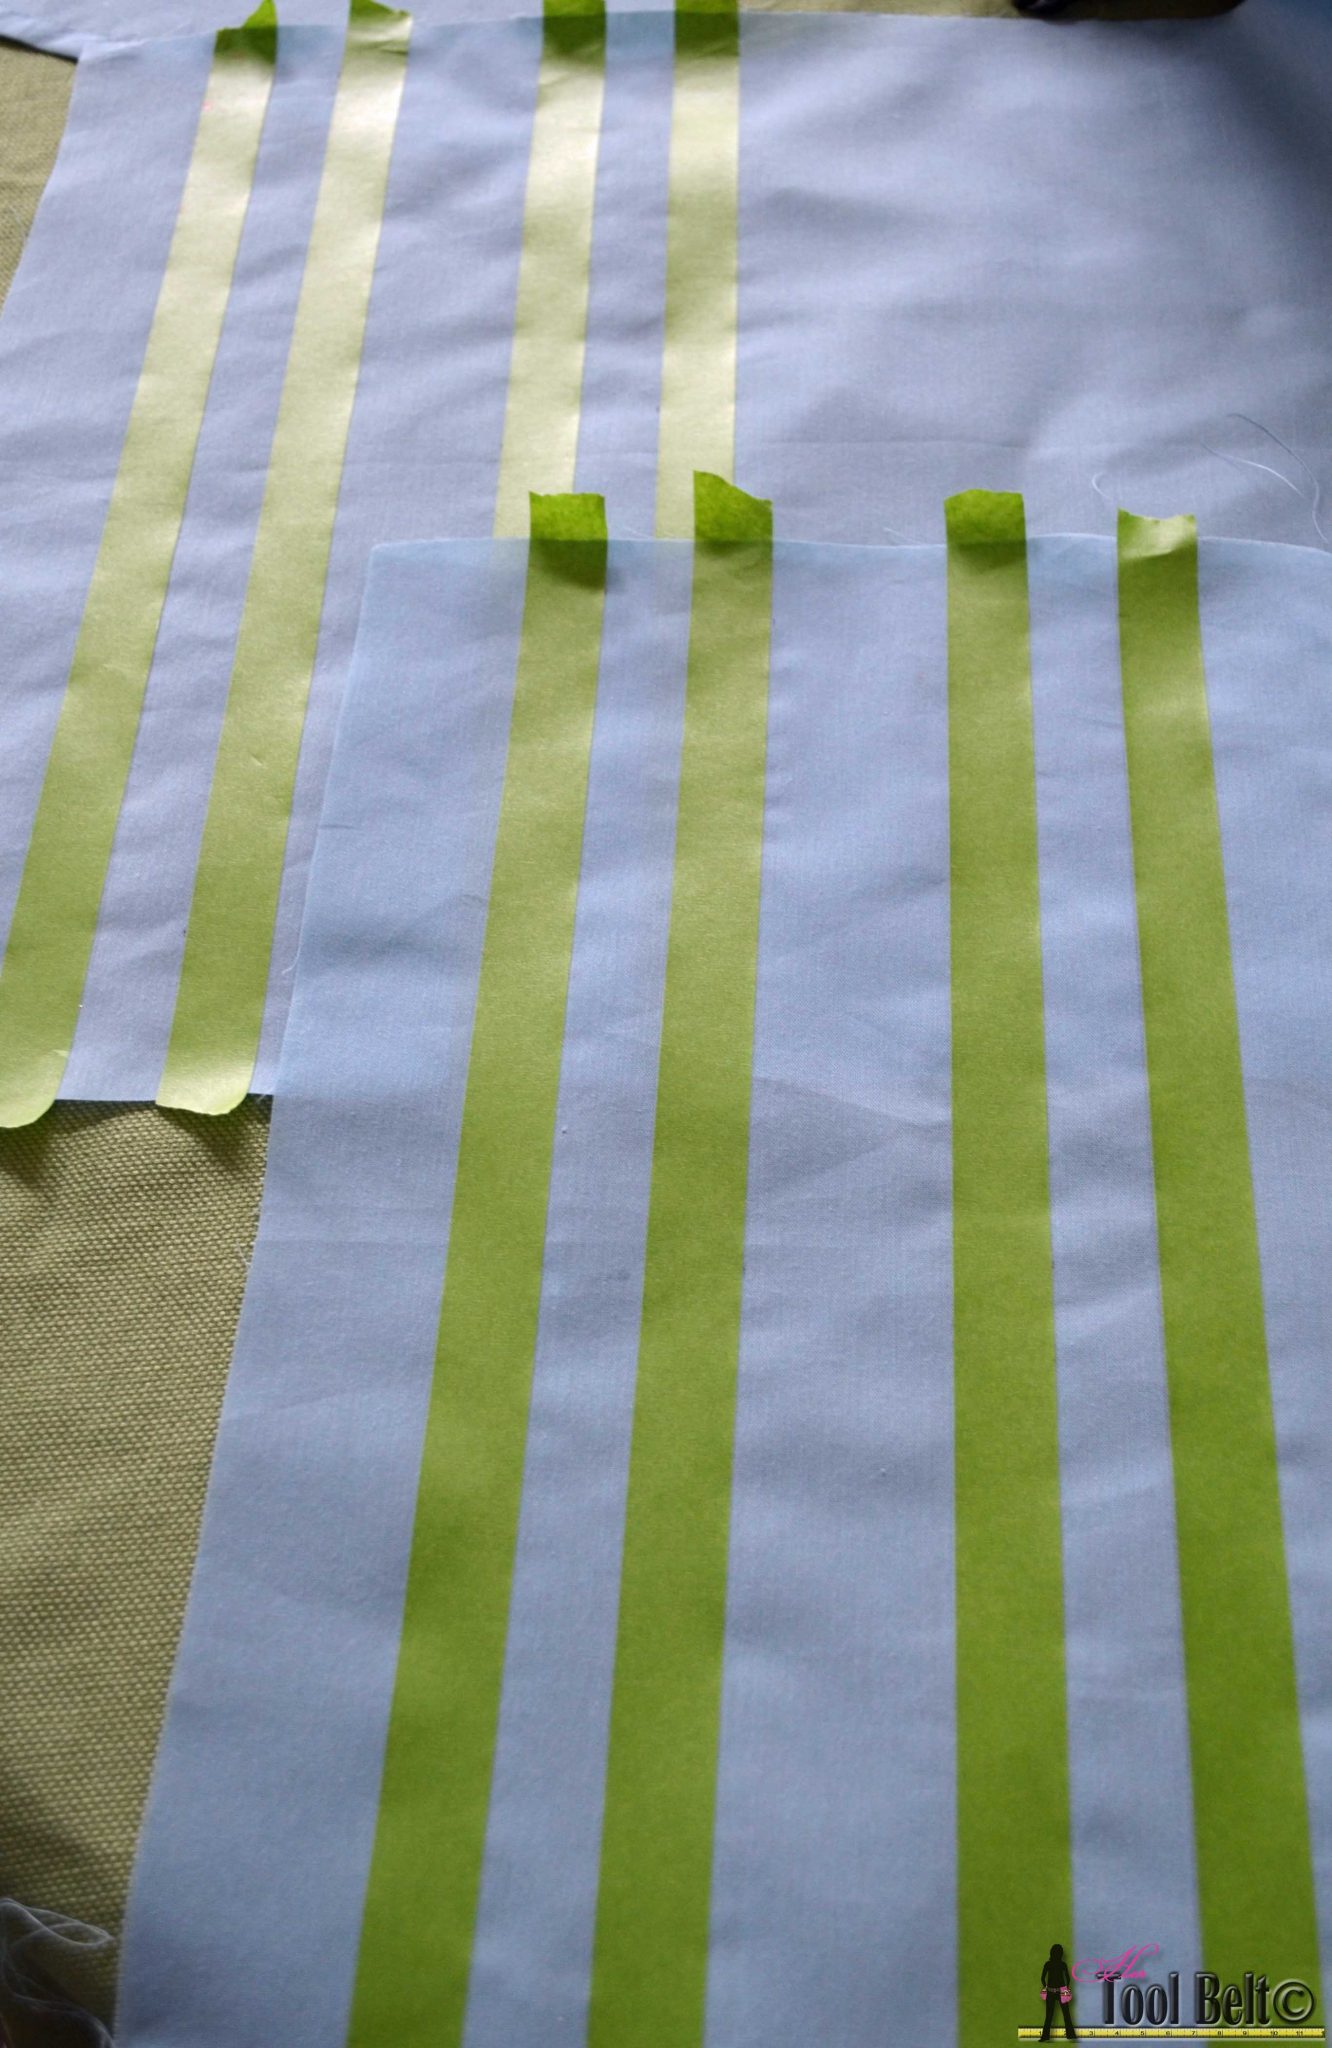
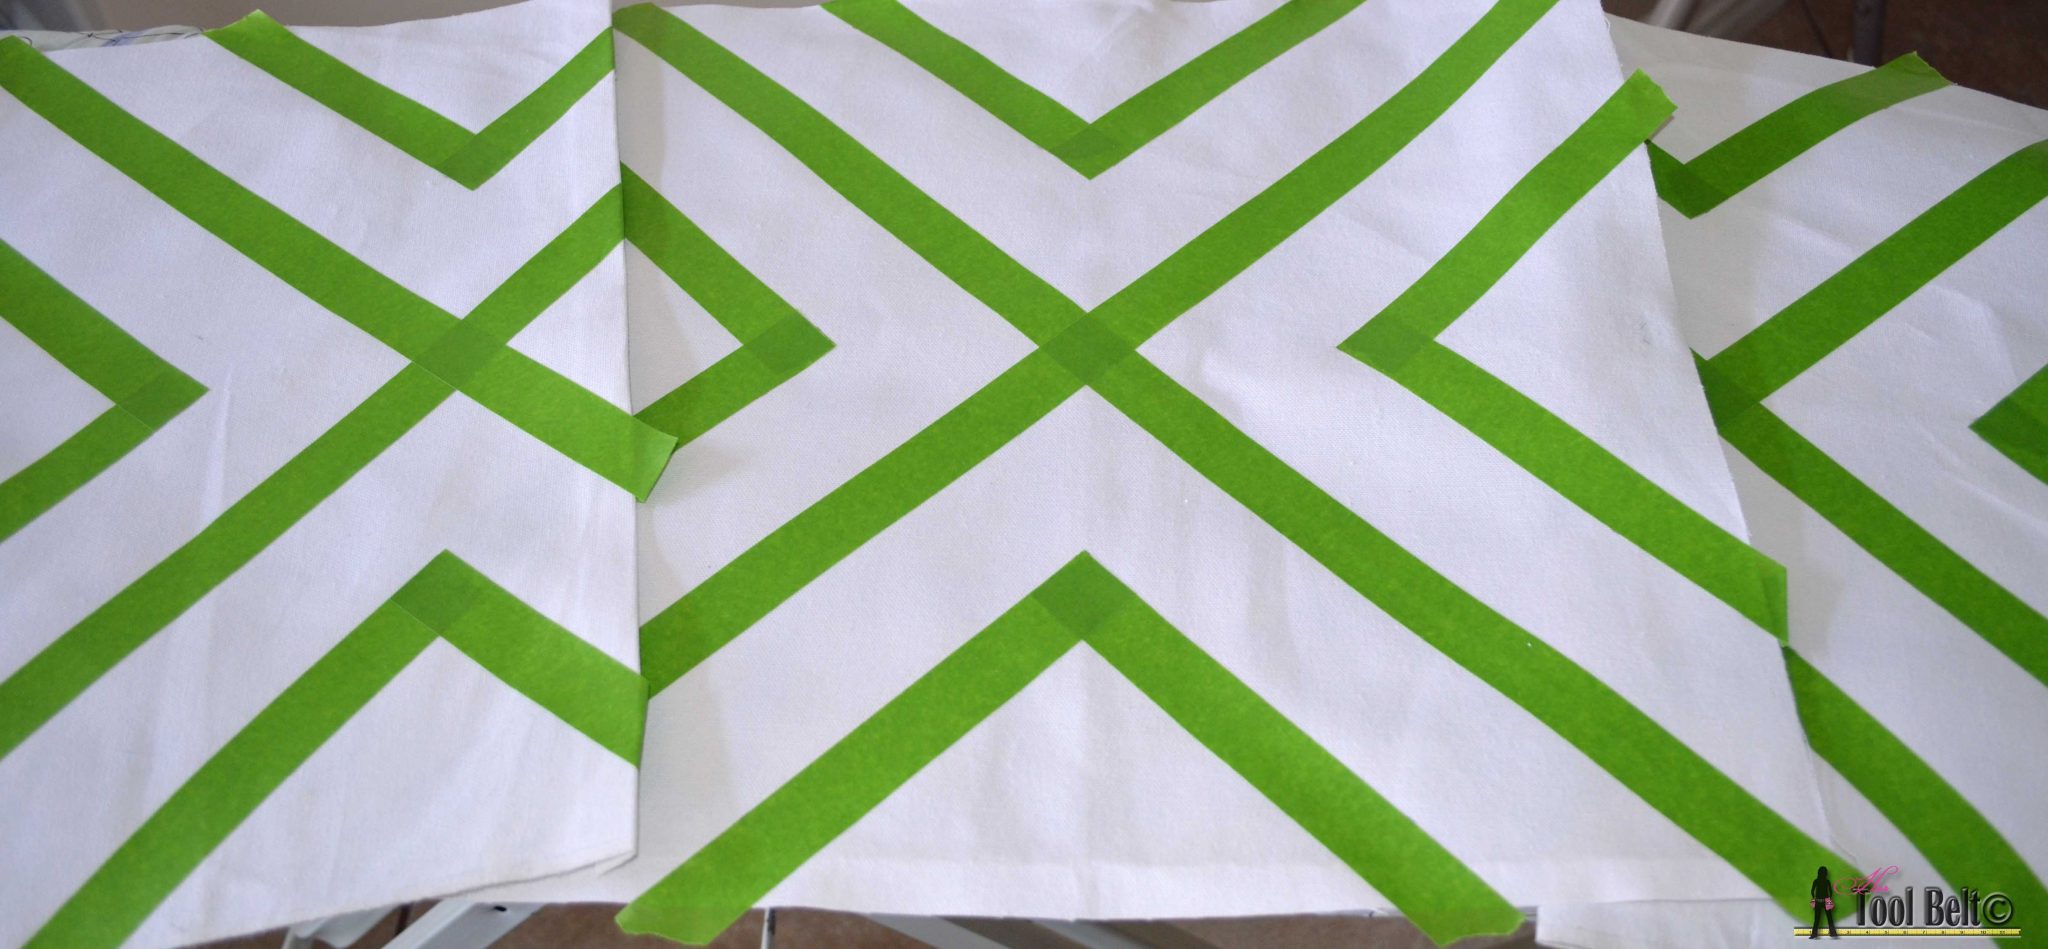
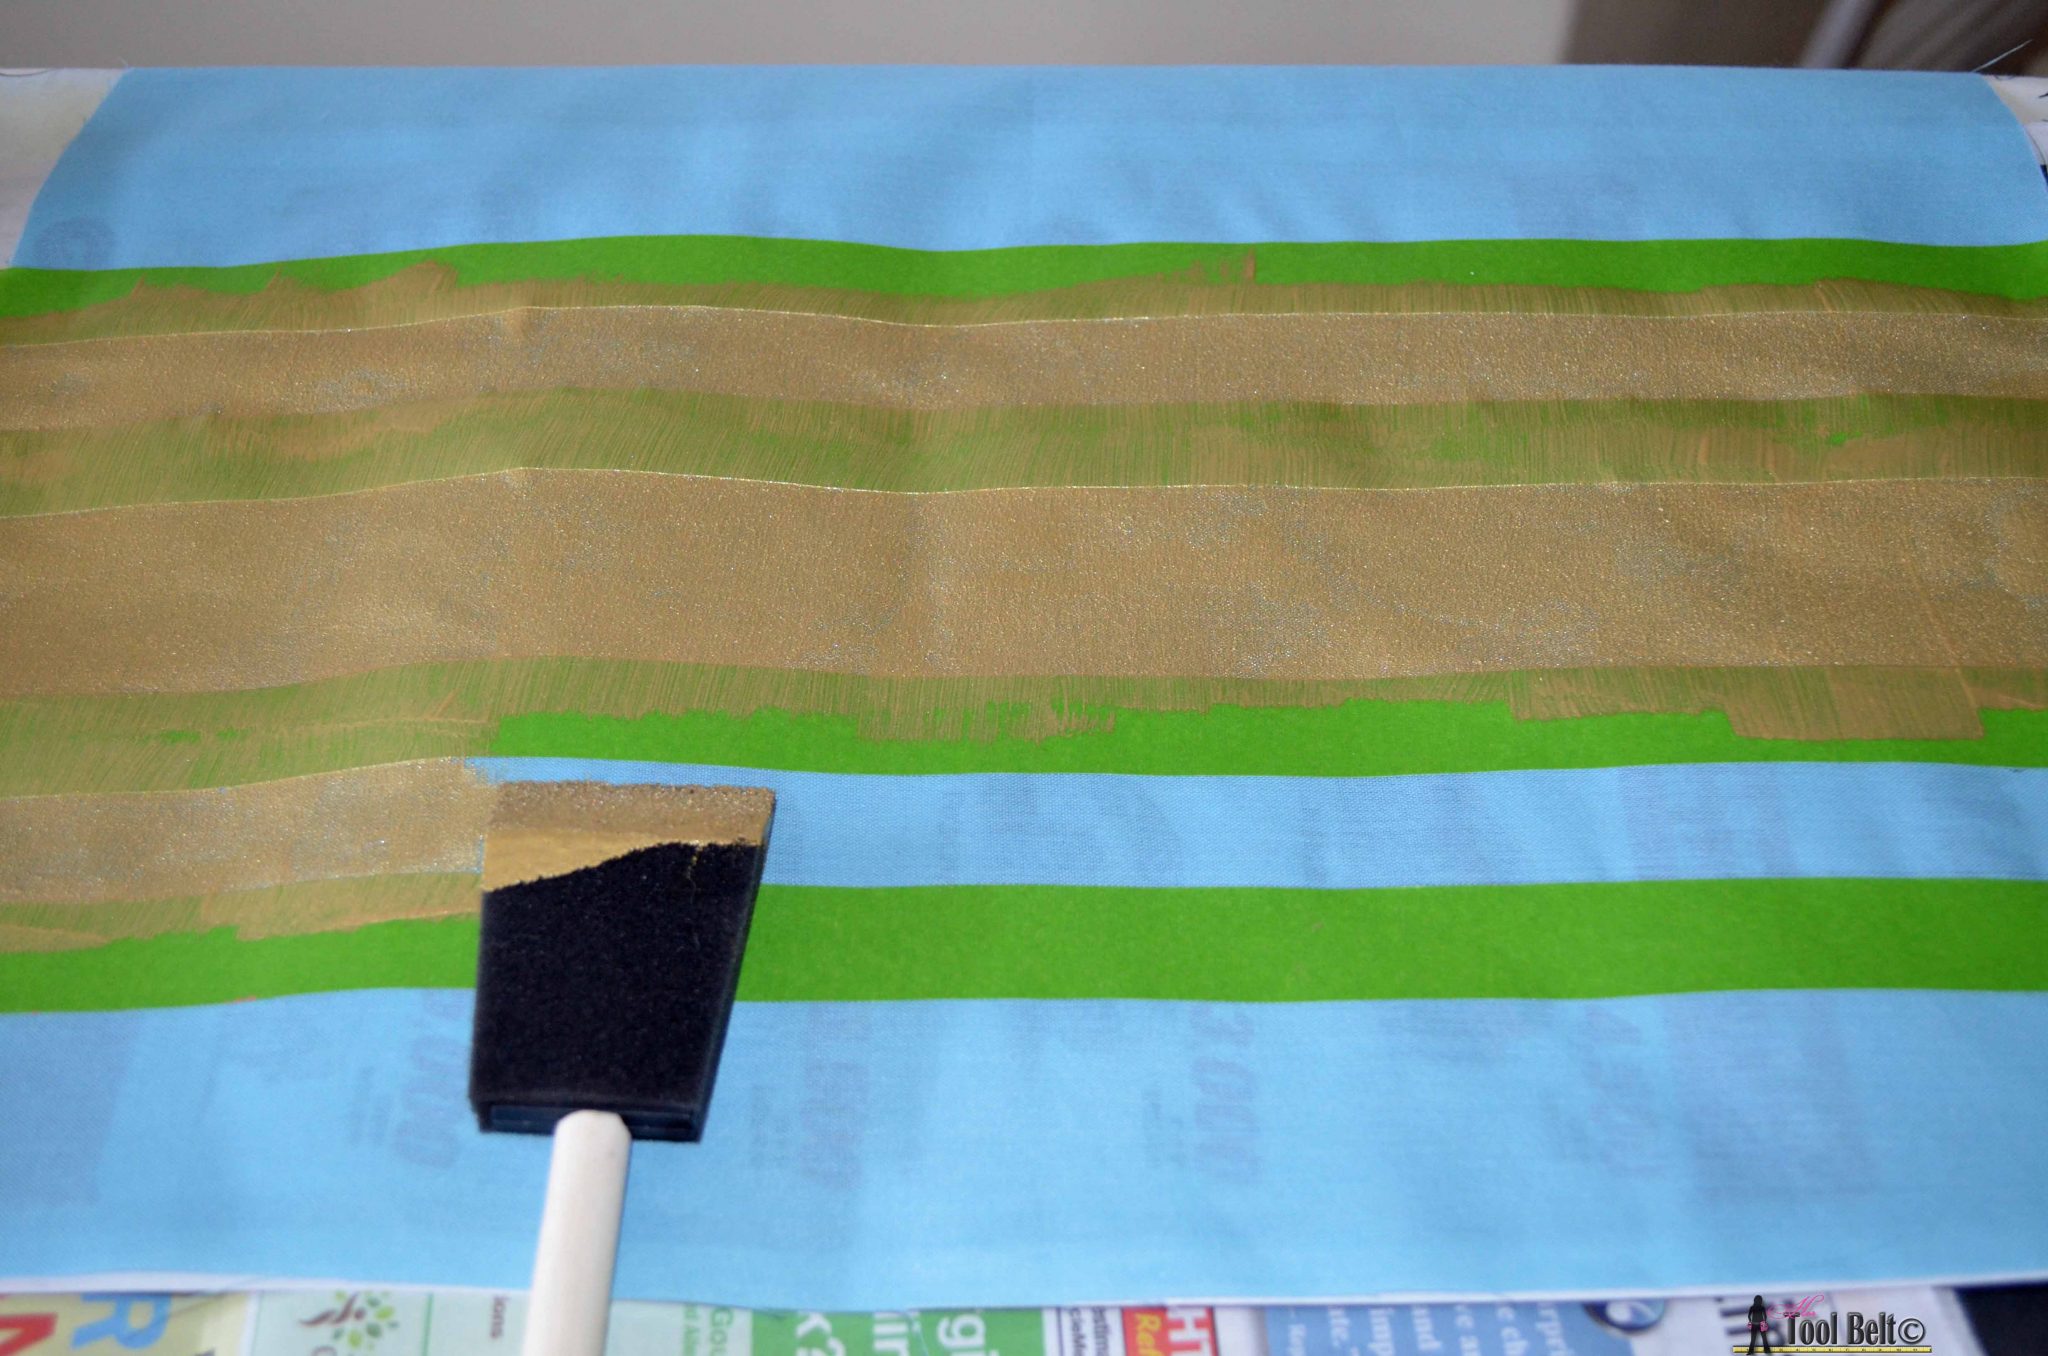
Then I got busy with Frog Tape making patterns. On the blue polyester, I was attempting grain sack stripes. Make sure the back panel lines will line up with the front.
I wanted to try a gold polka dot pillow. I put strips of Frog Tape on the canvas, then took a 1 1/4″ lid and lightly traced around it with an X-acto knife. Then removed the inner tape circle. 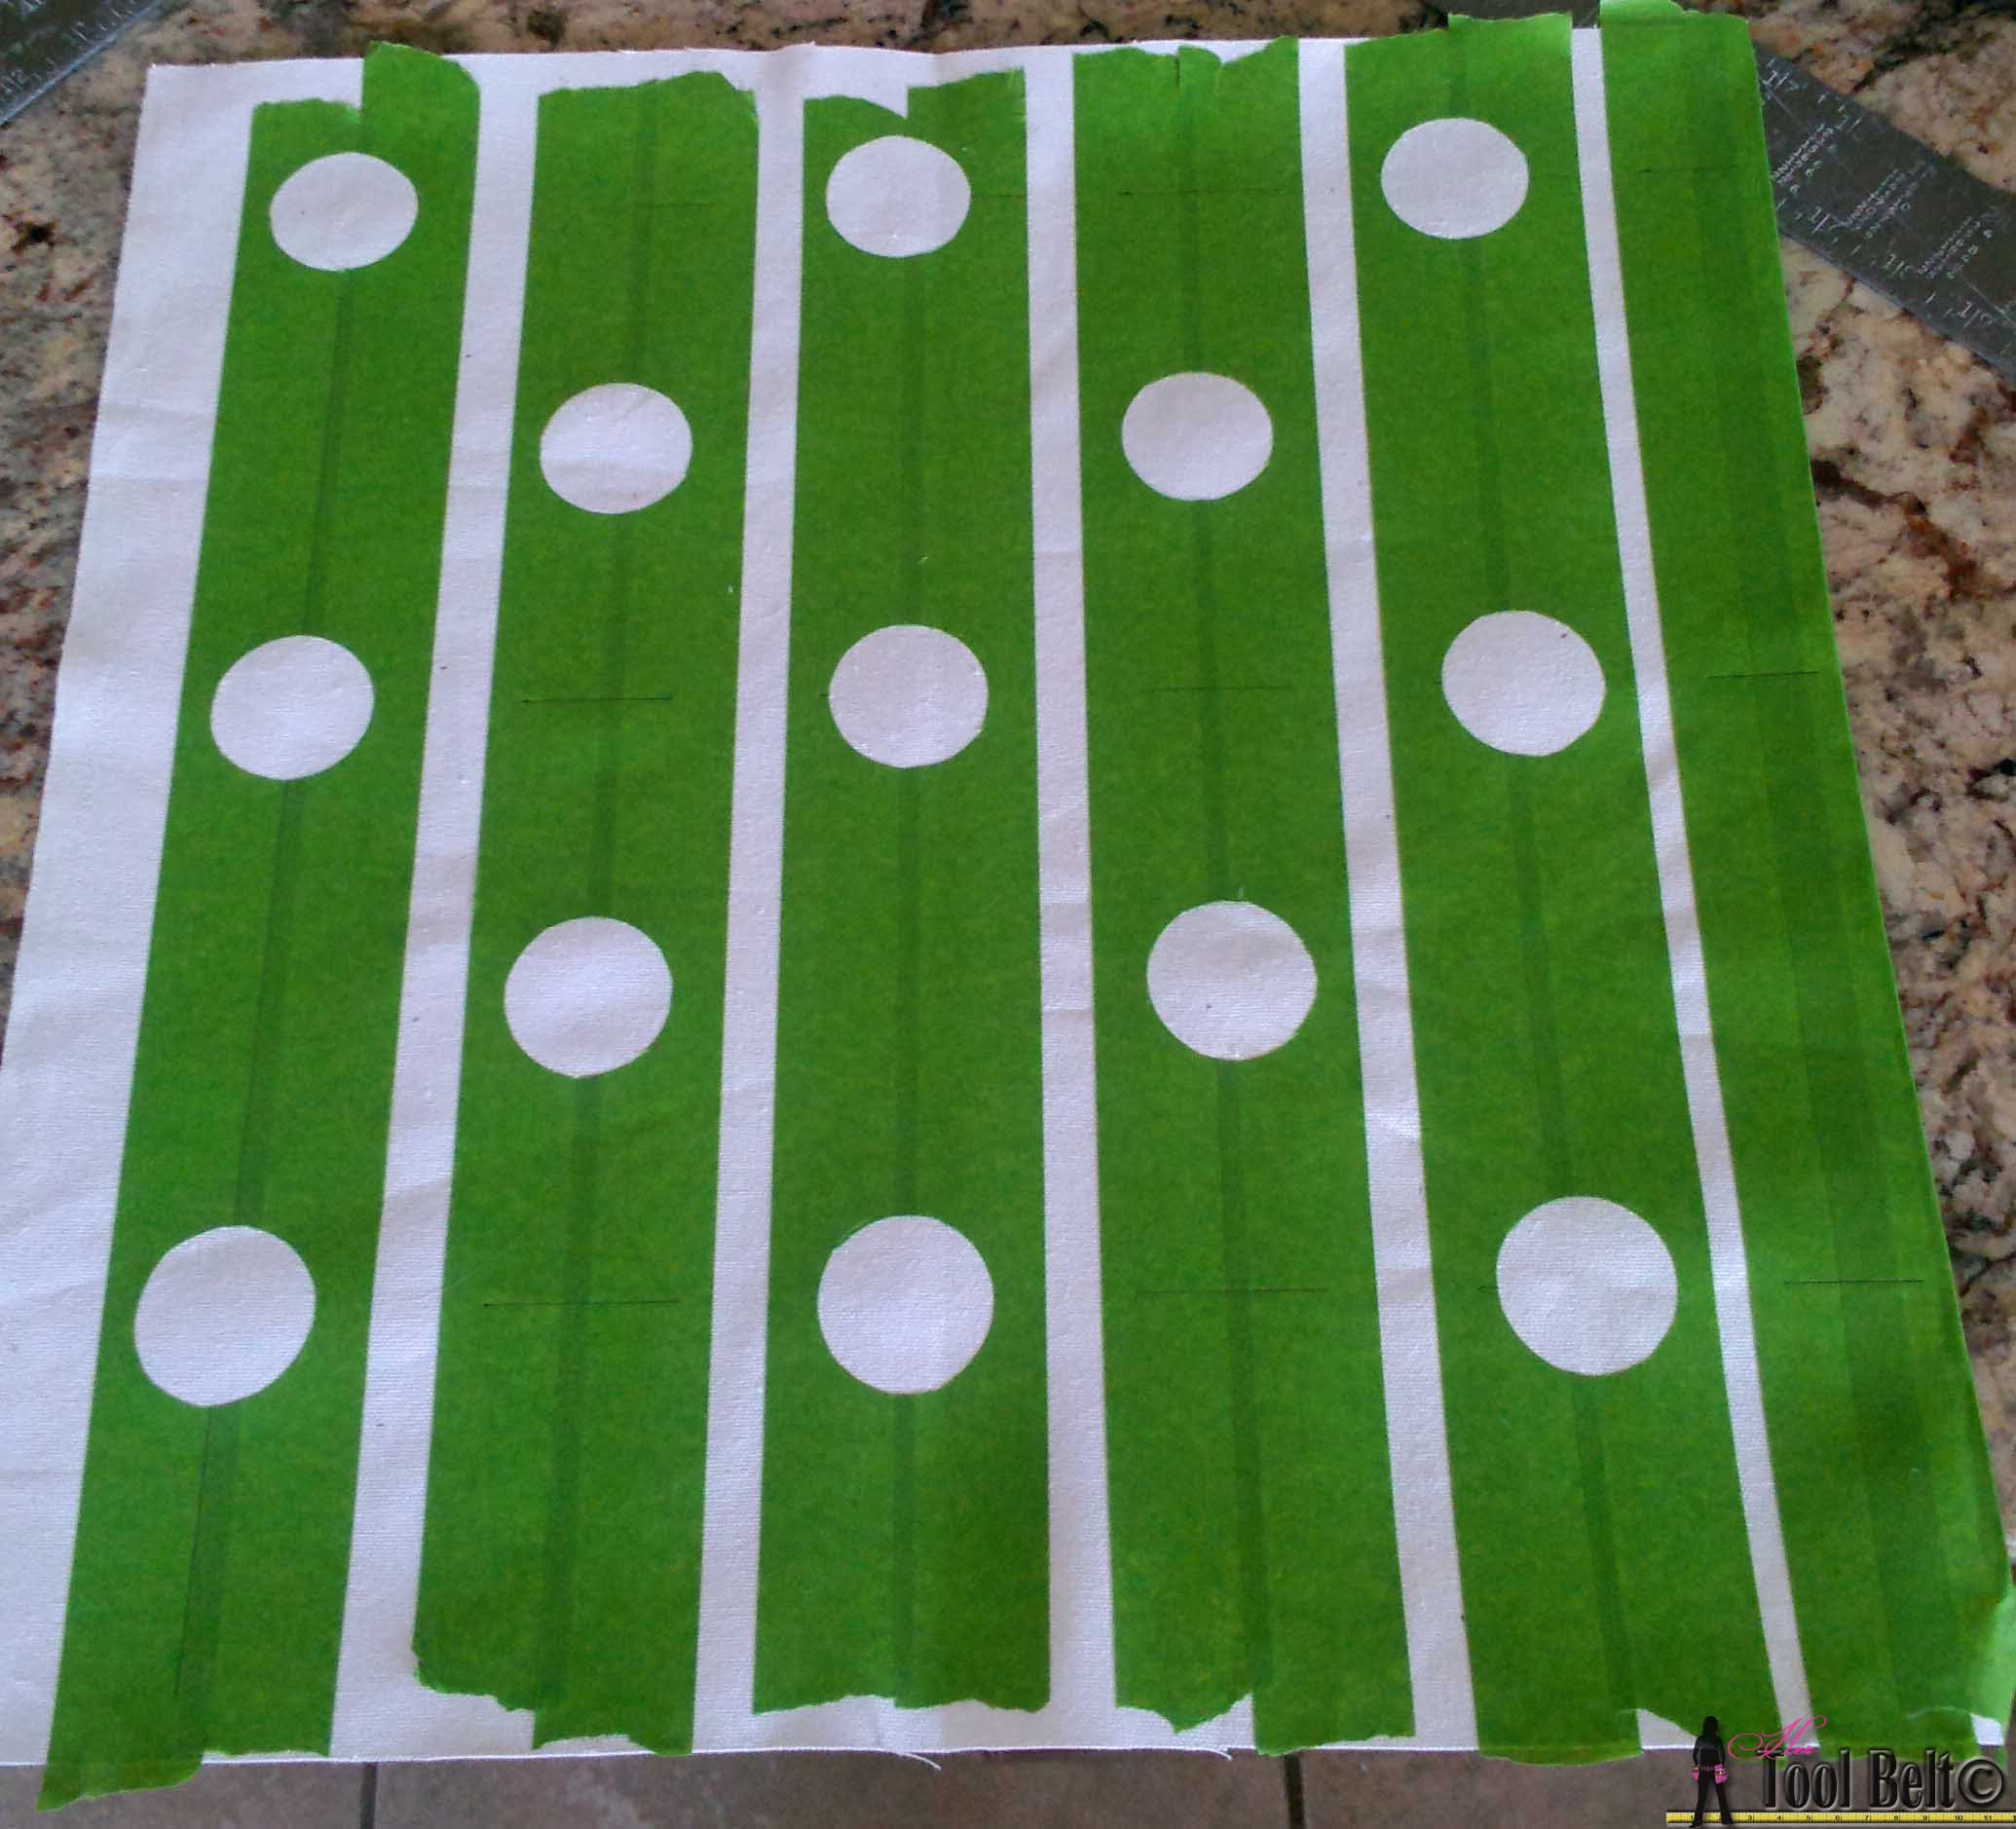
Before you paint, press down firmly on all of your taped areas.
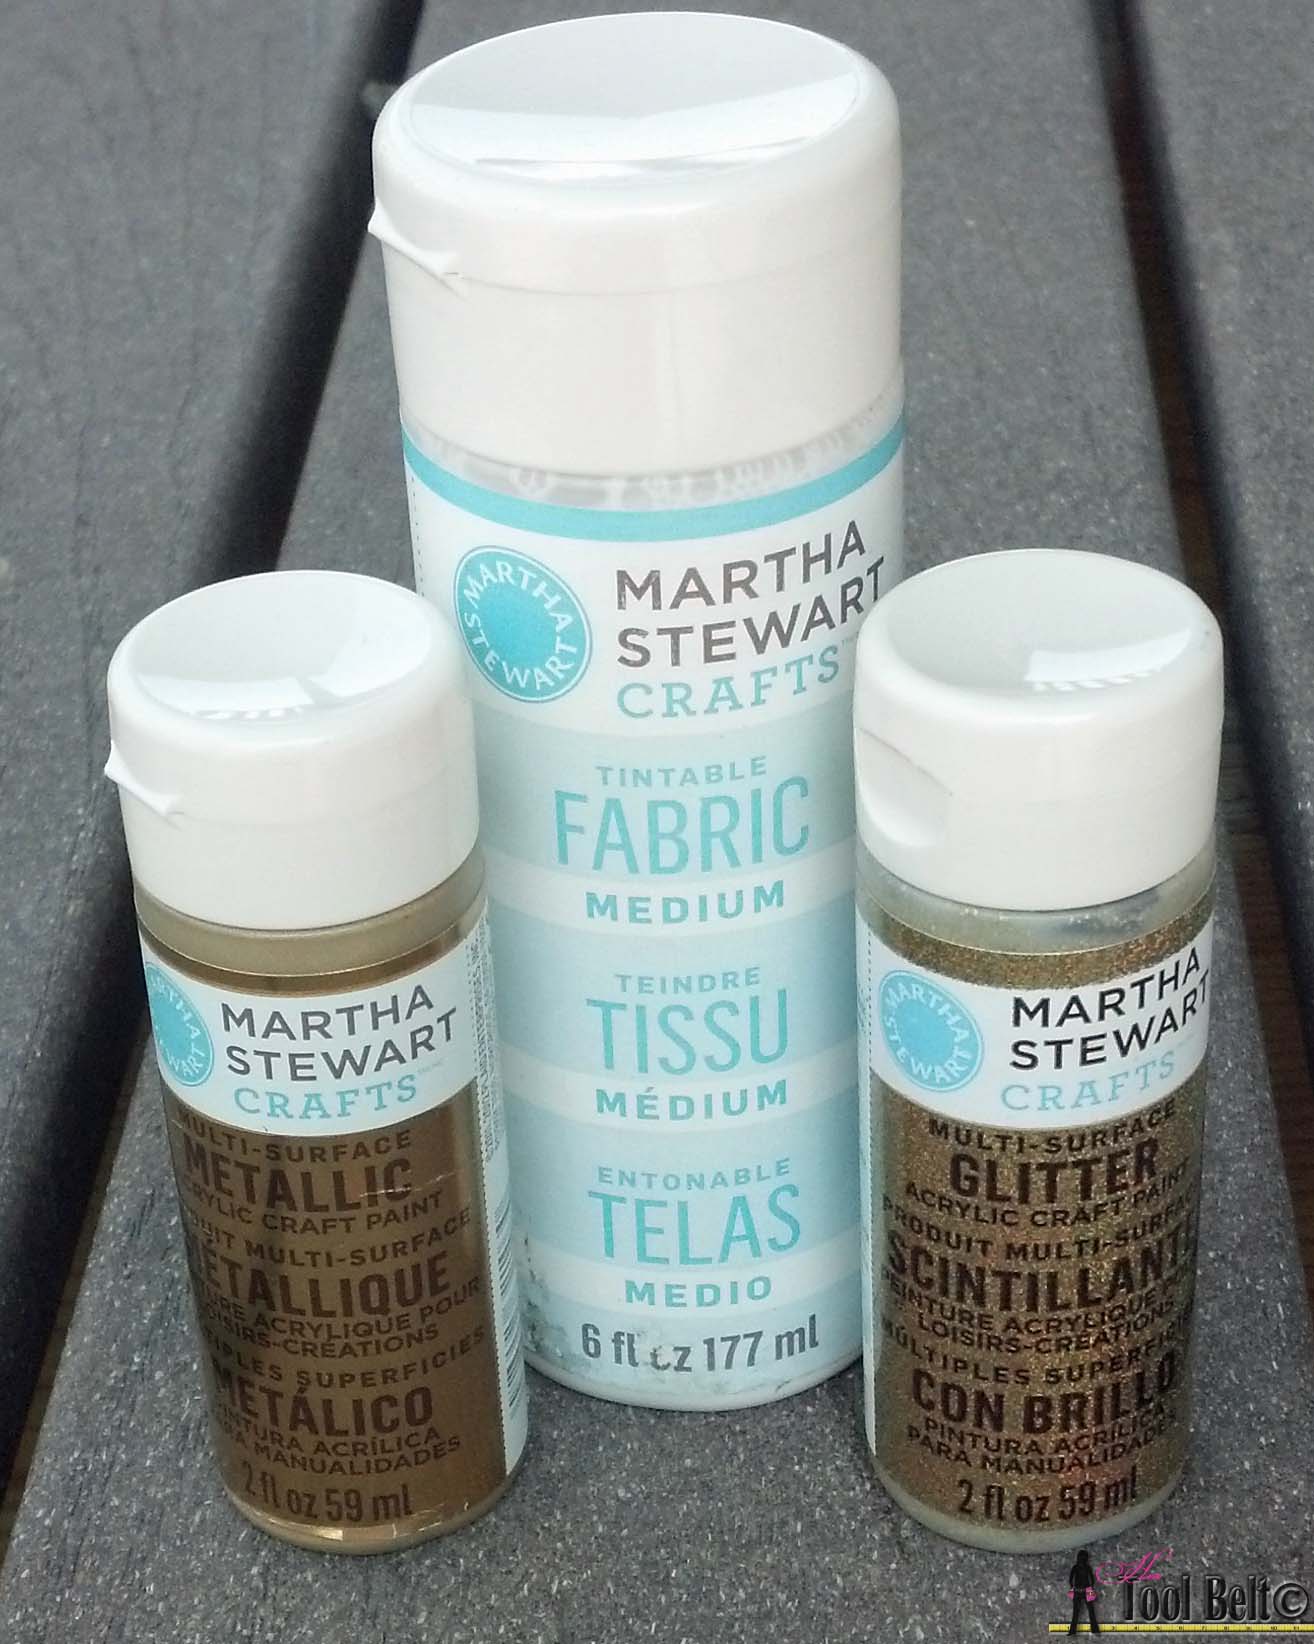 To paint the pillows you need to add Fabric Medium to the paint. This keeps the paint pliable when dry, and prevents the paint from flaking. You can grab some at JoAnn’s, but I ended up buying it off of Amazon, it was cheaper. The acrylic paints were cheap on amazon too about $1.75, I was surprised.
I used acrylic metallic gold paint for the gold pillows and used coral latex paint for the coral pillow. Both seemed to work great.
Mix 2 parts of paint with 1 part of fabric medium.
Now the painting fun, put something under your material like newspaper. Paint the material with a light coat, don’t puddle the paint. That’s a recipe for leaks. Allow the paint to dry, mine was dry within 30 minutes. Touch up any spots that you need too.

On the gold polka dot pillow, I wanted to add a little extra bling. I added a final coat of the gold glitter paint mixed with fabric medium.
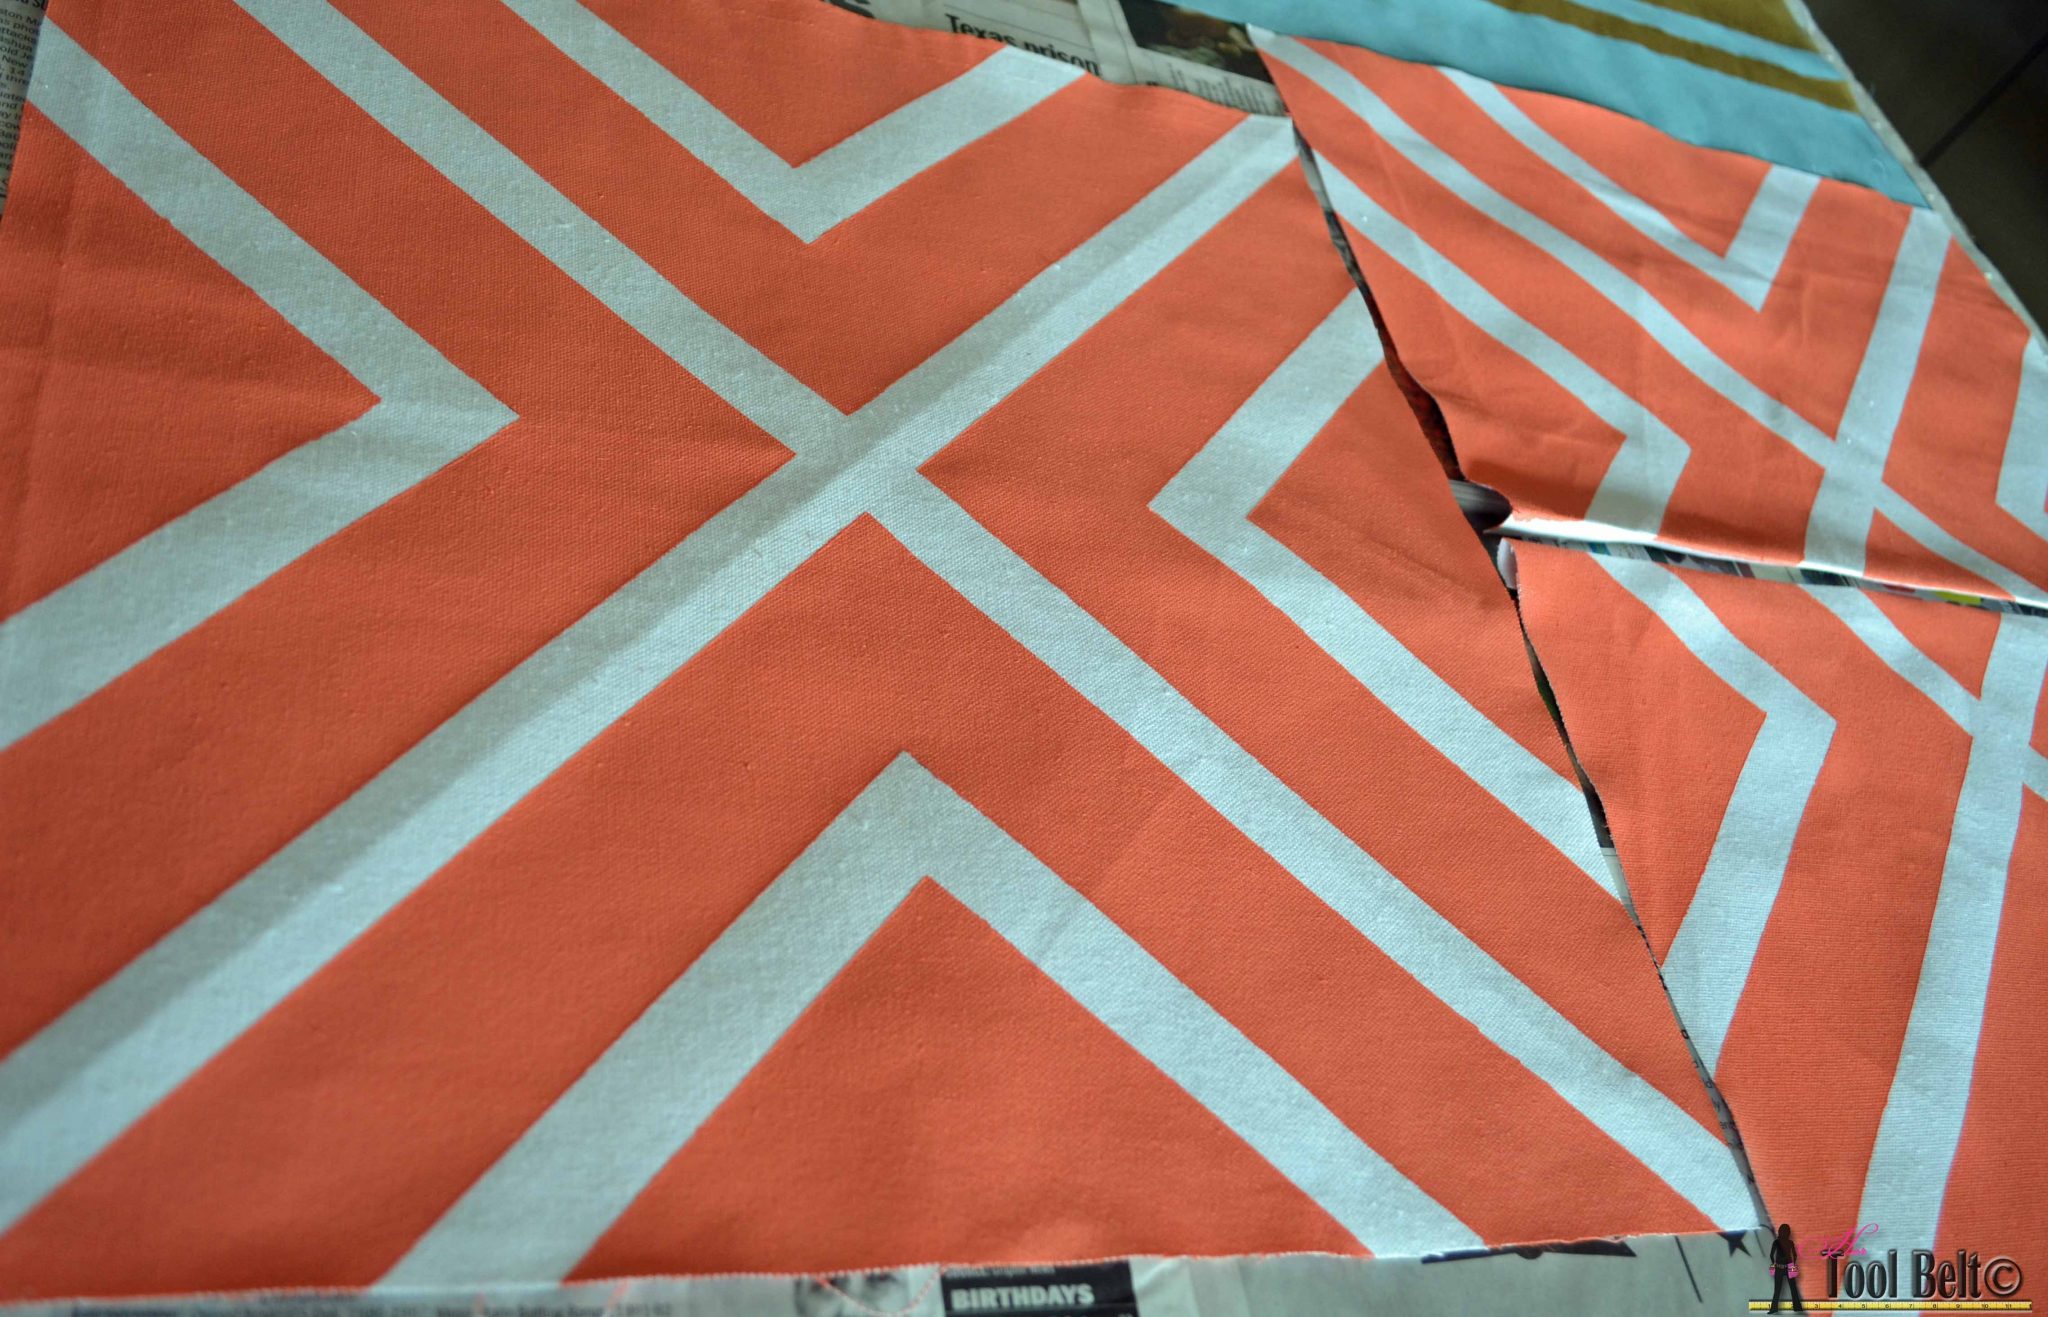
Now pull off the tape and allow your material to fully dry. I was super impressed, I did not have 1 leak. (I can’t say that about my walls. ) The painters tape worked perfectly. Even on the thin polyester material, there was no paint leak.
 Once everything was dry, I talked my friend into sewing these pillows for me. It took her all of 10 minutes to sew. Then I stuffed the pillow forms into the envelope.
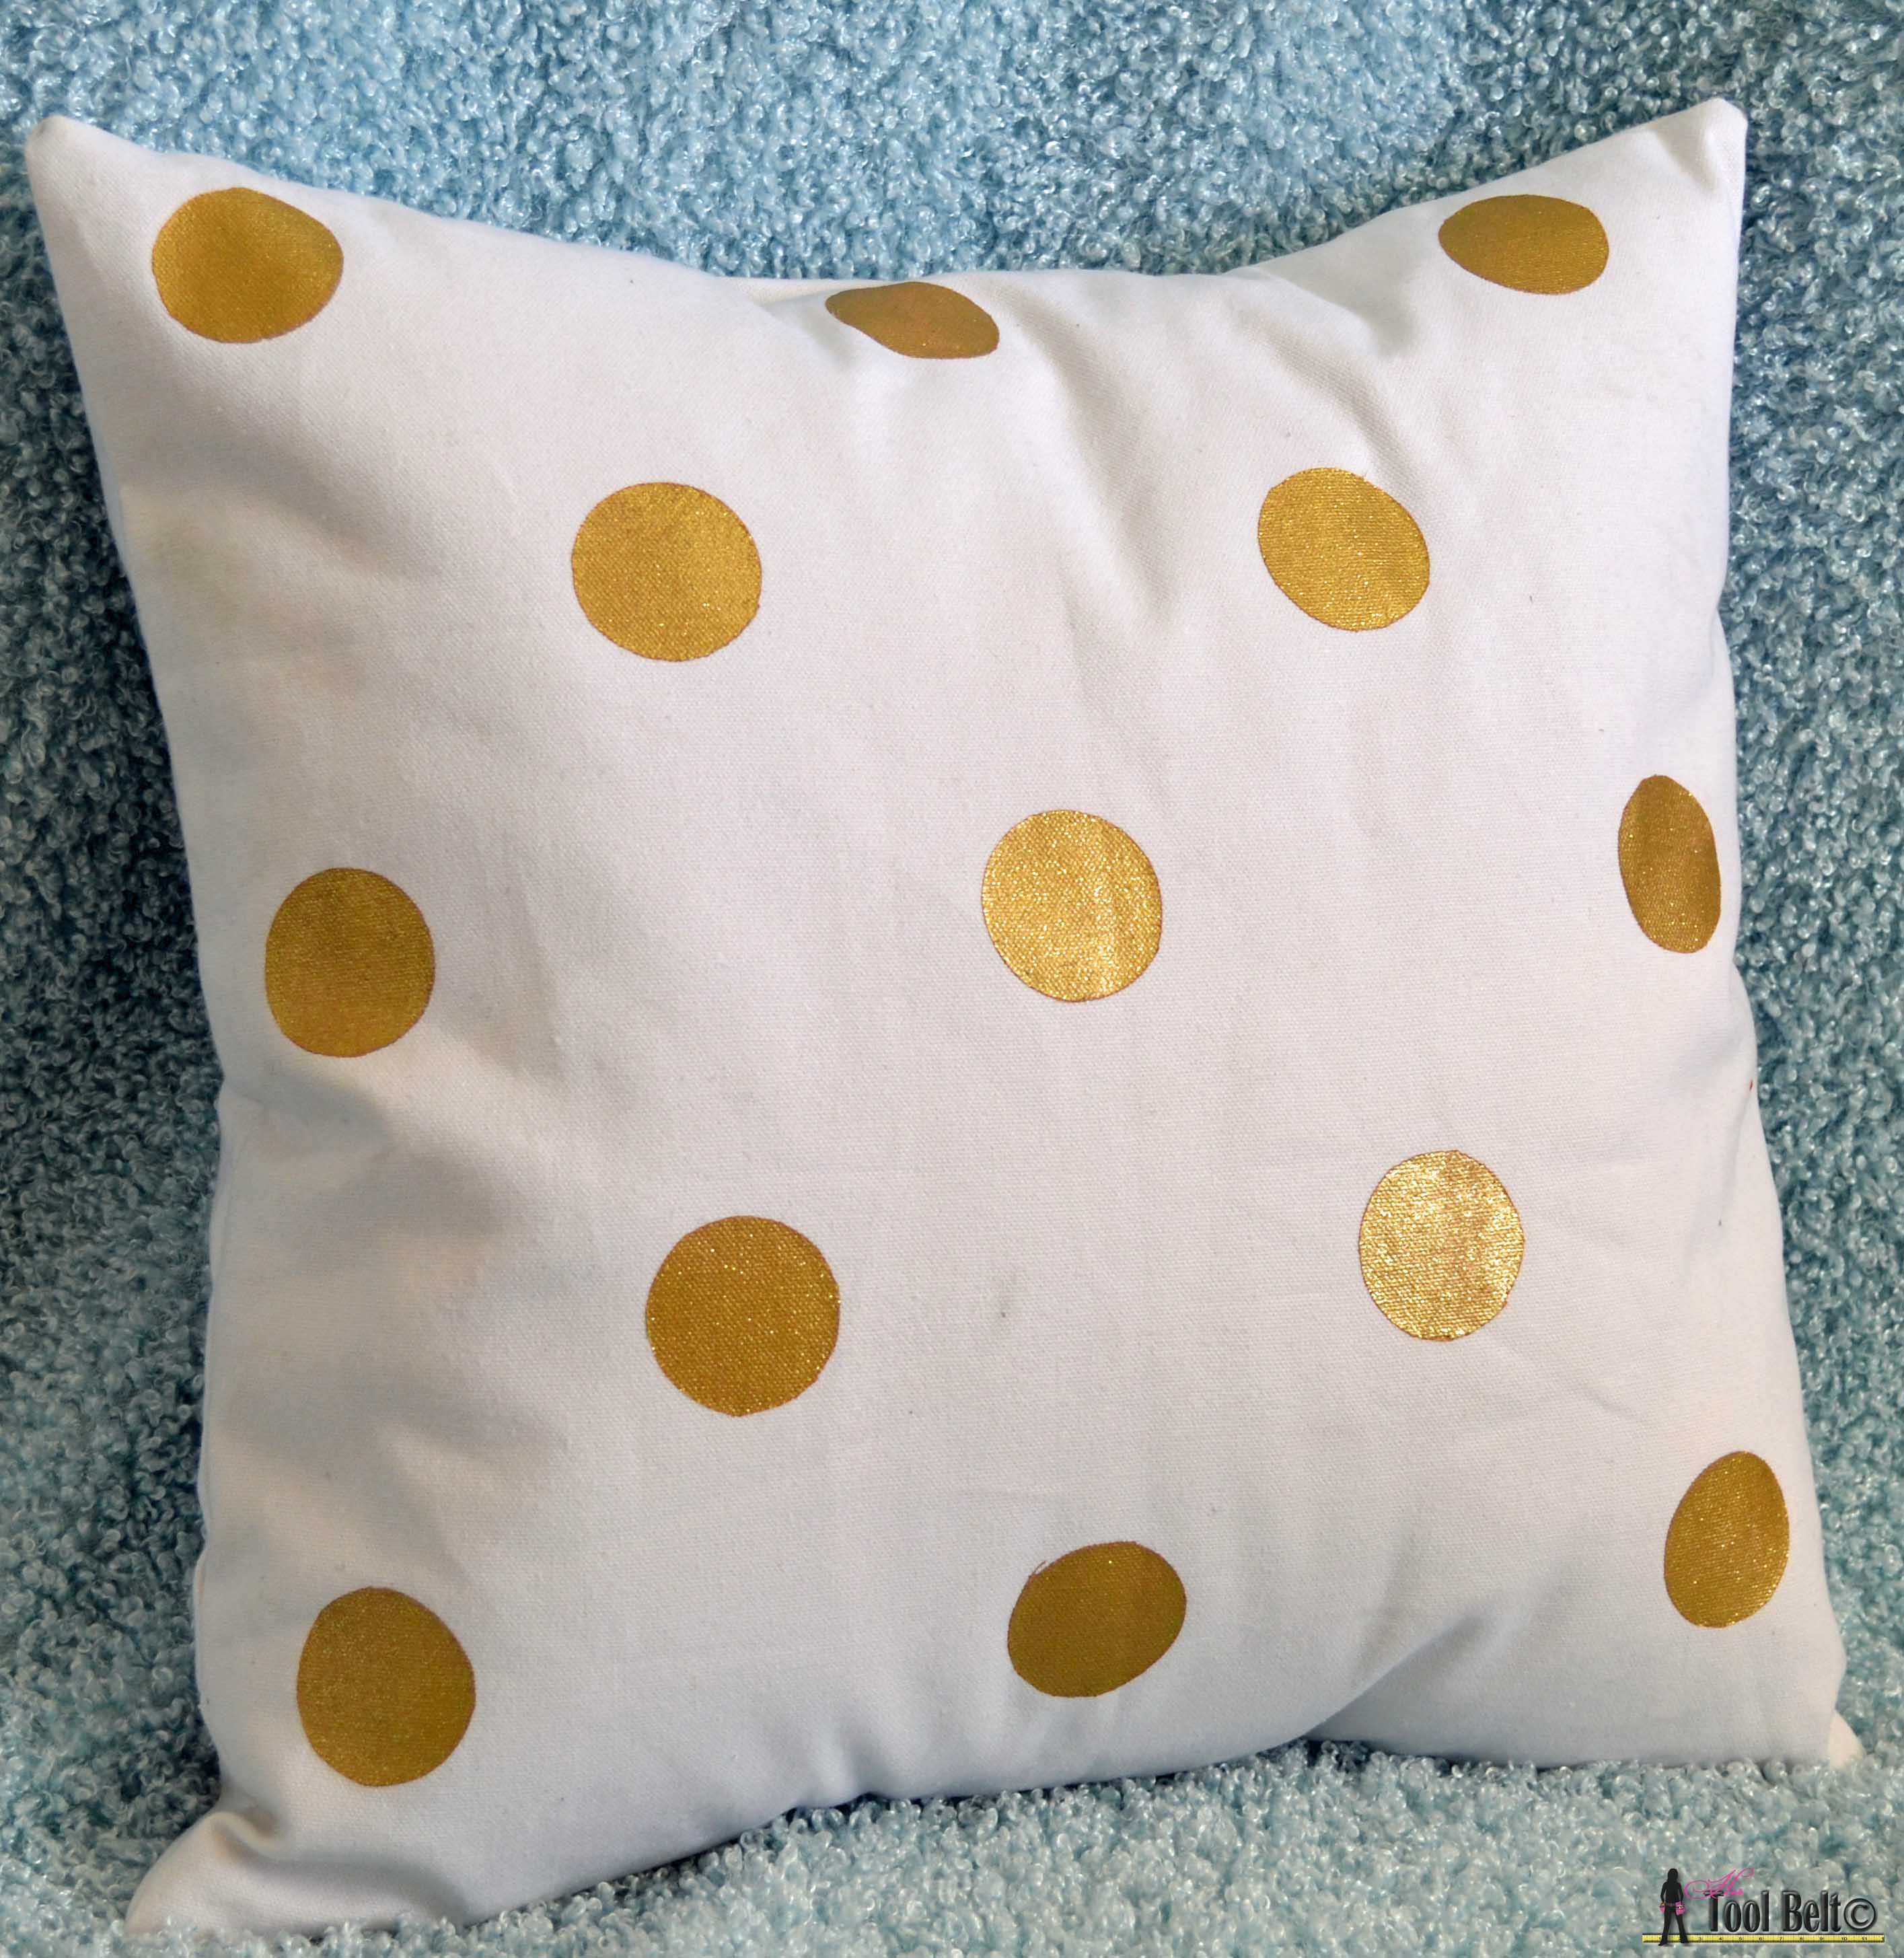
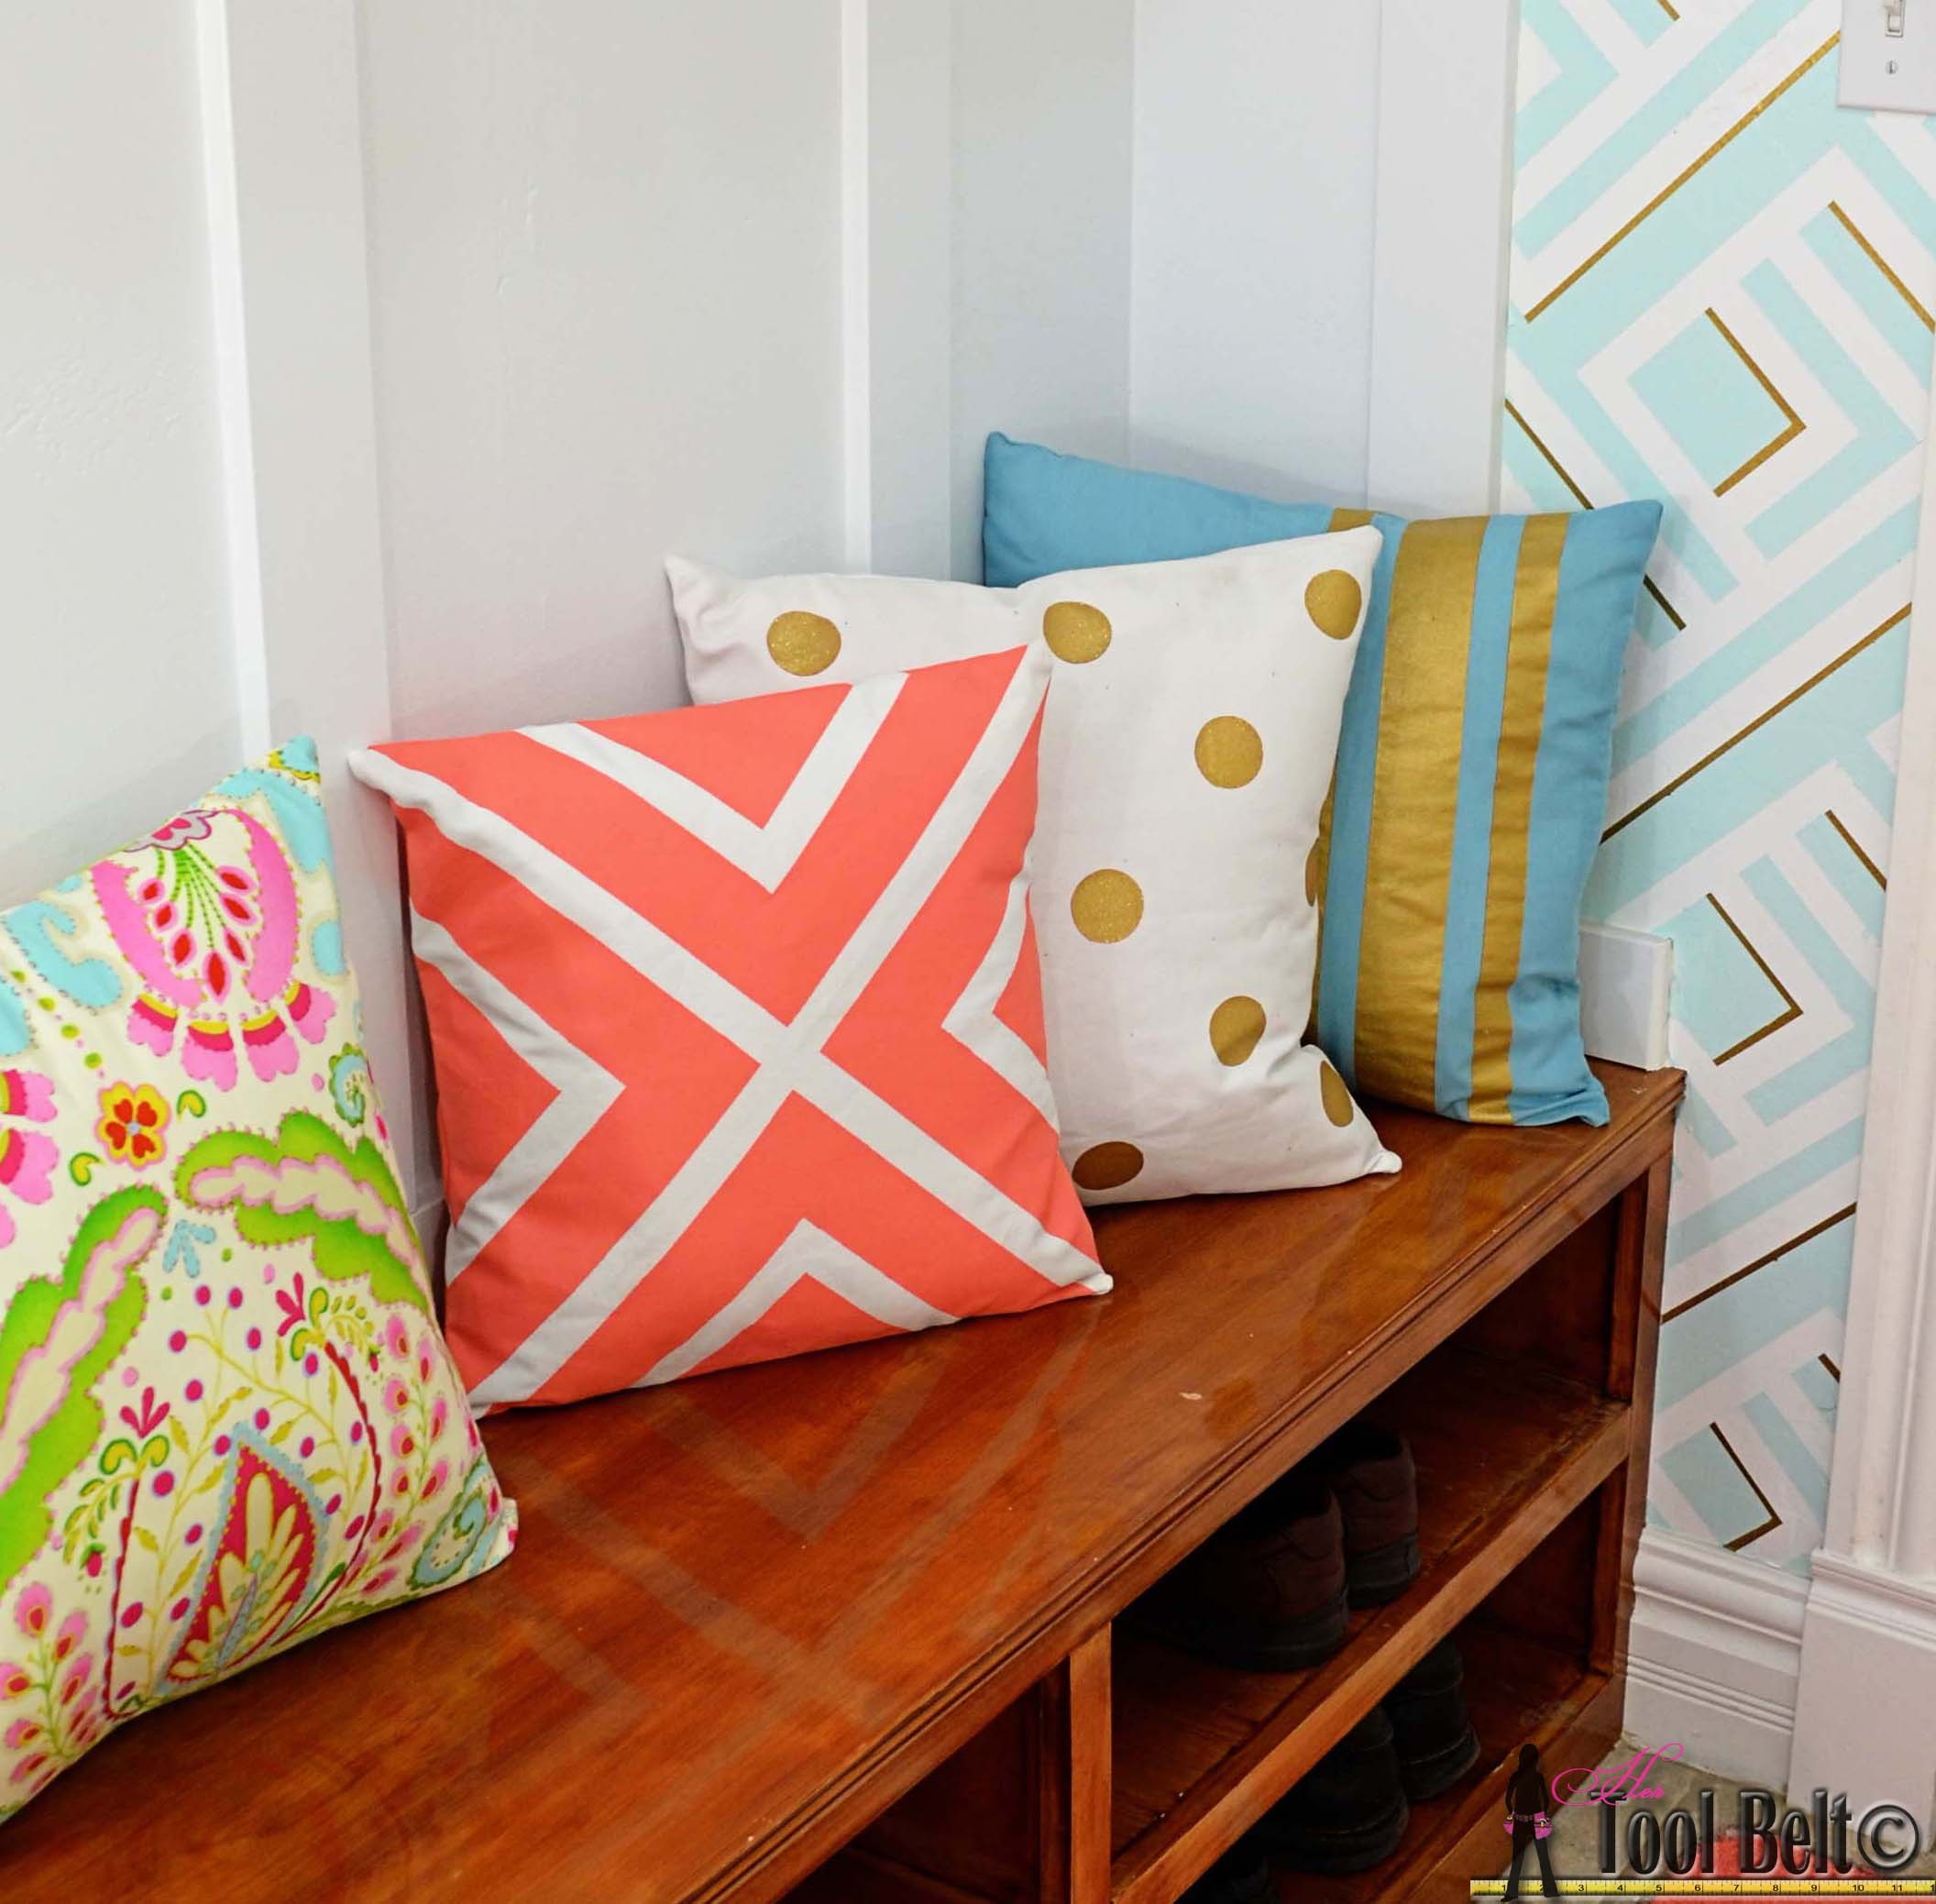
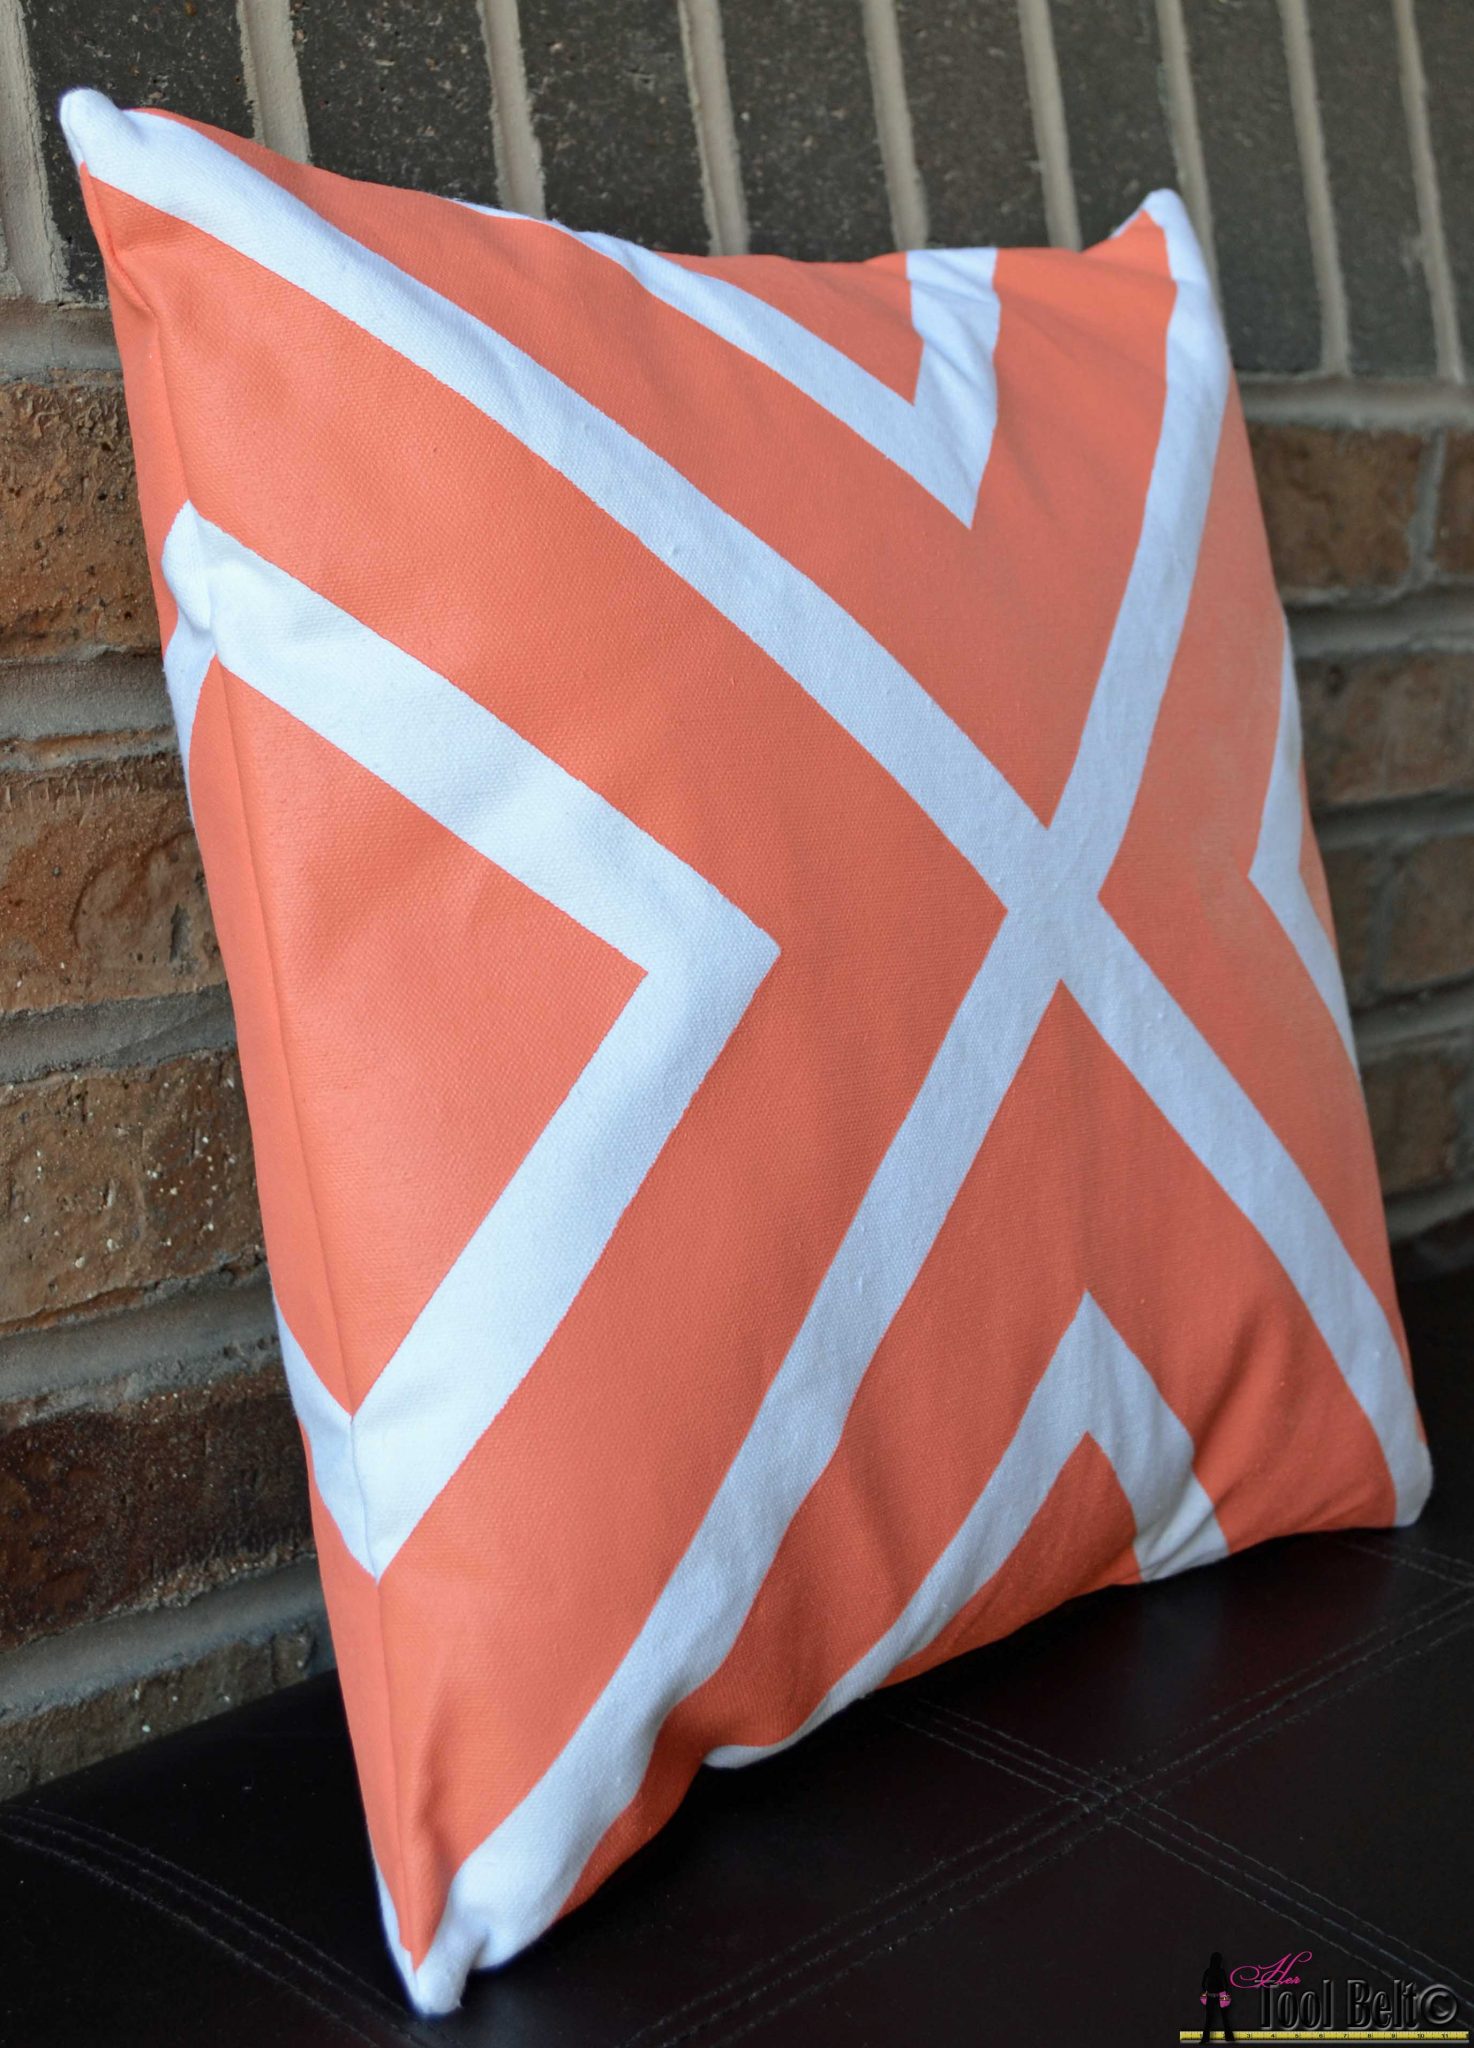 I absolutely love how the painted pillows turned out, I would do it again in a heart beat. The nice thing is that you can use any water based paint, so you can easily customize your color scheme by painting pillows and/or curtains. The finished texture reminds me of outdoor fabric.
Now here comes the big FAIL. The fabric medium bottle says “Care: wash inside out with cool water.” The polka dot pillow had a few pencil marks on it, so I decided to wash it.
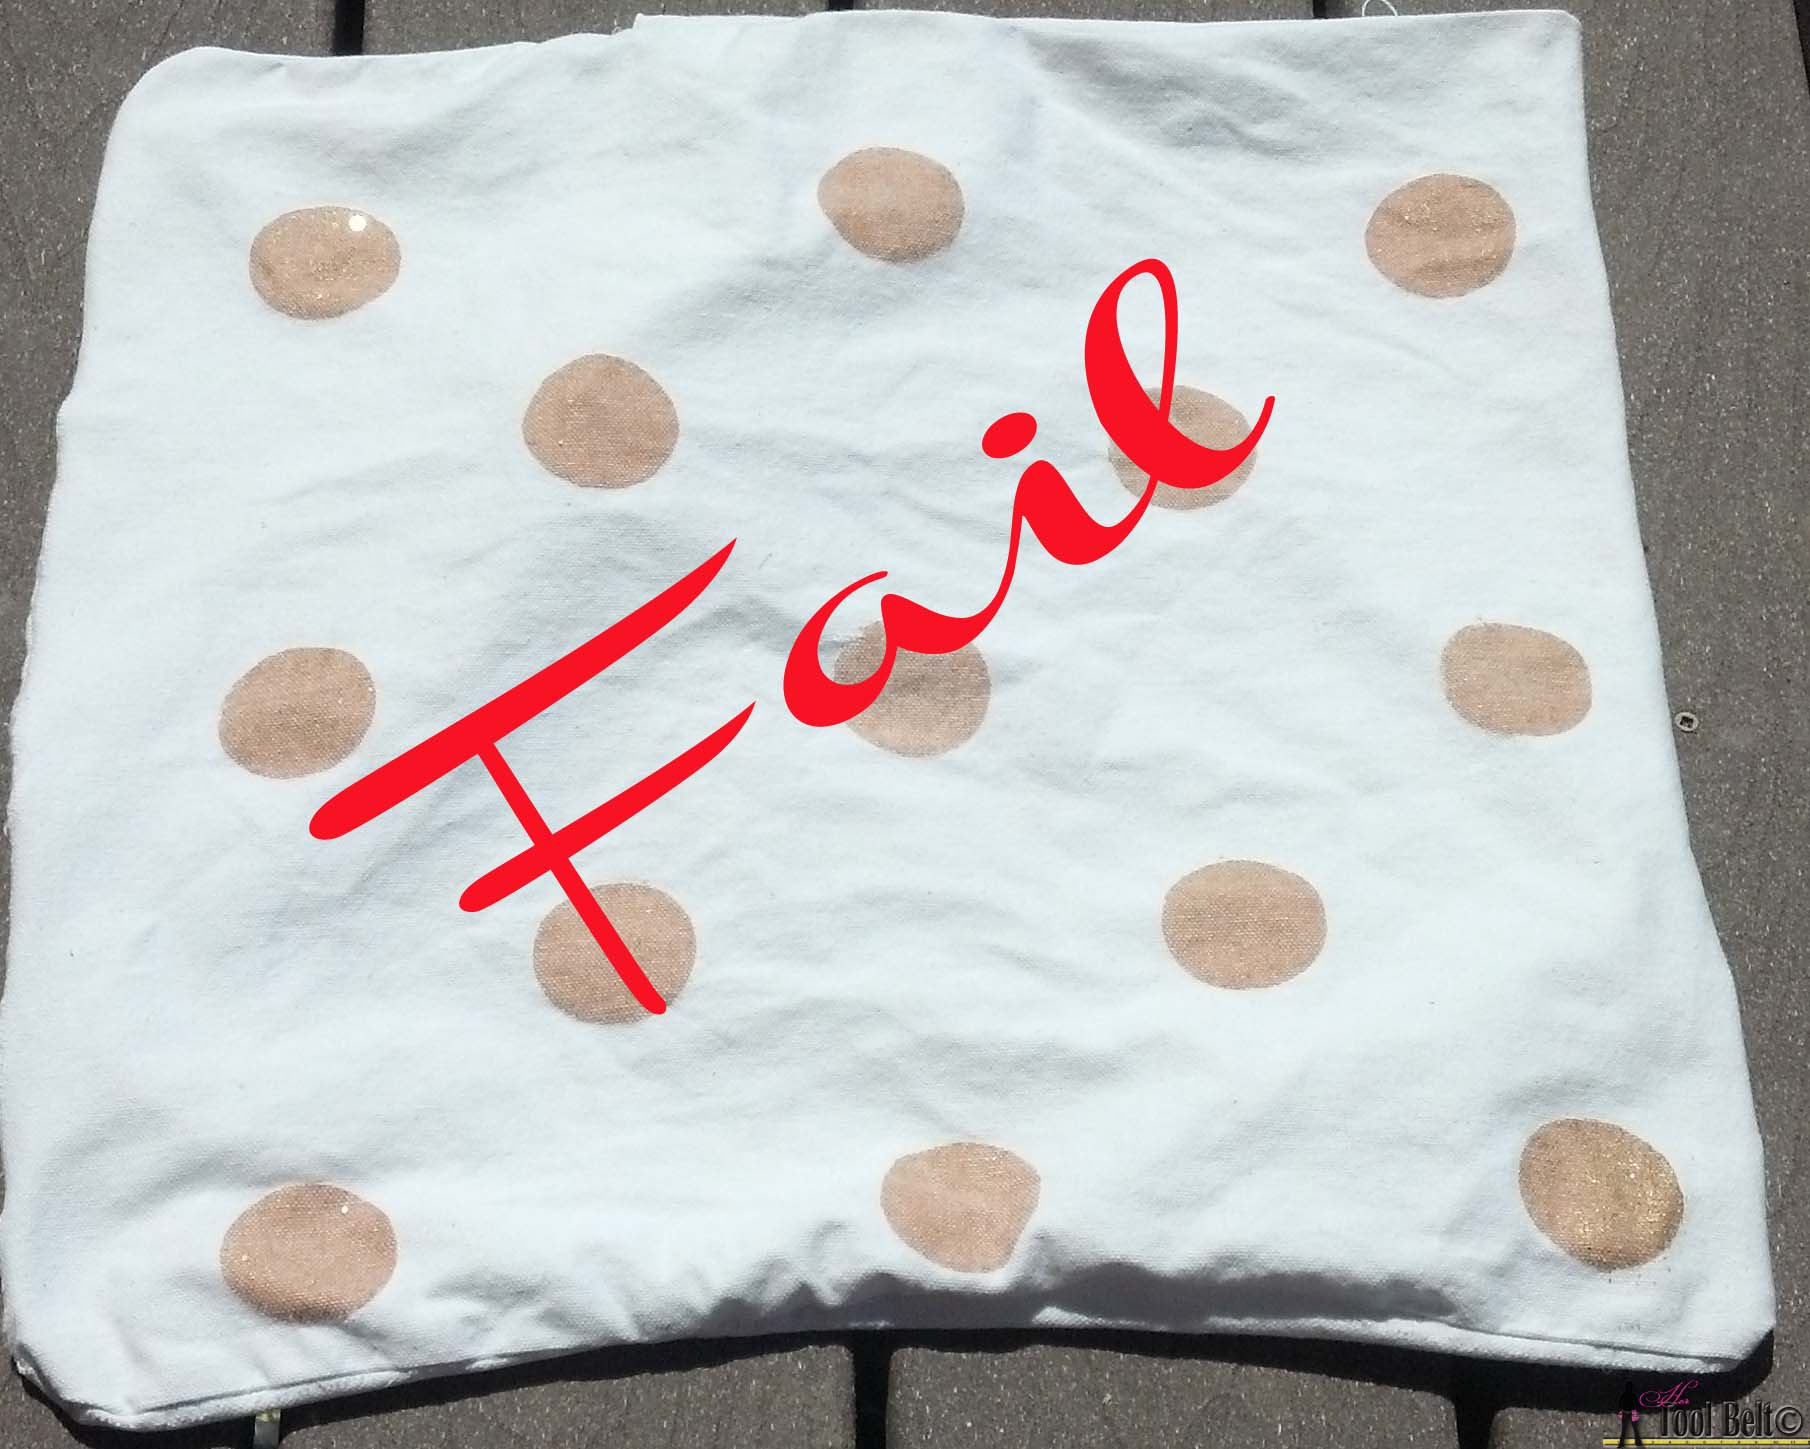
Well that was disappointing. Update: So apparently I did something wrong, because Stacy at NotJUSTahousewife has washed hers numerous times and they still look great.
I missed a crucial step, I didn’t heat set the painted pillow after the paint was dry, whoops. To heat set the paint, turn the fabric to the back side. Use an iron set on medium high with no steam and slowly iron the painted fabric. I successfully washed the blue polyester pillow and the paint still looks great – Thanks Stacy!
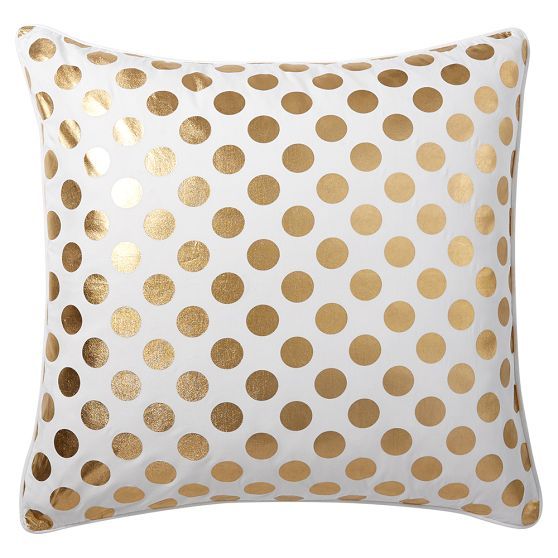
Now that I know how well painting fabric works, I am going to try and recreate this fabulous gold polka dot pillow, so fun.
 Have fun creating.
Pin for later
Amy,
I think I met a blog sister today in blogger world. I am crazy about trying new things, making a plan, and then have at it. I love the you share your success and failure. The pillows turned out great. Did you was the fabric before painting? Before I sound like a stalker.
Great Job I am impressed,
Karen Marie Kedzuch
Dragonfly & Lily Pads
Yes, you are suppose to wash the fabric and let it dry for 24 hours and then heat set it. BTW I heart blog stalkers!
Love the pillows…especially the one that pink one. More power to ya and thanks for failing so I won’t..LOL.
Thanks for sharing!
Thanks for stopping by.
Love them! Fantastic job and I may have to start painting all of my pillows!
You’re amazing Amy! I could use your energy to tackle my new house. Did you paint your floor and walls too?
I entered a Frog Tape competition, so I painted a ton of things. I painted that pattern on the wall, the pillows and rug. I don’t really like the feel of painted rugs, it’s weird. I hope you guys are getting settled in and enjoy the new place! I envy all of your adventures!
Great job! I have painted curtains before, so I know how that process goes. I have not washed them, and I guess now I definitely won’t be! Thanks for the idea, I’ll be saving this one.
Thanks for visiting
OMG what an awesome share thank you must try!!! I love how throw pillows can change a room!!!!
This is SO neat!! Thanks for sharing with the Merry Monday Linky Party!
I have never thought to paint pillows (or rugs and curtains for that matter!) I think I see a new project in my future 😉 Thanks for sharing!
Beware! It is kind of addicting.
I love that you shared a failure too! These are so adorable I might have to convince myself to sew something else even though I’m pretty terrible at it.
Ya Meaghan, I made my friend do the sewing
I have washed painted pillows over and over and they were just fine. That is so weird! I LOVE your pillows!!! They turned out beautiful. I am currently crushing on gold and coral 🙂
Well shoot, I wonder what I did wrong.
I usually use a canvas-y type fabric and I have never used the Martha Brand. I used the fabric paint medium plus either decorart acrylic paint or latex paint. Maybe it was because it was glittery? I am not sure. There are a lot of things that could factor in. Your pillows are gorgeous though! I hope the other hold up well for you 🙂
PS On the fabric medium I use it says to heat set it so I always iron the fabric too. Did you heat set yours?
That’s what I did wrong, I didn’t heat set it after painting. Whoops, better try again. Thanks for your help.
Thanks for solving my problem. I ironed the blue pillow, washed it and it looks great. Thanks again!
I love all your designs! Very elegant. I want to decorate every room with pillows now, hahah!! Thanks for linking up to Snickerdoodle Sunday!
You did an awesome job! I’m pinning to my party board. Thanks so much for sharing at the Twirl & Take a Bow Party!
Leslie
Thanks Leslie!
These are FANTASTIC, Amy! Thank you bunches for linking up and partying with us! Pinning this!
Thanks!
The pillows are great!!! Thanks for sharing your fail too, I wouldn’t have thought about heating it before washing either!
Wow! These are so beautiful! Thanks for sharing with us at Your Designs This Time!
Emily & Erin
These pillows turned out awesome! I love that use used frog tape! I’ve never used that stuff, but I think I need to. 🙂 Also, I love that you shared your fail, along with your success. Thank you for sharing at The Creative Exchange, I featured these today.
Thanks again Amy!
These all look great! I think the coral one is my favorite 🙂 Thanks for sharing the great tips at the end too! Pinned 🙂
Thanks!
Thanks a ton!
I love how they turned out especially is the coral one! Thanks so much for stopping by and linking up to the Creative Exchange link party. I hope to see you again tomorrow.
Although you say it’s a fail, it’s not really because you learned something! I think they all look great together on your bench! I especially loved your dot pillow! Did you re-make the gold dot pillow?
Thanks, and it is ‘in work’ 🙂
When you say heat set do you lay a towel or something over the case and then iron? Or turn inside out?
Thanks.
I just turned the painted fabric to the back side to iron it on low. You could also place a thin material like tea cloth over the paint and iron it.