• Home
  • Project Gallery
  • About me
    • Disclosure
    • Disclaimer
  • Blog

Her Tool Belt

DIY furniture plans, crafts, and home improvement tutorials to empower you!

  • Free Woodworking Plans
    • Bathroom Furniture
    • Bedroom Furniture
    • Entry
    • Family Room Furniture
    • Garage
    • Kitchen furniture
    • Laundry Room
    • Mudroom Furniture
    • Organization
    • Outdoor Furniture
  • Home Decor
    • Upcycle
  • Crafts
    • Holiday
  • Home Improvement
    • Cleaning
    • Fix IT
    • Paint
    • Tile
  • Tool Reviews
  • Tool Time Videos

Vintage Keyhole – Key Holder

July 3, 2014 by Amy 9 Comments

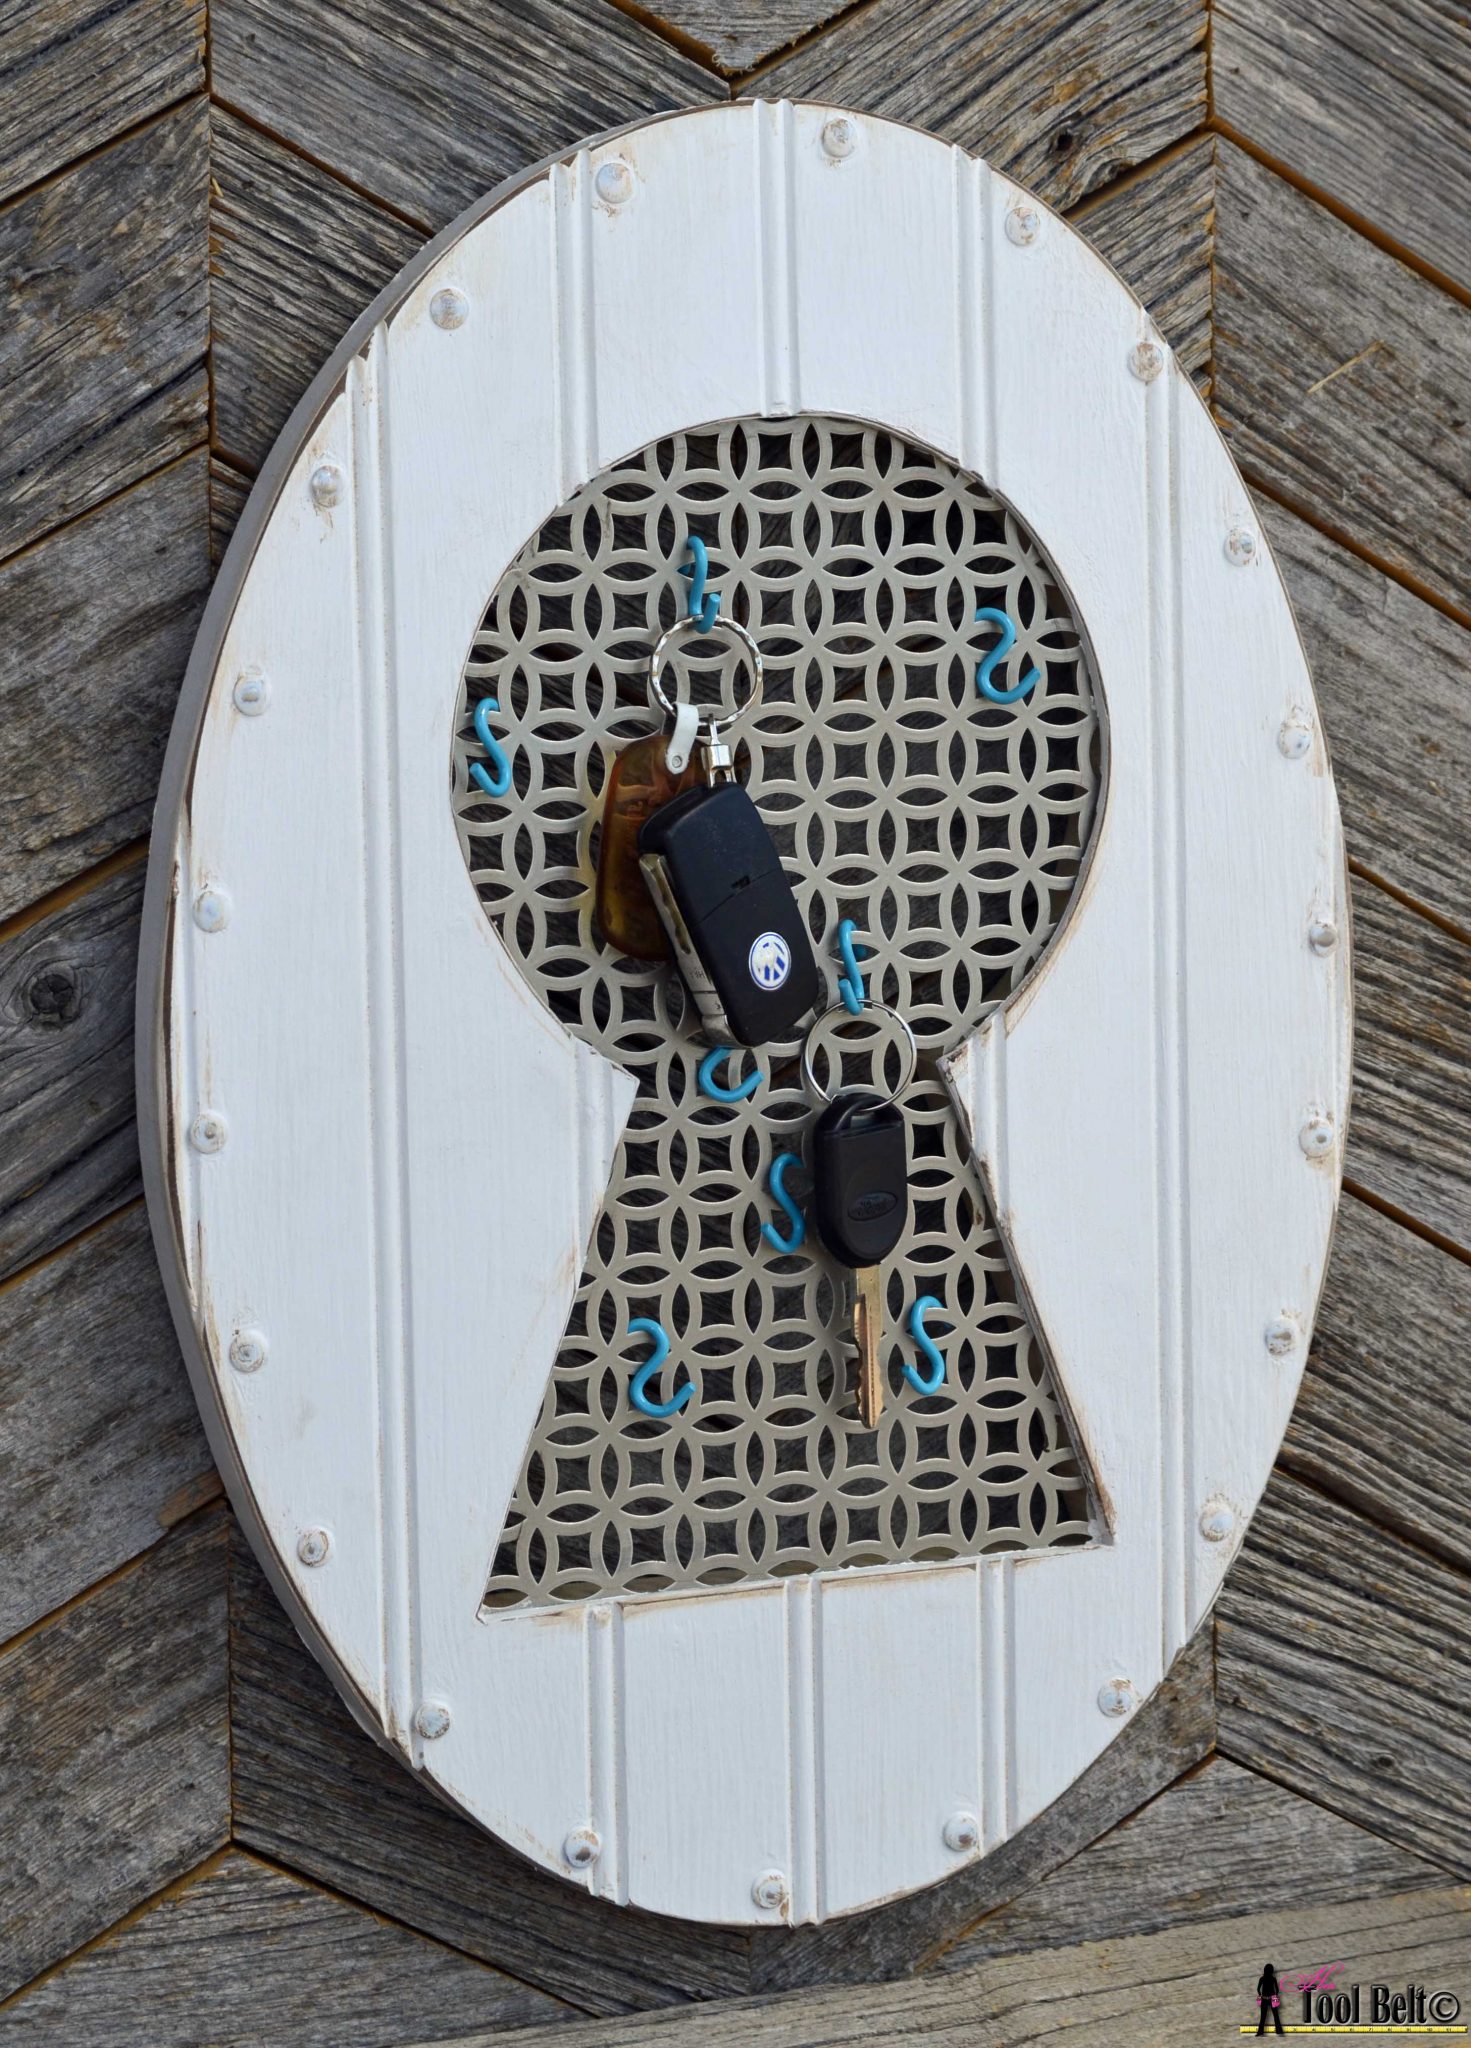
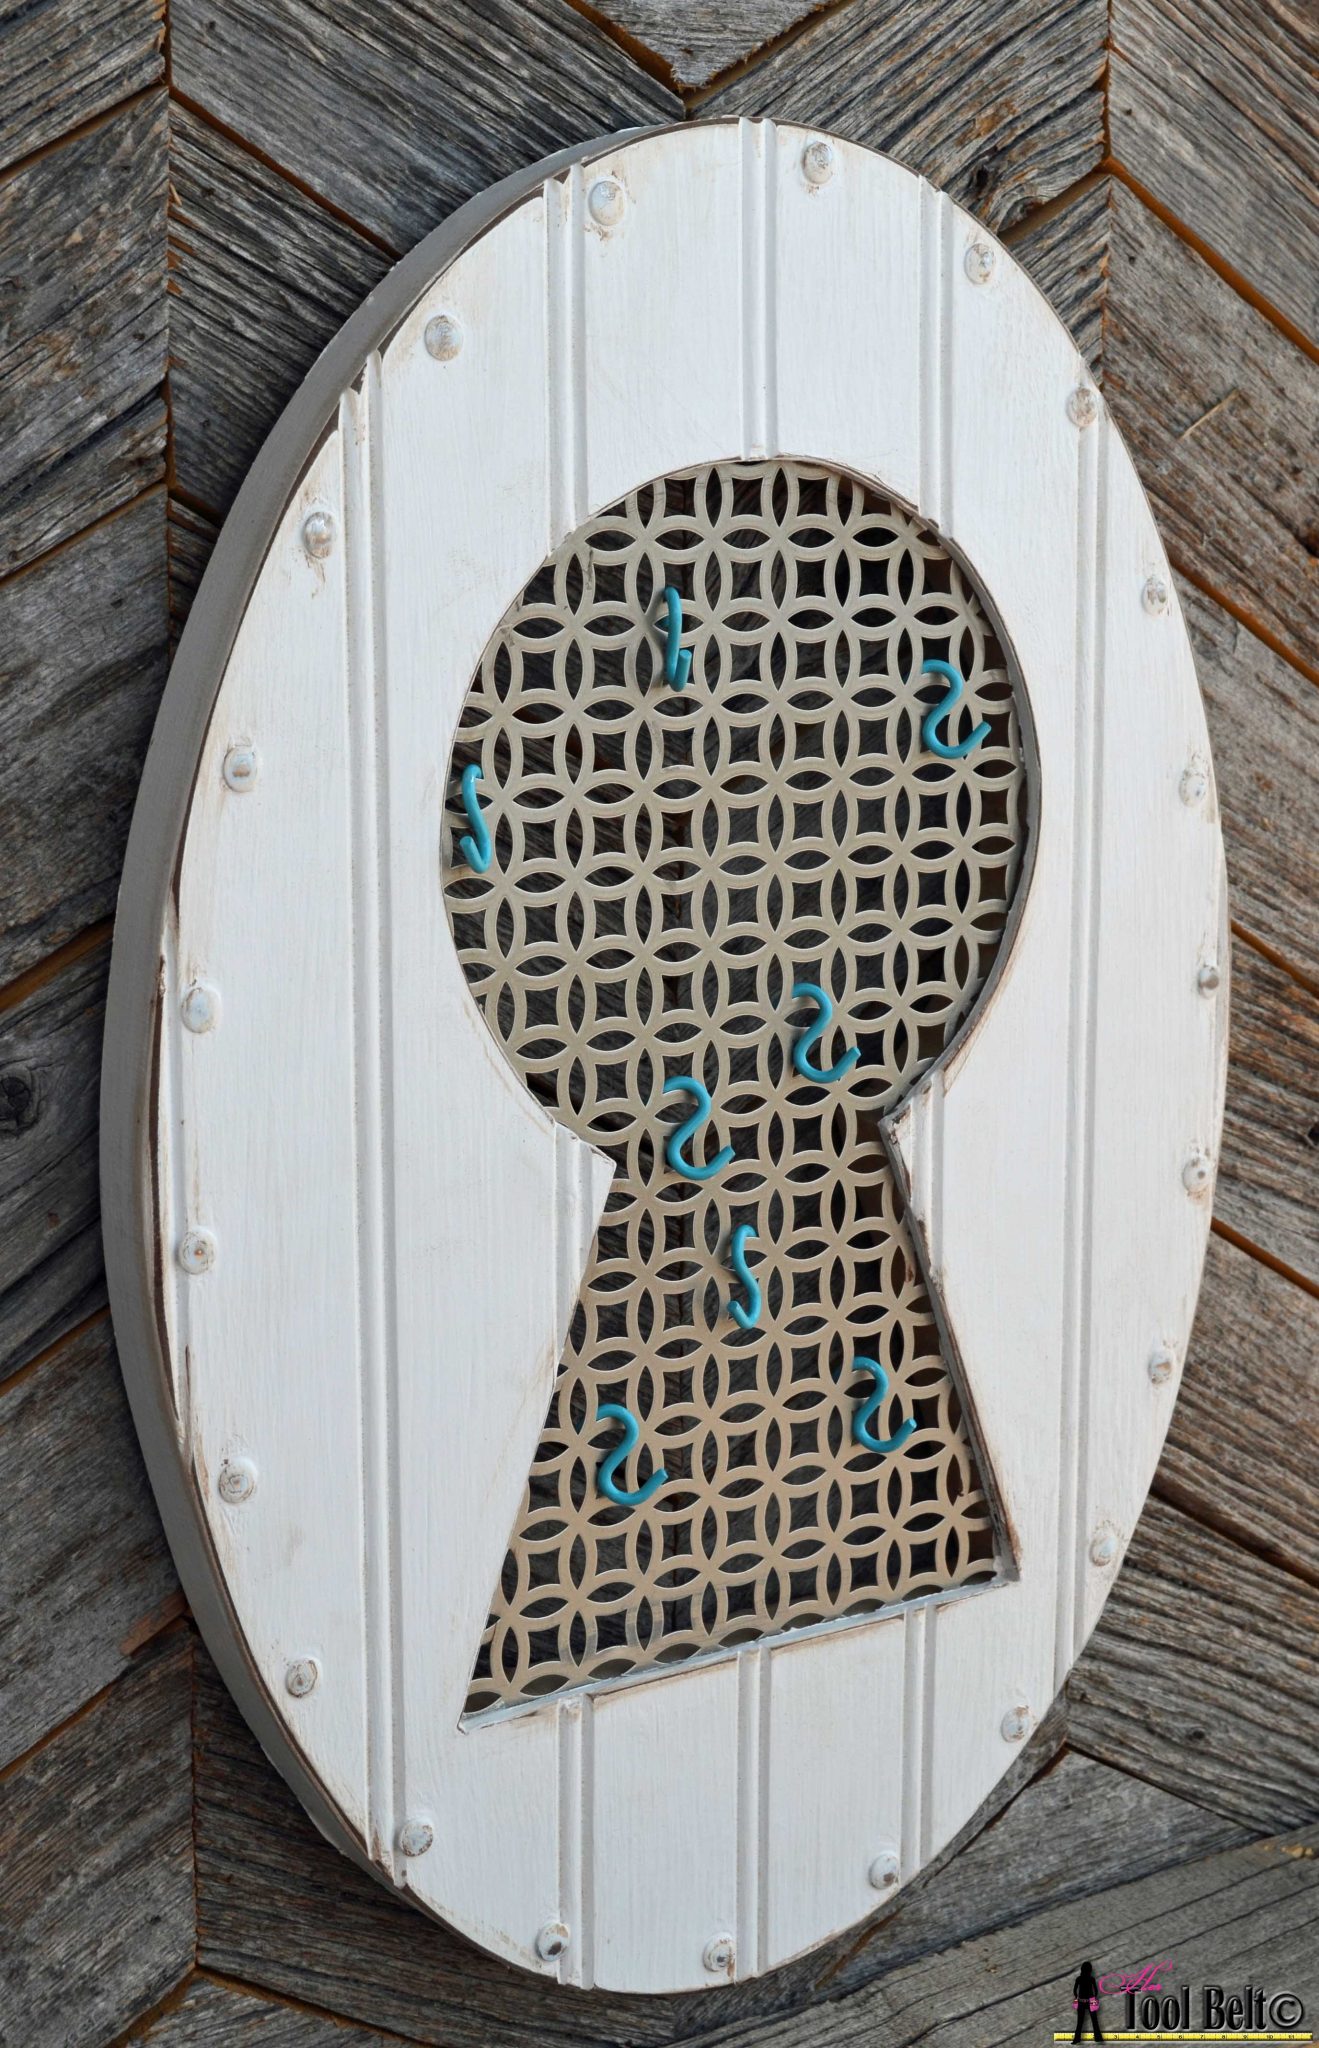
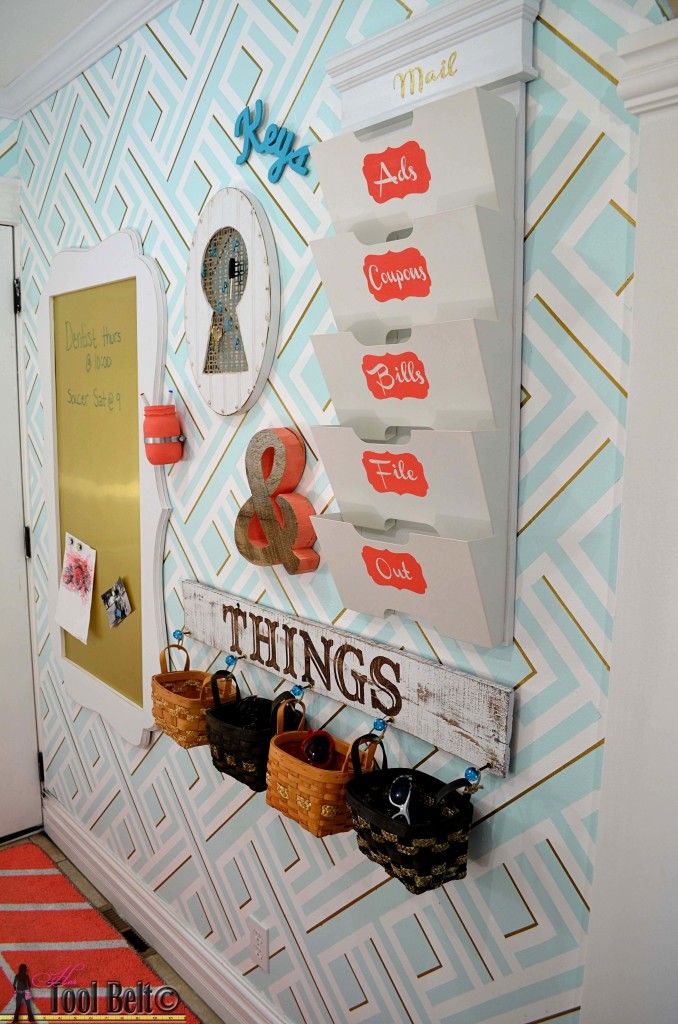
I wanted to make a key holder for my new command center.  Our old one just wasn’t working.  It had 4 large pegs, and the key rings were hard to get on the pegs, so a lot of the time, the keys weren’t where they should be.  You know how frustrating that can be 🙂  I thought it might be fun to make the key holder look like an old vintage keyhole.  The decorative radiator grate idea came from a previous Jewelry Display Project.

To build the vintage keyhole – key holder you’ll need:

      • Bead board – 18″ x 13″  (you can substitute a thin MDF for the beadboard if you don’t want lines.)
      • 3/4″ MDF – 18″ x 13″
      • Radiator Grate – 12″ x 8″ – available at some Home Depot’s (check online) and amazon.  One 1′ x 2′ radiator grate will make 3 key holders (affiliate link provided for convenience)

    • S-hooks
    • thumb tacks/furniture nails
    • wood glue
    • brad nails
    • paint

First, print off the keyhole pattern, make sure your pdf print settings are print 100%, not ‘fit to page’.

  • key holder 1
  • key holder 2
  • key holder 3
  • key holder 4

Line up the pattern and tape the pages together.  The pages will overlap.keyholder tape pattern together

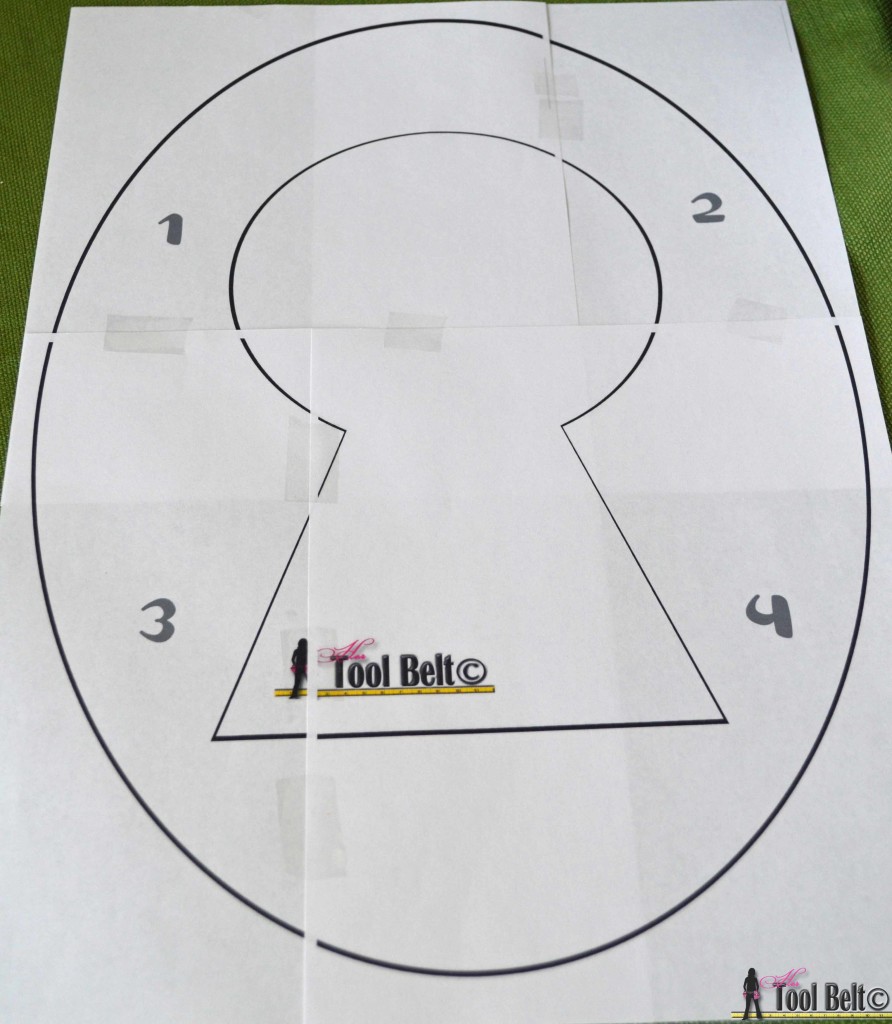
Cut out around the outside oval, and cut out the inner keyhole.

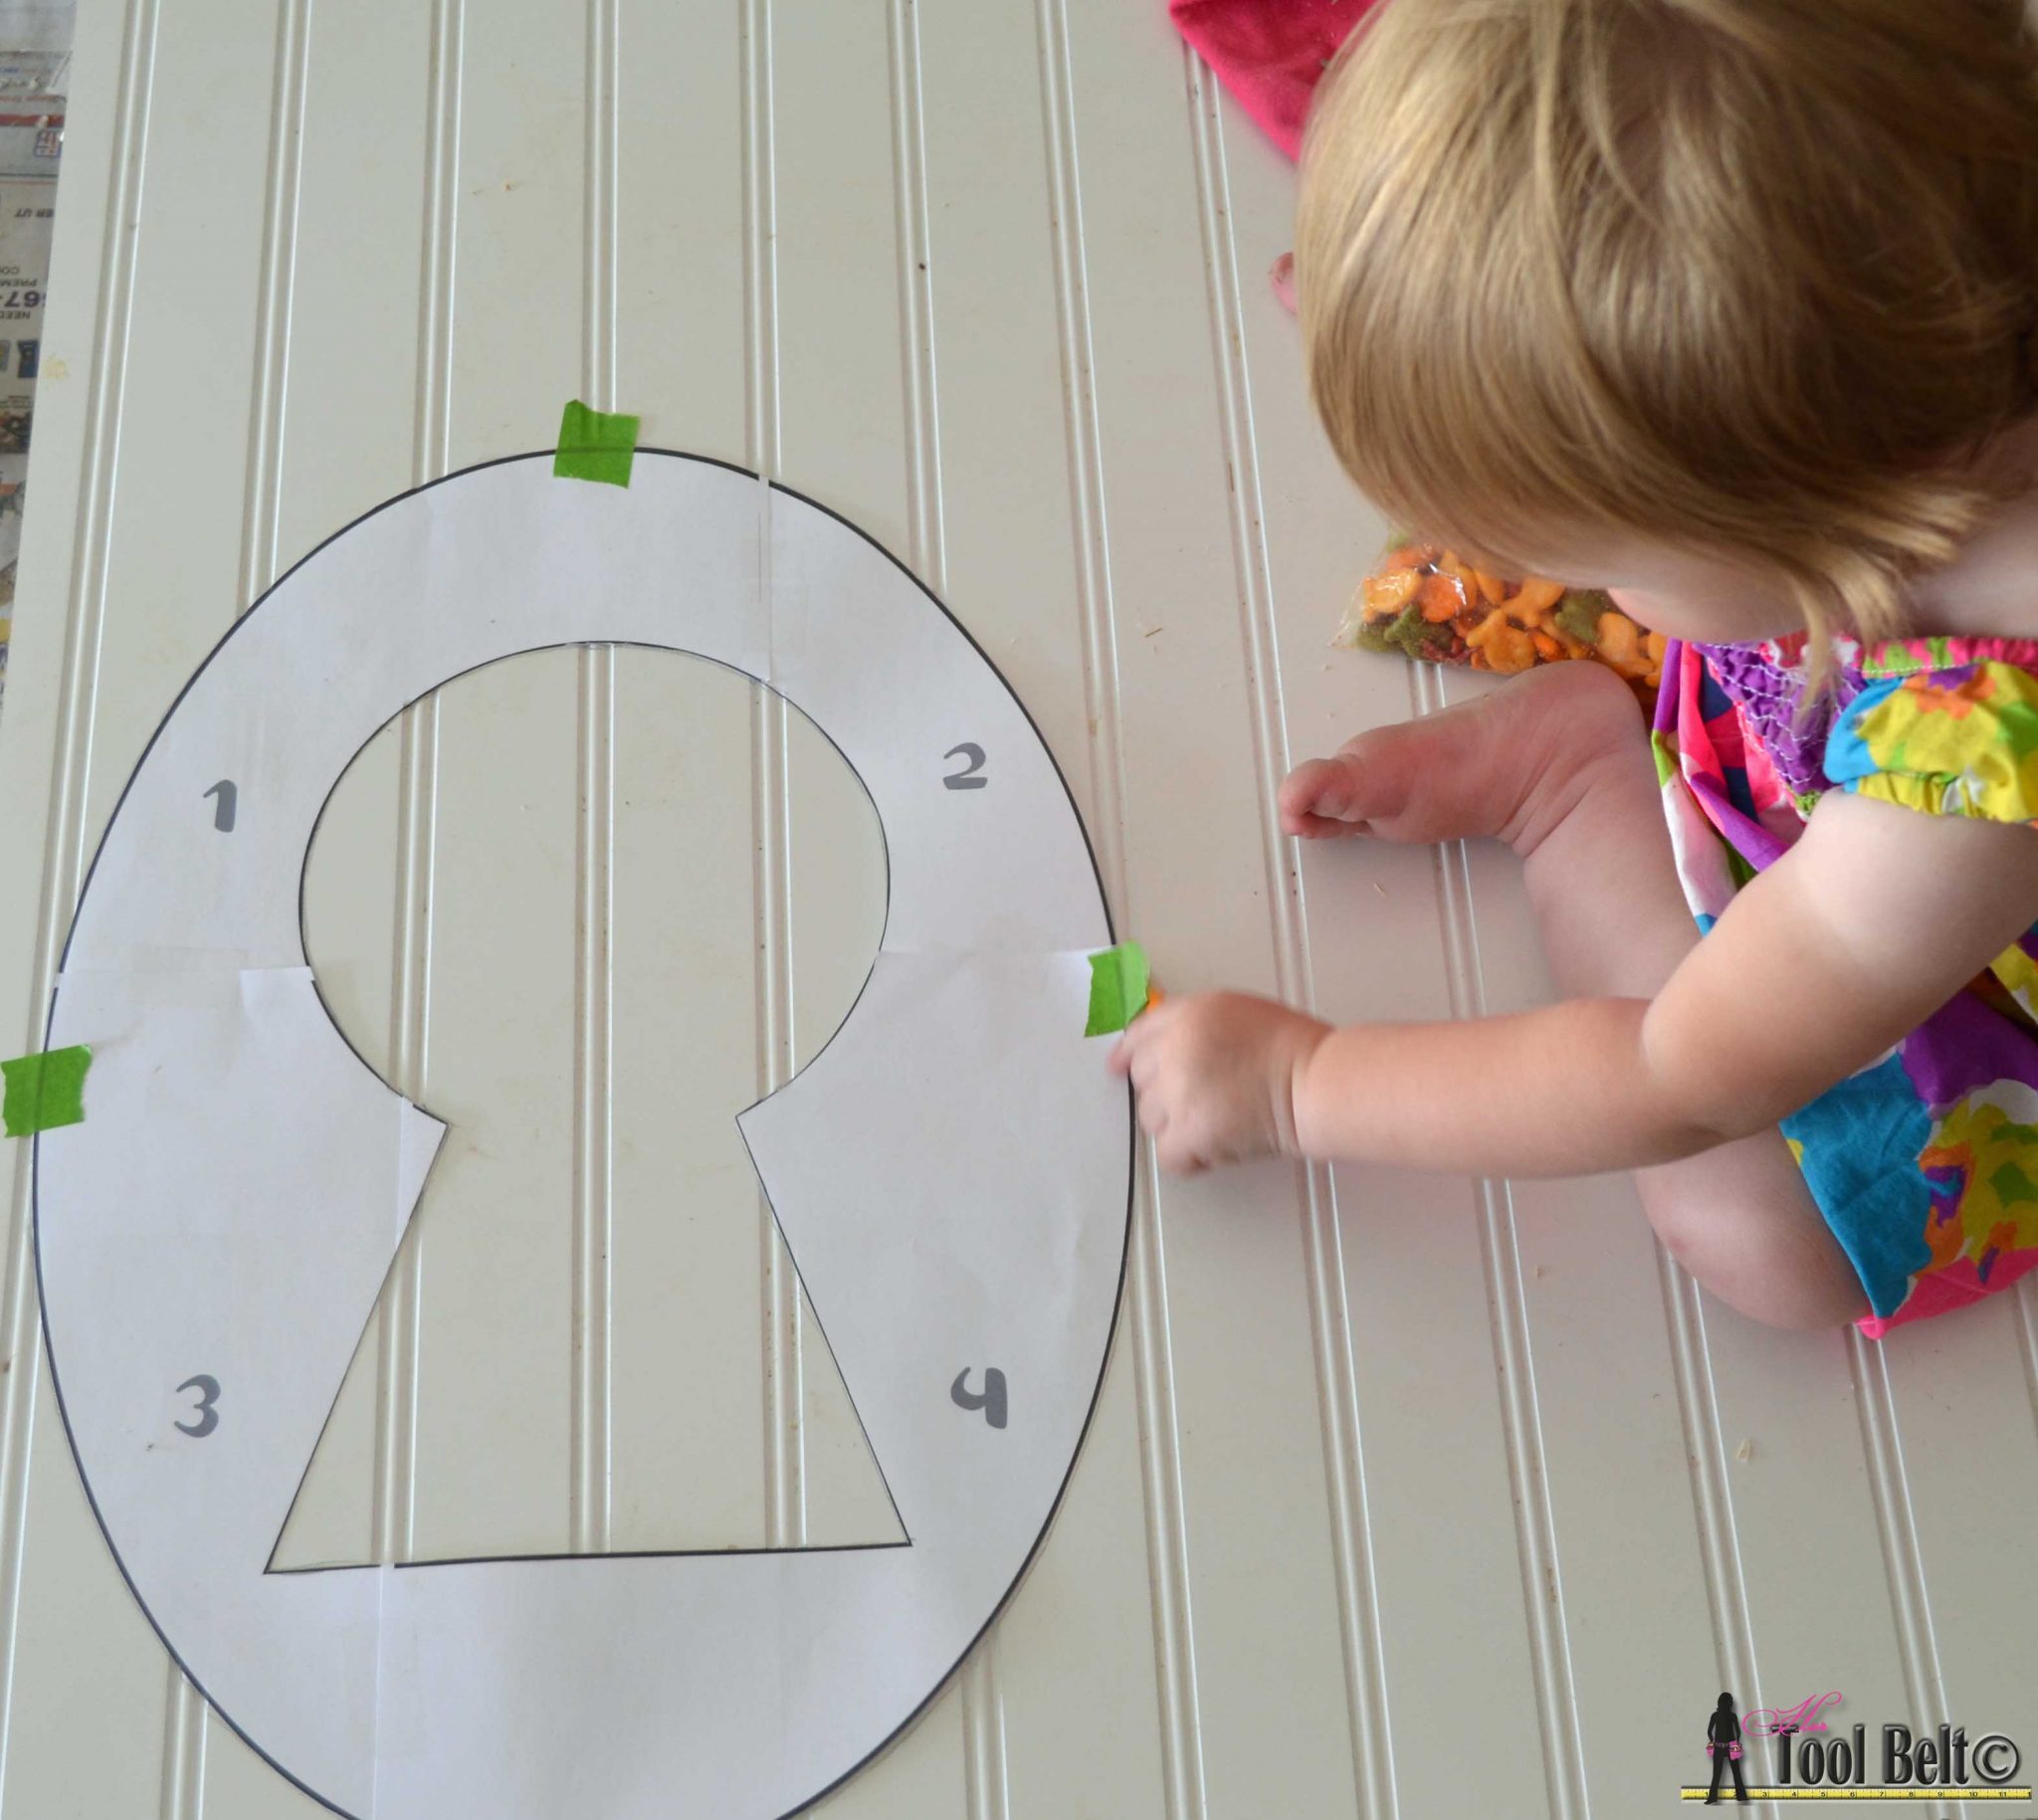
Trace the pattern, both inside and outside onto a piece of bead board and again onto a piece of mdf.

My helper is giving me a hand with tracing the pattern.

Keyhole pattern, trace onto bead board and mdf on hertoolbelt.com

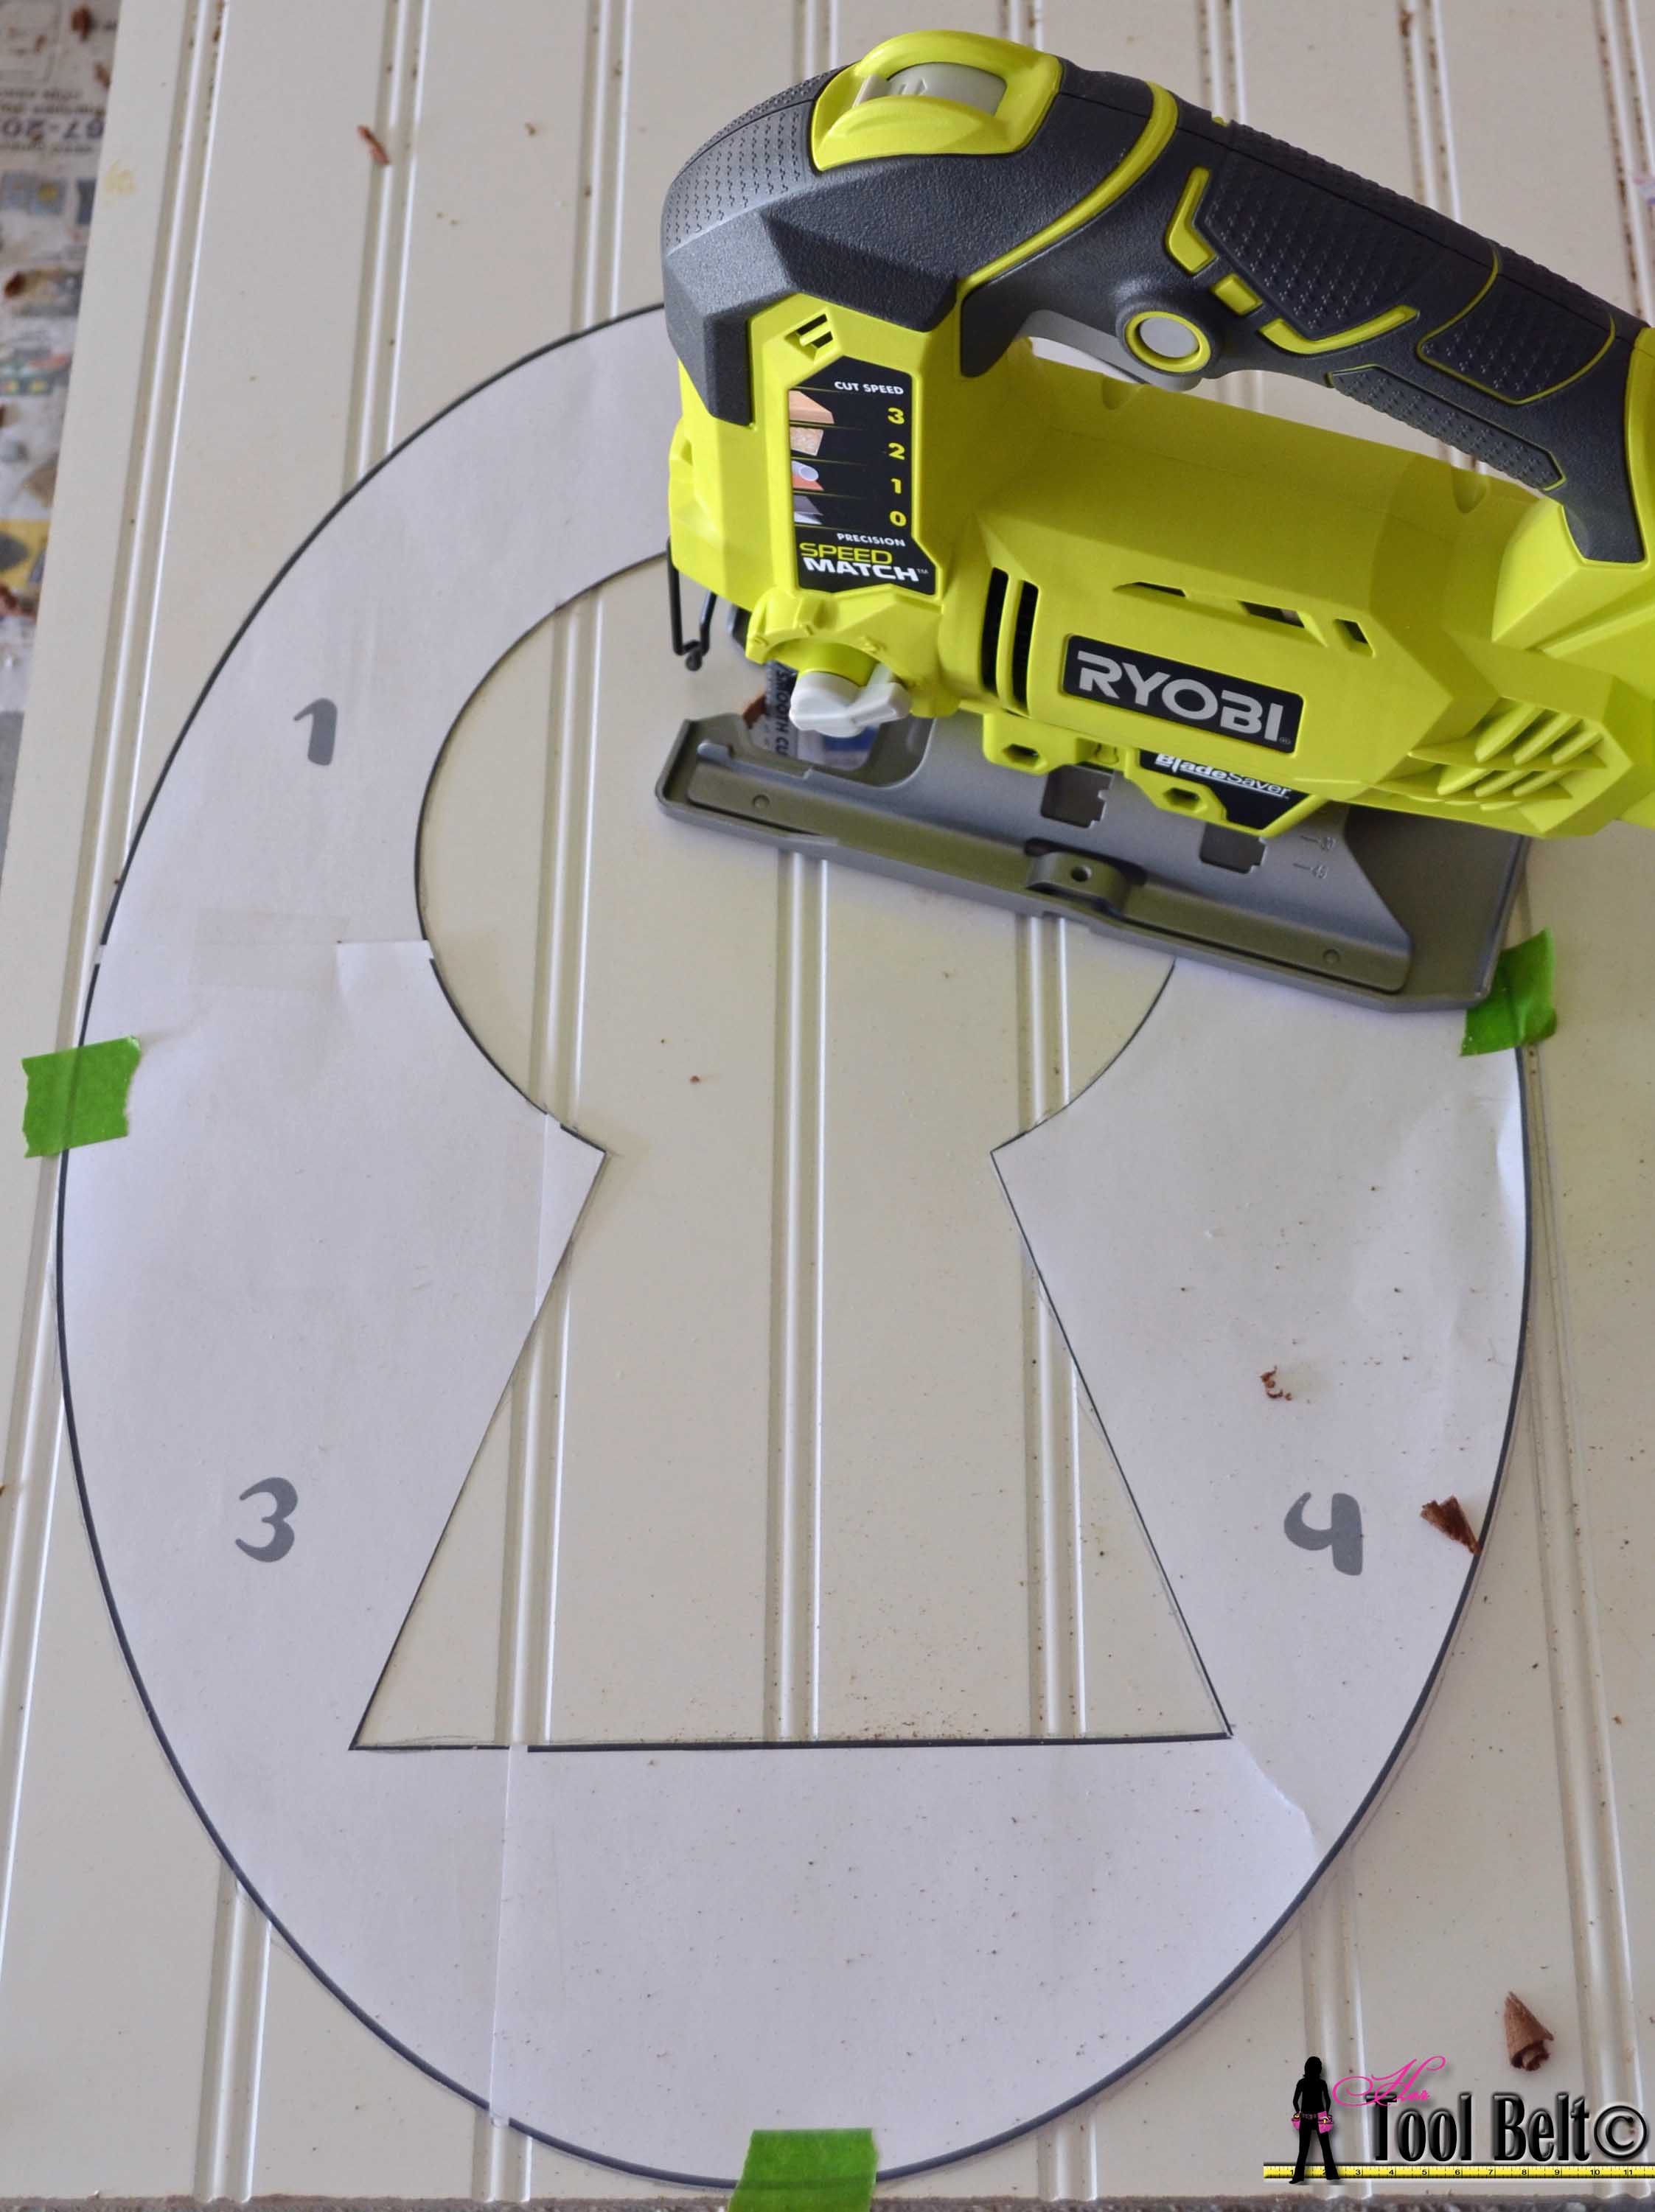
Drill a pilot hole in the keyhole portion.  Use a jig saw or a scroll saw to cut out the patterns on the bead board and mdf.

Vintage keyhole - cut out pattern on hertoolbelt.com

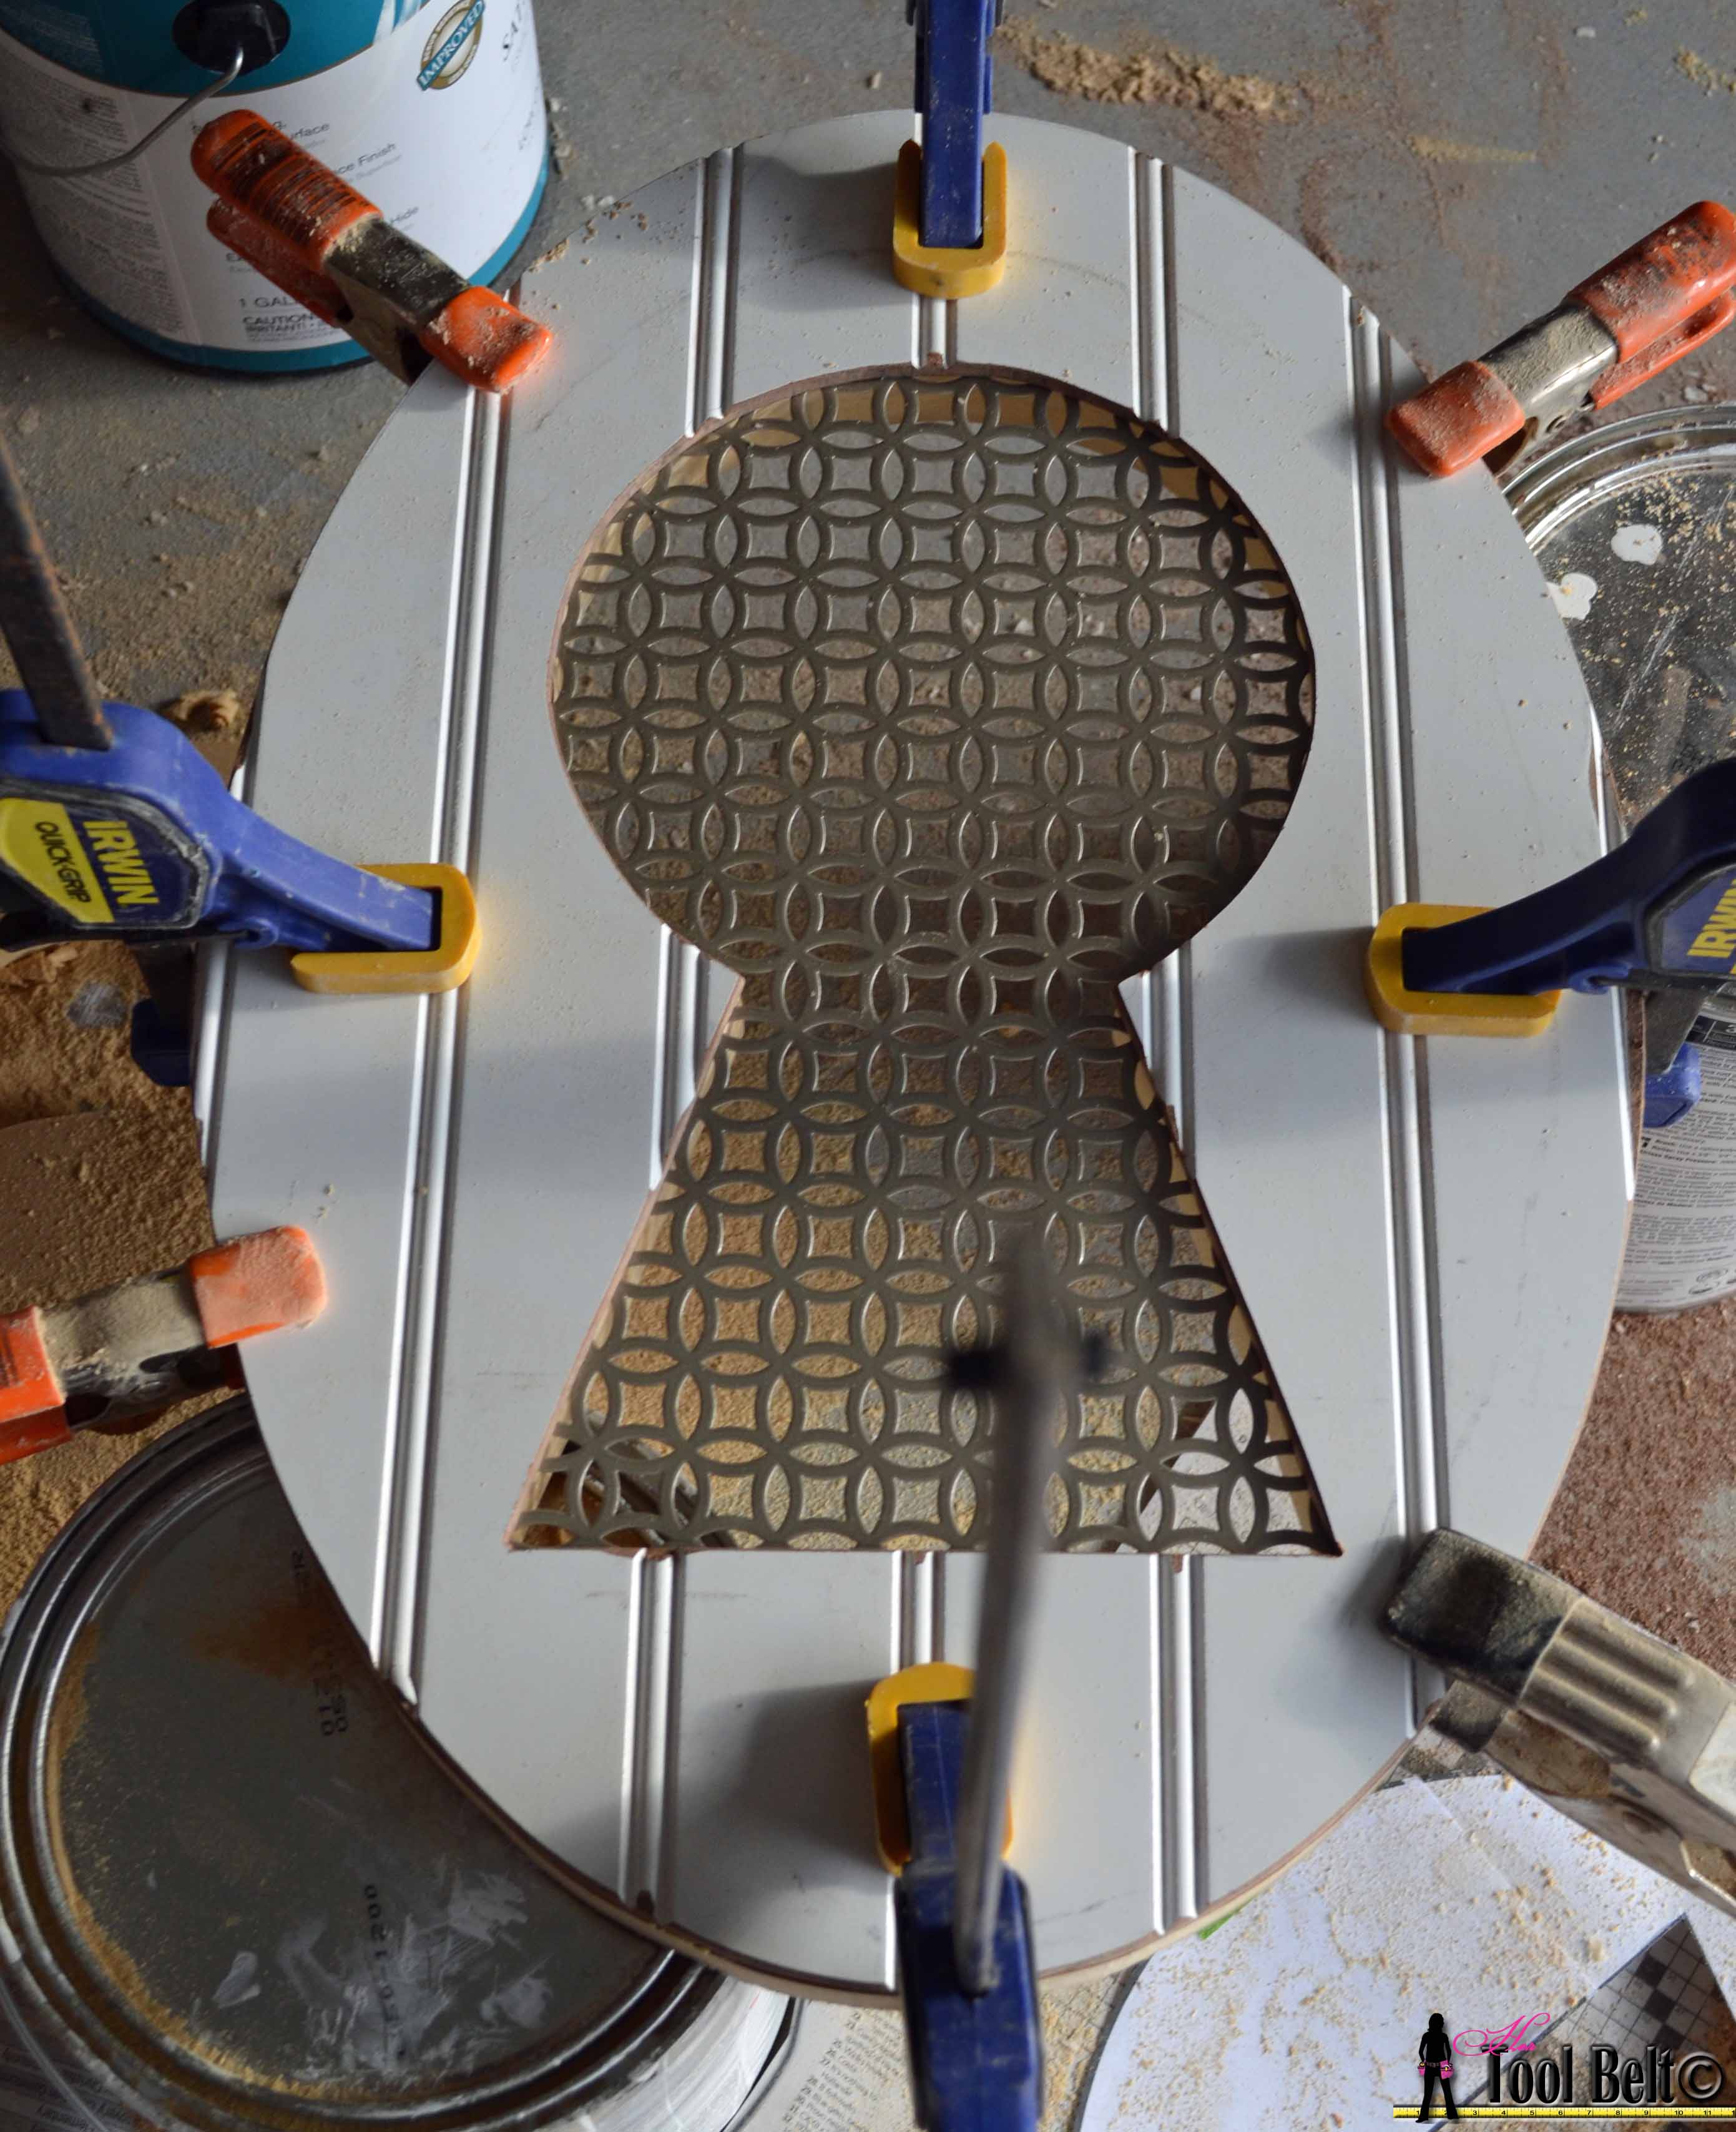
Using tin snips, cut a piece of radiator grate about 1/2″ – 1″ larger than the keyhole pattern.

Apply plenty of wood glue and sandwich the radiator grate between the mdf and bead board.

sandwich layers together with glue

Clamp the mdf, radiator grate, bead board sandwich together.  Let the glue dry, 1 hour minimum.

I added a few brad nails just outside the keyhole pattern, then covered the holes with Spackle.

key holder - clamp pieces together

Once the key holder is fully dry.  Sand around the outside edge to get a smooth oval and remove any excess glue.

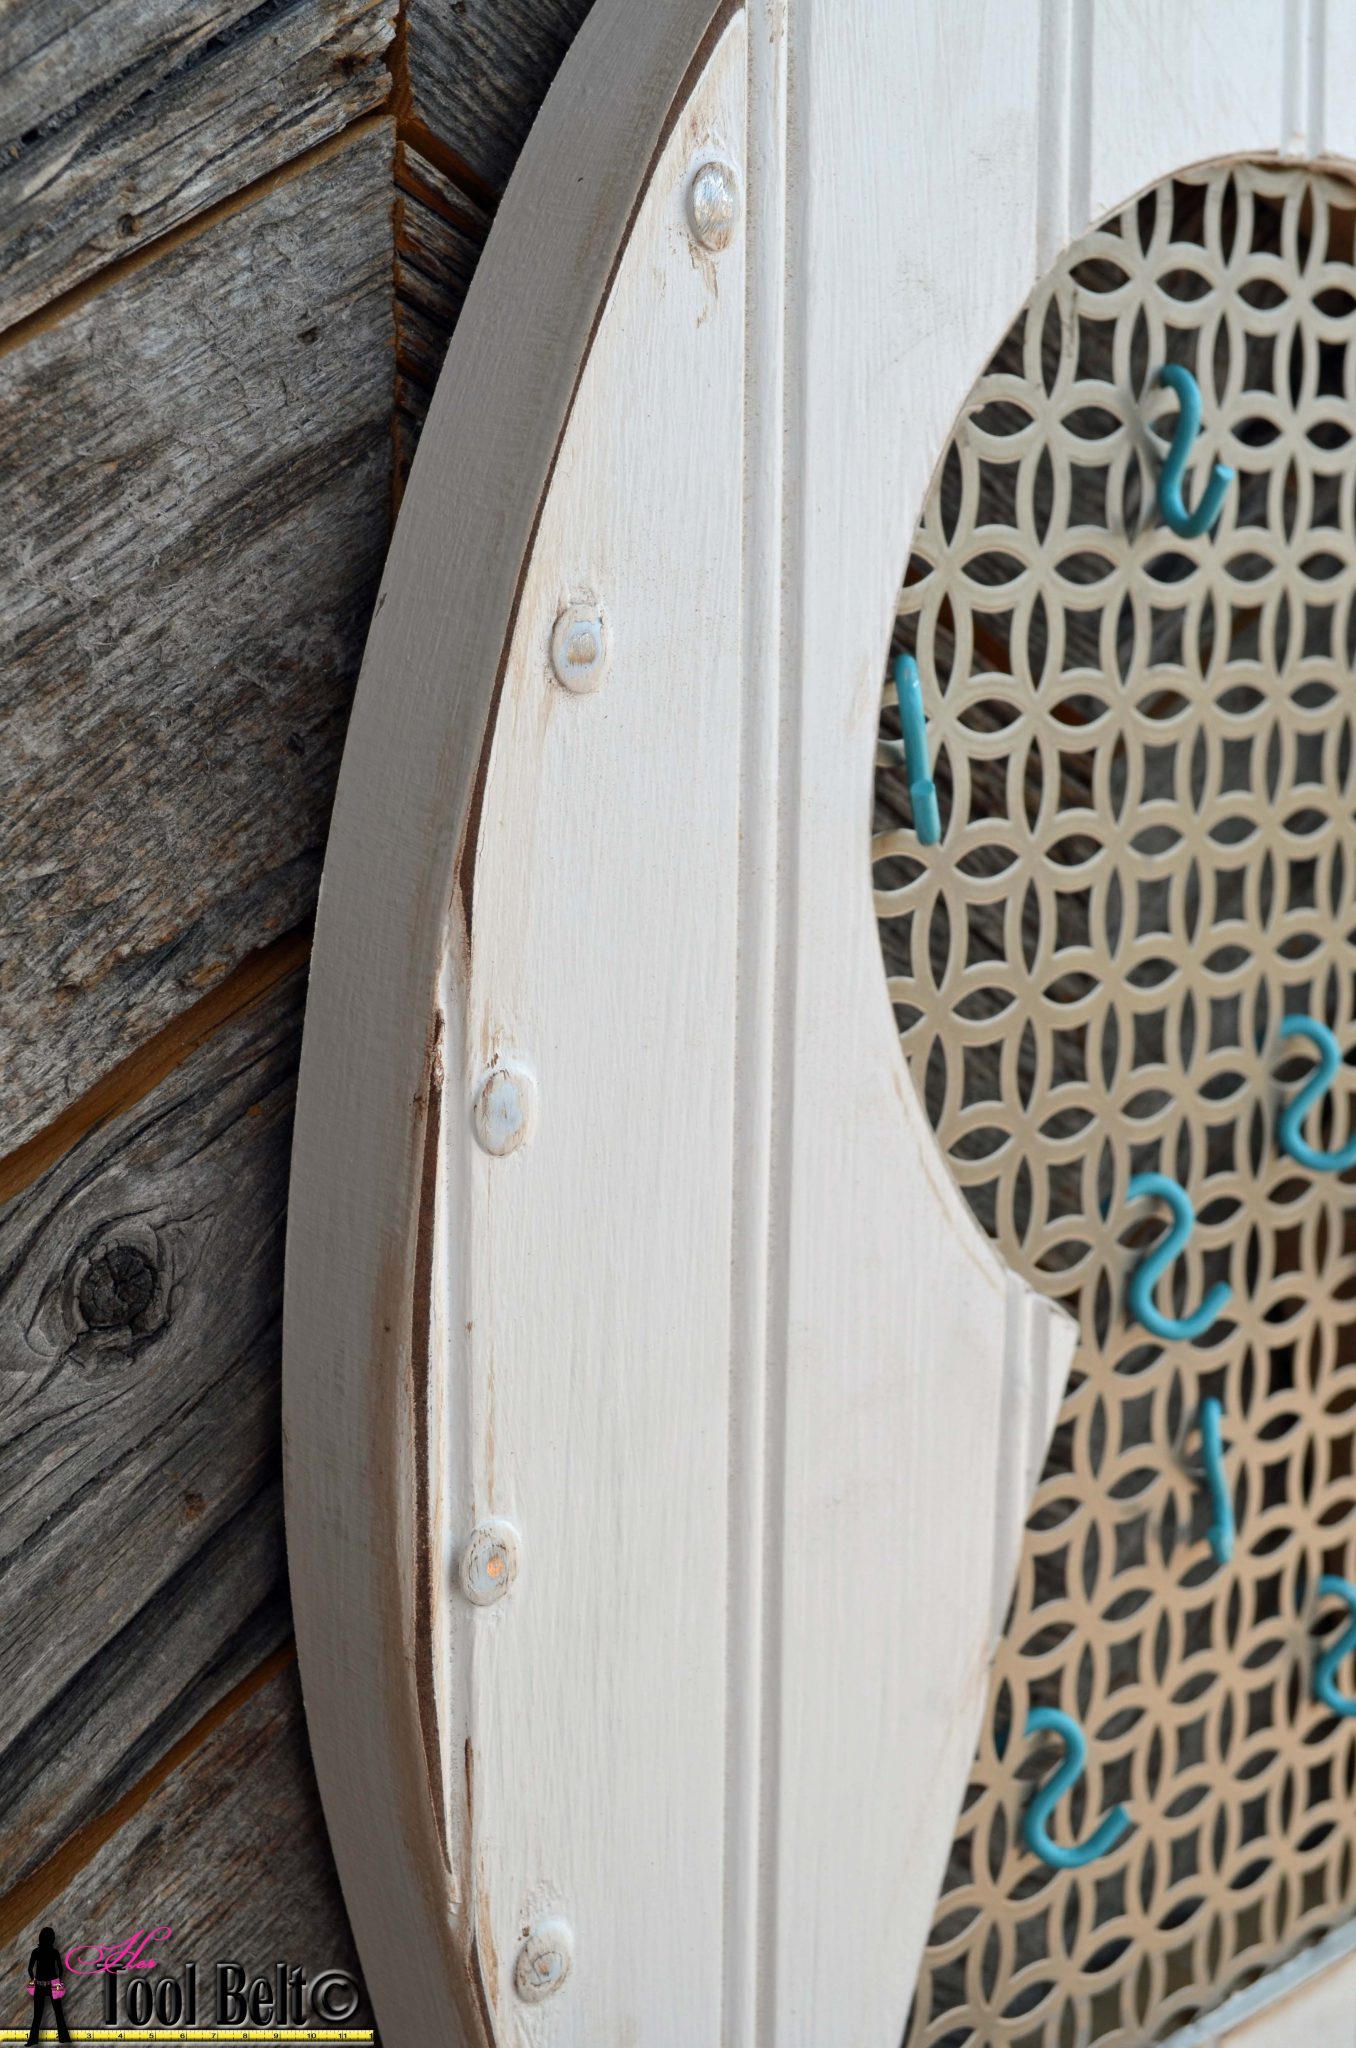
I added thumb tacks every 2″ around the outside oval.  I needed to predrill about 1/8″ down then hammer the rest of the way or the thumb tacks would just bend over.

Tape off the radiator grate with painters tape.  Prime the key holder, especially the sides where the mdf is showing.  Once the primer is dry, paint the key holder in your favorite color.  Allow the paint to dry.  To get an aged look, lightly sand around the corners and rub a tiny amount of stain on the outside corner, on the thumb tacks and inner keyhole.

Add a hanger to the back.  I almost always use a keyhole bit and route a hanger hole on the back, so I don’t have to buy hangers for each project.

The S-Hooks that I bought at Home Depot were silver, I decided to spray paint them blue to tie into my command center and add a little color fun.

Pin me for later:

Vintage Kedhole - Key holder closeup on hertoolbelt.com

Vintage Keyhole - key holder on #hertoolbelt

Vintage Keyhole - key holder pattern on hertoolbelt.com


Check out the rest of the command center

Gallery Style Command Center

Linked up to:

Remodelaholic, Savvy Southern Style, That DIY Party, Homestoriesatoz

Related

Filed Under: Free Woodworking Plans, Home Decor, Mudroom Furniture, Organization Tagged With: command center, DIY, jig saw, key holder, keyhole, pattern, scroll saw

Attention: Any do-it-yourself project involves risk of some sort. Your tools, materials, and skills will vary, as will the conditions at your work site. Hertoolbelt LLC will not assume any responsibility or liability for damages or losses sustained or incurred in the course of your project or in the use of the item you create. Always follow the manufacturer's operating instructions in the use of tools, check and follow your local building codes, and observe all commonly accepted safety precautions.

Comments

  1. Laurel@chippingwithcharm says

    July 8, 2014 at 6:31 am

    Great idea 🙂

    Reply
  2. Debra says

    July 8, 2014 at 12:10 pm

    I’m liking this a lot, the little hooks on the radiator grate is a very clever idea.

    Reply
  3. katjeter says

    July 9, 2014 at 8:41 am

    What a creative idea for hanging keys! Love how it turned out. Thanks for sharing!

    Reply
  4. Amy says

    July 12, 2014 at 3:29 pm

    This is too cute! I love the addition of the thumb tacks and the little bit of distressing/stain around the edges.

    Reply
    • Amy says

      July 14, 2014 at 8:34 am

      Thanks!

      Reply
  5. ejddiy says

    July 14, 2014 at 3:46 am

    This is a super cute project! Thanks for sharing with us at Your Designs This Time! Pinned!
    Emily & Erin

    Reply
  6. Angie@KnickofTime says

    July 14, 2014 at 8:08 pm

    Adorable! I gave you a shout-out on the Knick of Time Facebook page here – https://www.facebook.com/KnickofTime

    Thanks for sharing it at the Vintage Inspiration party!

    Reply
    • Amy says

      July 14, 2014 at 10:12 pm

      Thank you Angie!

      Reply
  7. Suzan says

    July 15, 2014 at 5:10 pm

    This is so pretty – what a great idea!!!
    xoxo

    Reply

Leave a Reply Cancel reply

Your email address will not be published. Required fields are marked *

This site uses Akismet to reduce spam. Learn how your comment data is processed.

Search Her Tool Belt

Follow Me!

  • Bloglovin
  • Email
  • Facebook
  • Instagram
  • Pinterest
  • RSS
  • Twitter
  • YouTube

Top Posts & Pages

Left Offset Bathroom Vanity

Check out more projects

Copyright

Thank you for wanting to share my work! No need for my permission to pin my work or to feature 1 or 2 pictures with full watermarks intact that link back to the original project. Please do NOT copy tutorials.

Disclosure & Privacy Policy

Disclaimer

Copyright © 2025 · Magazine Pro Theme on Genesis Framework · WordPress · Log in

This website uses cookies to improve your experience. We'll assume you're ok with this, but you can opt-out if you wish.Accept Read More
Privacy & Cookies Policy

Privacy Overview

This website uses cookies to improve your experience while you navigate through the website. Out of these, the cookies that are categorized as necessary are stored on your browser as they are essential for the working of basic functionalities of the website. We also use third-party cookies that help us analyze and understand how you use this website. These cookies will be stored in your browser only with your consent. You also have the option to opt-out of these cookies. But opting out of some of these cookies may affect your browsing experience.
Necessary
Always Enabled
Necessary cookies are absolutely essential for the website to function properly. This category only includes cookies that ensures basic functionalities and security features of the website. These cookies do not store any personal information.
Non-necessary
Any cookies that may not be particularly necessary for the website to function and is used specifically to collect user personal data via analytics, ads, other embedded contents are termed as non-necessary cookies. It is mandatory to procure user consent prior to running these cookies on your website.
SAVE & ACCEPT