This week I got back to my woodworking roots and it feels so good!
I am participating in a Spring Renovation Challenge hosted by Jeffrey Court Tile <– Check out all the DIY’ers and Designers
I would love your vote, click here. You can vote once/week. Thanks so much

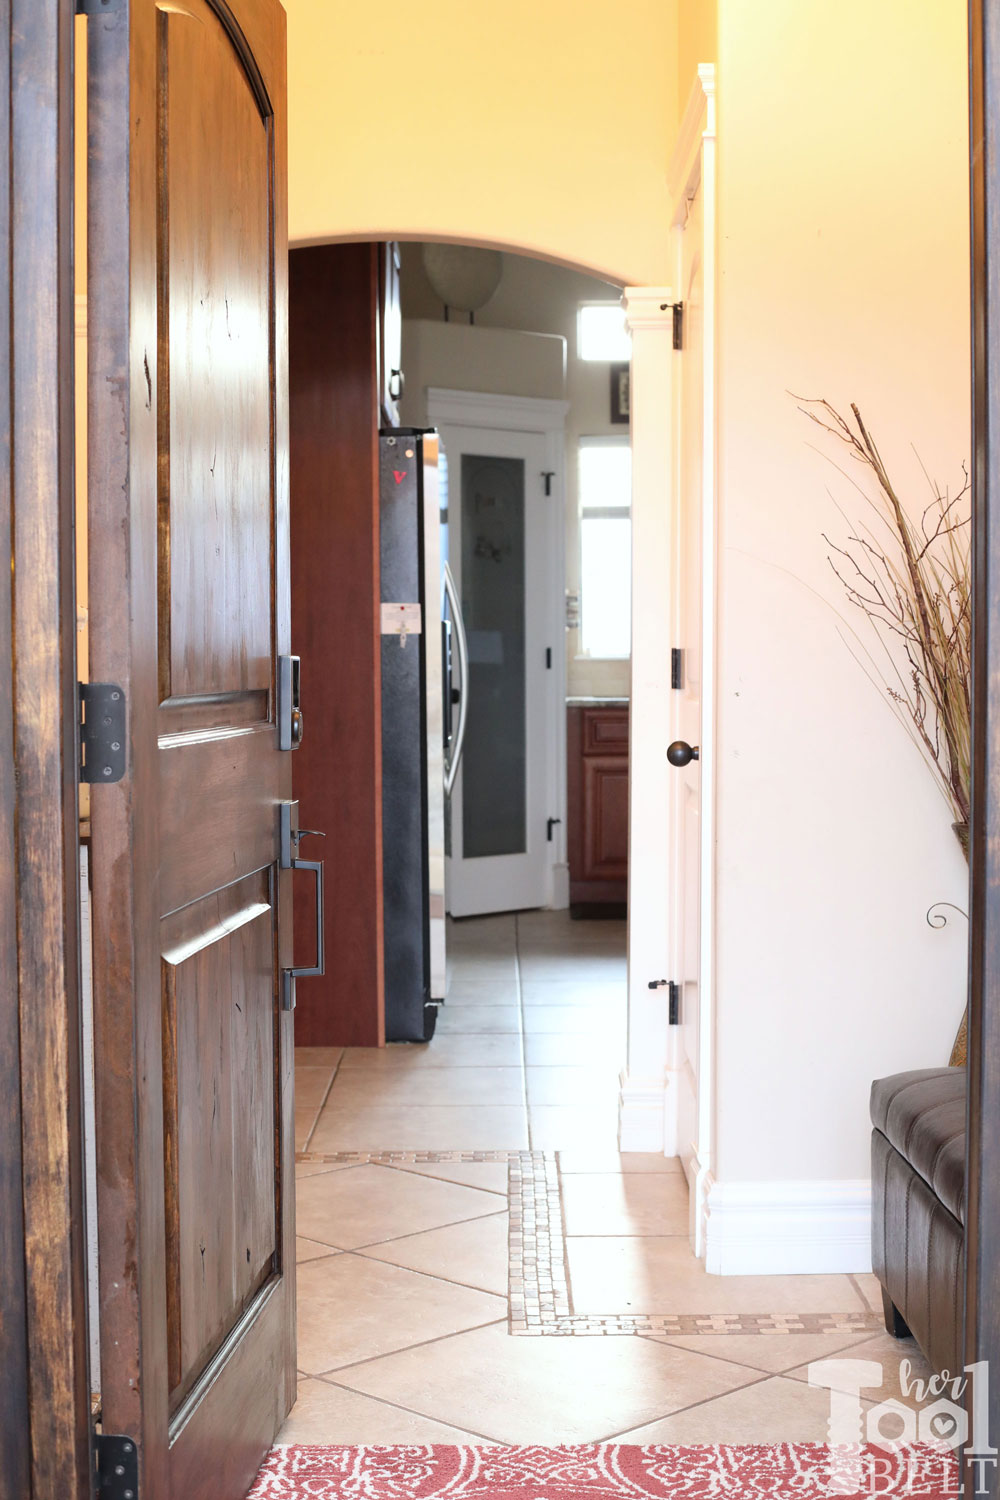
As a reminder, this is what my entryway looked like before…
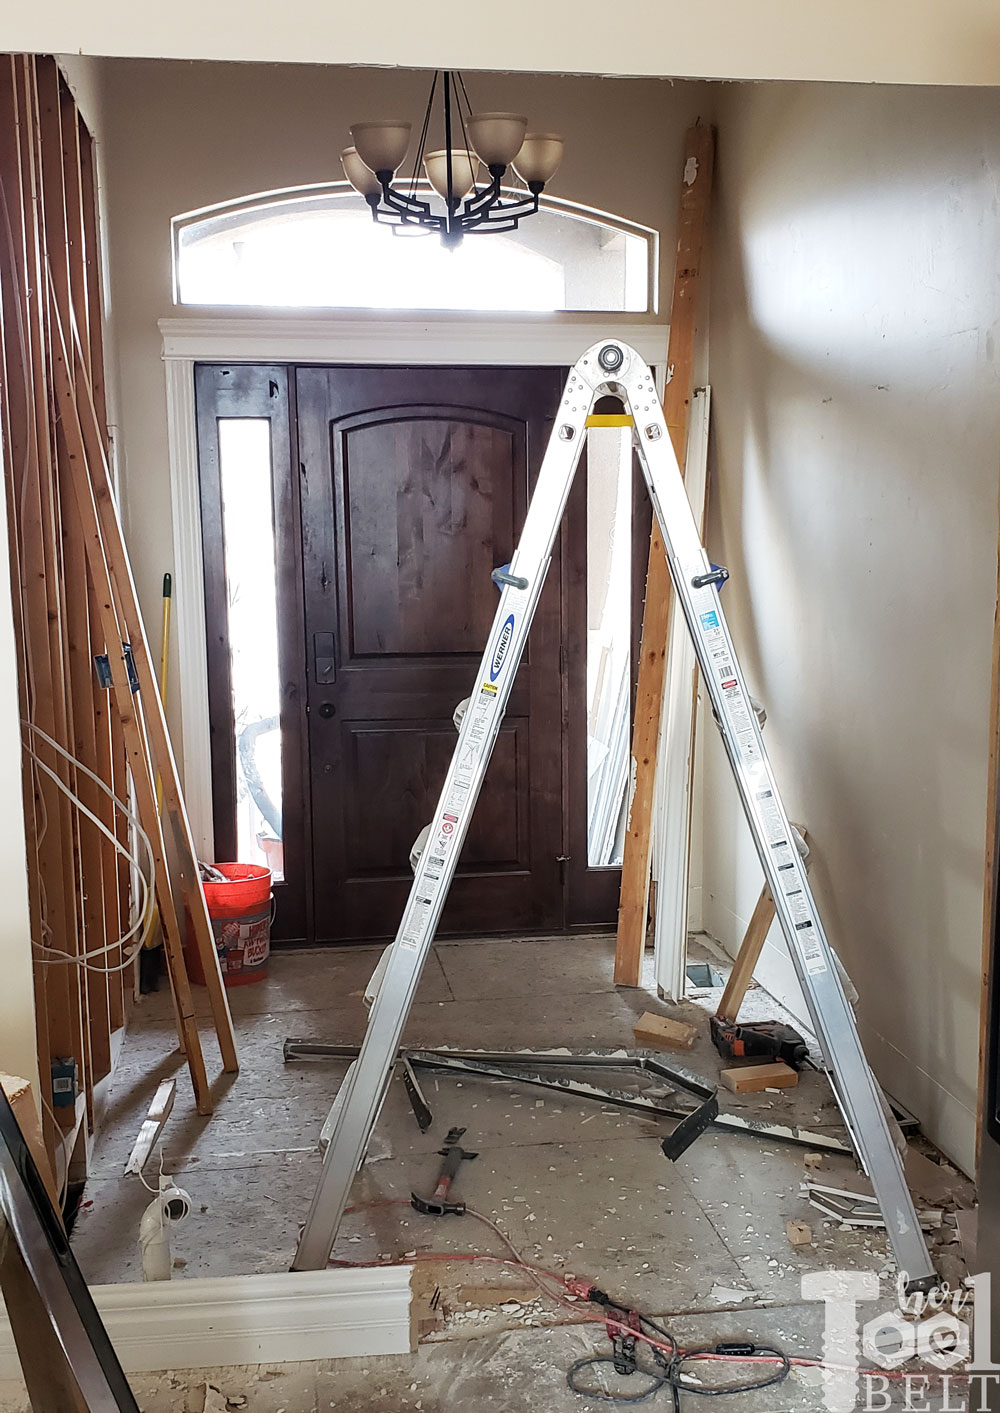
You can check out Week 1 before pics and the plan here.
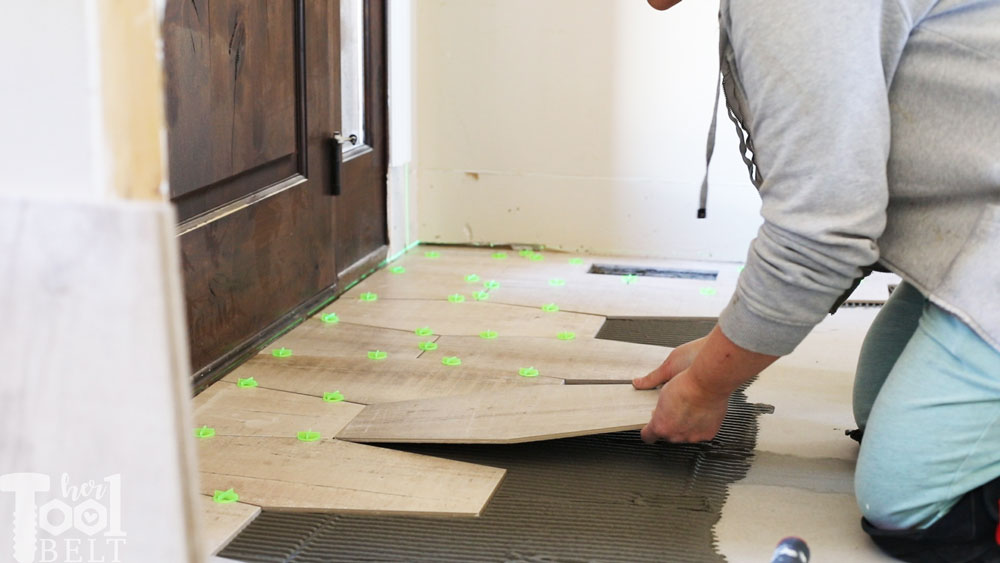
and Week 4 Tiling
This post contains some affiliate links for your convenience. Click here to read my full disclosure policy.
Trim and Paint
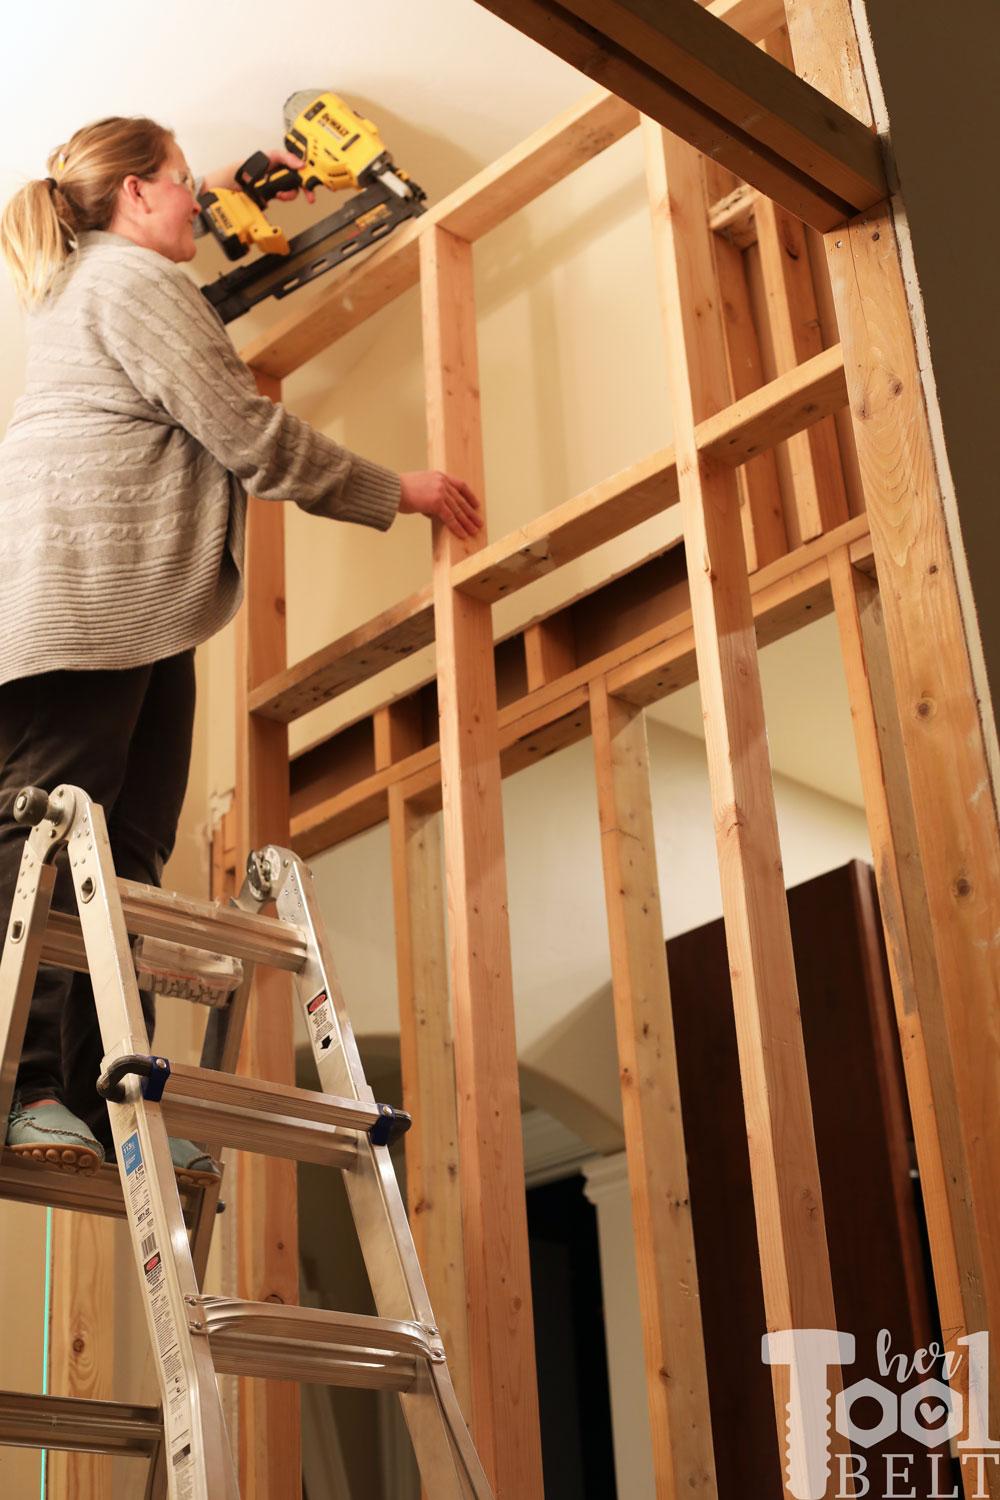
Build a Transom Window
Quite a few of my exterior windows have transom windows, so I thought it would be nice to continue that theme with my new entryway. I would love to have an antique leaded glass transom or even take a class and make one. Until then, I decided to make my own transom window.
![]()
To make the frame, I used a poplar board out of my wood stash. Poplar is nice because it’s cheaper out of the hardwoods and paints well. I use pine a lot in projects, but sometimes the sap in the pine will turn the paint yellow overtime. My new entry doorway is about 5′ wide. I purchased 5 – 11×14 clear glass panes and spaced them out evenly a crossed the opening. The frame is made with my cabinet door rail and stile router bits. These bits are so great for style and function all in one.
The glass panes are about 3/16″ thick, but the groove for the rail and stiles is 1/4″. I cut 1/8″ thick strips of poplar and made some X’s to go in the window. The X’s are inspired by OurFauxFarmhouse’s kitchen cabinets. I pre-painted these X’s before the window glue up. What do you think? Do you like the X’s in the windows?
Then I installed the transom in the framed opening in the doorway. AND a happy selfie from 10′ up 🙂
![]()
Raised Panel Trim on New Doorway
I really wanted nice chunky columns on the new doorway. Have I mentioned that I love molding…I do. After installing the transom, I flanked the doorway with 10″ wide MDF.

Then created the raised panel look with 2 1/2″ pre-primed flat MDF molding for the stiles, and 7 1/4″ MDF for the rails.

I grabbed a little more poplar from my stash and made my own bead molding for the corners.
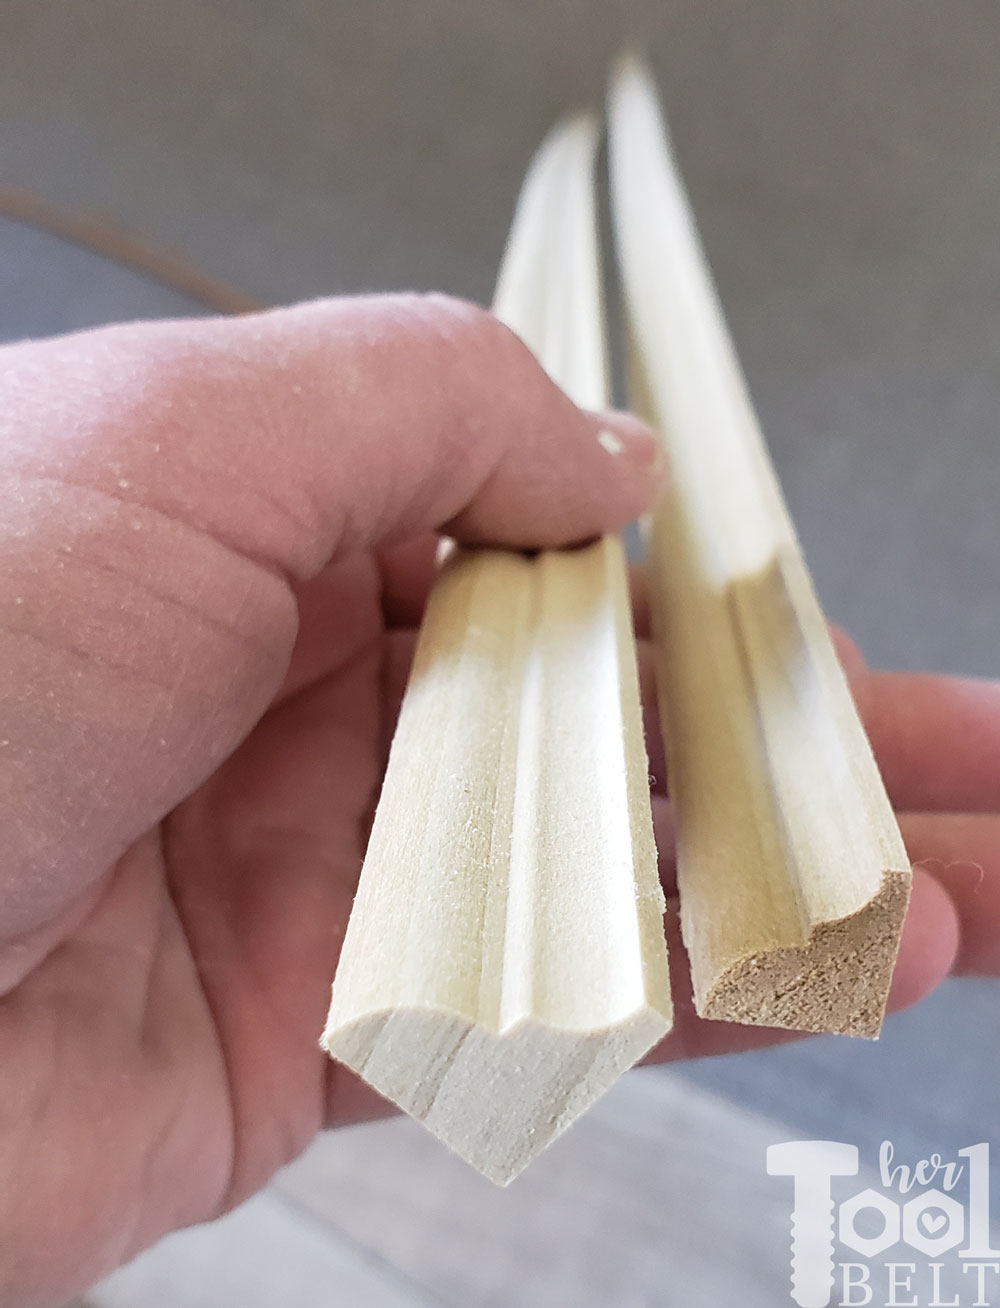
My bead molding is 1/2″ x 1/2″. I used a pin nailer to install it so it wouldn’t leave a lot of holes to fill. I did caulk the corners if needed.
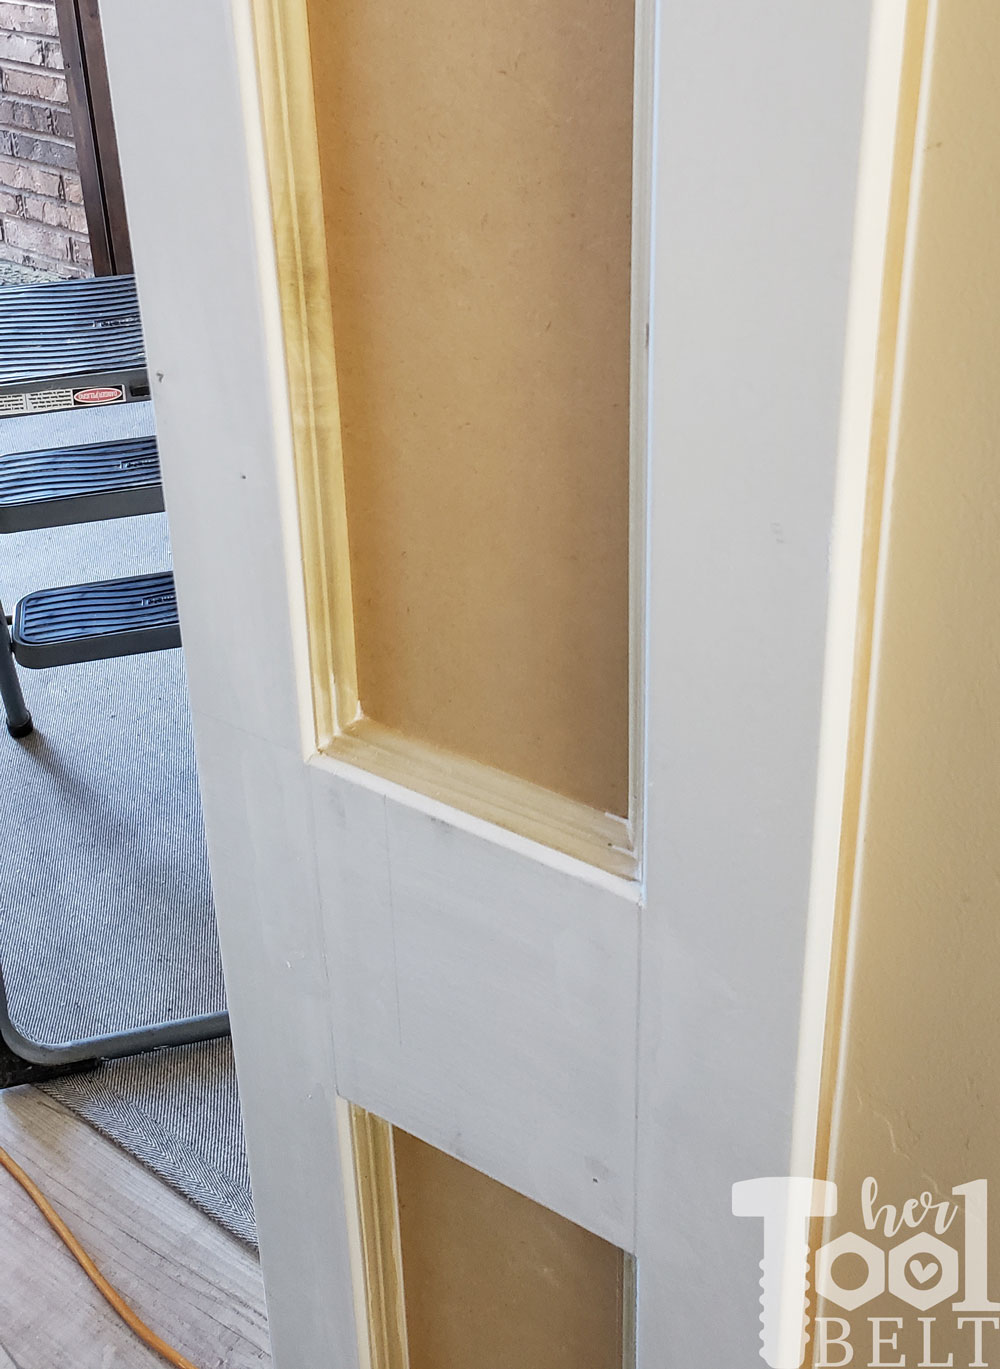
Super excited for the new trimmed out door. I also reattached my base molding that I removed during the demo.
Painting
When we bought this house, it was bank owned and unfinished. Trying to get the house done quickly, we had the whole house painted botany beige.

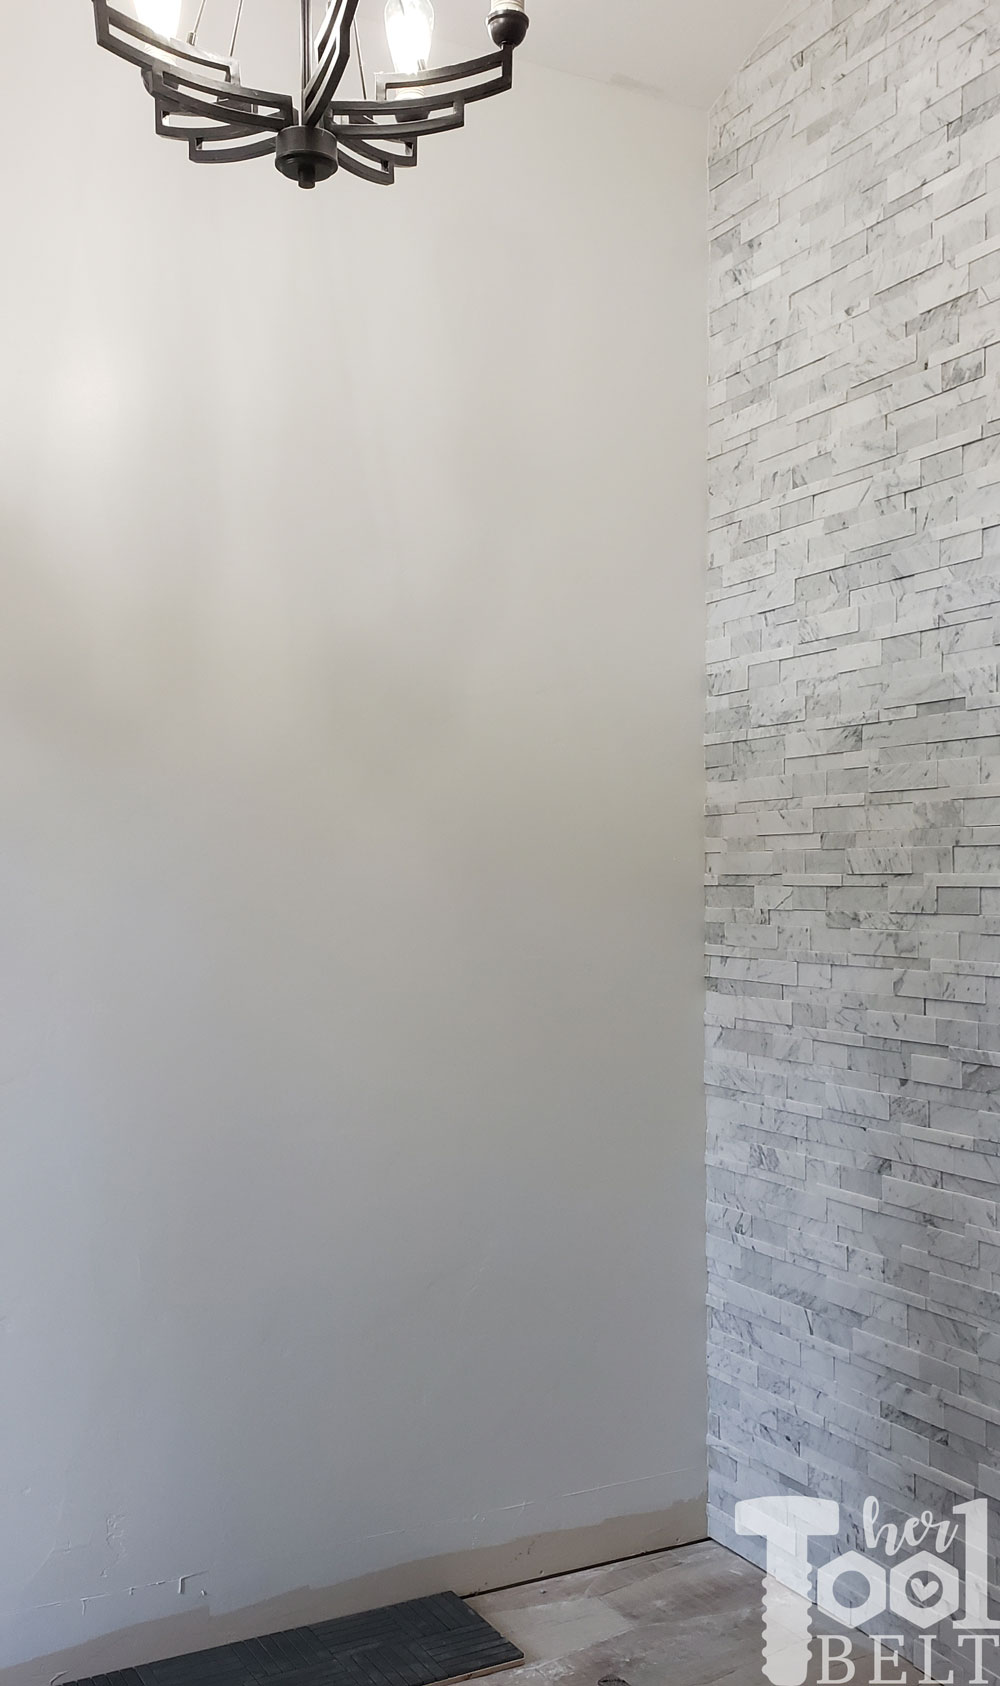
Although it’s a nice color, I am sooo ready for a change. I picked an almost white very slightly gray color for the new entry, White Moderne by Behr.
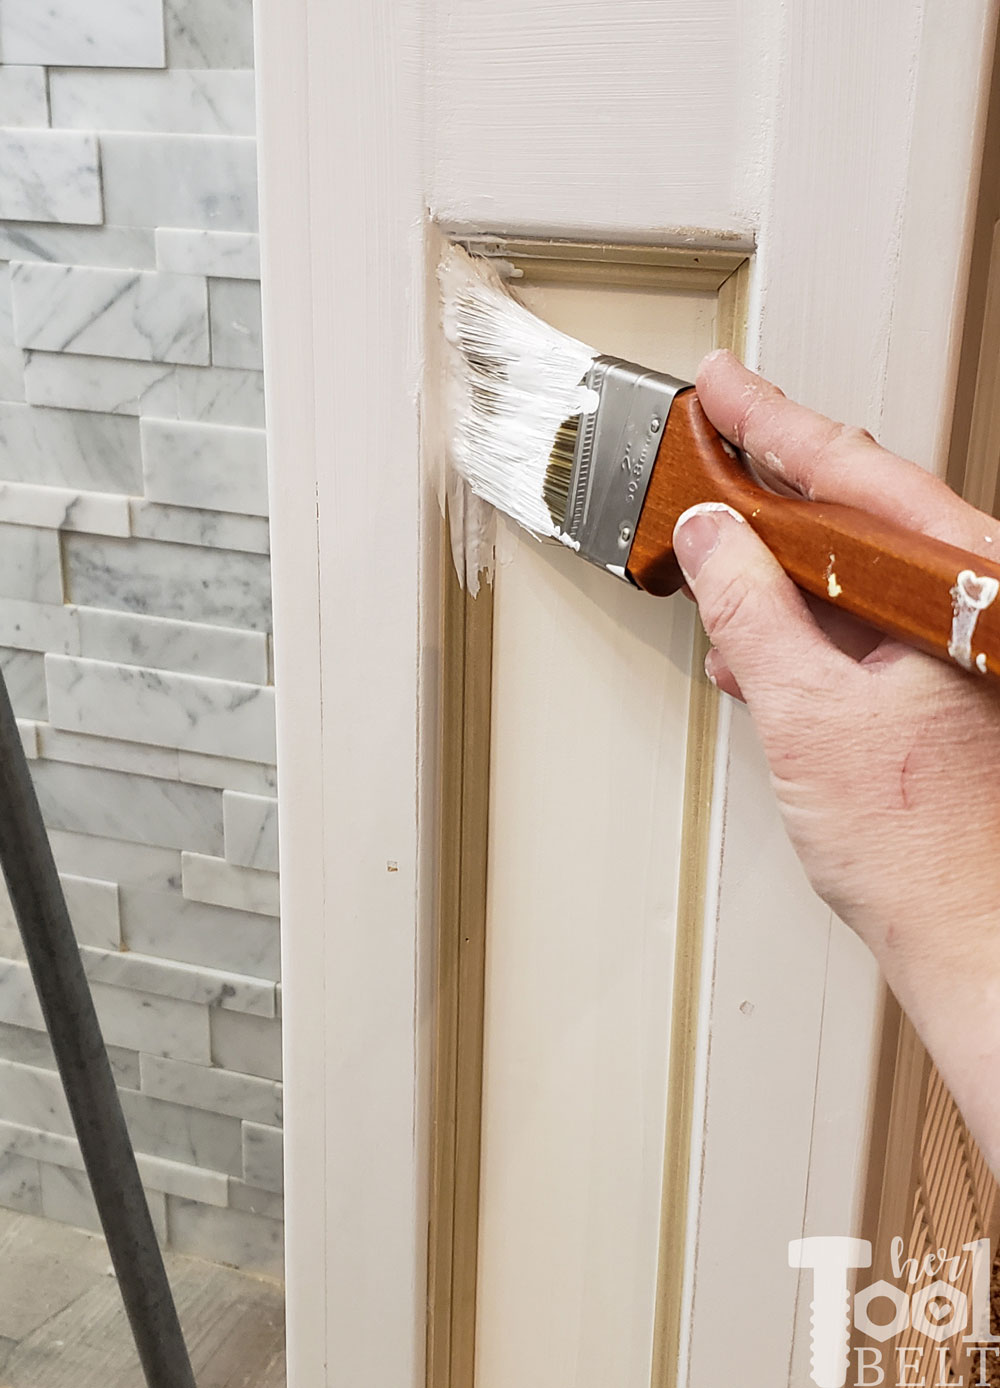
The trim is/will be ultra pure white. When painting the new trim, especially the MDF portion, I made sure to prime it really well. MDF will soak up your paint, so it really pays to apply a couple coats of primer.
The new paint color looks really nice in real life and makes the room light and bright.
Next week will be the big reveal!
Here is a break down of the work:
Remove the closet and tileCut a hole in the wallFrame new doorwayAdd transom windows in doorwayFrame new wallMove around some electricalBuild the wall cabinets on the kitchen sideTile the floorTile the new wall- Replace chandelier shades
Paint the walls- Make a coat rack
- Build a console table
It’s crunch time, and it’s spring break this week, eek! See you next week for reveal.
I still can’t believe this is DIY. It looks professional!
Thank you! Definitely not professional, but I’d say lovingly installed 🙂