I saw this Halloween Witch idea at Swiss Days in Midway, Ut this summer. The witch was definitely my favorite Halloween decoration I saw. I wish I would’ve written down the booth name, so I could link to their witch, because it was cuter, with a lime green boa. I had fun making this witch, and I know you’ll enjoy it too. Here is a tutorial and template.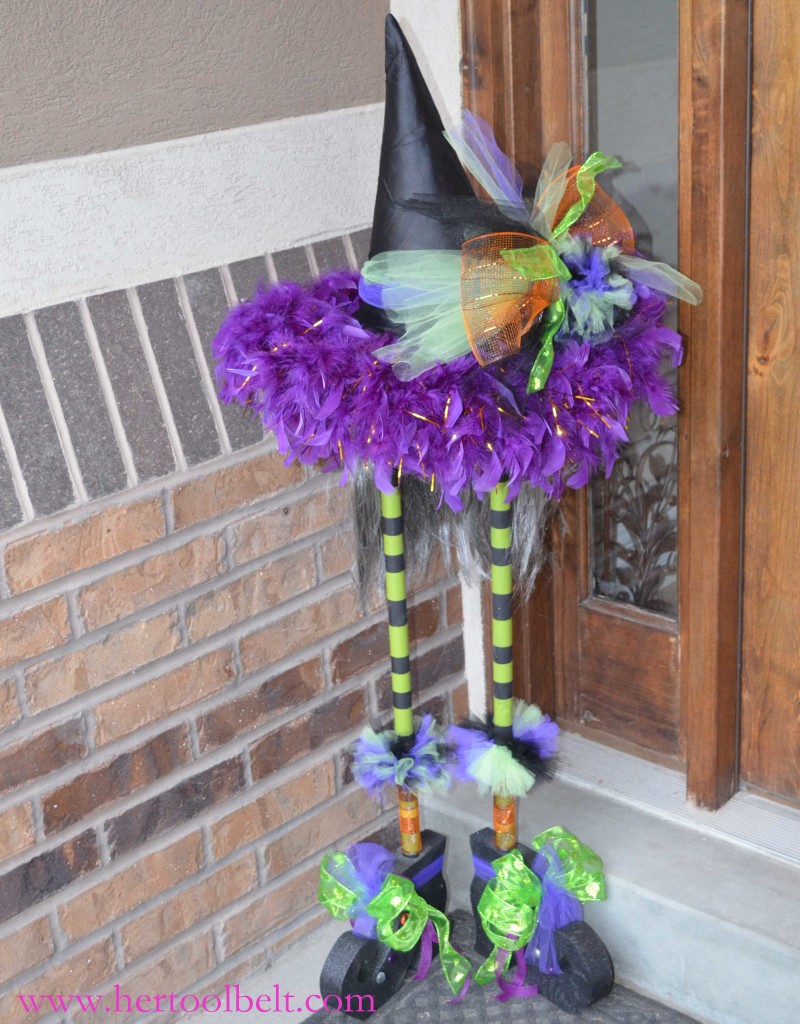
Materials needed:
- 2 x 1” Dowels (or an old broom handle)
- 2”x 12” wood about 16”
- 7” x 7” scrap ½” plywood
- 2 x 1 ¼” screws or longer
- Feather Boa
- Witch Hat
- Black, Green, Glitter spray paint
- Ribbon, tulle, etc
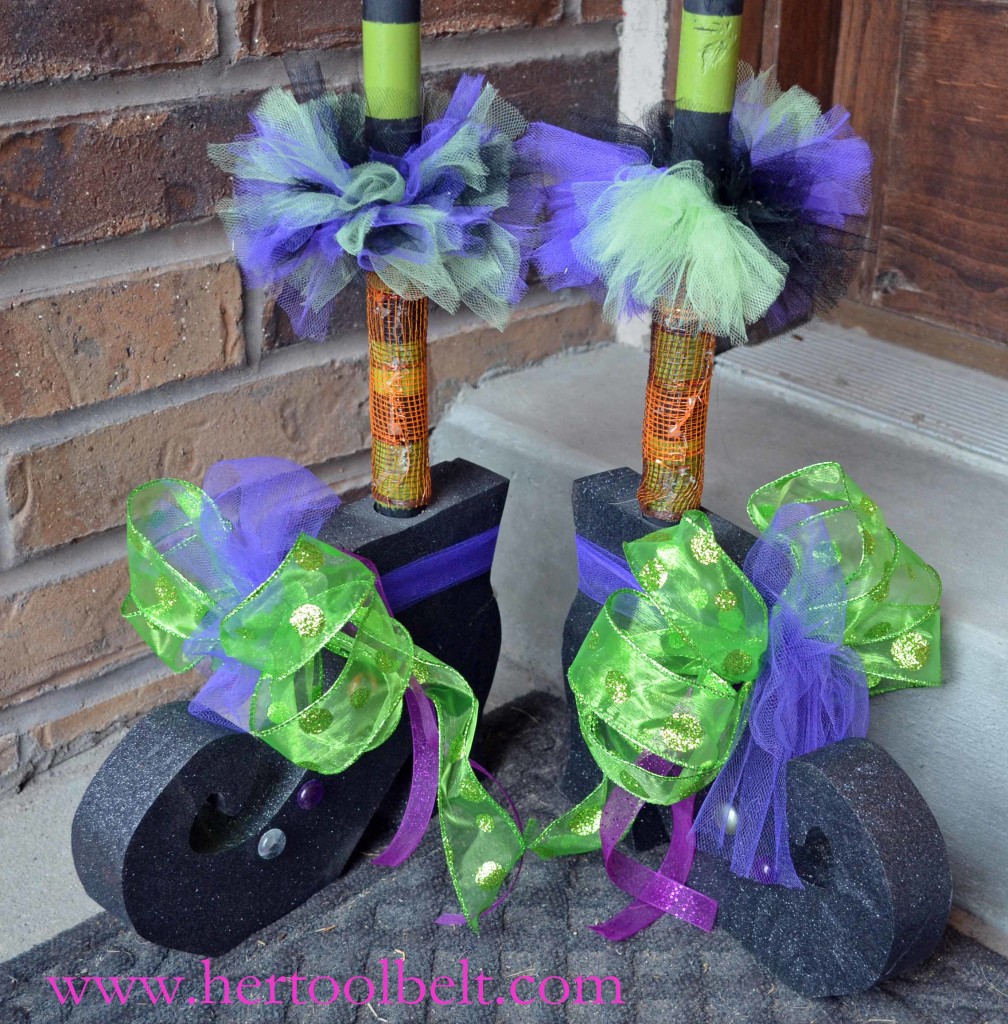
Let’s start with the shoes, use the PDF witch shoe template
Trace out two witch shoes on 2×12 pine wood, or a piece of wood that is at least 1 ½” thick.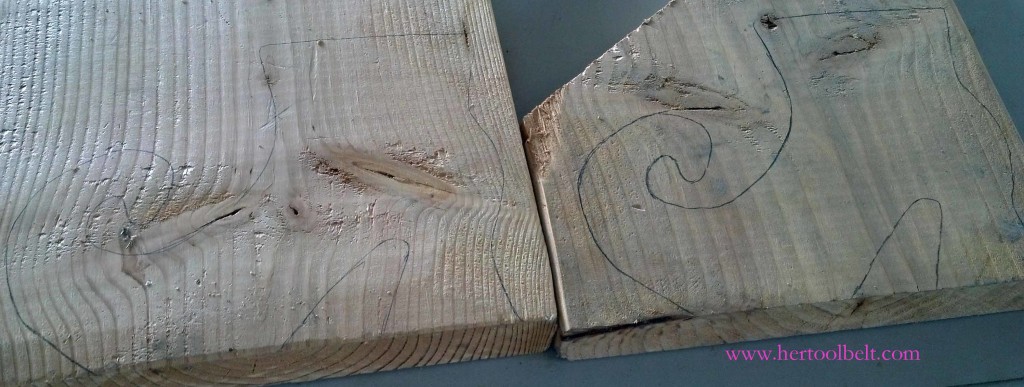
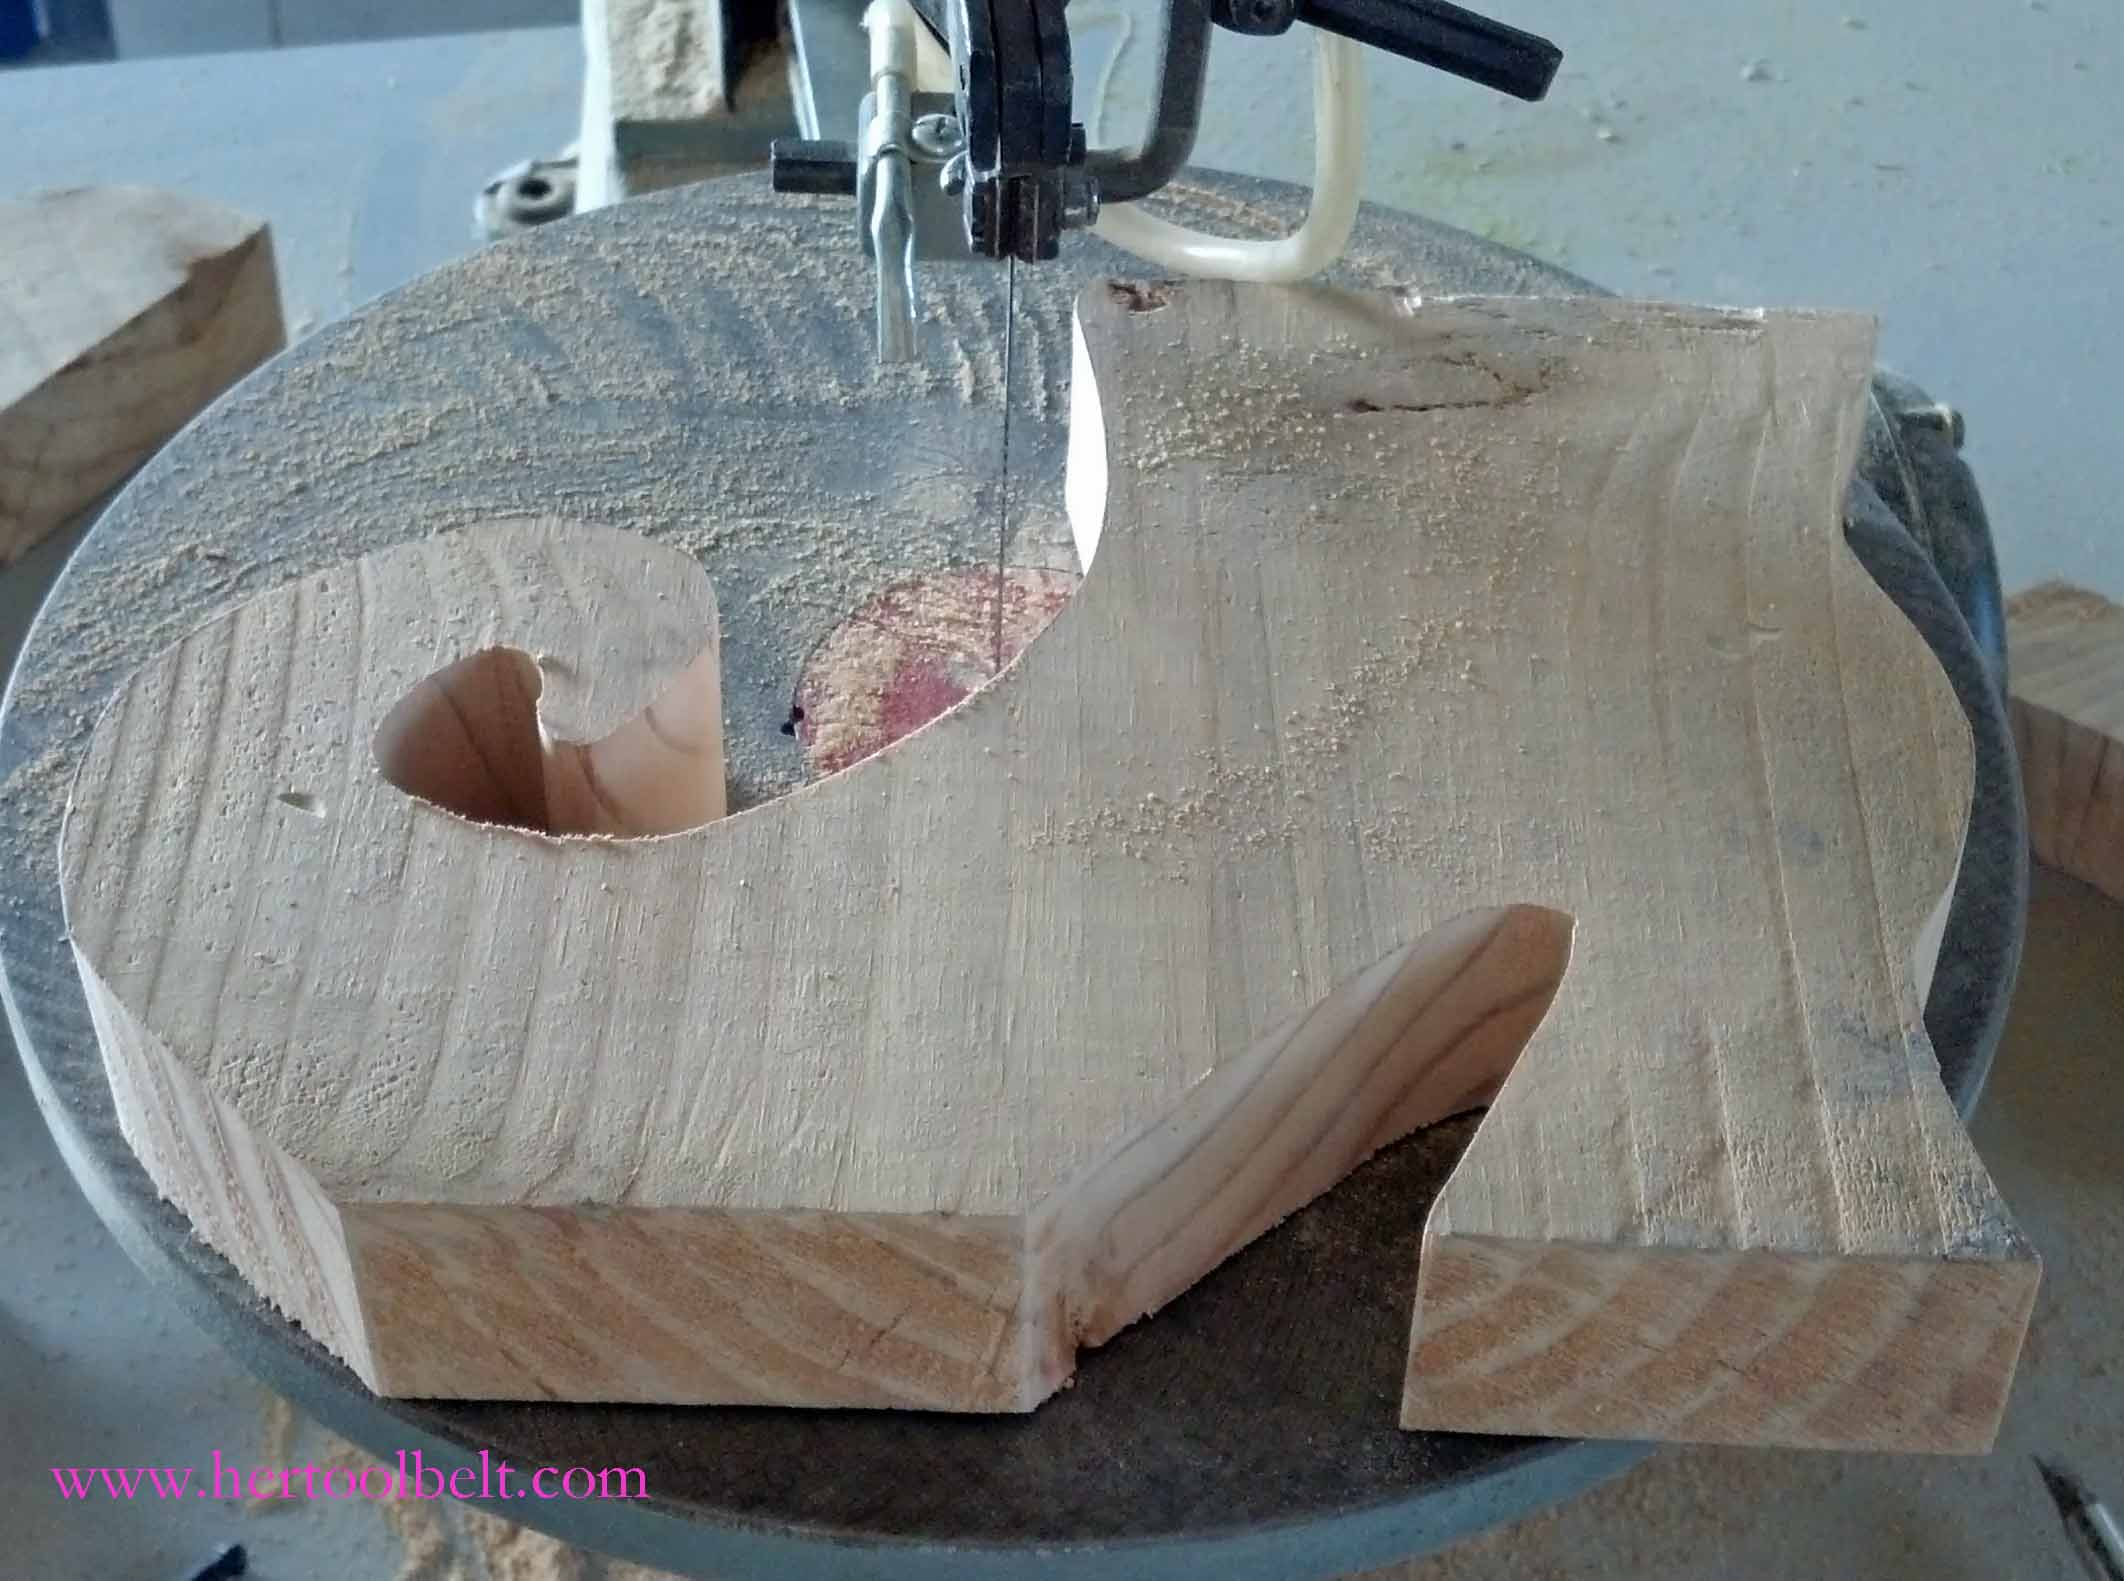
Cut the shoes out with a scroll saw, jig saw or band saw. Lightly sand the shoes.
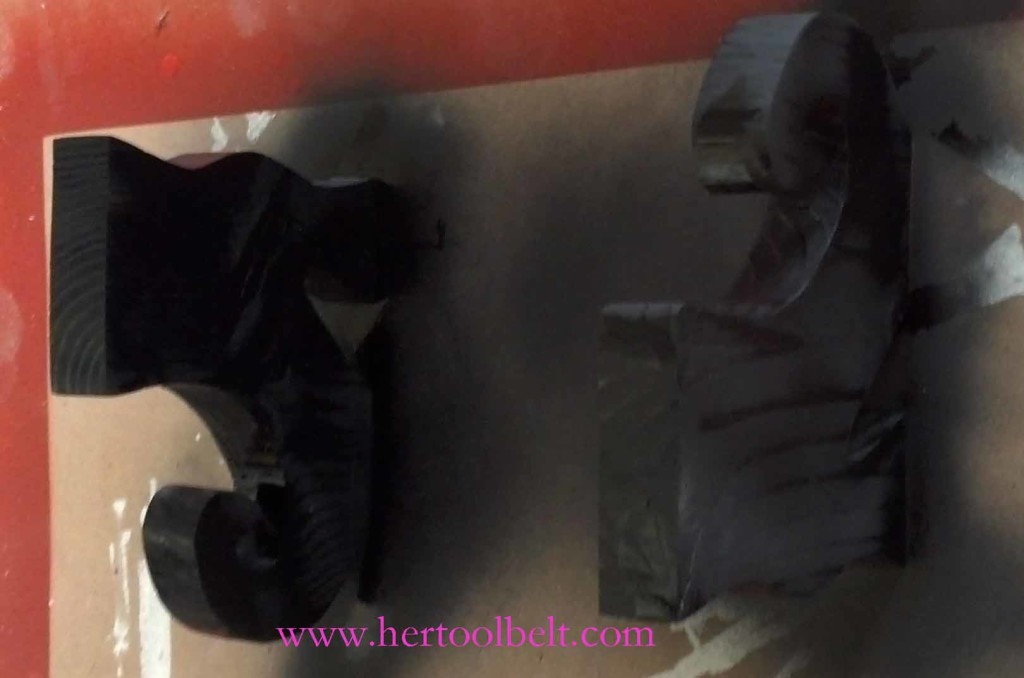
Wipe off any dust then spray paint the shoes black. Once the black paint dries, spray the shoes with black glitter paint. I used Krylon Glitter Blast and it seemed to work very well.
 When the paint is dry, make a mark in the center of the top of the boot for the legs to be mounted.
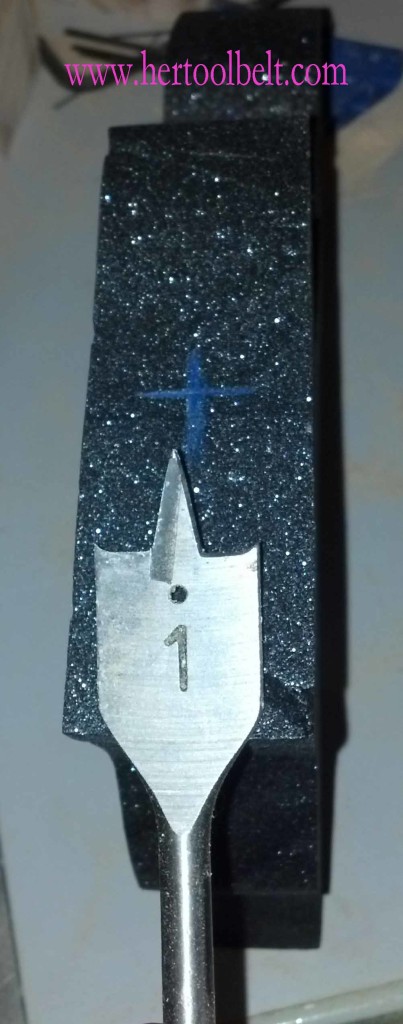 Using a 1” drill bit (or whatever size of dowel you used) drill a hole approximately 1 1/2” deep.
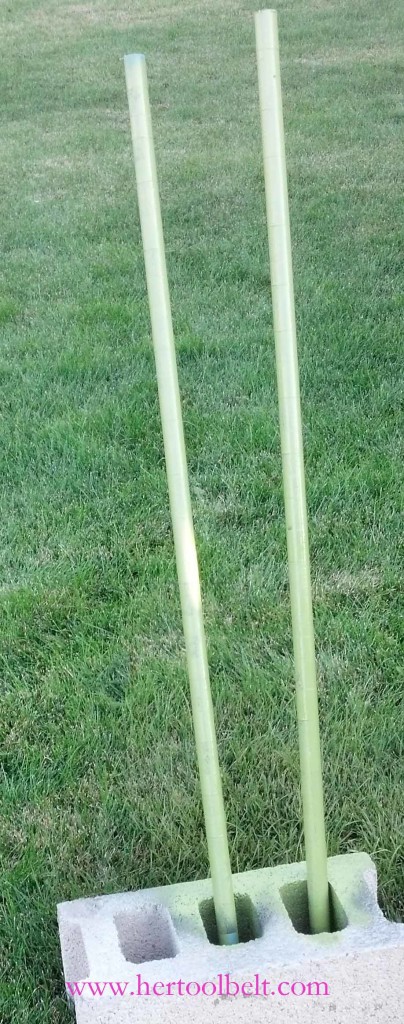
 Next step is the legs. Cut the dowels to the height that you’d like your witch. I would suggest somewhere between 2’ to 3’. Paint the dowels a base coat; it’s probably easier to paint the lighter color first. I did black first, but I think I had to use more green to cover the black. Let the paint dry.
 Use painters tape and tape stripes on the legs. I did a pattern between 1” and 1 ½” tape stripes.
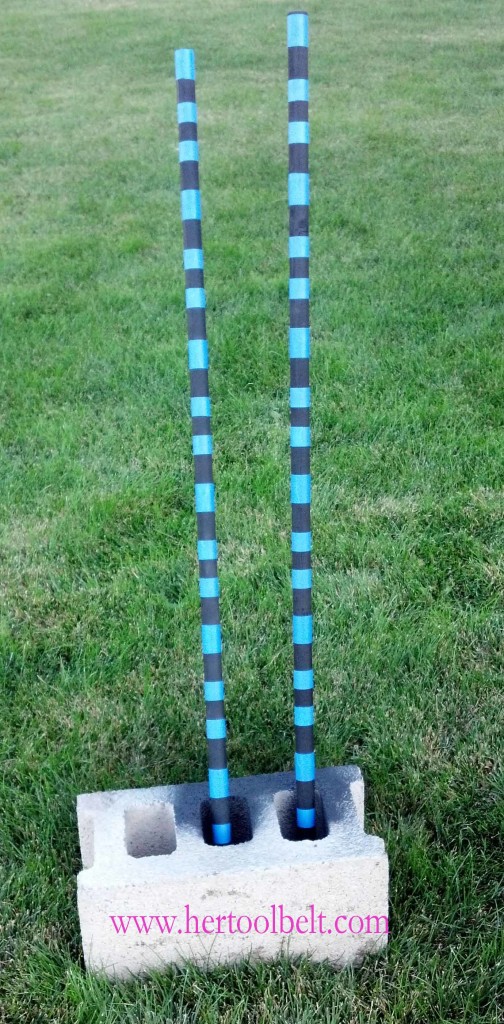
Paint the stripe color (green) on the taped legs. Let the paint dry sufficiently, and then remove the painters tape.
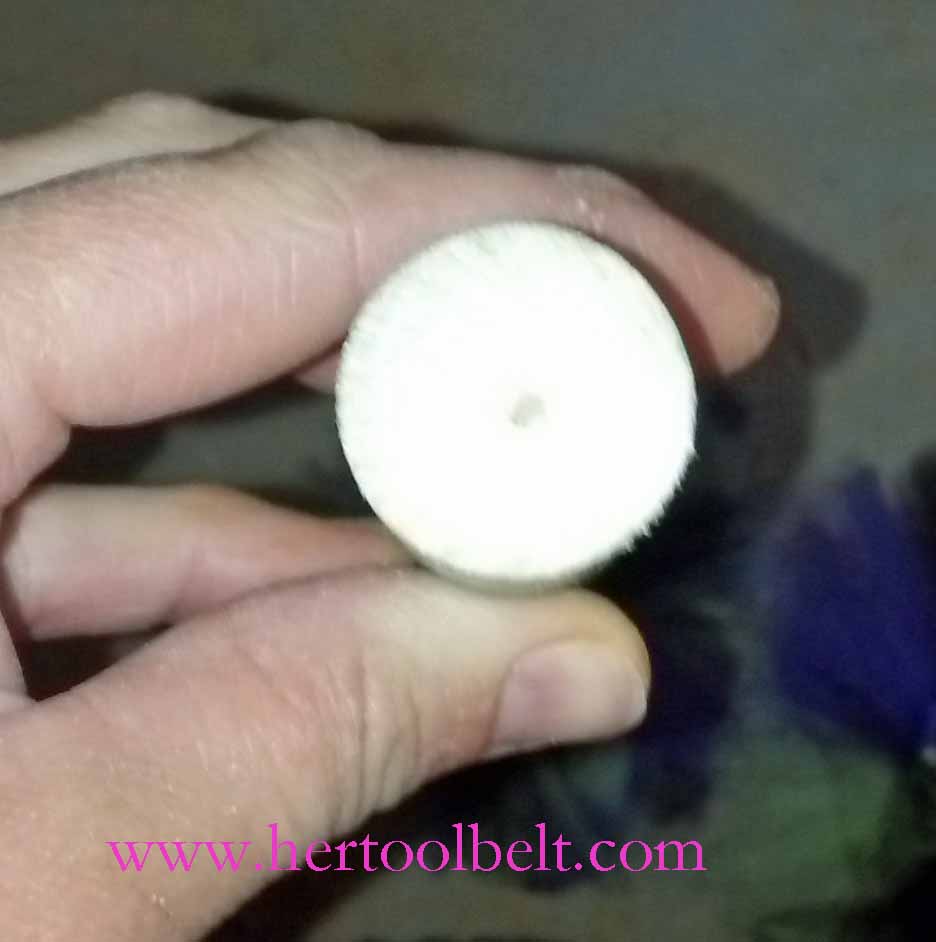
Drill a small pilot hole (~3/16”) in the center of the top of each dowel about 1” deep.
 Roughly cut a circle out of some scrap plywood that is approximately 7” diameter. Drill 2 pilot holes that are ½” from the edge. Using 2 screws, mount the legs onto the circle.
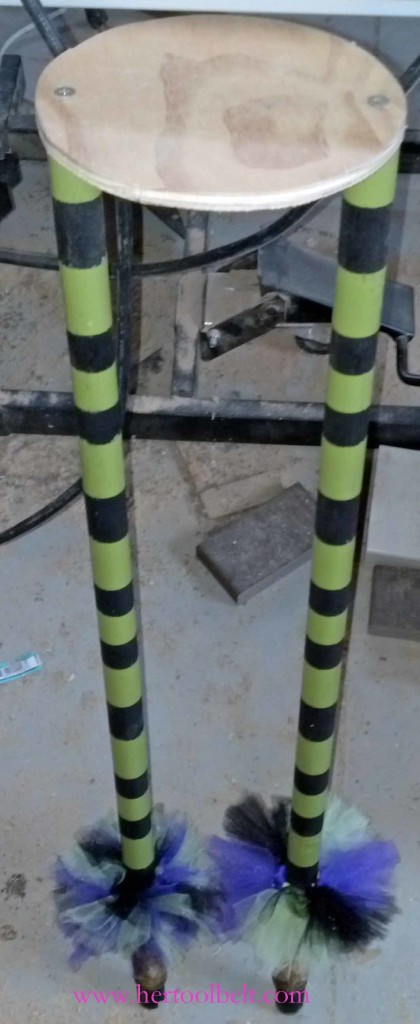
Insert the legs into the witch shoes, have the shoes sit at about a 90 degree angle so it is more stable while standing.
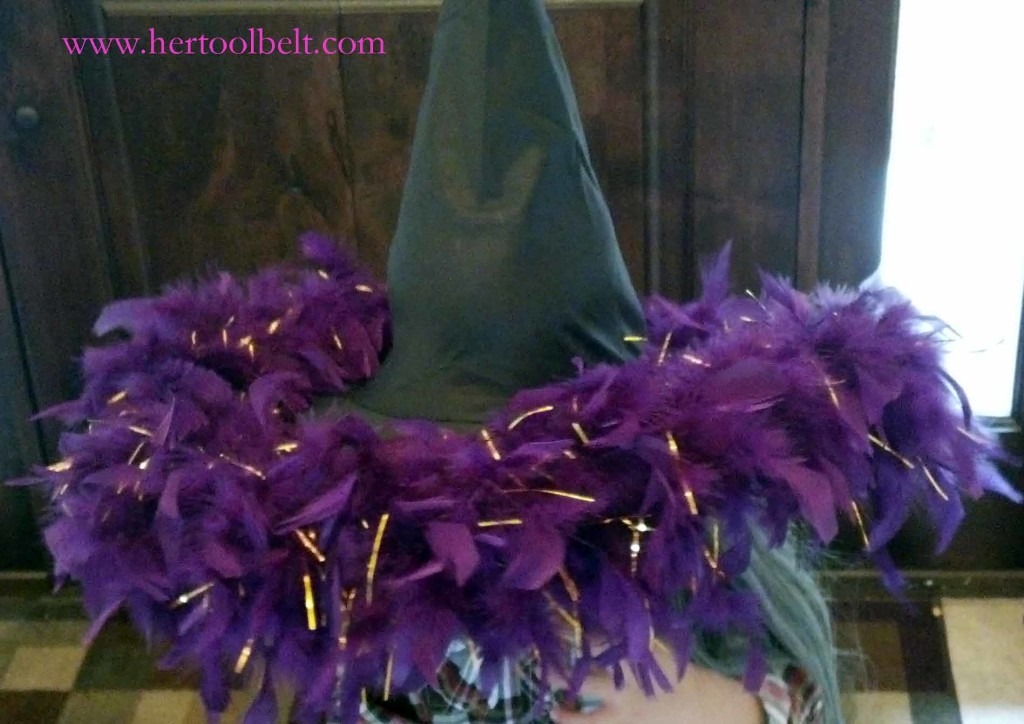
Lightly hand-sew the feathered boa to the rim of the witch hat.
Set the witch hat on top of the plywood circle. You may have to stuff the witch hat to get it to stay upright; I used light cardboard (cereal box) in a cone shape. Now bling out your witch however you like, ribbon, tulle, beads,
feathers…whatever to your taste.
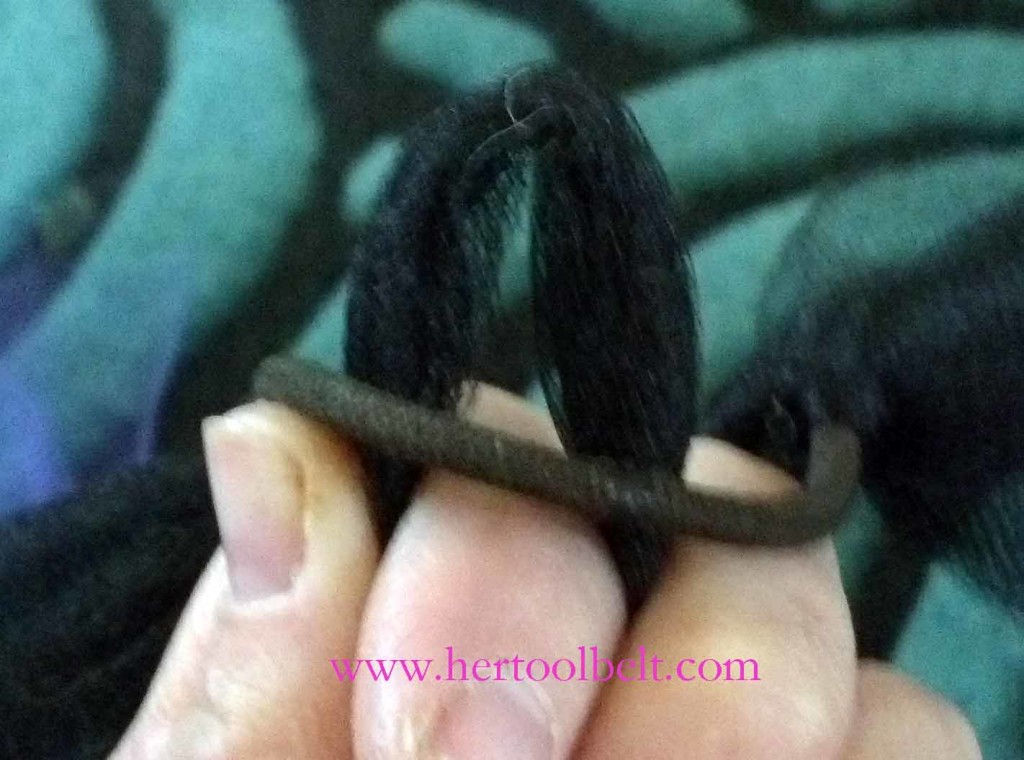
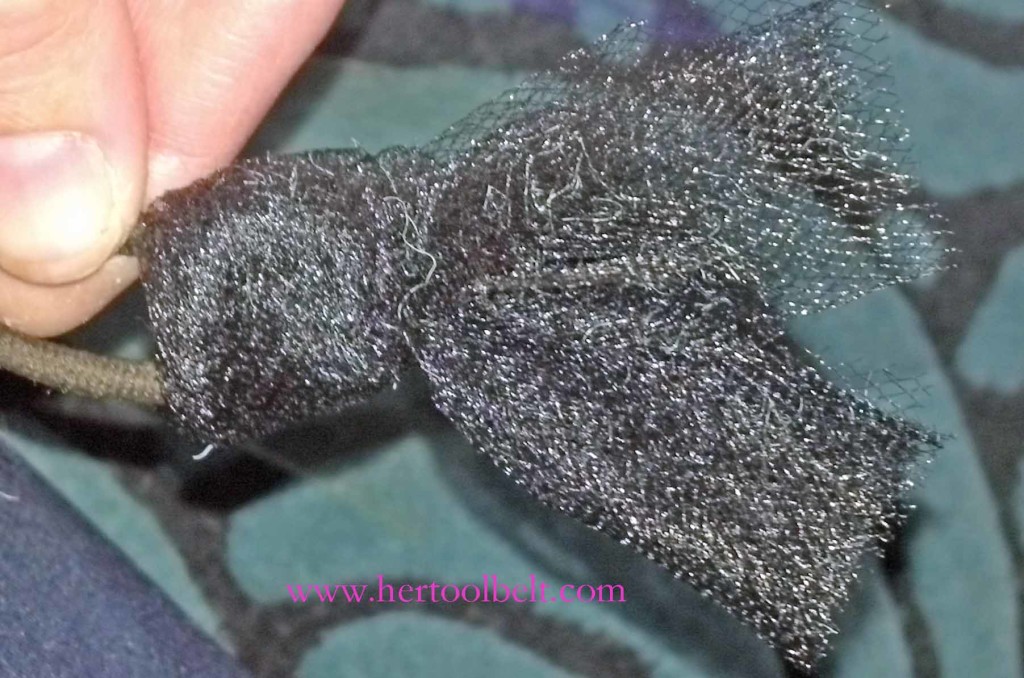
 I made mini tulle tutus for sock cuffs. Use 2 hair elastics, and tulle cut to 6” pieces. On the first tutu, I layered black, green, and purple for each strand wrapped around the elastic. The second, I used 3 layers of the same color for each strand. I am not sure which I like better, probably the first.
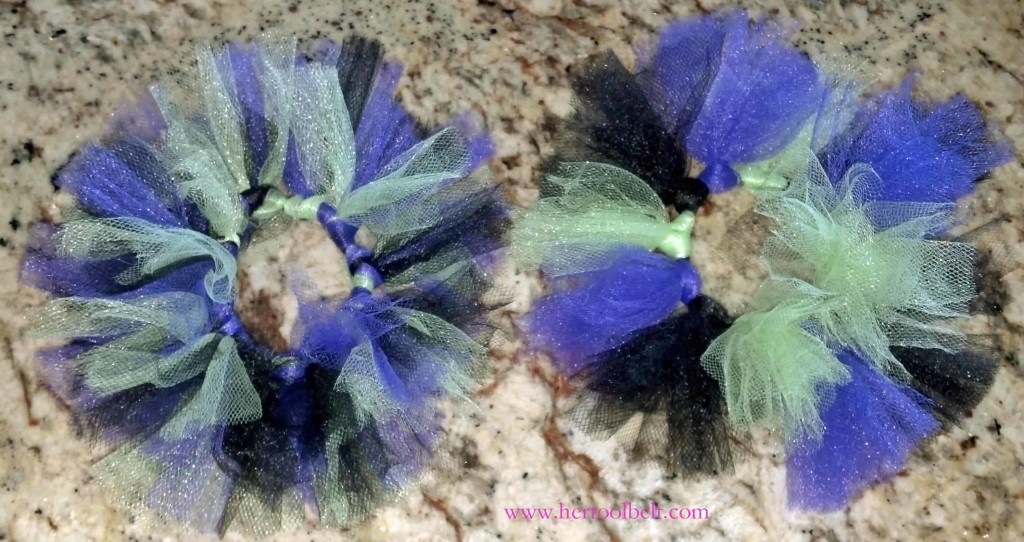
For each strand take 3 pieces of 6” tulle, in a bundle fold it in half, leaving the loop open. Wrap the end of the tulle around the elastic, thread the end through the loop and pull tight. 12 bunches of tulle should give you a fairly full tutu. Wrap the elastic 2x around the leg and slide it into place.
Enjoy your Halloween Witch!
-K- Amy, I am so slow… I didn’t know you had a site until I snooped and found it. Super cute stuff and great tutorials. You are so talented!!
Thanks, I just started it this summer so it is a work in progress 🙂