• Home
  • Project Gallery
  • About me
    • Disclosure
    • Disclaimer
  • Blog

Her Tool Belt

DIY furniture plans, crafts, and home improvement tutorials to empower you!

  • Free Woodworking Plans
    • Bathroom Furniture
    • Bedroom Furniture
    • Entry
    • Family Room Furniture
    • Garage
    • Kitchen furniture
    • Laundry Room
    • Mudroom Furniture
    • Organization
    • Outdoor Furniture
  • Home Decor
    • Upcycle
  • Crafts
    • Holiday
  • Home Improvement
    • Cleaning
    • Fix IT
    • Paint
    • Tile
  • Tool Reviews
  • Tool Time Videos

Husky Farmhouse Table – Ana White plan

January 1, 2014 by Amy Leave a Comment

When the Ana White’s Husky Farmhouse Table started circulating around pinterest my Sister thought it would be a perfect edition to her new Farm House styled home that she was building.  The store bought husky legs came with a sorta hefty price+shipping, so my sister asked a local wood turner if he had anything laying around.  And to her great fortune, he did!!! husky farmhouse table hertoolbelt 
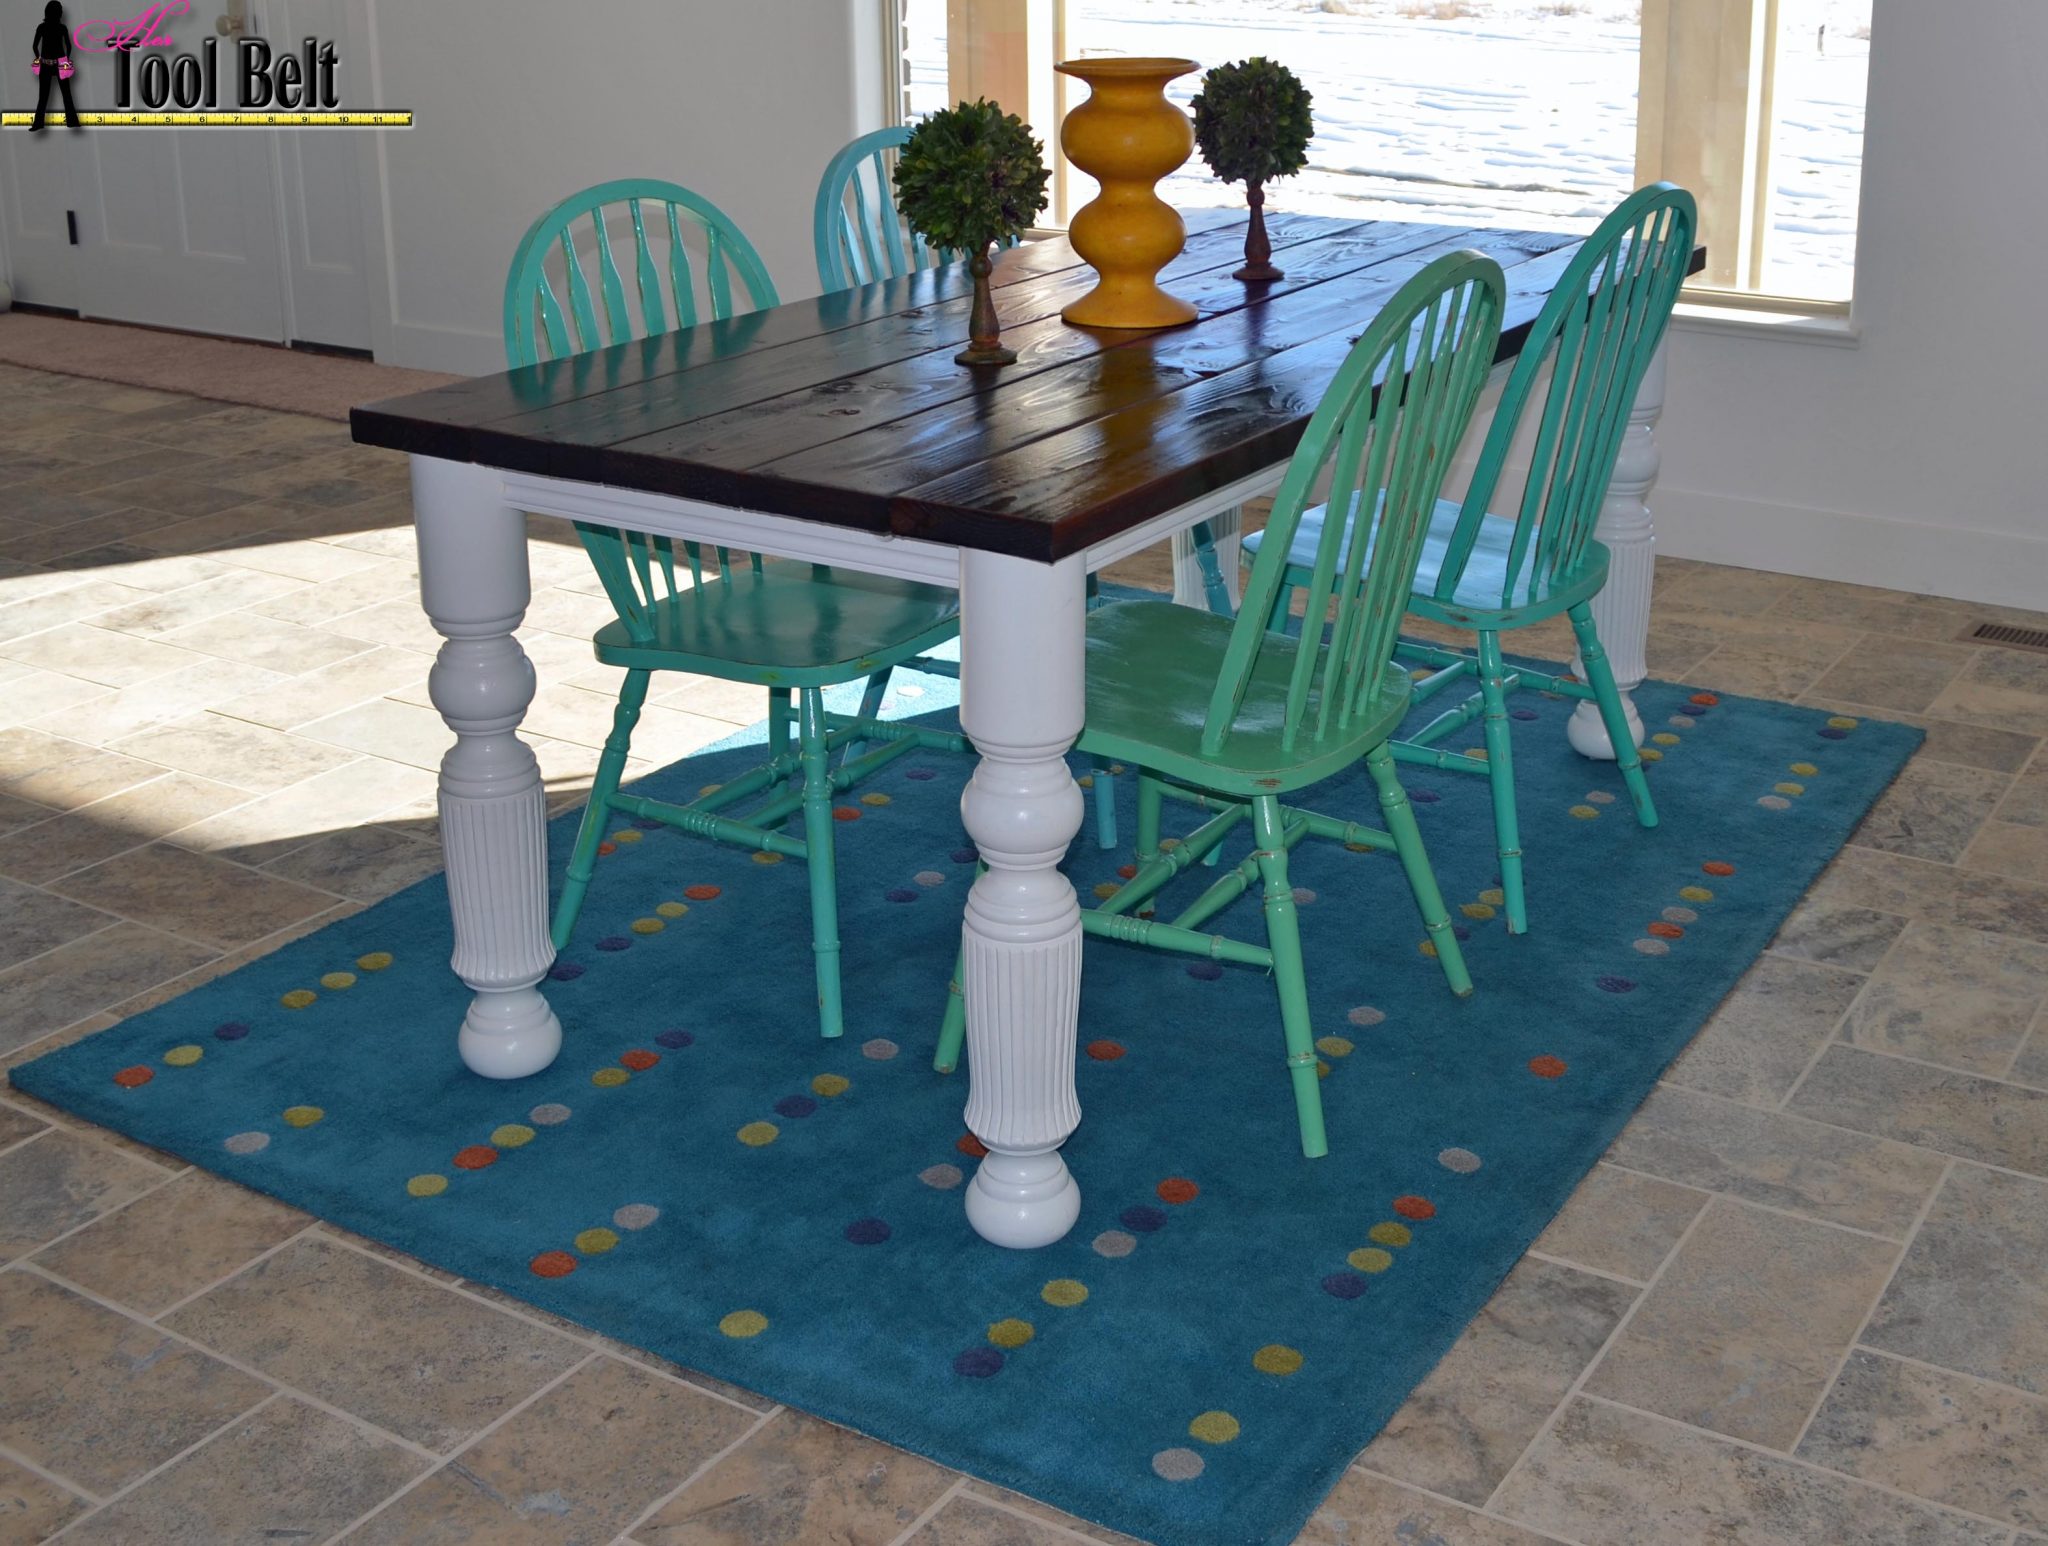
These beauties had been sitting around in his shop for so long the glue joints had slightly separated, he sold them to her for $20 a piece…what a steal of a deal!!!  I helped her build this farmhouse table from Ana’s plans with a few modifications.

We used 5x 2″x8″x72″ pine boards instead of the 2″x6″ boards.  Skim cut the rough edges of the 2″x8″ boards with the table saw to hopefully get a flat surface to join the planks together.  Don’t trim too much or you’ll loose the grooves for the ‘plank’ look.  Use your kreg jig and glue and join your planks.  I thought it was necessary to add some supports to stiffen up the table top, so we cut 3 pieces of 2″x4″ about 25″ long and glued and screwed those boards into the underside of the table top.  Once dry, sand, sand, sand, ugghhh.underside of husky table w

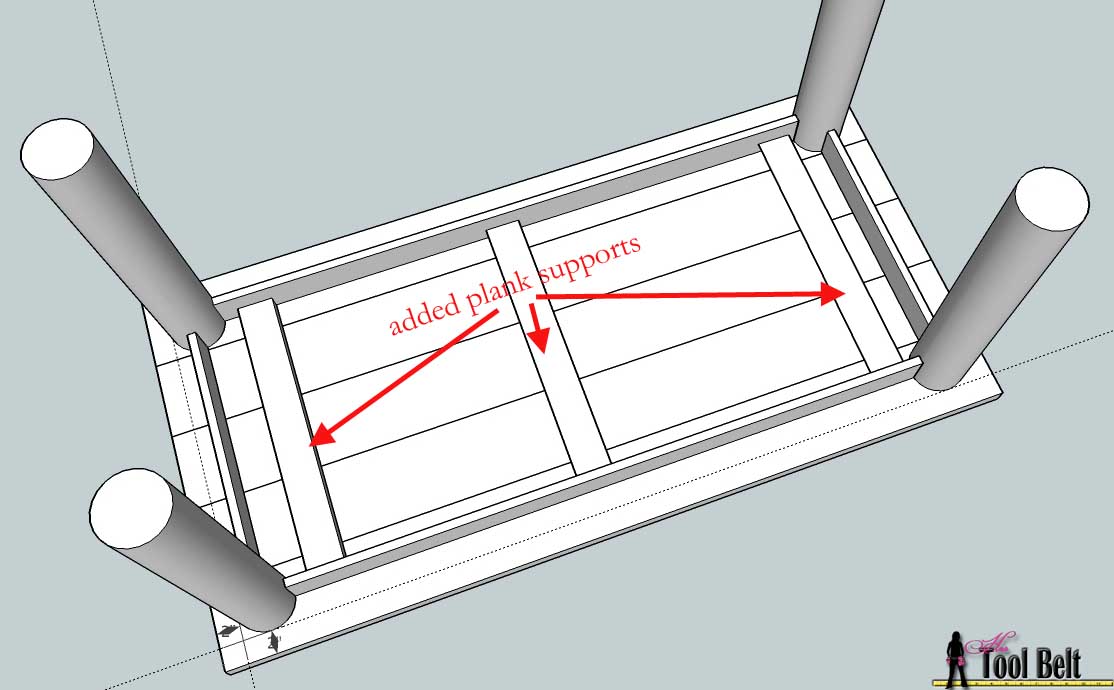
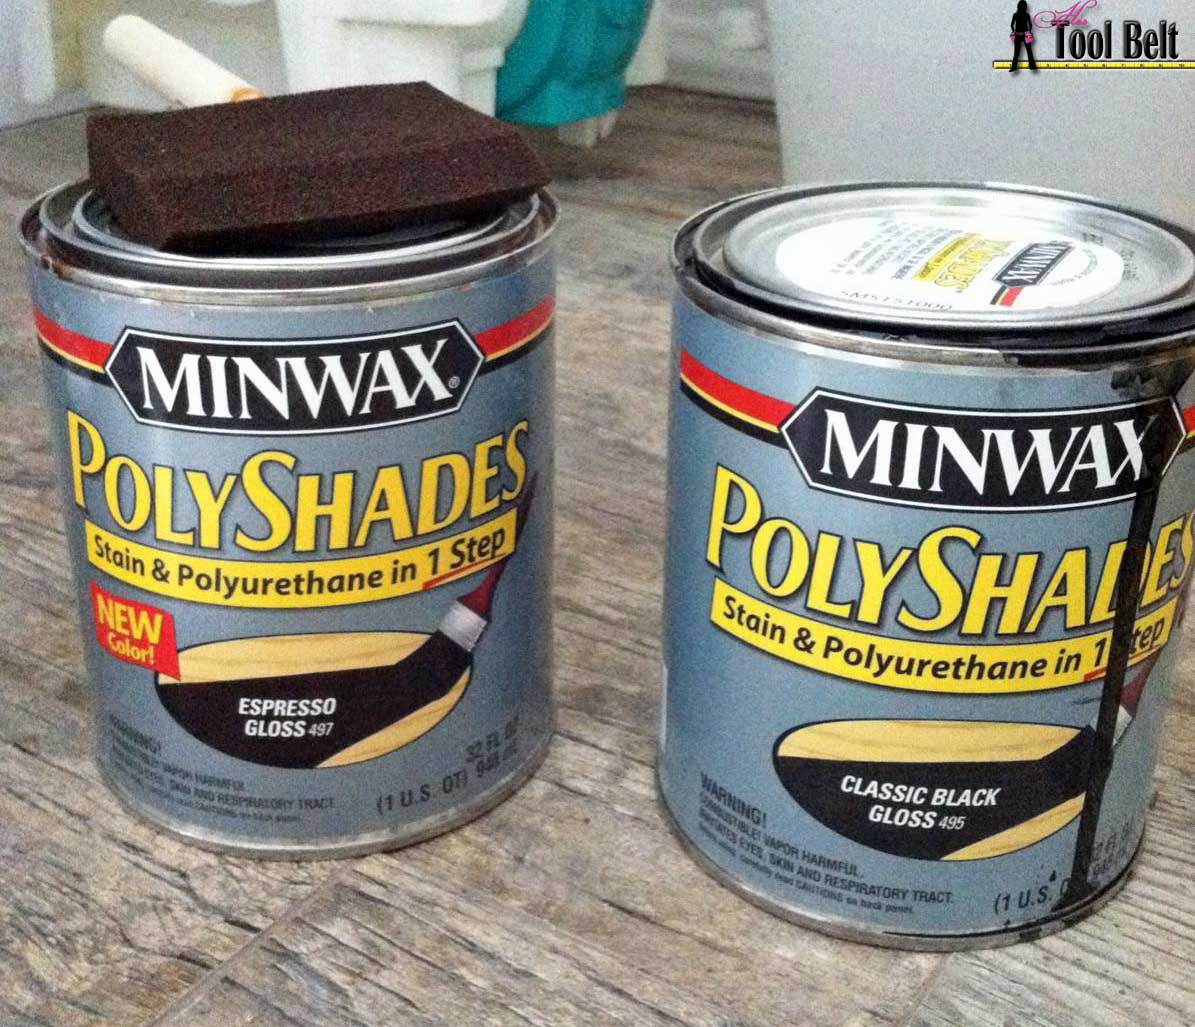
The finish on this table top is a 2-part mixture.  We originally applied Minwax polyshades Espresso gloss, it went on the pine with a redish color, kind of weird.  Then we applied Minwax polyshades classic black gloss without letting the espresso fully dry.  It gave us this beautiful rich color…love it!

stains for husky table

Next we substituted 1″x4″ furring strip board for the 2″x4″ skirt and eliminated the 1″x2″ trim and put a cute routed bead around the skirt.

husky table skirt

We had a unique issue, since the top of these legs are round.  I used the Kreg jig and actually mounted them right onto the underside of the table, making sure that the pocket holes would be hidden by the skirt.  The legs were set in 2″ from each corner.  I then cut to fit the skirt boards and screwed them into place.leg inset htb

The legs and skirt were painted white and ‘WILL’ be antiqued with antiquing glaze (that part hasn’t happened yet, so you’ll have to imagine the greatness).  We tried the old world chippy paint finish, but with premixed milk paint…and just could not get the paint to chip over the gel stain.  I guess we’ll have to try the powder milk paint like in the tutorial.

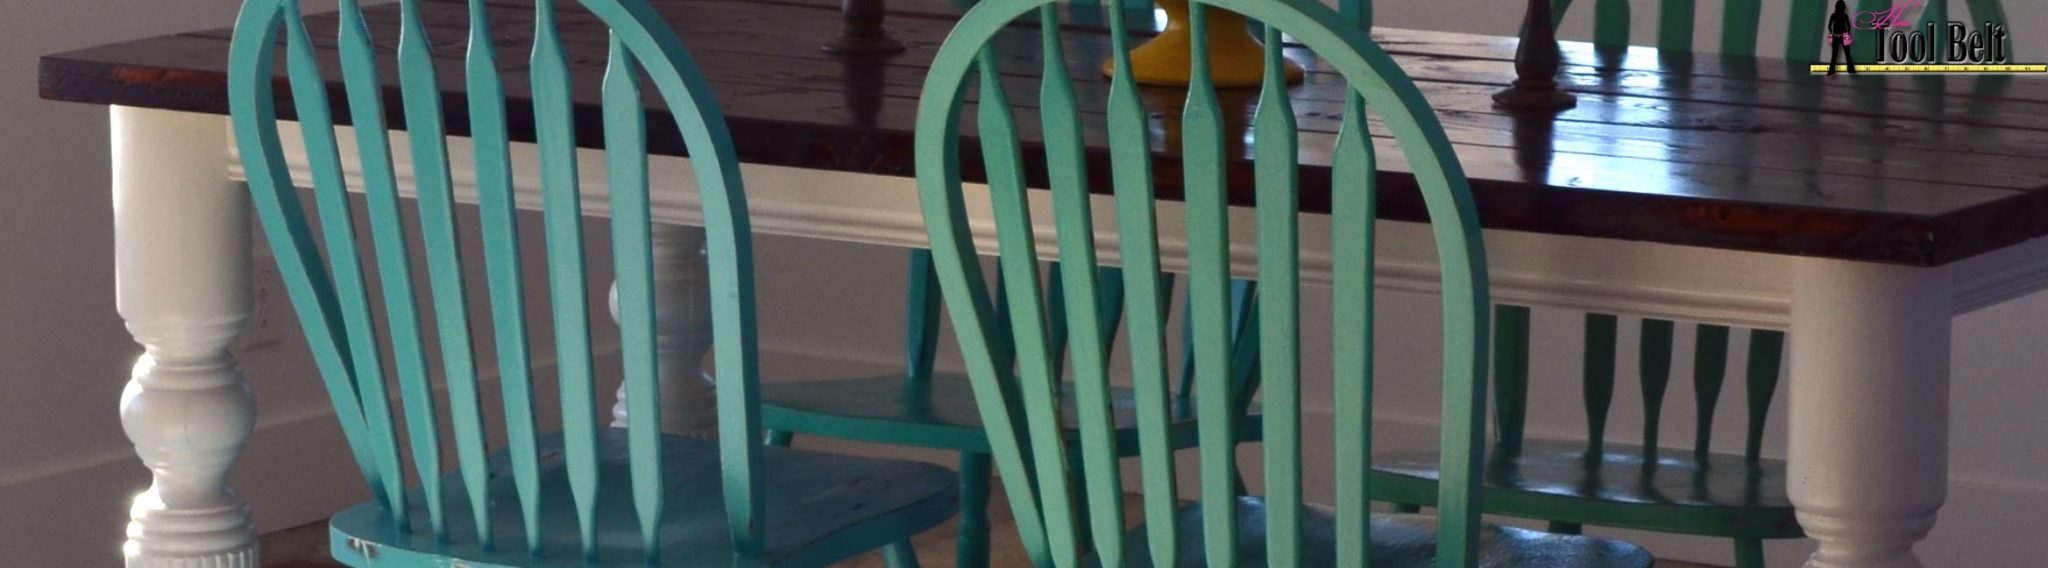
The finished table is gorgeous (Thanks Ana for the plans).  The table looks awesome with the silver travertine go here for the tutorial and the fun ombre chairs!  Next project…a cool bench to go with this rustic table.Husky leg table

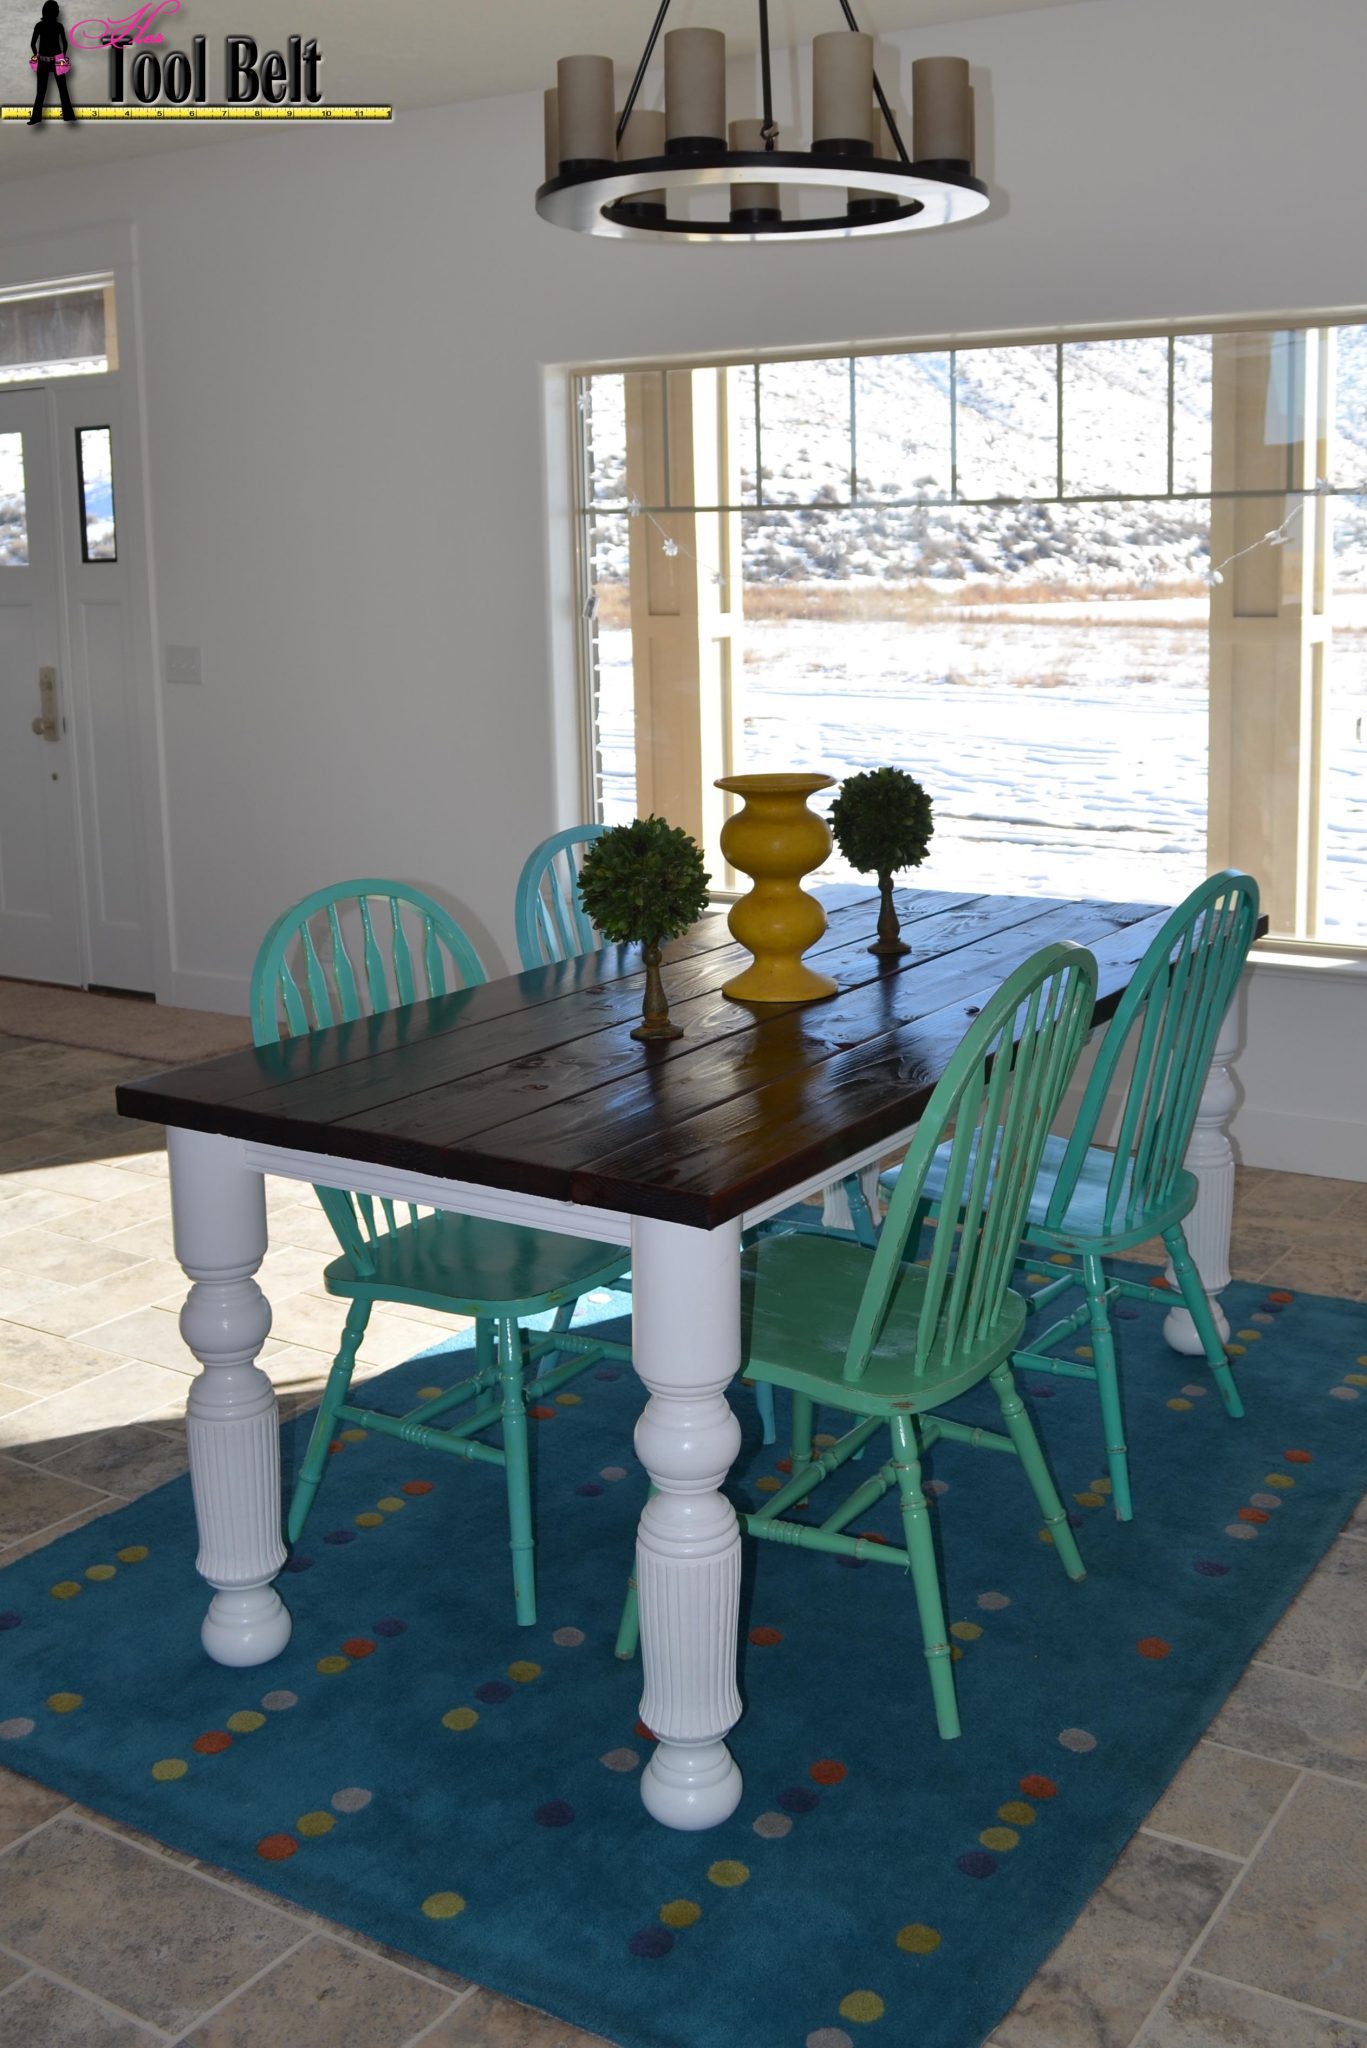
Linked up to Remodelohic

Related

Filed Under: Free Woodworking Plans, Home Decor, Kitchen furniture Tagged With: ana white, brag post, DIY, farmhouse table, table DIY

Attention: Any do-it-yourself project involves risk of some sort. Your tools, materials, and skills will vary, as will the conditions at your work site. Hertoolbelt LLC will not assume any responsibility or liability for damages or losses sustained or incurred in the course of your project or in the use of the item you create. Always follow the manufacturer's operating instructions in the use of tools, check and follow your local building codes, and observe all commonly accepted safety precautions.

Leave a Reply Cancel reply

Your email address will not be published. Required fields are marked *

This site uses Akismet to reduce spam. Learn how your comment data is processed.

Search Her Tool Belt

Follow Me!

  • Bloglovin
  • Email
  • Facebook
  • Instagram
  • Pinterest
  • RSS
  • Twitter
  • YouTube

Top Posts & Pages

Left Offset Bathroom Vanity

Check out more projects

Copyright

Thank you for wanting to share my work! No need for my permission to pin my work or to feature 1 or 2 pictures with full watermarks intact that link back to the original project. Please do NOT copy tutorials.

Disclosure & Privacy Policy

Disclaimer

Copyright © 2025 · Magazine Pro Theme on Genesis Framework · WordPress · Log in

This website uses cookies to improve your experience. We'll assume you're ok with this, but you can opt-out if you wish.Accept Read More
Privacy & Cookies Policy

Privacy Overview

This website uses cookies to improve your experience while you navigate through the website. Out of these, the cookies that are categorized as necessary are stored on your browser as they are essential for the working of basic functionalities of the website. We also use third-party cookies that help us analyze and understand how you use this website. These cookies will be stored in your browser only with your consent. You also have the option to opt-out of these cookies. But opting out of some of these cookies may affect your browsing experience.
Necessary
Always Enabled
Necessary cookies are absolutely essential for the website to function properly. This category only includes cookies that ensures basic functionalities and security features of the website. These cookies do not store any personal information.
Non-necessary
Any cookies that may not be particularly necessary for the website to function and is used specifically to collect user personal data via analytics, ads, other embedded contents are termed as non-necessary cookies. It is mandatory to procure user consent prior to running these cookies on your website.
SAVE & ACCEPT