The Dremel Universal Oscillating Tool Review is sponsored by The Home Depot. I have been compensated for my time and provided with product (tools). All ideas and opinions are my own. This post contains some affiliate links for your convenience. Click here to read my full disclosure policy.
It has been 10 years!!!
insert face palm
man time flies
10 years ago, we bought our house. It was a bank owned unfinished house, but the location and neighborhood was perfect for us. We were in a hurry to finish the house, and trying to get it completed on a budget. It was after all, the beginning of the recession. There were a number of things that I said, Oh this is good enough for now, I’ll upgrade it later.
It is finally later, Yay.
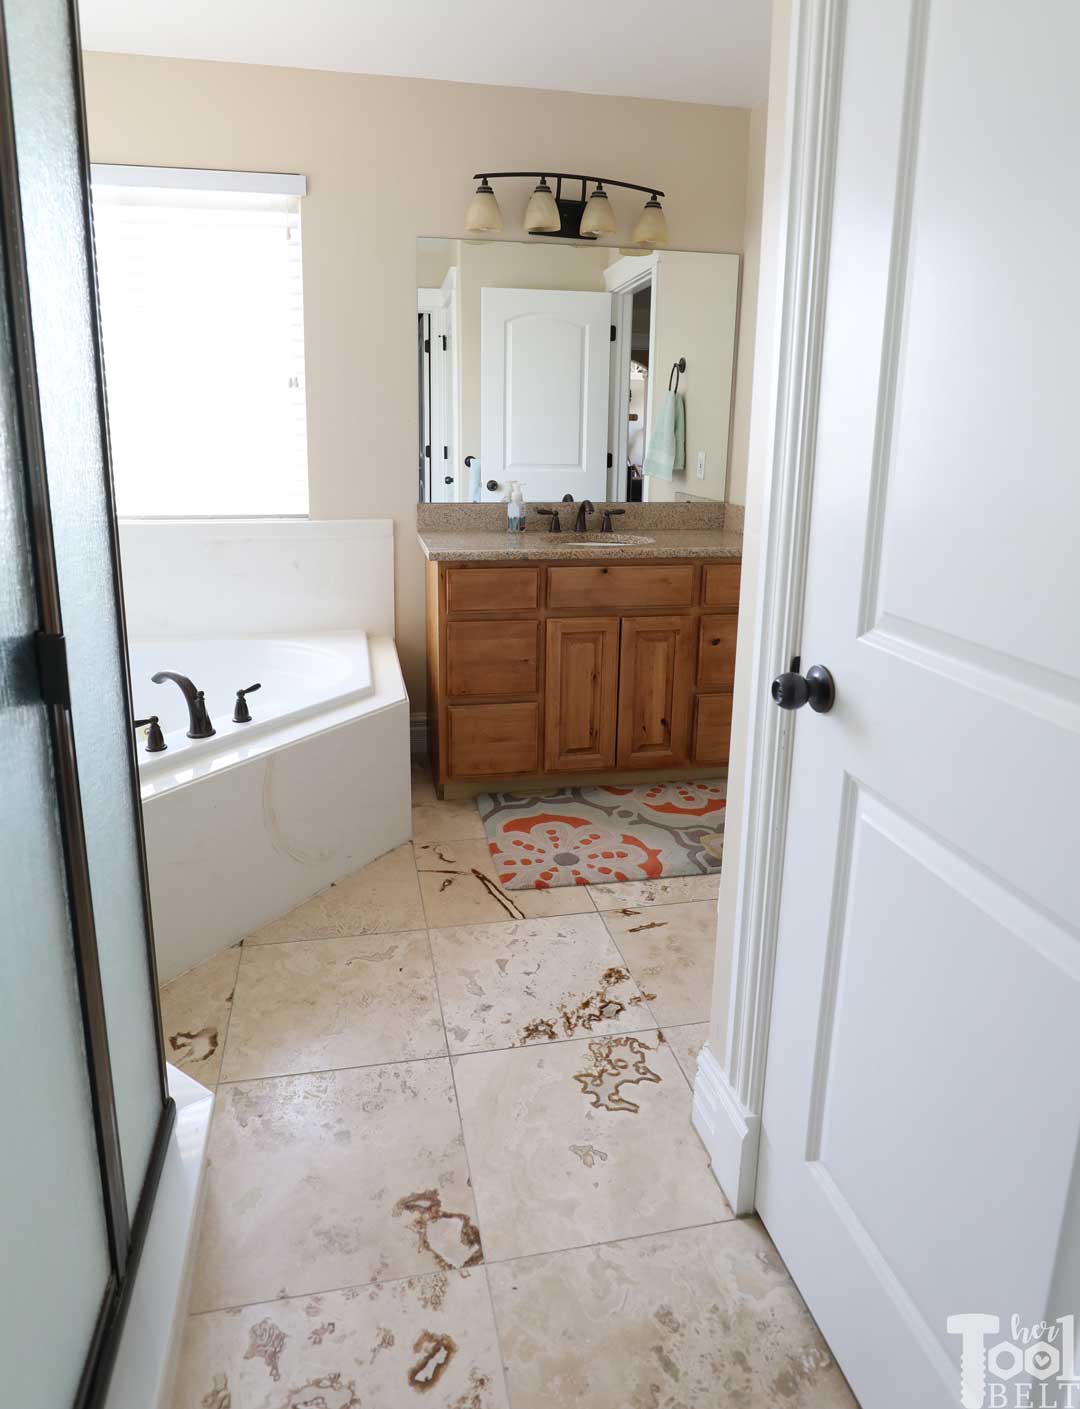
Introducing our not so grand, master bathroom.
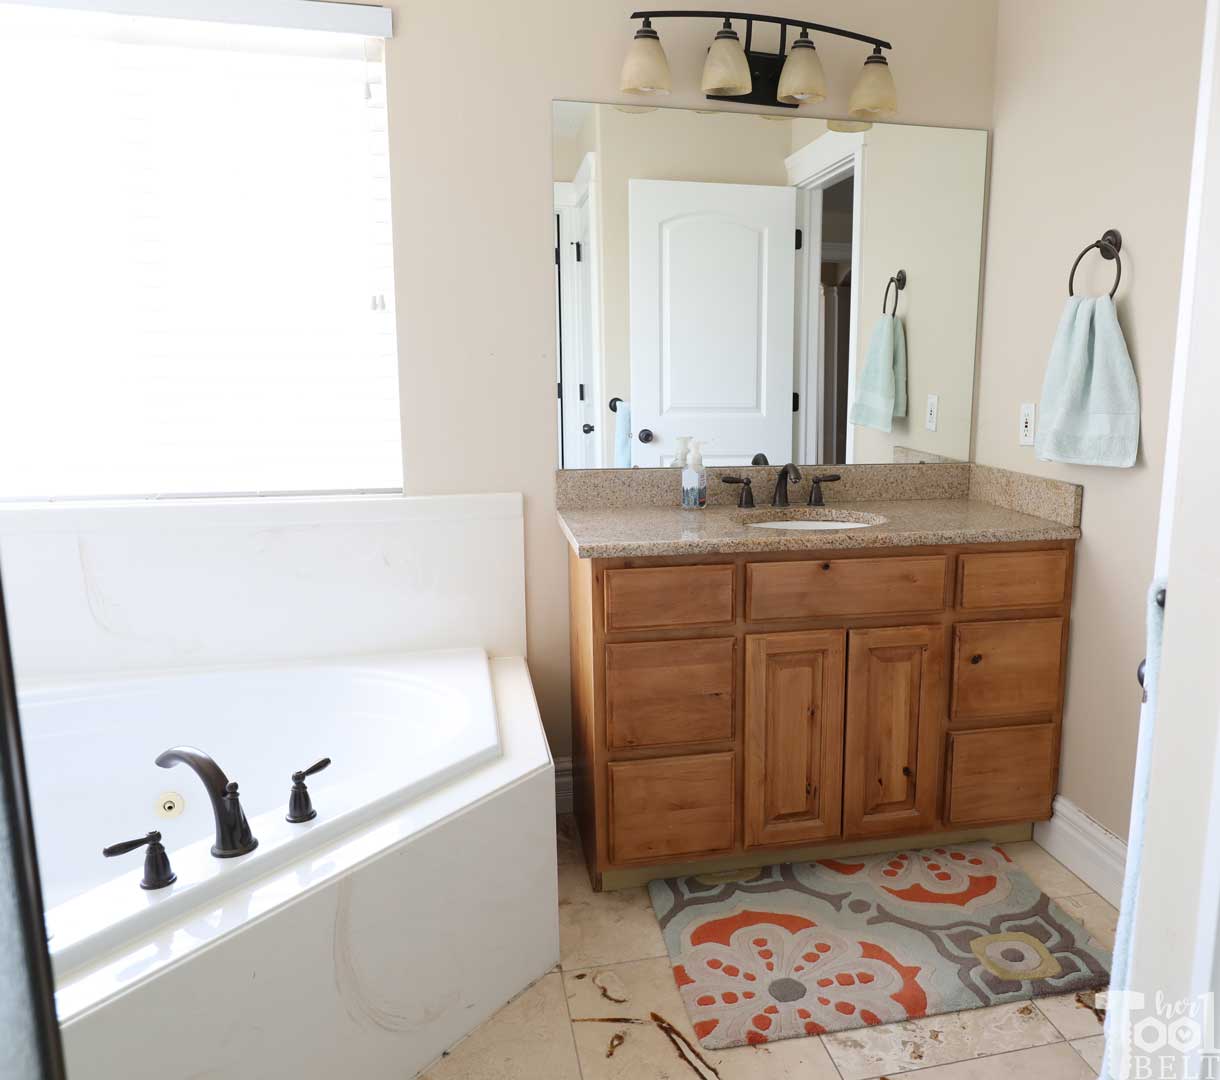
It is a fine functional builder grade bathroom.
I have been wanting to upgrade it to be a little more grand looking and pretty.
The Issues with the Bathroom
Vanity
The opening for the vanity is an odd 53″. Which at the time meant buying a custom vanity. I knew I would make a custom vanity down the road, so I bought this standard 48″ vanity/sink combo off of the classifieds. I knew the vanity was temporary, so I didn’t even cut the vent hole in the toe kick. 🙂 Did I mention it’s been 10 years now, so much for temporary, ha.
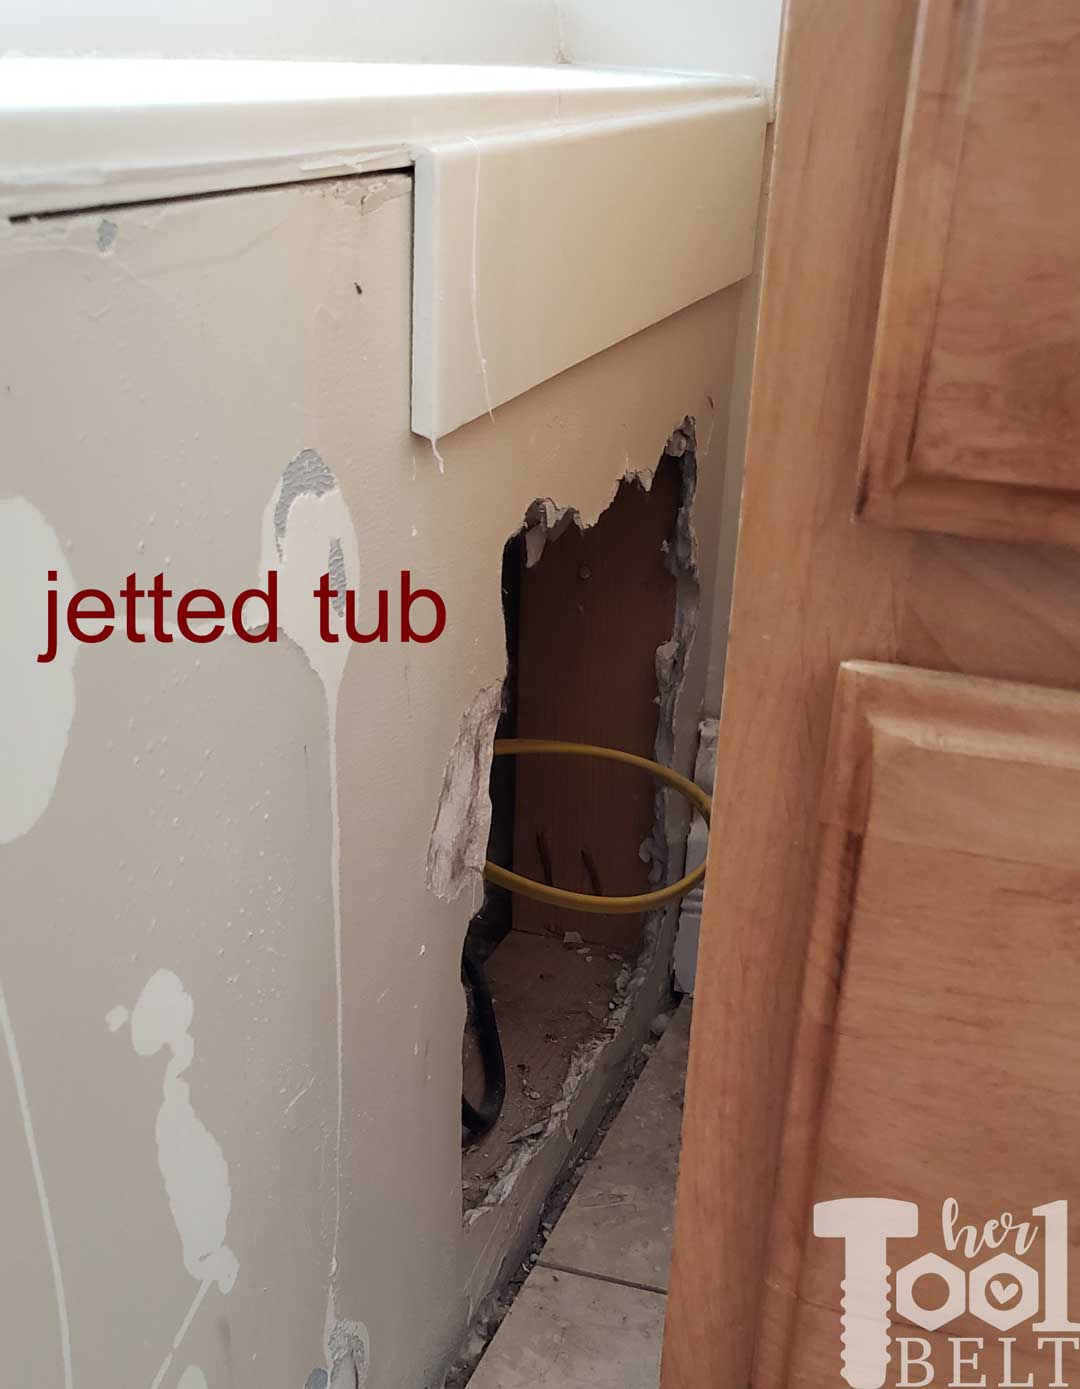
In the gap between the vanity and the tub, you see this lovely hole. Apparently it’s code (and a good idea) to leave an access point for the jetted tub motor. The new vanity that fits in the space will have built in access to the motor.
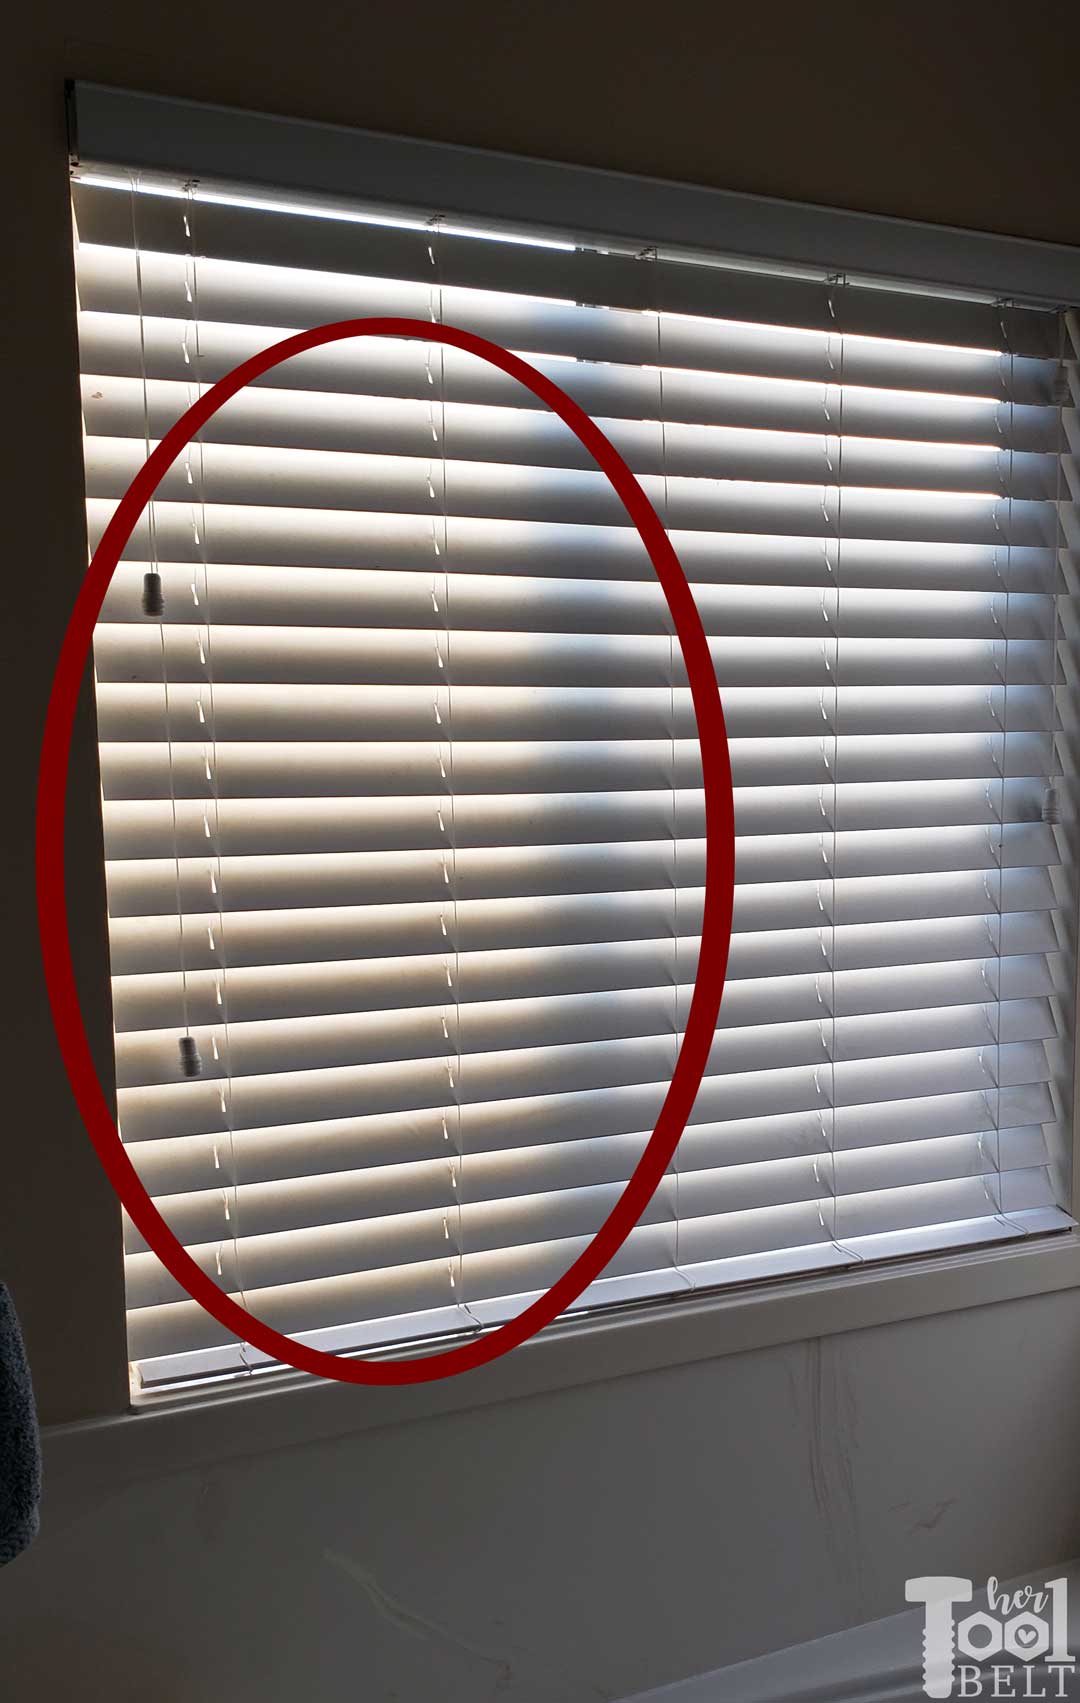
Window Treatments
I’ve always wanted plantation shutters, but at the time vinyl blinds were sooo much cheaper. But after 10 years, the sun has turned one side of my white vinyl blinds very yellow. It’s a little hard to see in the picture. Plantation shutters will allow me to leave the top 1/3 open all of the time, and close the bottom 2/3 for privacy.
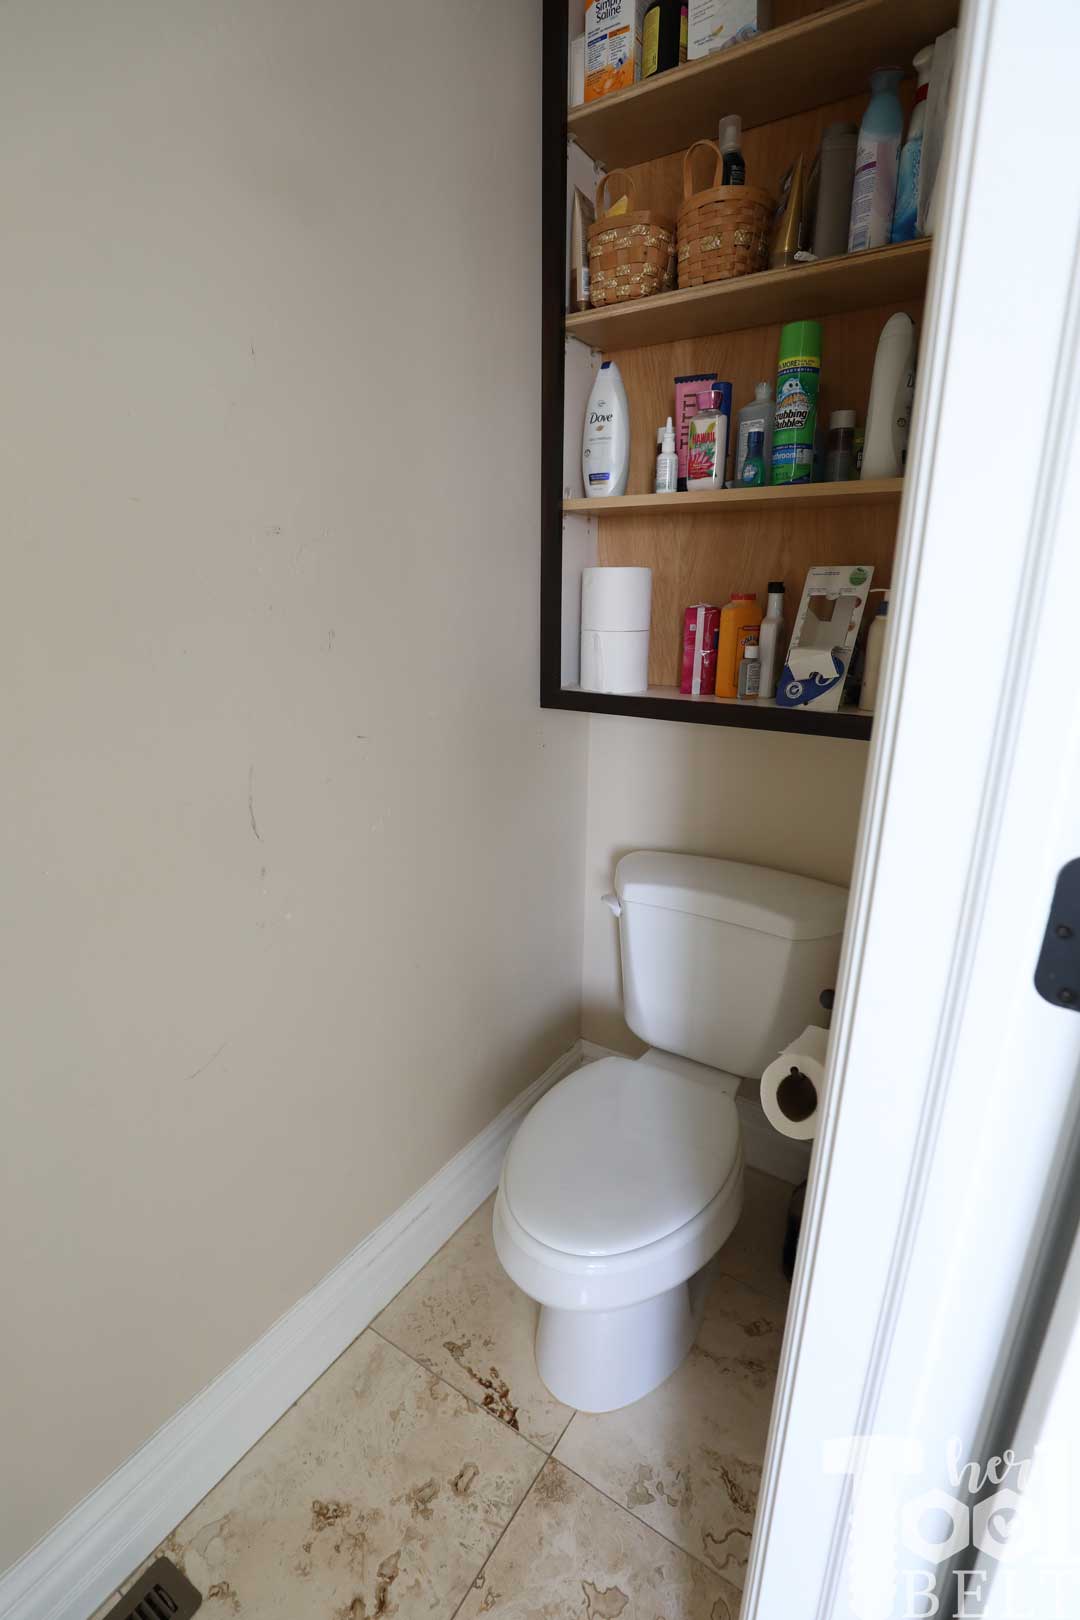
Cabinetry
I am the queen of getting a project to a functional state and then …. squirrel…. onto another project. My house originally had a serious lack of storage. I built a behind the toilet shallow cabinet to hold toiletries. Guess who never finished the doors…yep that’s me!
Flooring
Although I’ve loved the travertine floor over the years. There are so many cute modern options now. Plus there are 2 small spots where I didn’t get the travertine completely flat when I installed the flooring. I’ve been annoyed at myself ever since, and now it can be remedied.
Jeffrey Court All-star Renovation Challenge
Last year I participated in the Jeffrey Court Renovation Challenge and I completely redid my Front Entry with that amazing tile feature wall. I’m super excited to have been asked back to compete in an All-Star Challenge hosted by Jeffrey Court along with Behr and Frog Tape! The competition will be stiff, but I am thrilled to be part of the challenge.
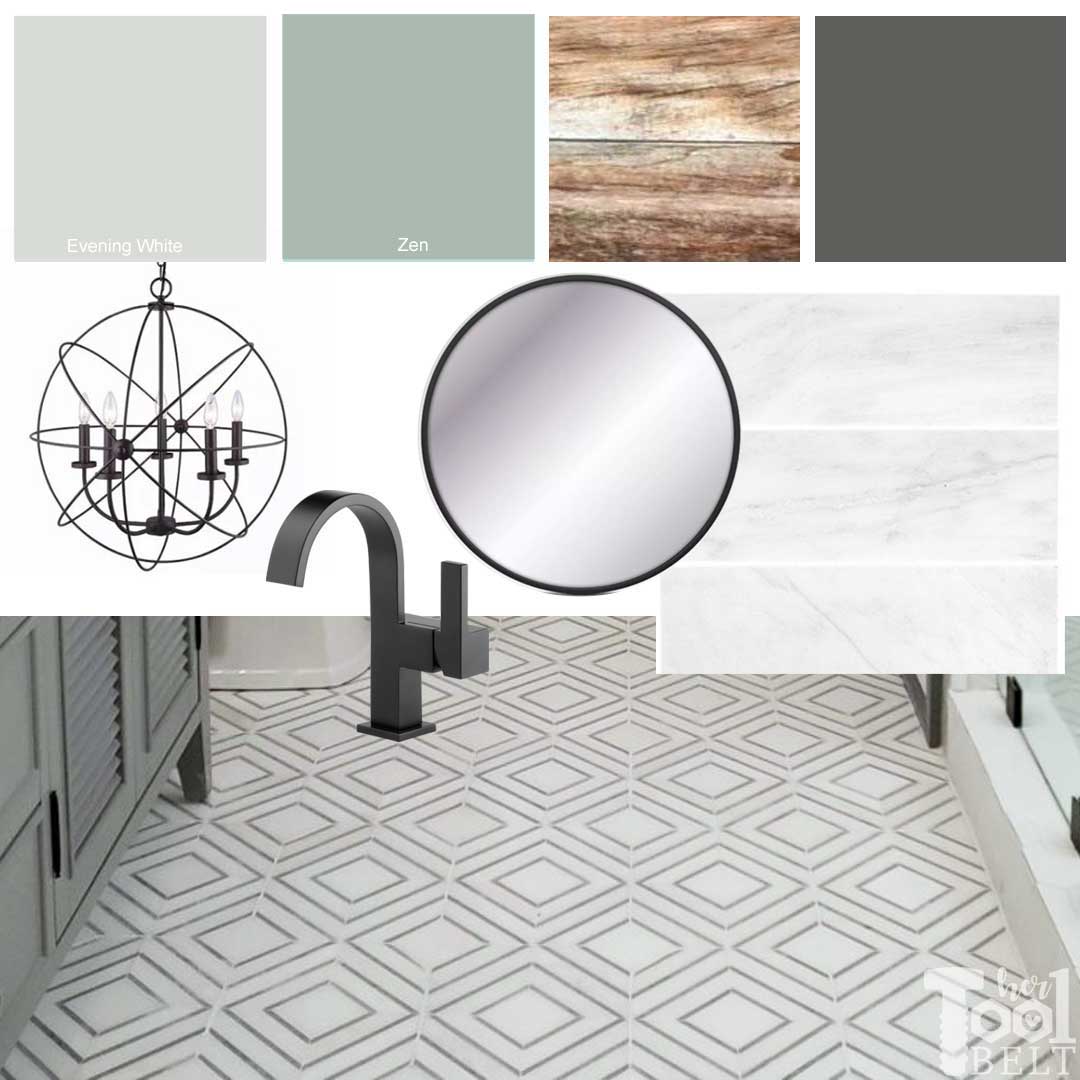
The Plan for the Master Bathroom Remodel
I’m looking to make the style a little more modern farmhouse. After 10 years with the same beige-y color, it’s time for a change.
This post contains some affiliate links for your convenience. Click here to read my full disclosure policy.
Demo Day – The ugly before the pretty…
This week has been all about demo and I can’t wait to get the new tile in, so we can have a working toilet again. 🙂
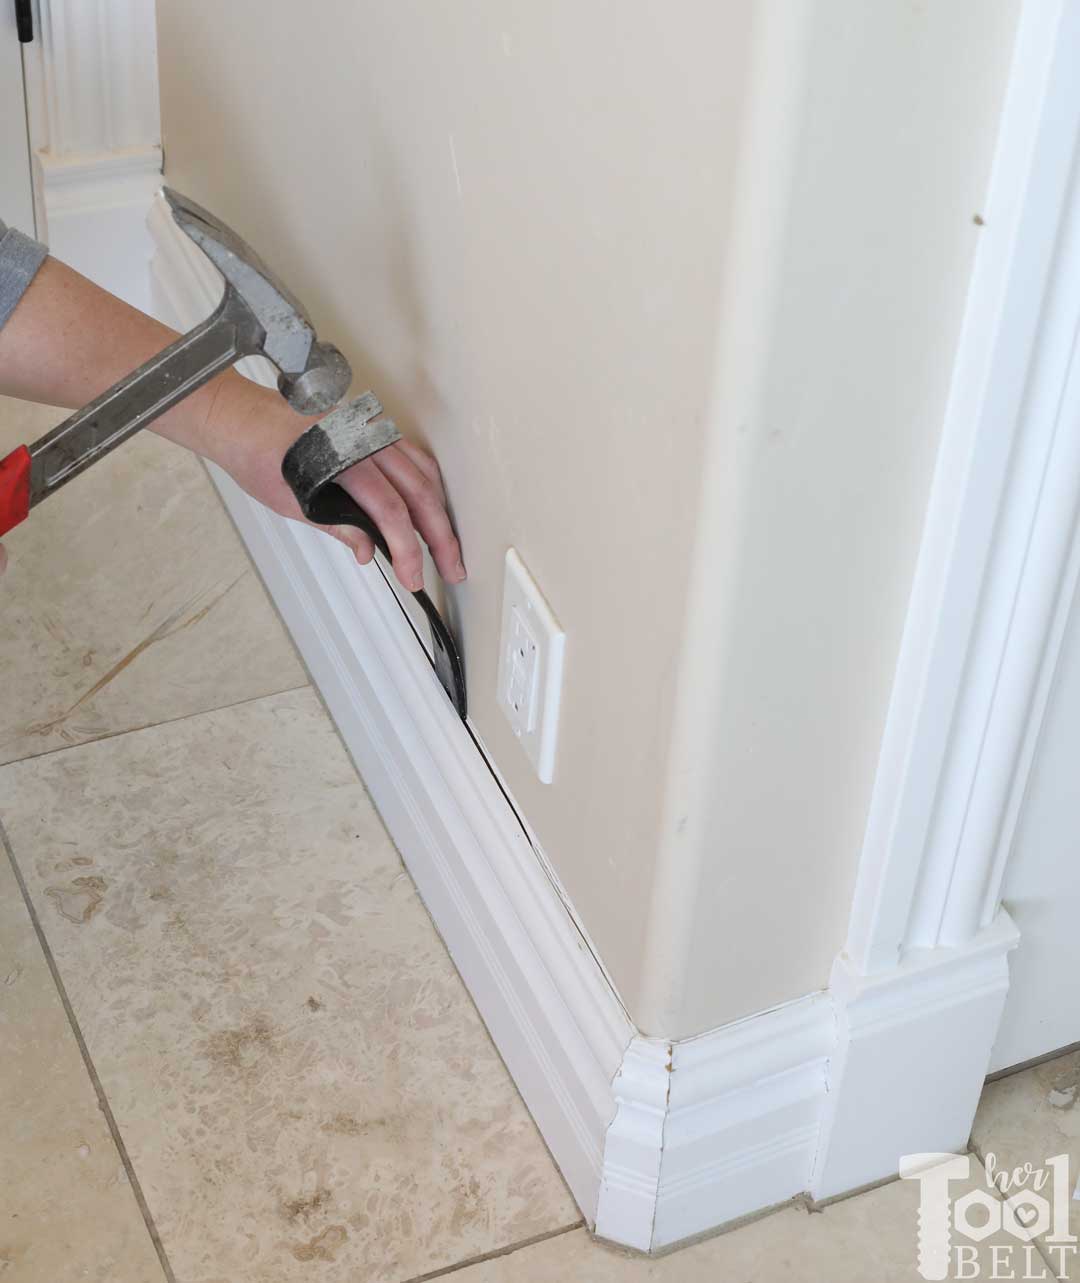
Removing Baseboards
The first step in demo is to remove the baseboards. It’s always best to cut through the caulk bead, so when you try and pry things from the wall, it doesn’t try and take the Sheetrock with it. I use a sharp utility knife for this step.

Then I tap a pry bar behind the baseboard and loosen it from the wall. Sliding it down the wall and prying the baseboard away from the wall.
Then pull it away from the wall.
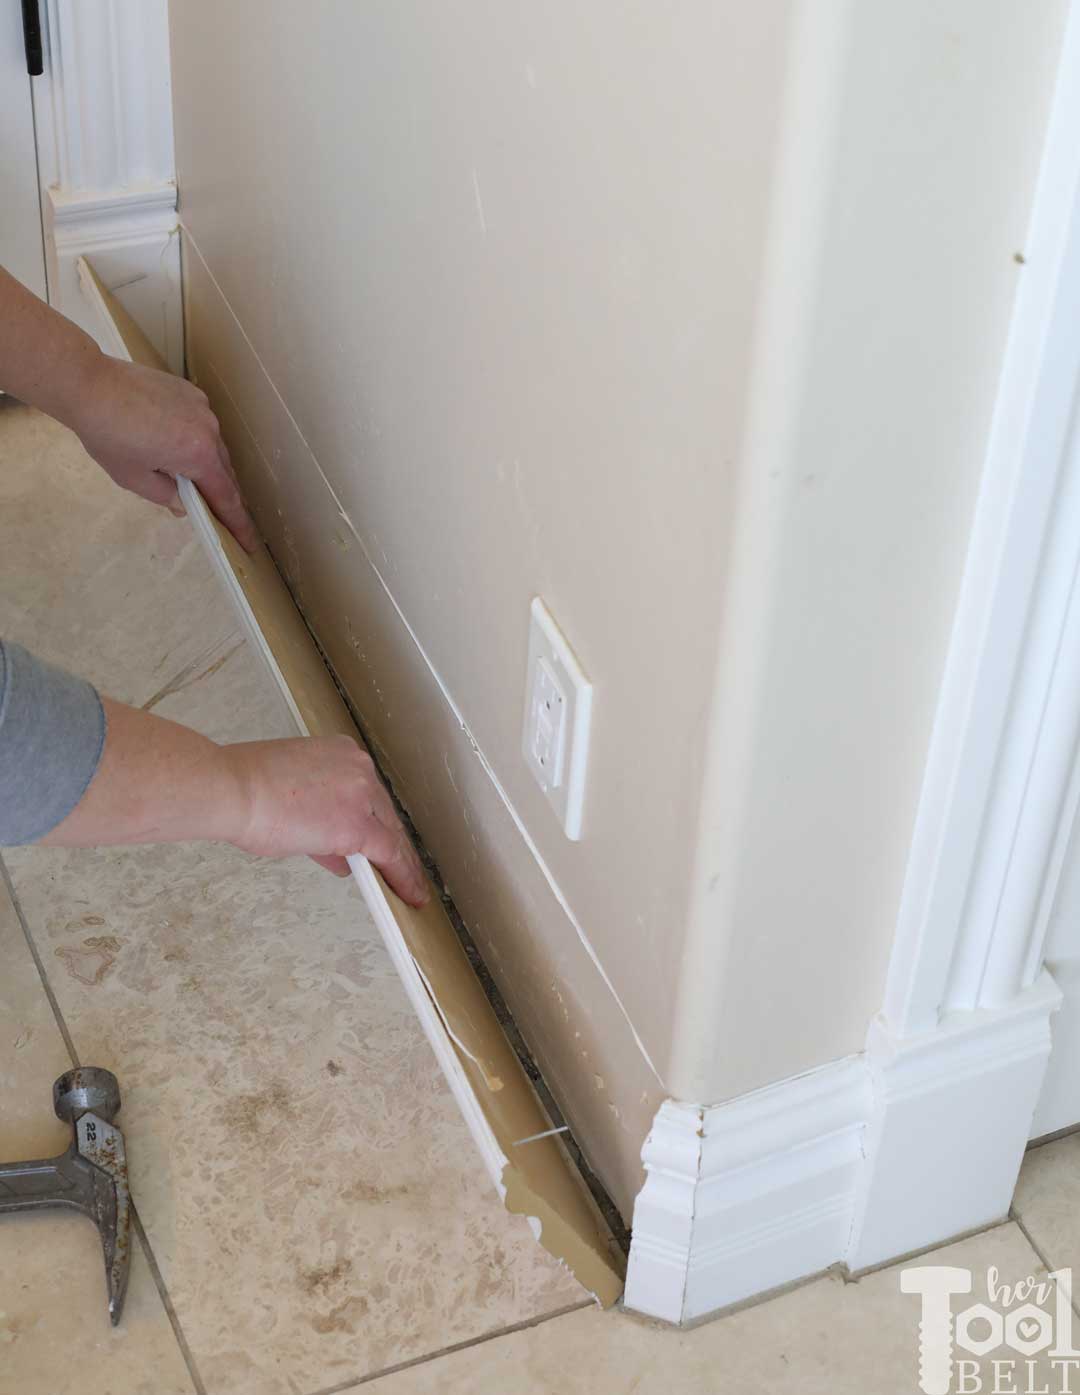
I like to reuse baseboards where possible, so I clip the nails protruding from the back and save the boards for later.
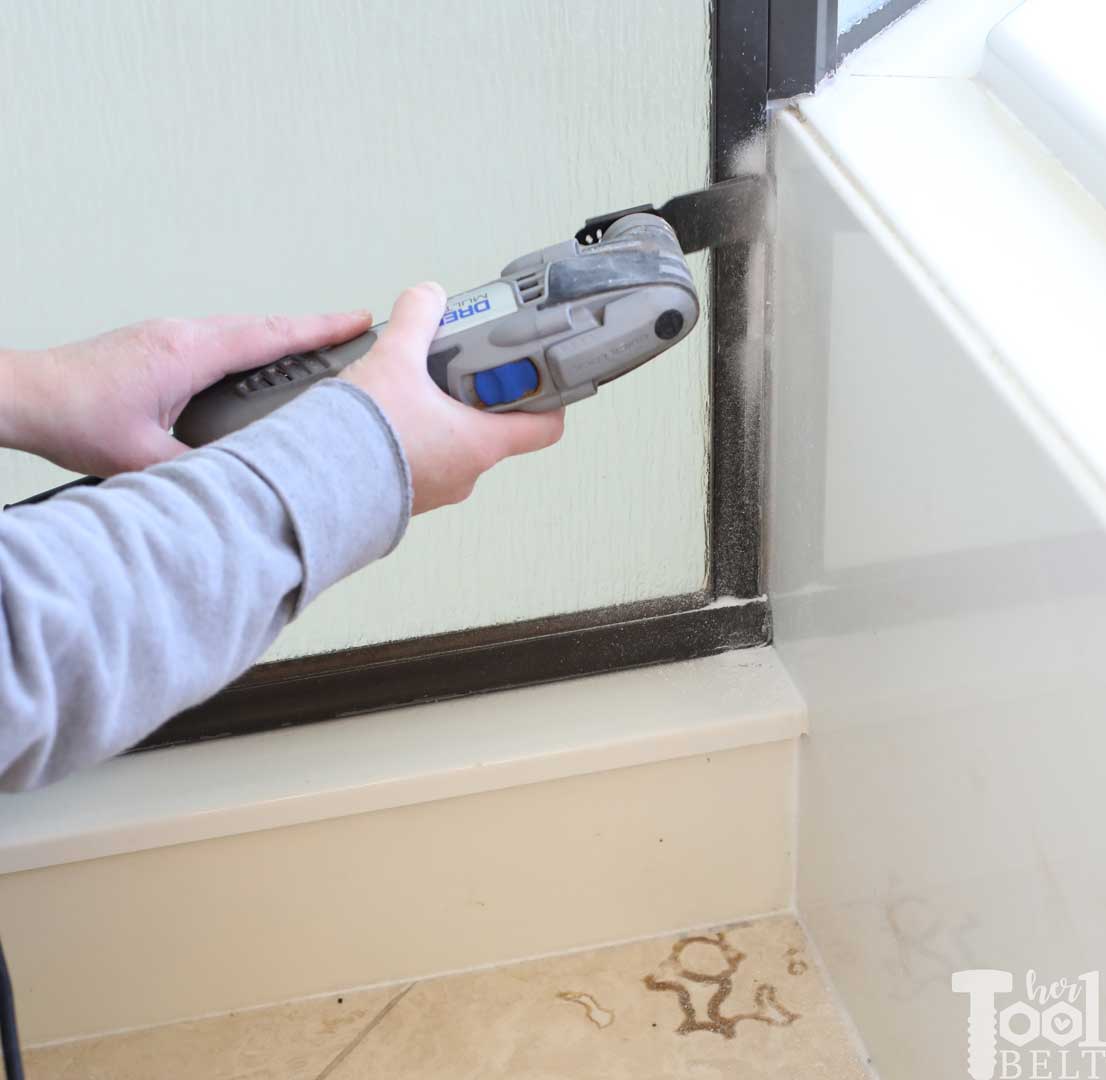
Remove Tub Surround
Next up, I removed the cultured marble tub surround. I used similar methods to remove the cultured marble as I used to remove the baseboards. Cut the caulk seams and pry away from the wall.
My cultured marble came free really easily. In some places, I needed to cut it. I used a Dremel oscillating tool and carbide tipped bit. These universal carbide blades are super handy for demo work, since they can easily cut through a variety of material types.
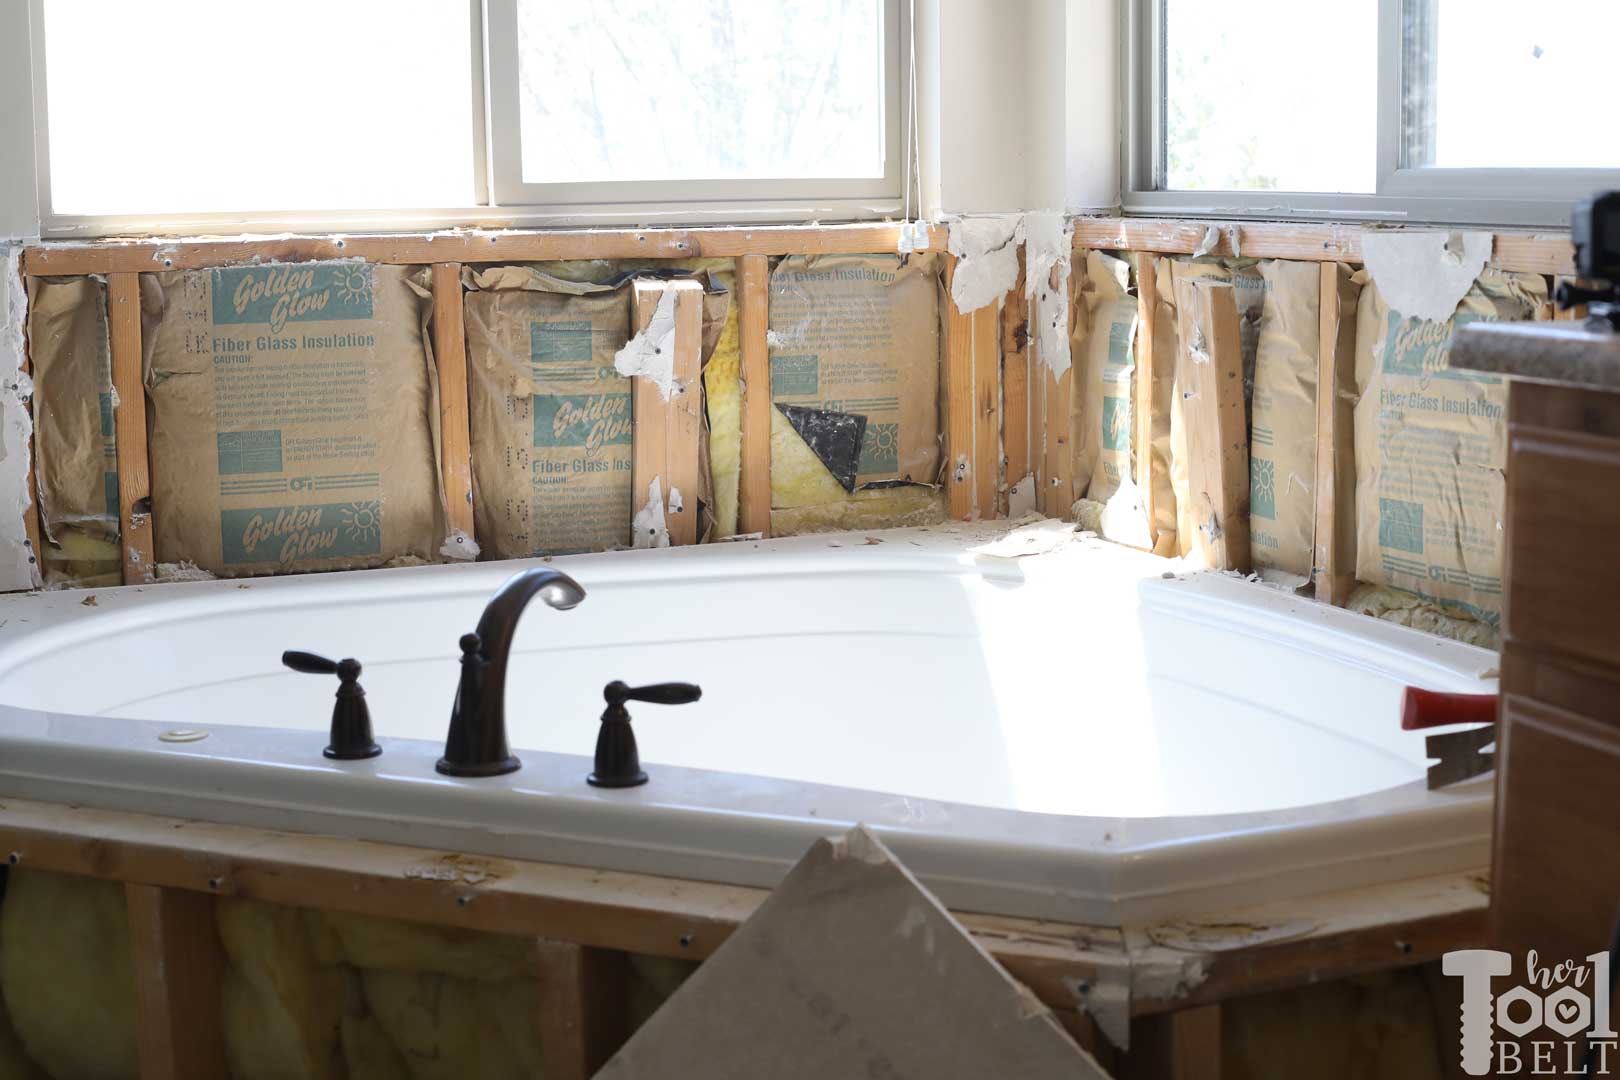
Under the cultured marble, I found sheetrock. I decided to remove the sheet rock and I’ll replace it with 1/2″ hardiebacker board. I’m going to put tile in the window sills, so I’ll need hardiebacker there anyway.
My 3 year old walks into the bathroom at this point and is completely upset. She say’s ‘Mom your bathroom is not new anymore’. Ha ha – nope, it sure isn’t.
Removing the Fixtures and Vanity
Before removing the tile floor, I removed the toilet and vanity. I turned off the water supply to both and removed the plumbing. I flushed the toilet, then dumped a bucket of water down the toilet to flush the water in the bowl. This got rid of most of the water, I used a wet vac to remove any remaining water. The toilet now has a new home in my closet (on a plastic sheet of course!)
Tile Floor
The last major demo job to do is to remove the tile floor. This was definitely a tough chore, but probably only took 6 hours. My old flooring was wire mesh mortar bed with travertine tile.
I used a combination of a hammer and pry bar, and the Ridgid rotary hammer. Whenever possible I tried to get under the wire mesh mortar bed to pull up both surfaces at once.
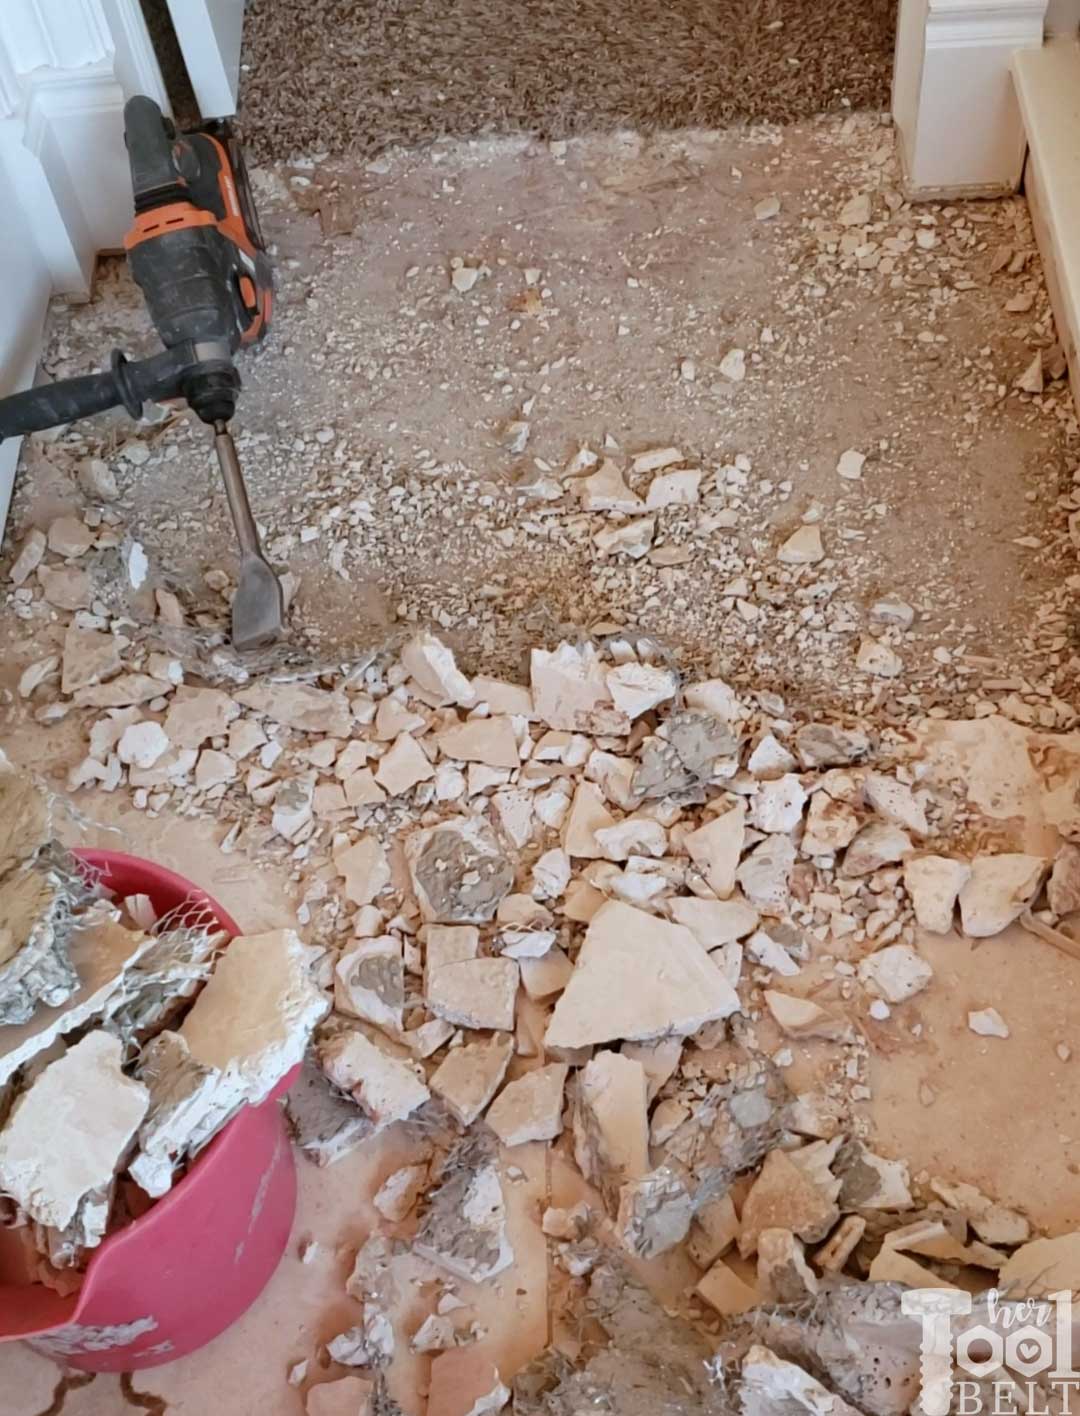
What a mess!

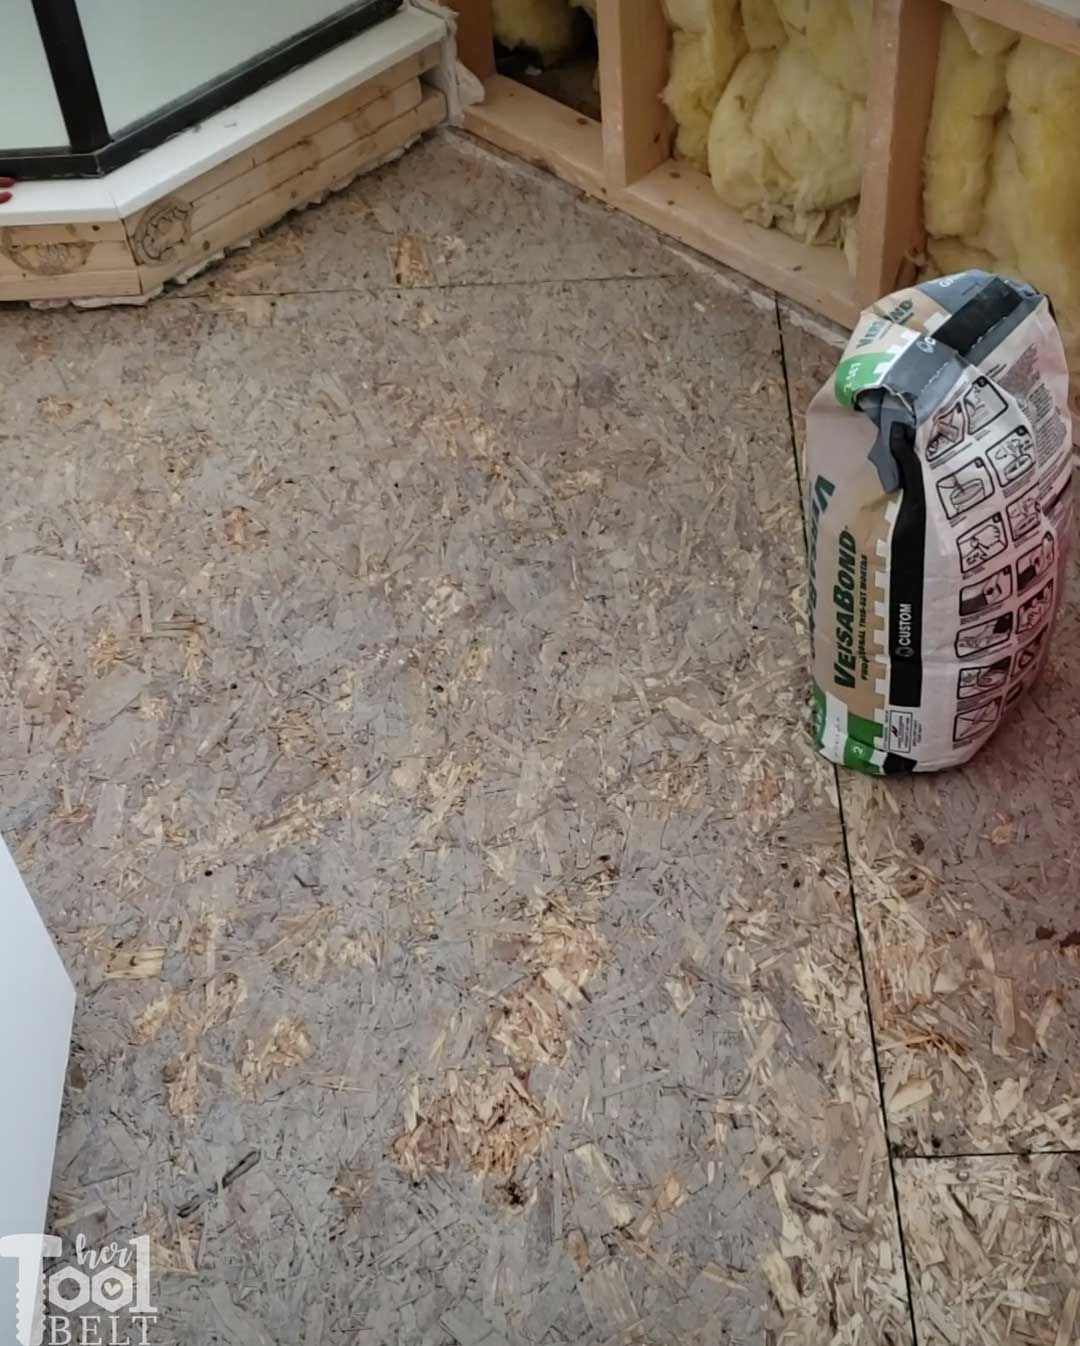
After I pulled up all of the tile and wire mesh, I had about 1 million staples to pull from the floor.
Then I vacuumed…
and vacuumed
and vacuumed!
Now I’m ready for hardiebacker next week!
Breakdown of the Projects:
Rip up the travertineRemove the cultured marble tub surroundRemove old vanity- Tile the floor with Balancing Act
- Add Marble Base Trim Tile and Accent Trim Tile
- Tile accent walls with Carrara Marble
- Paint the bathroom
- Build a new vanity
- Build plantation shutters
- Trim out the windows
- Build (and install 🙂 ) doors on the cabinet
- Paint cabinet
- Replace lights
- Replace or refresh fixtures
- Replace mirror
Phew, better get to work.
“I acknowledge that The Home Depot is partnering with me to participate in the Tool Review Program. As a part of the Program, I am receiving compensation in the form of products and services, for the purpose of promoting The Home Depot. All expressed opinions and experiences are my own words. My post complies with the Word Of Mouth Marketing Association (WOMMA) Ethics Code and applicable Federal Trade Commission guidelines.”
Leave a Reply