Moving a door, Dewalt cordless framing nailer and Dremel oscillating tool accessories tool review is sponsored by The Home Depot. I have been compensated for my time and provided with product. All ideas and opinions are my own. This post contains some affiliate links for your convenience. Click here to read my full disclosure policy.
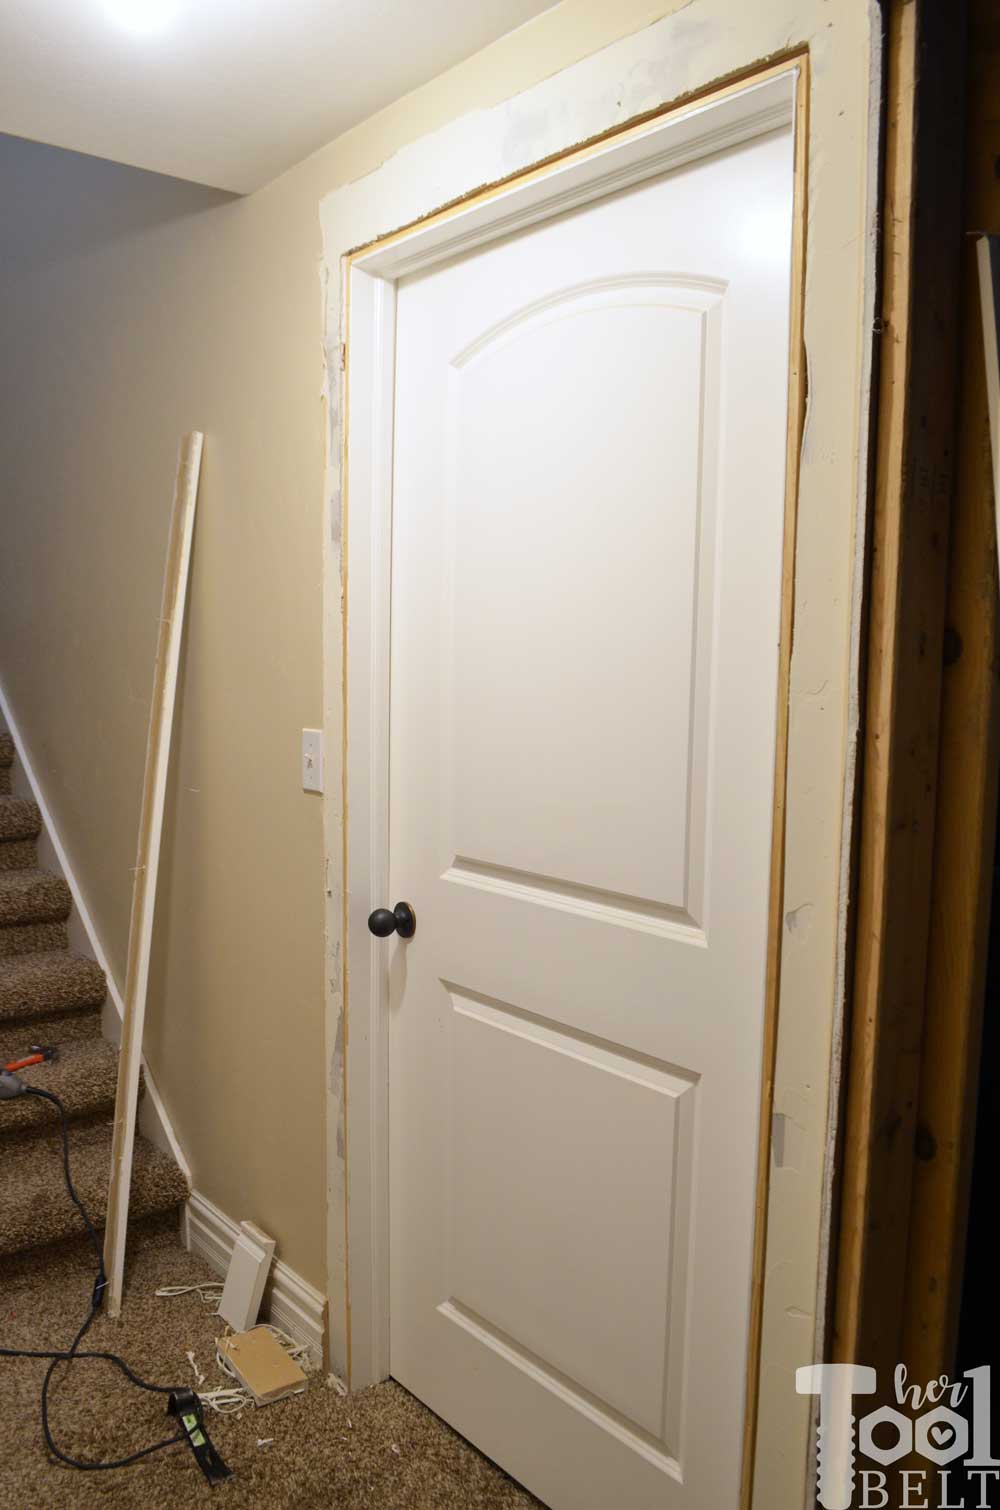
When we first moved into our house, the entrance to the basement looked so nice and finished. The basement door wasn’t a straight shot down the hall, but required a 90 degree turn after the stairs. We took a couch down into the basement. This had us reenacting a certain Friends episode… “pivot, Pivot… PIVOT”. No matter how many times we pivoted the couch we either ran into the ceiling, door frame, back wall or stairs. Ok well that stinks. Later we tried to take a queen box springs down there, same problem, we couldn’t make the turn with large items. So I did the logical thing and cut the adjacent wall out. 🙂 Problem solved, sort of.
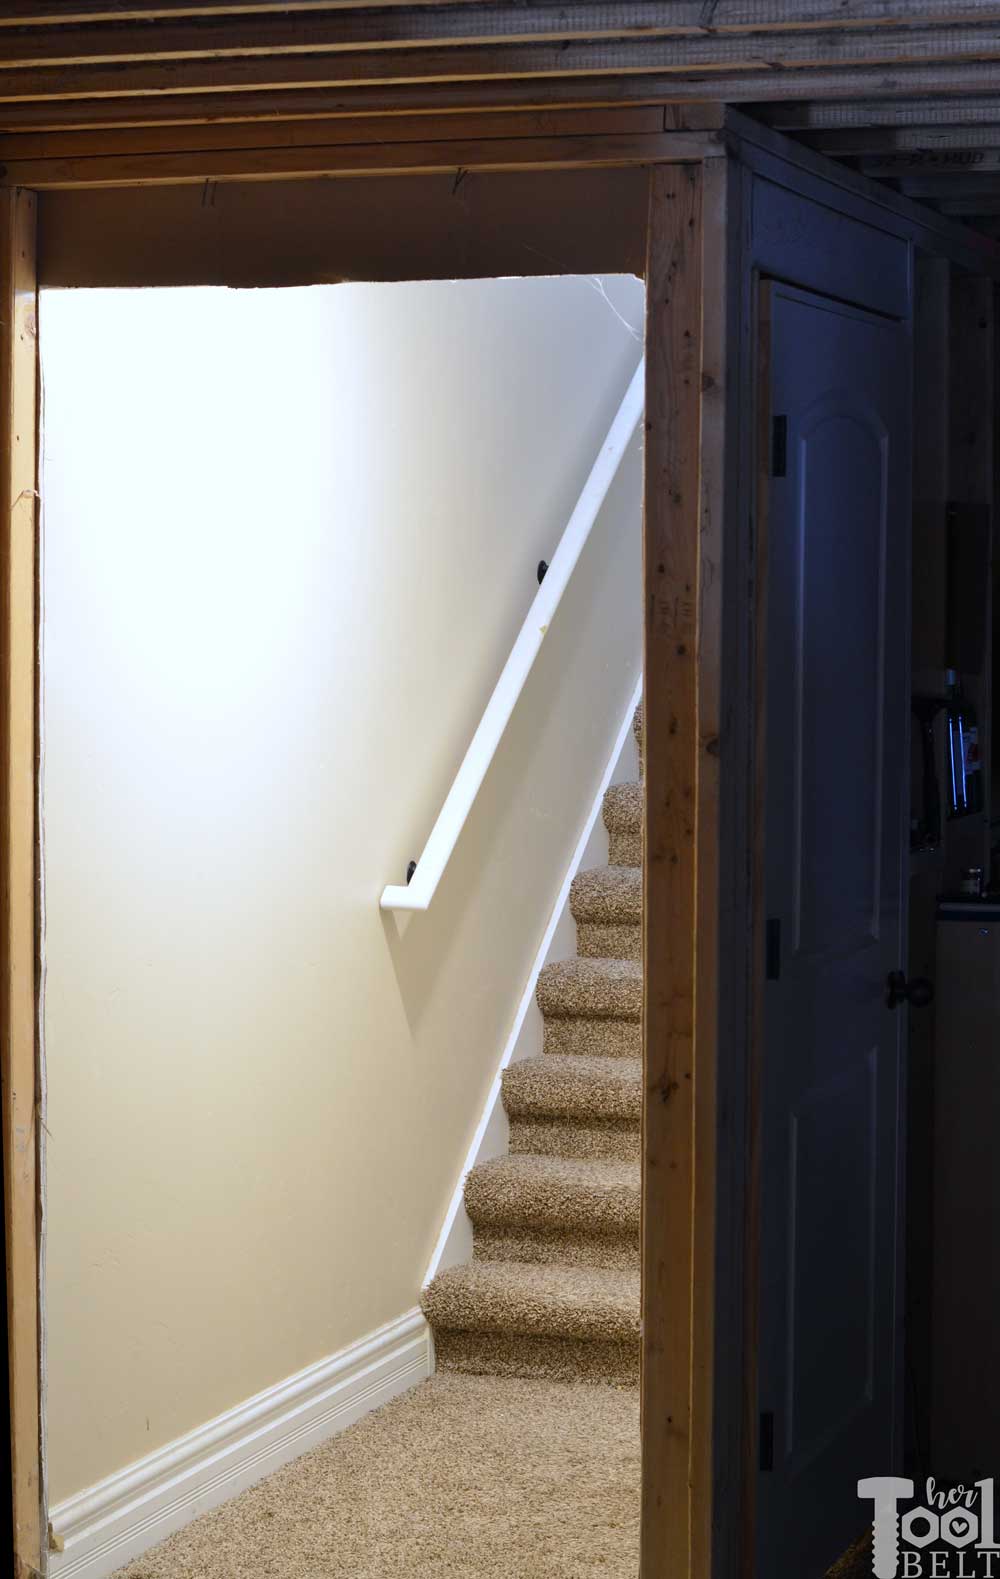
Fast forward 8 years-ish and we still have the large hole at the entrance of the basement. I’ve been meaning to move the door for the basement into the nice big hole I cut… but… time and probably motivation.
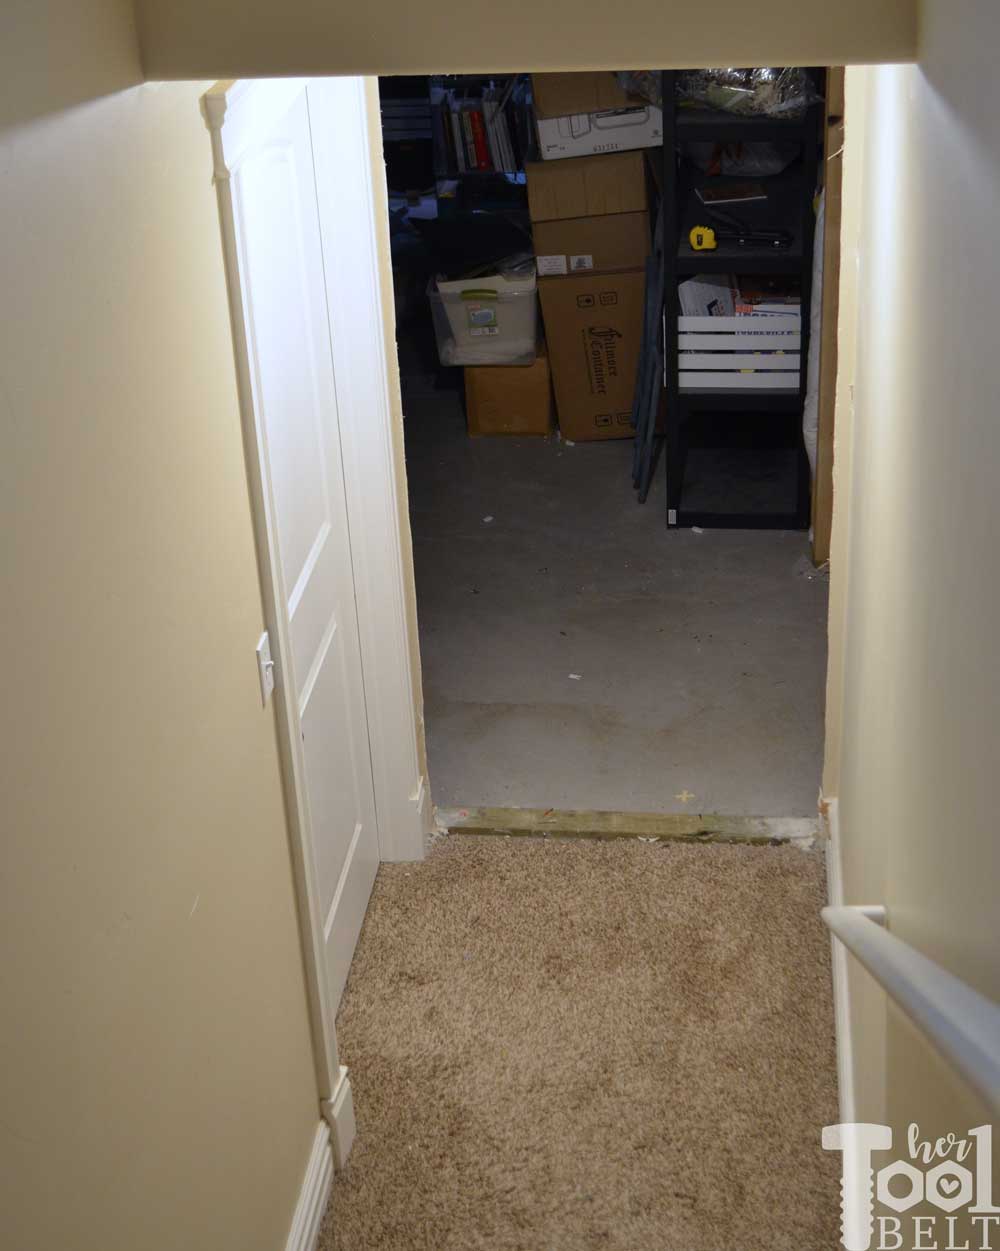 Found some motivation, I want to build a basement playhouse for the girls this Christmas. The playhouse will be on the other side of where the door is currently. The plan is to move the basement door to the opening that I cut in the wall. I want to use the same door and molding and just rotate it 90 degrees.
I would like to have the molding/casing around the door, like it is now, but the hallway width is 3″ shy of the current door and molding width. So what I’ve decided to do is make a pop out, like the current door does now and that should give me the perfect doorway width and keep the molding.
During this remodel project, I’ll be reviewing the Dewalt cordless framing nailer and Dremel oscillating tool accessories and I’ll let you know my thoughts on these tools.
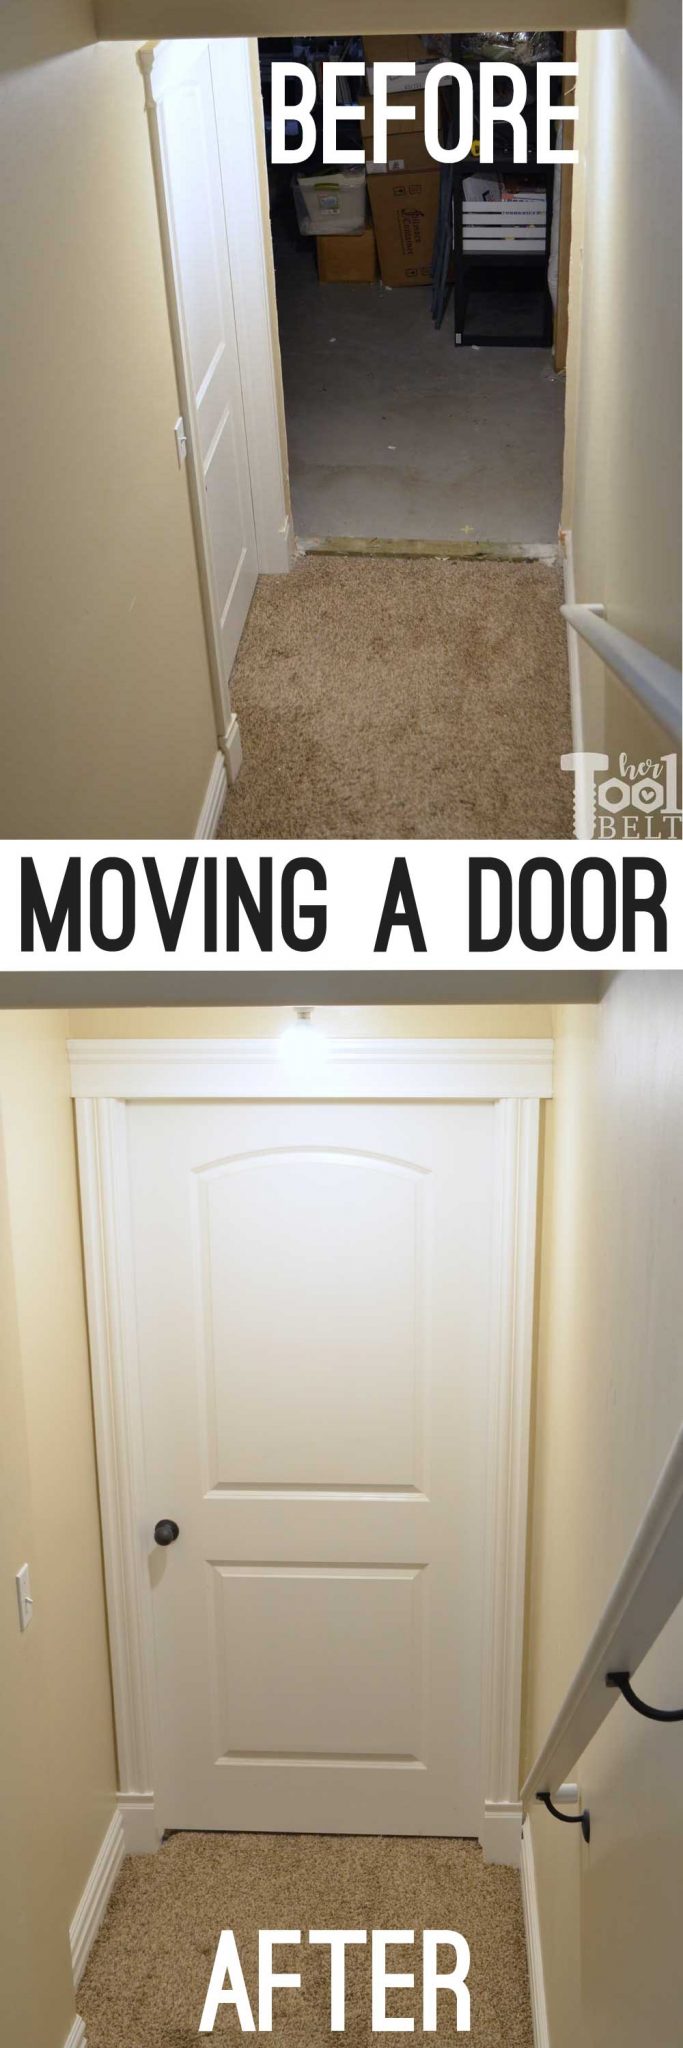
Moving a Door
Materials Needed
- 2×4’s
- 2 3/8″ nails
- 1 sheet drywall
- joint compound
- joint tape
- drywall screws
- caulking
- bullnose corner
- primer
- paint
Tools Needed
- Dewalt 21 deg cordless framing nail gun
- Dremel Oscillating tool and blades for drywall, wood and nails (Dremel oscillating tool accessories are universal and will fit most brands of oscillating tools.
- Hammer
- Tape Measure
- Level
- Miter saw
- Drill
- Finish Nailer (or hammer)
- Scraper
- Paint Roller/brush
- Pry bar
- Utility Knife
Demo Time
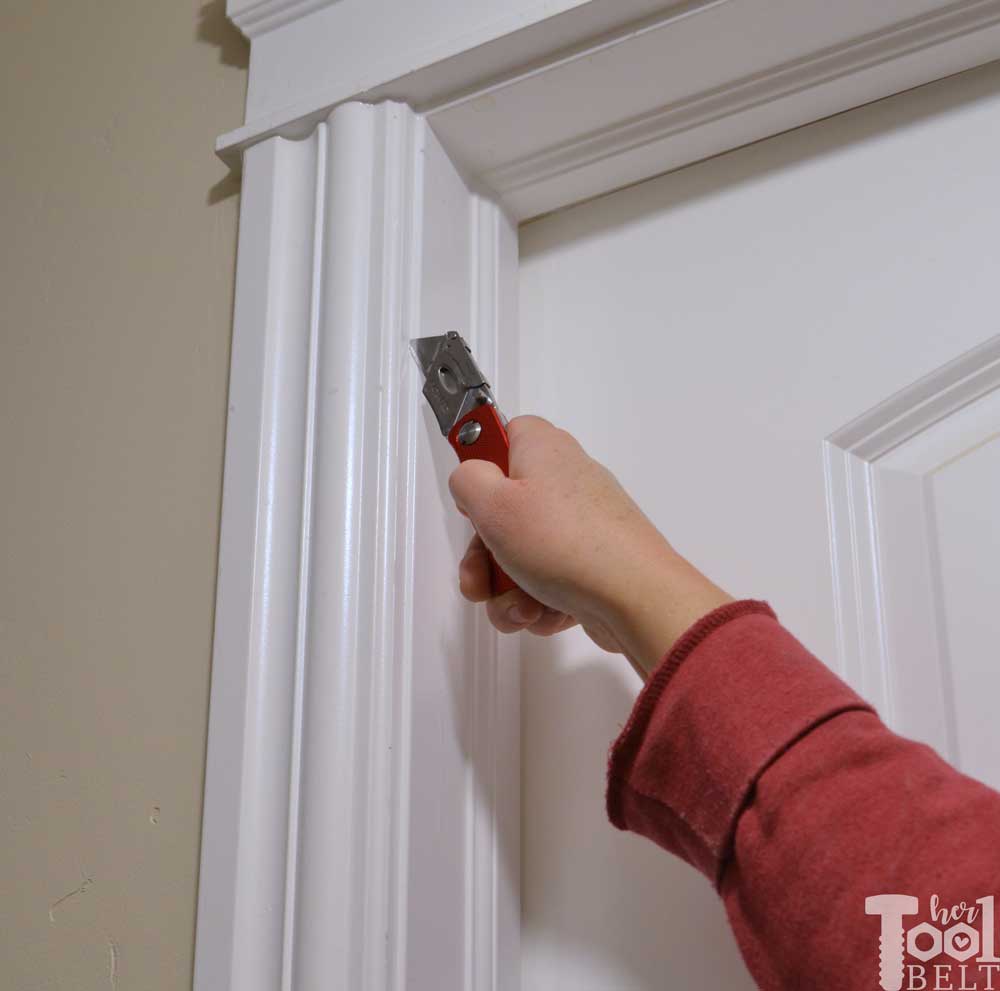
First off it’s time to demo the current door and associated molding. I want to reuse as much of the materials as possible so instead of ripping and breaking everything like the TV shows, I try to nicely remove everything. To break the bead of caulking between the moldings and the wall, I use a utility knife and run along all joints.
Now time for the pry bar and hammer to pull the moldings off the wall.
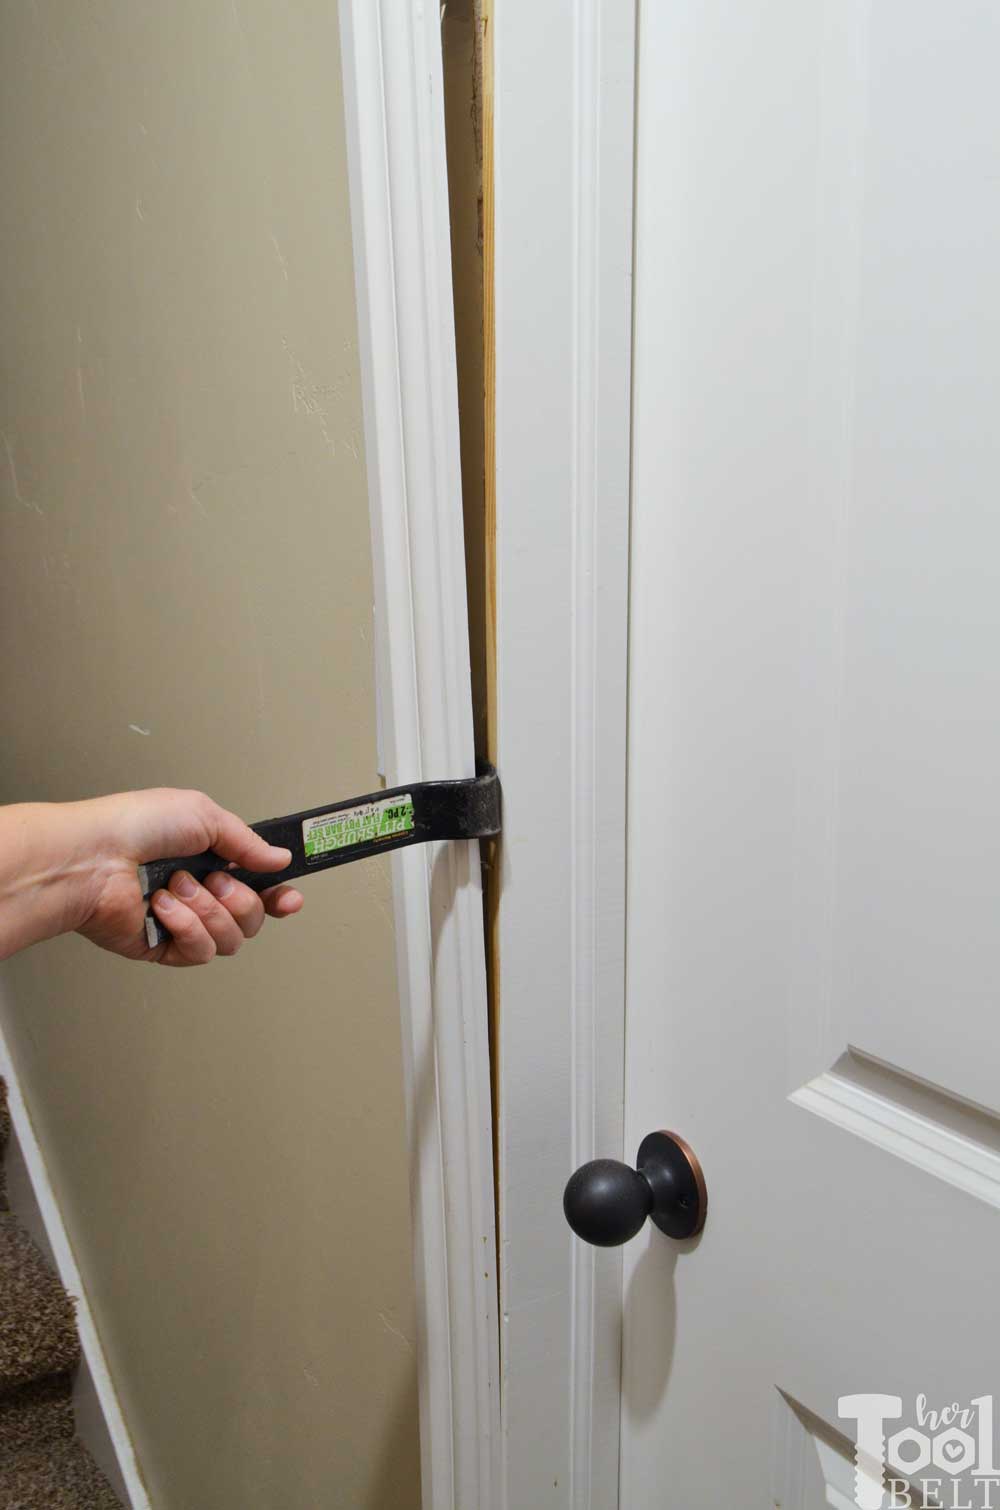
So far so good. I was able to remove the door moldings from the wall with minimal damage.
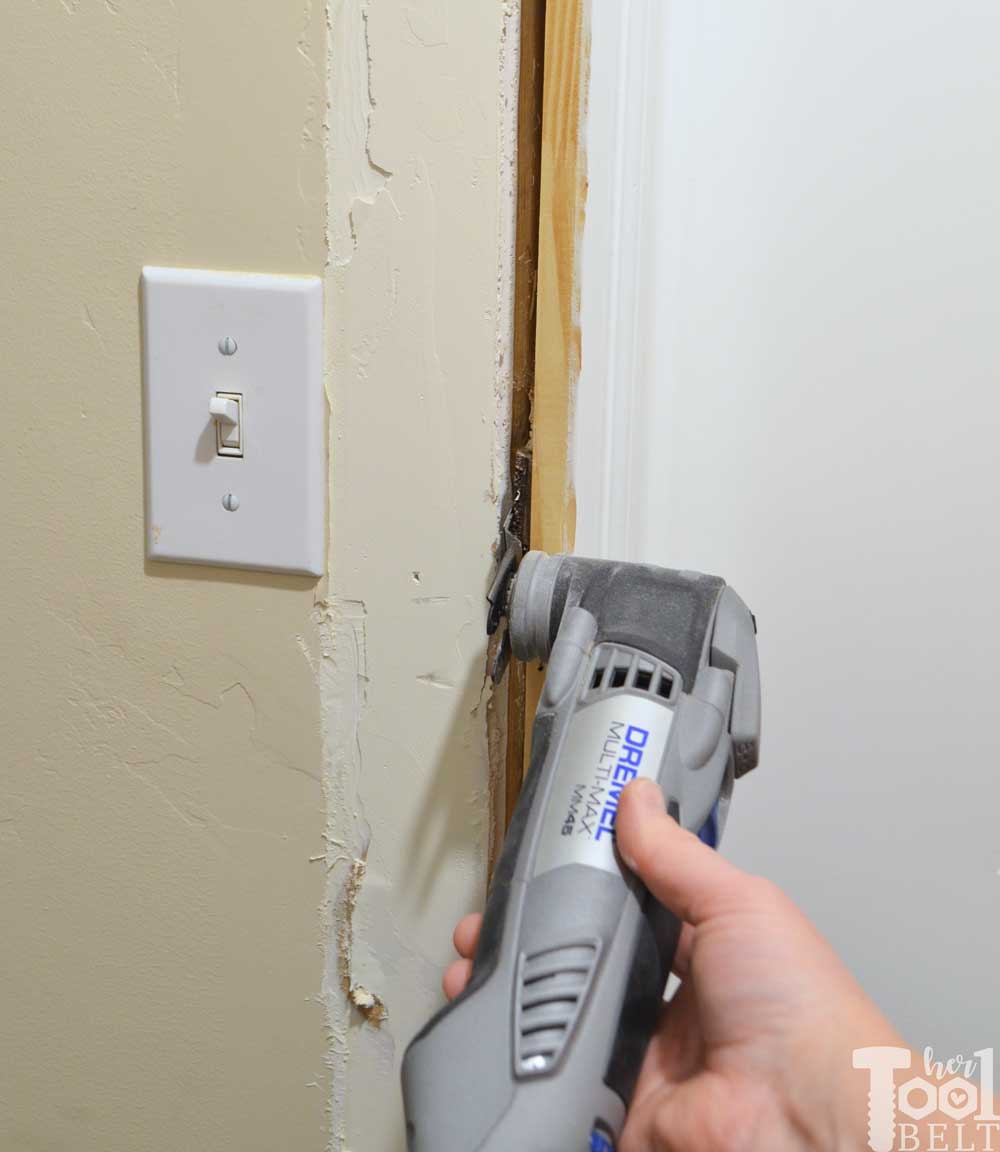
Now it’s time to tackle removing the door frame/jamb. One tool that I love for remodel projects is the Oscillating Tool. They make all these handy accessories for it that are so useful. I used the wood/metal blade to cut out the nails attaching the jamb to the stud. Once the nails were cut, the whole door assembly easily slid out of the wall.
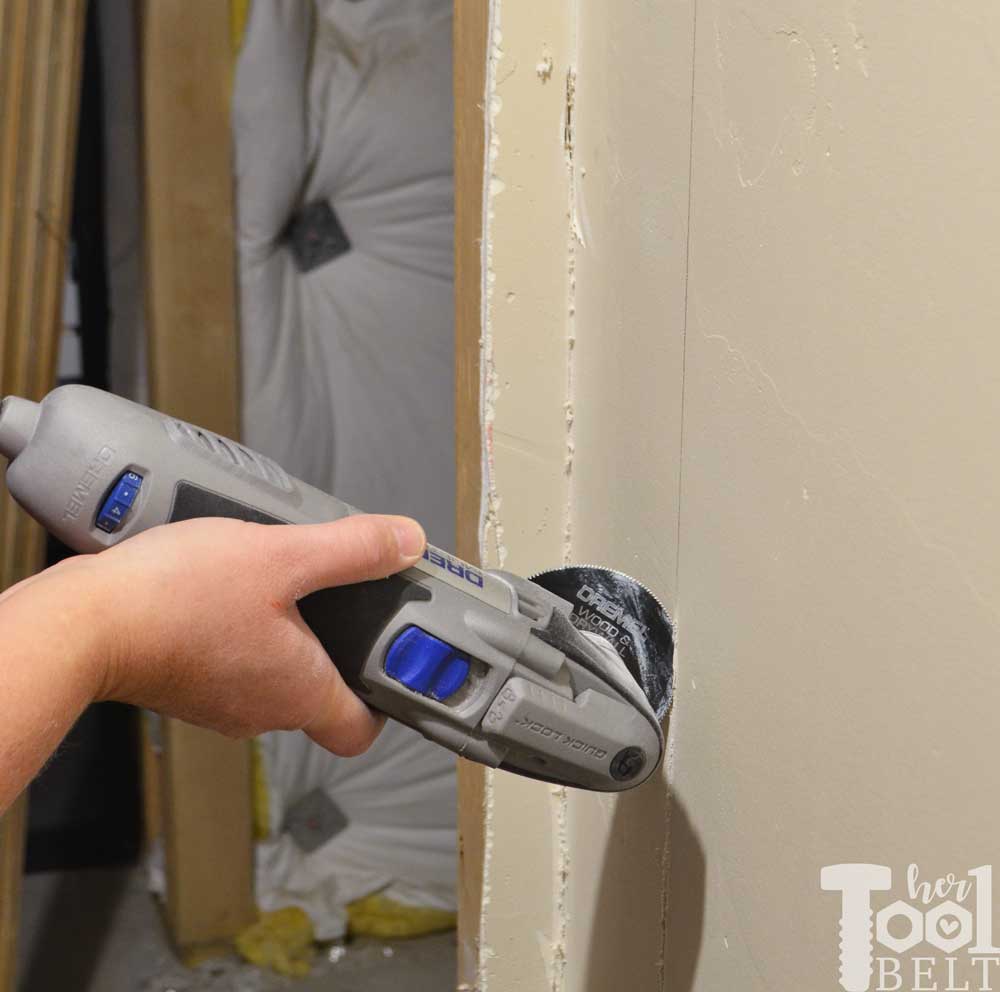
I removed the rest of the wall studs on the end wall and in the corner that the door used to attach to. I decided to bring the door forward a few inches, so I used a level and drew a straight line for the new wall placement. Then changed the oscillating blade for the wood & drywall blade. The drywall blade works so great for cutting existing drywall, it’s just slightly messy 🙂 .
The demo is done, now time for reconstruction. I removed the door header, associated studs and the end wall studs.
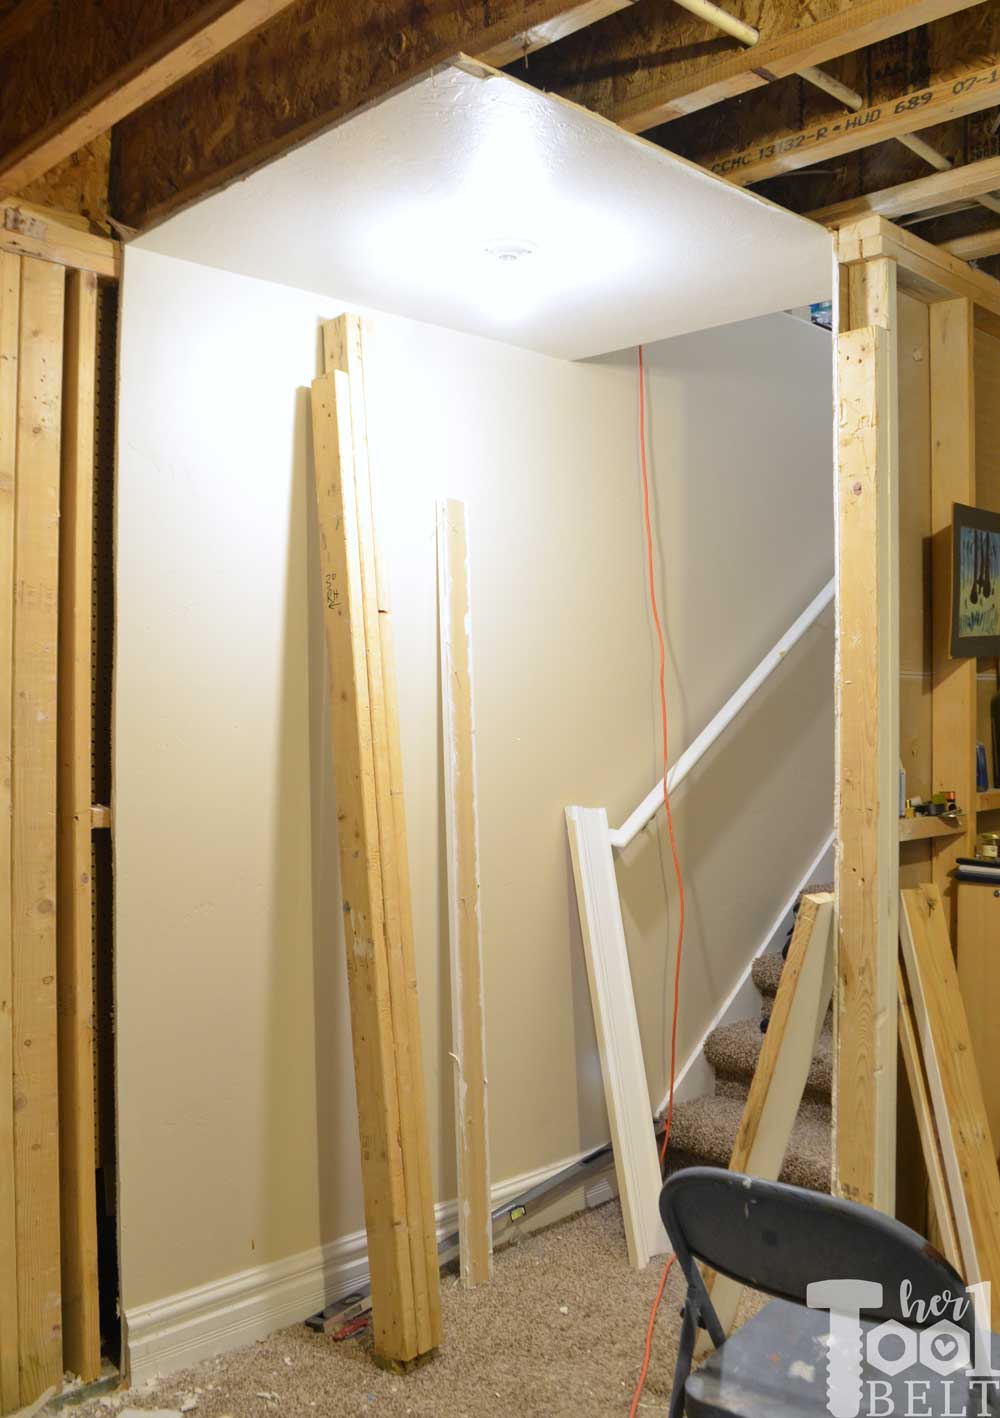
Door Reconstruction Time
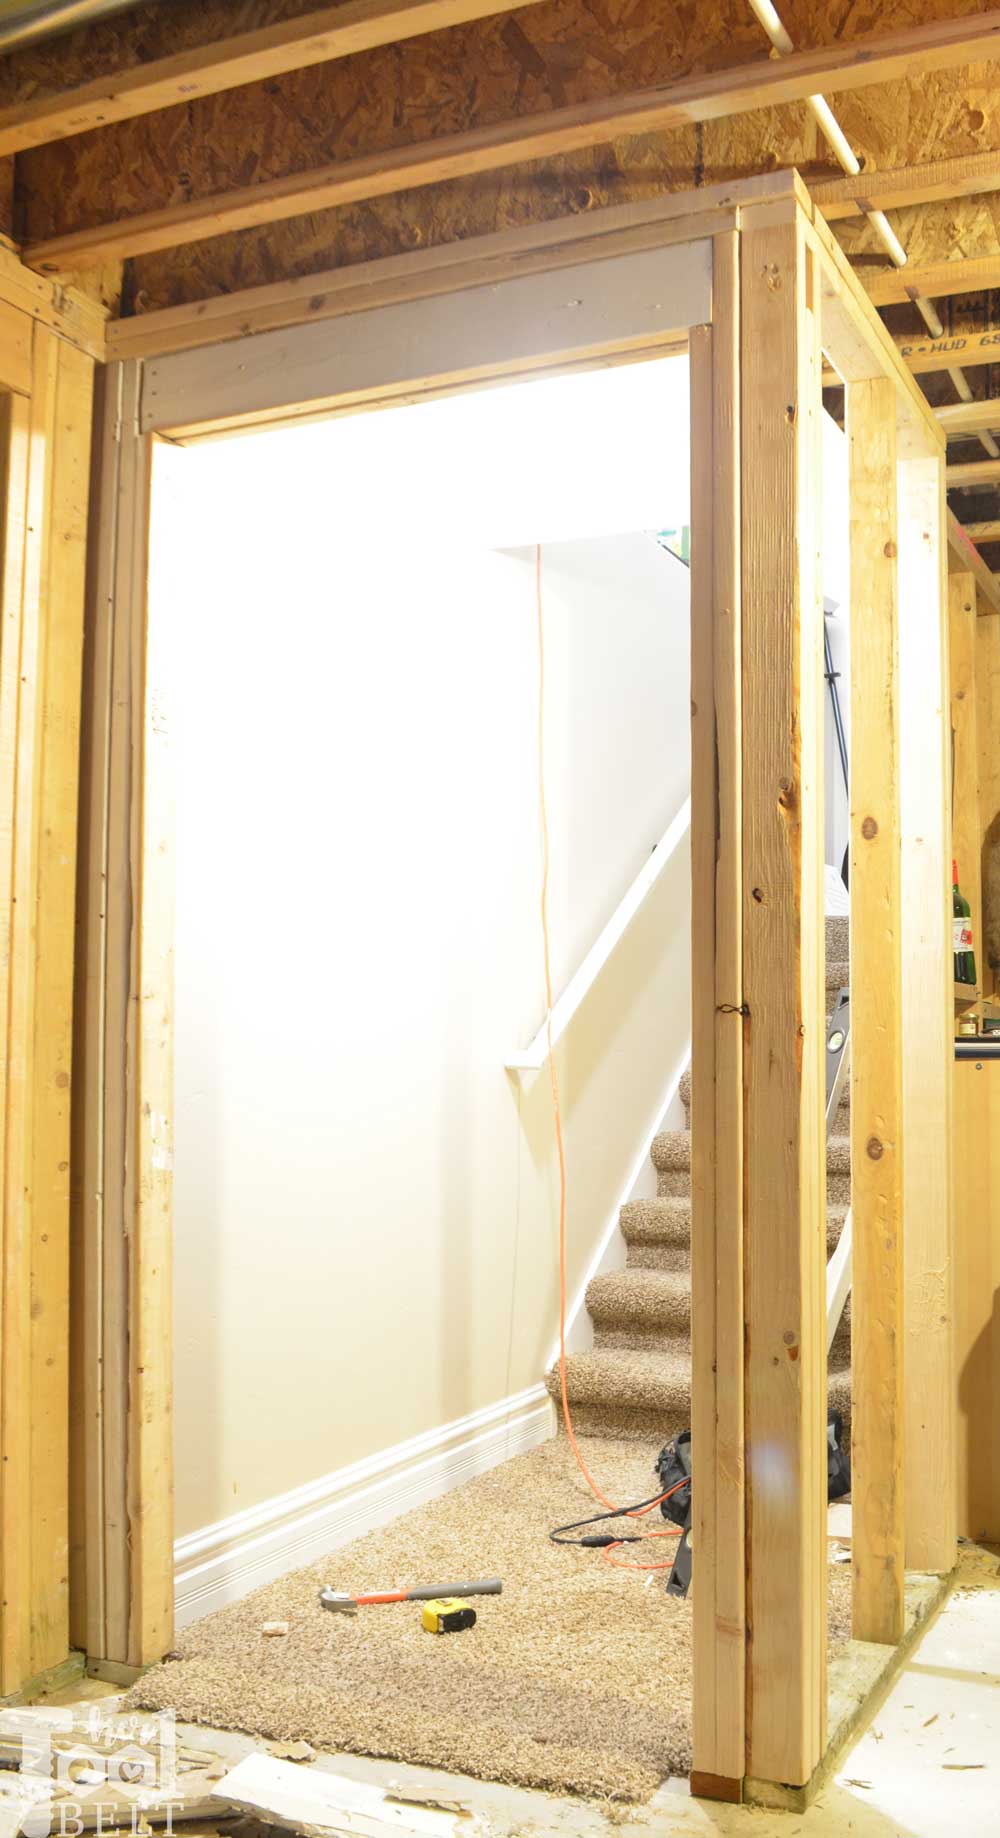
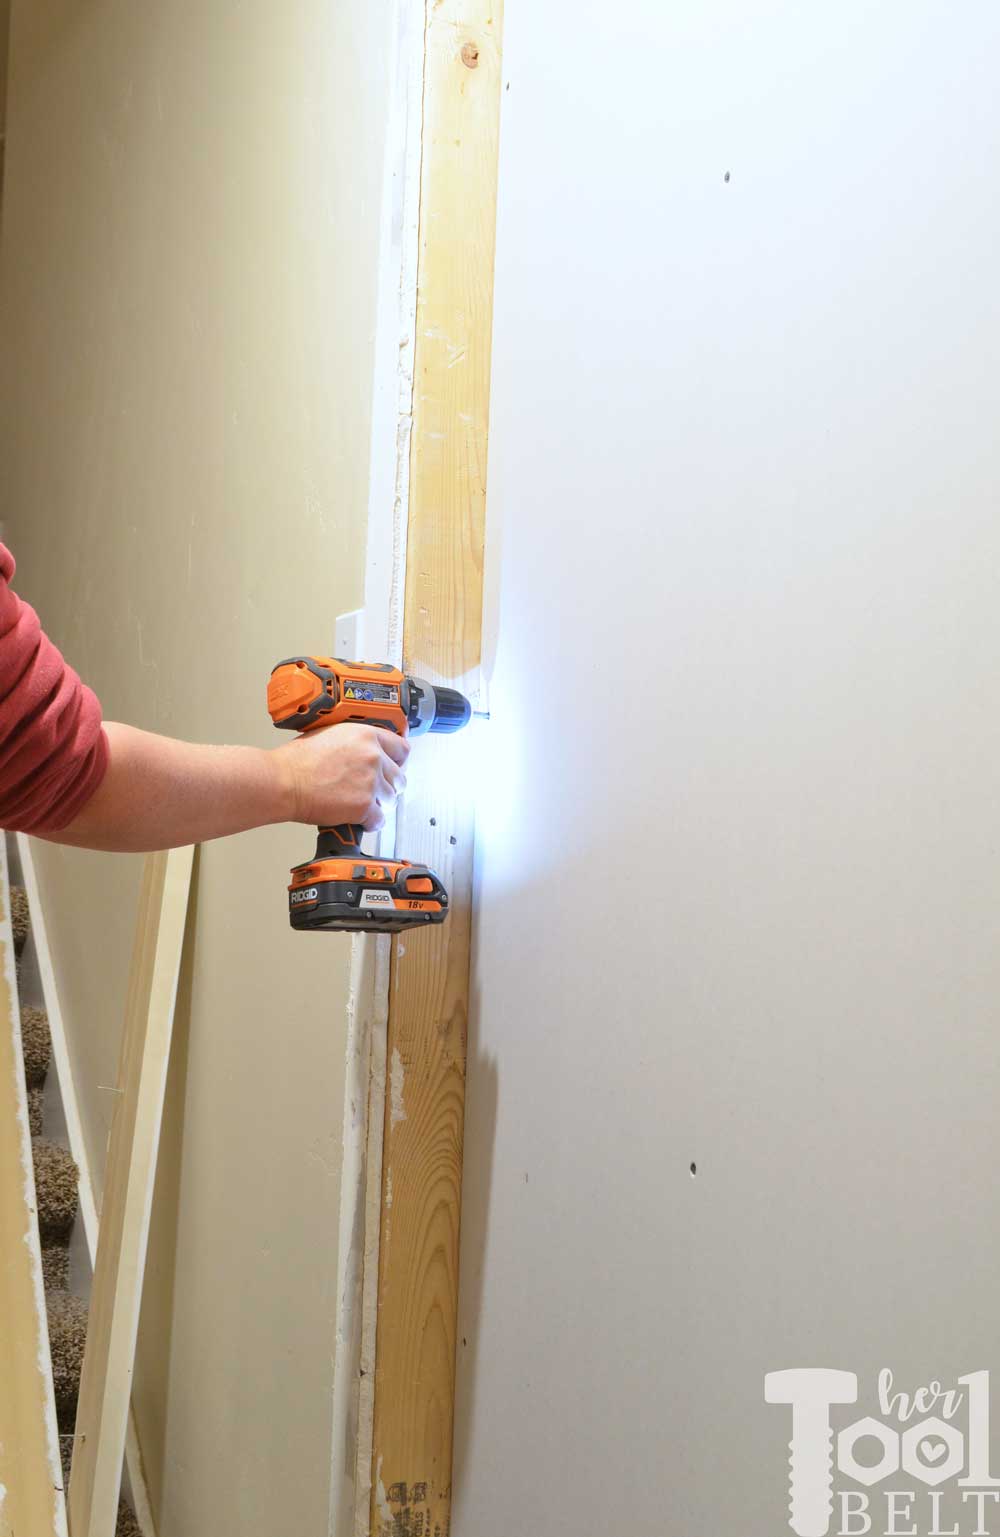
To reconstruct the walls, I made sure to use pressure treated lumber on the bottom where it contacts the cement and spaced my studs (verticals) on 16″ center to center. Using the DeWALT 21 deg cordless framing nail gun to build the walls made assembling the walls really easy. The new wall would meet up with the new door frame location and extend to where the old doorway started + an extra stud to toe nail to the existing wall.
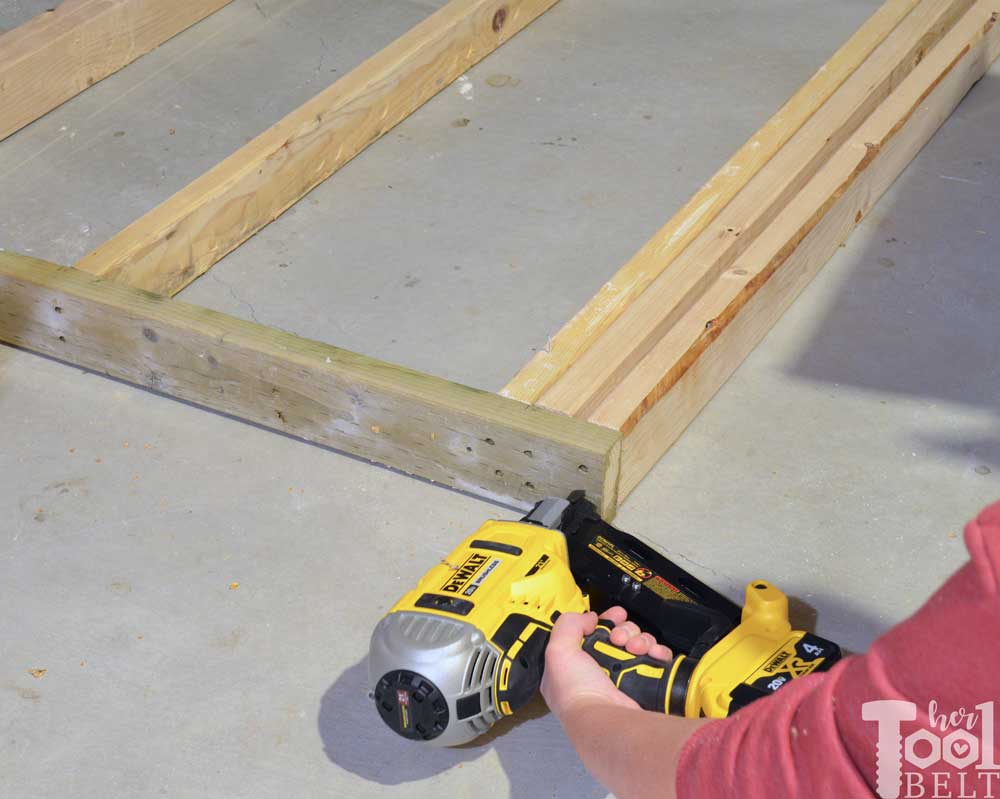
Reconstructing the door way wall was really simple because I just reassembled it as it was and just moved it to it’s new location.
I leveled up all of the new walls and studs.
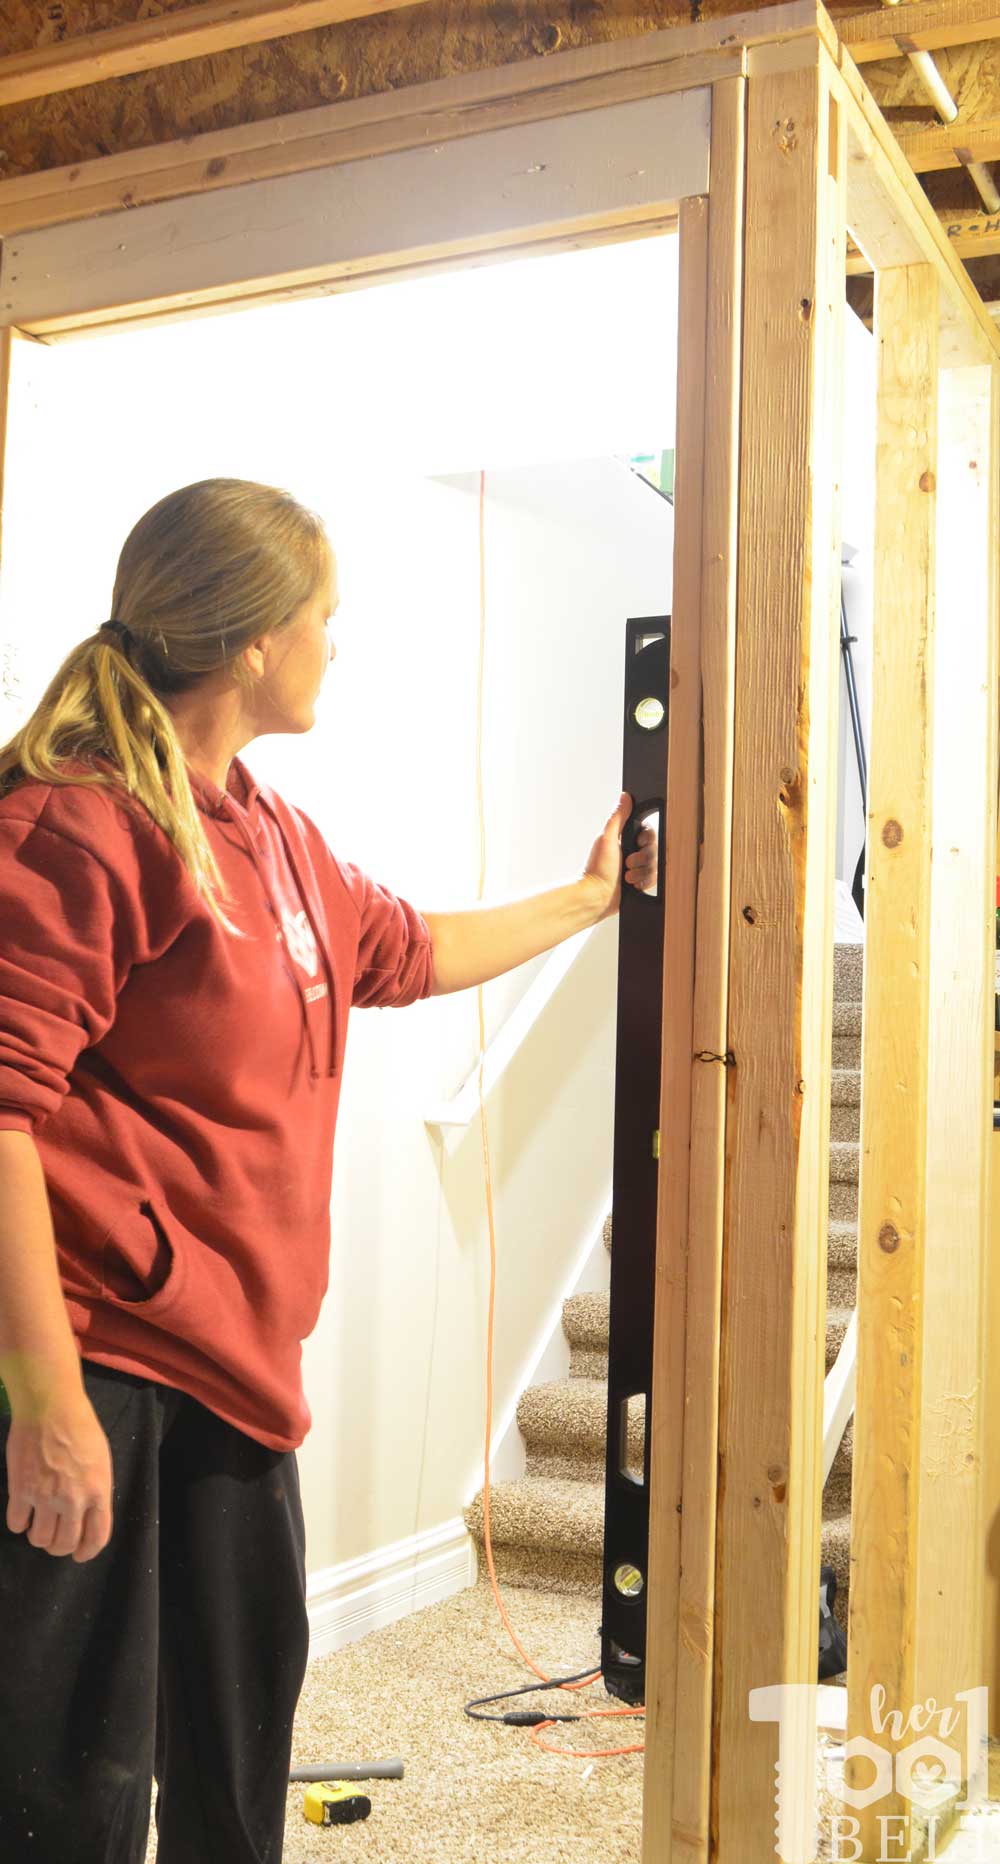
Then used the nailer to secure the new walls in place.
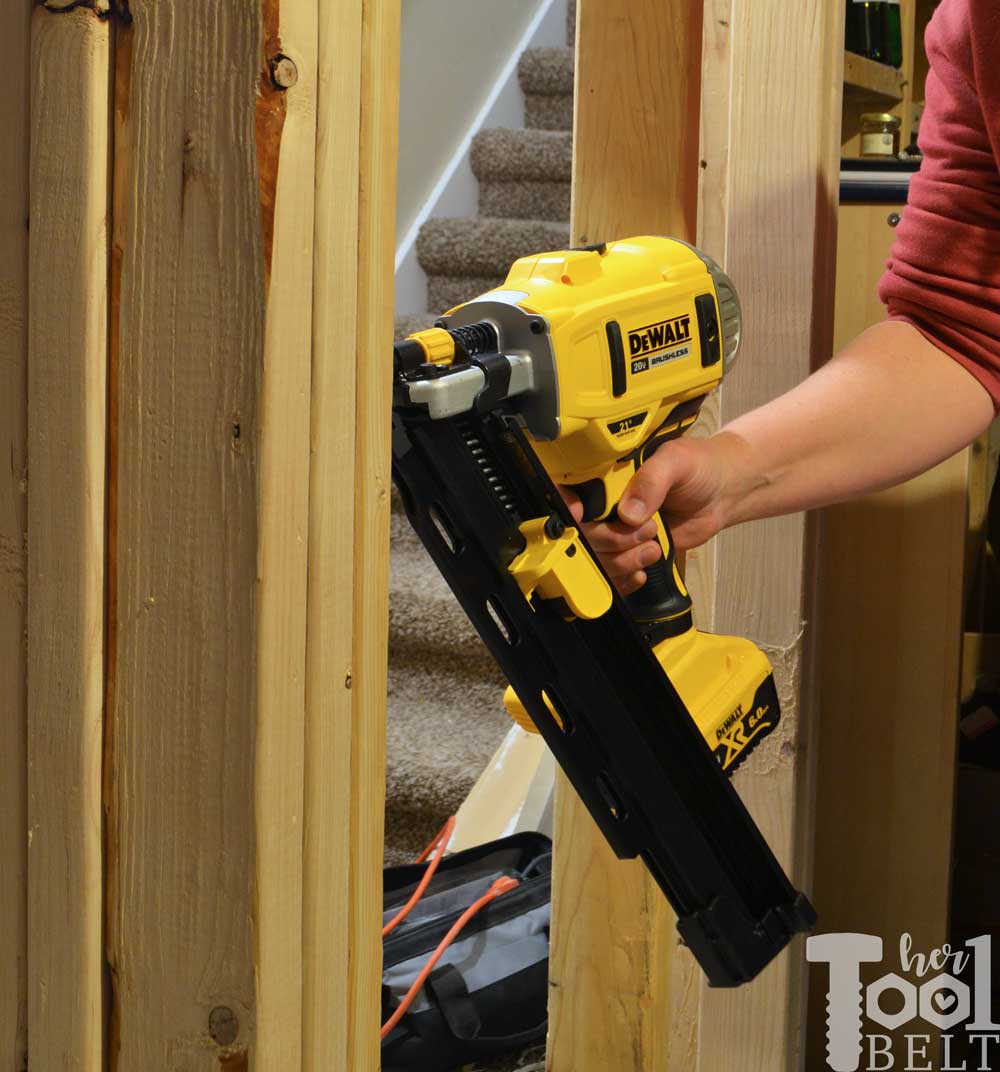
I really like this new DeWALT cordless framing nail gun.
- It makes assembly easy when you’re working by yourself, you can hold things in place with one hand and secure the boards together with a push of a finger.
- Being cordless is super convenient, the DeWALT systems run off of 20 v batteries.
- The nail gun is quite compact, you can fit it between studs on 16″ centers.
- The teeth on the nose really ‘grip’ on the studs for toe nail applications.
- It has a lot of easy adjustments, depth, firing mode (sequential or bump).
- Loading nail magazines is simple.
A few things to be aware of:
- It’s pretty stout.
- There is a stall release lever if you get a jam.
- To avoid dry firing, it won’t shoot the last 4 nails in a magazine. You can install another magazine of nails after the last 4, then it will shoot them.
Adding the Finishing Touches
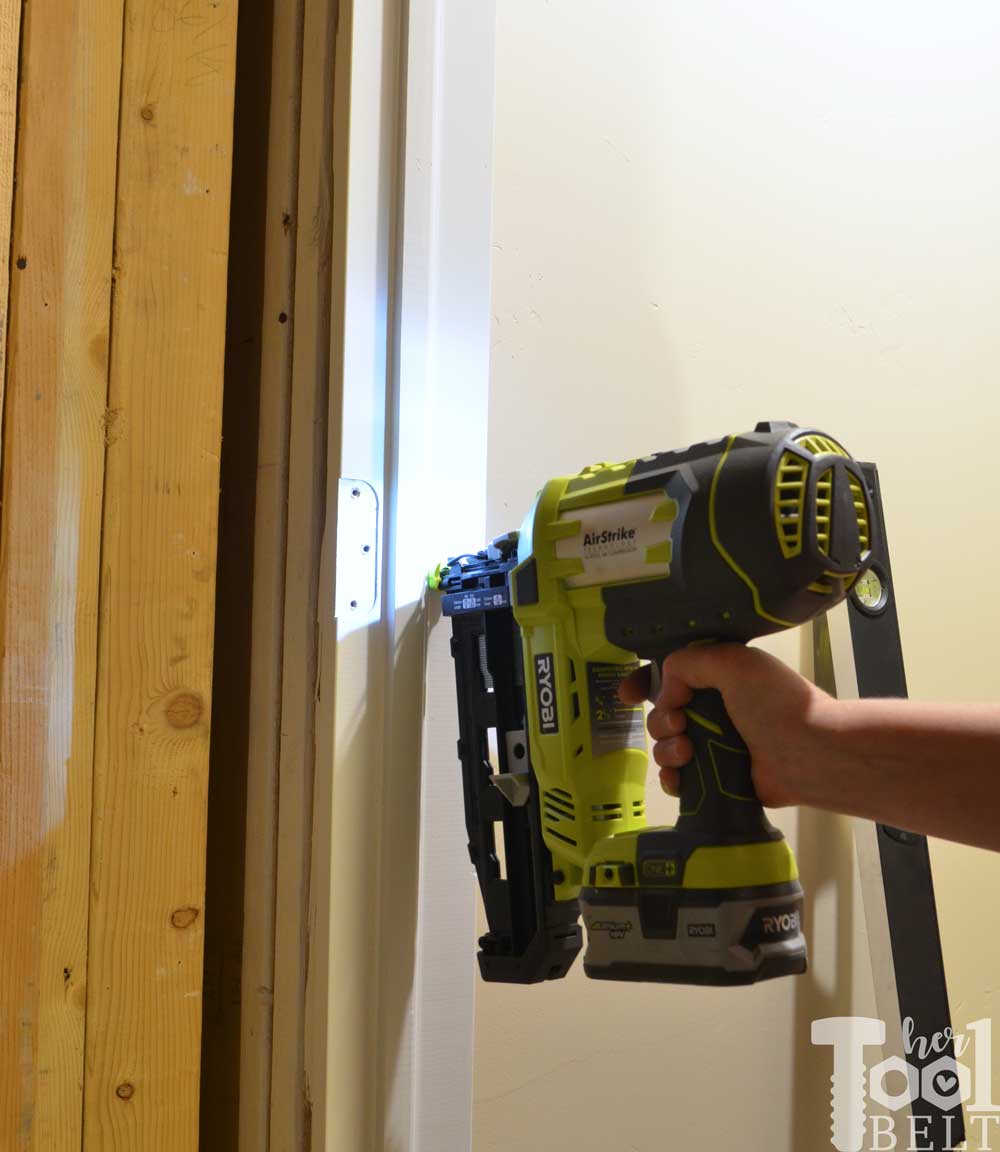
I slid the door frame/jamb into the rough door way opening, having the jamb stick out 1/2″ in the front, and used a finish nailer to secure it to the studs. The hinge side of the door way was level, so I nailed the jamb directly to the stud and also the top to the header. The right side door jamb had to be shimmed, then I nailed the jamb/shims to the stud.
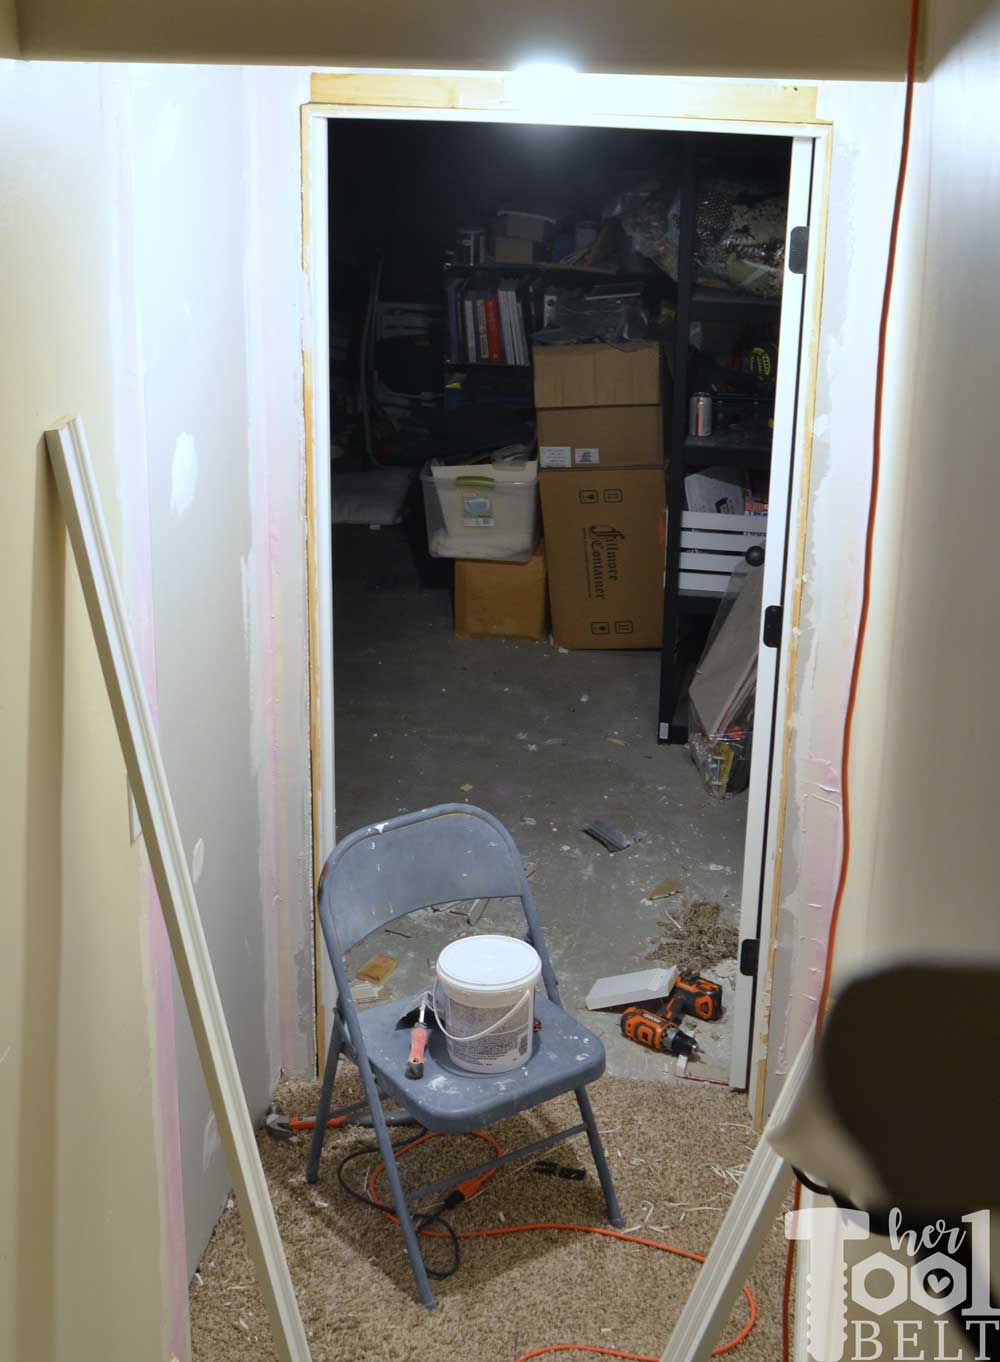
I cut a piece of drywall to fit in the new pop out wall and used drywall screws to secure it in place. Drywall was also added on the face around the door jamb/frame and the ceiling.
I used sheet rock tape and joint compound to fill all of the screw holes, corners and joints. The joint compound took a while to dry, I put a fan on it to speed it up but it still took a while to dry.
Then I sanded and sanded and sanded…to get the joint compound smooth. I used the finish nailer to put the molding back up and filled all of the holes with spackle. Luckily I’m a bit of a hoarder and had kept some of my base molding that I removed when I put in my shoe shelf, and used that to put in the new pop out section. And of course I added a bead of caulk around all of the molding for that seamless look.
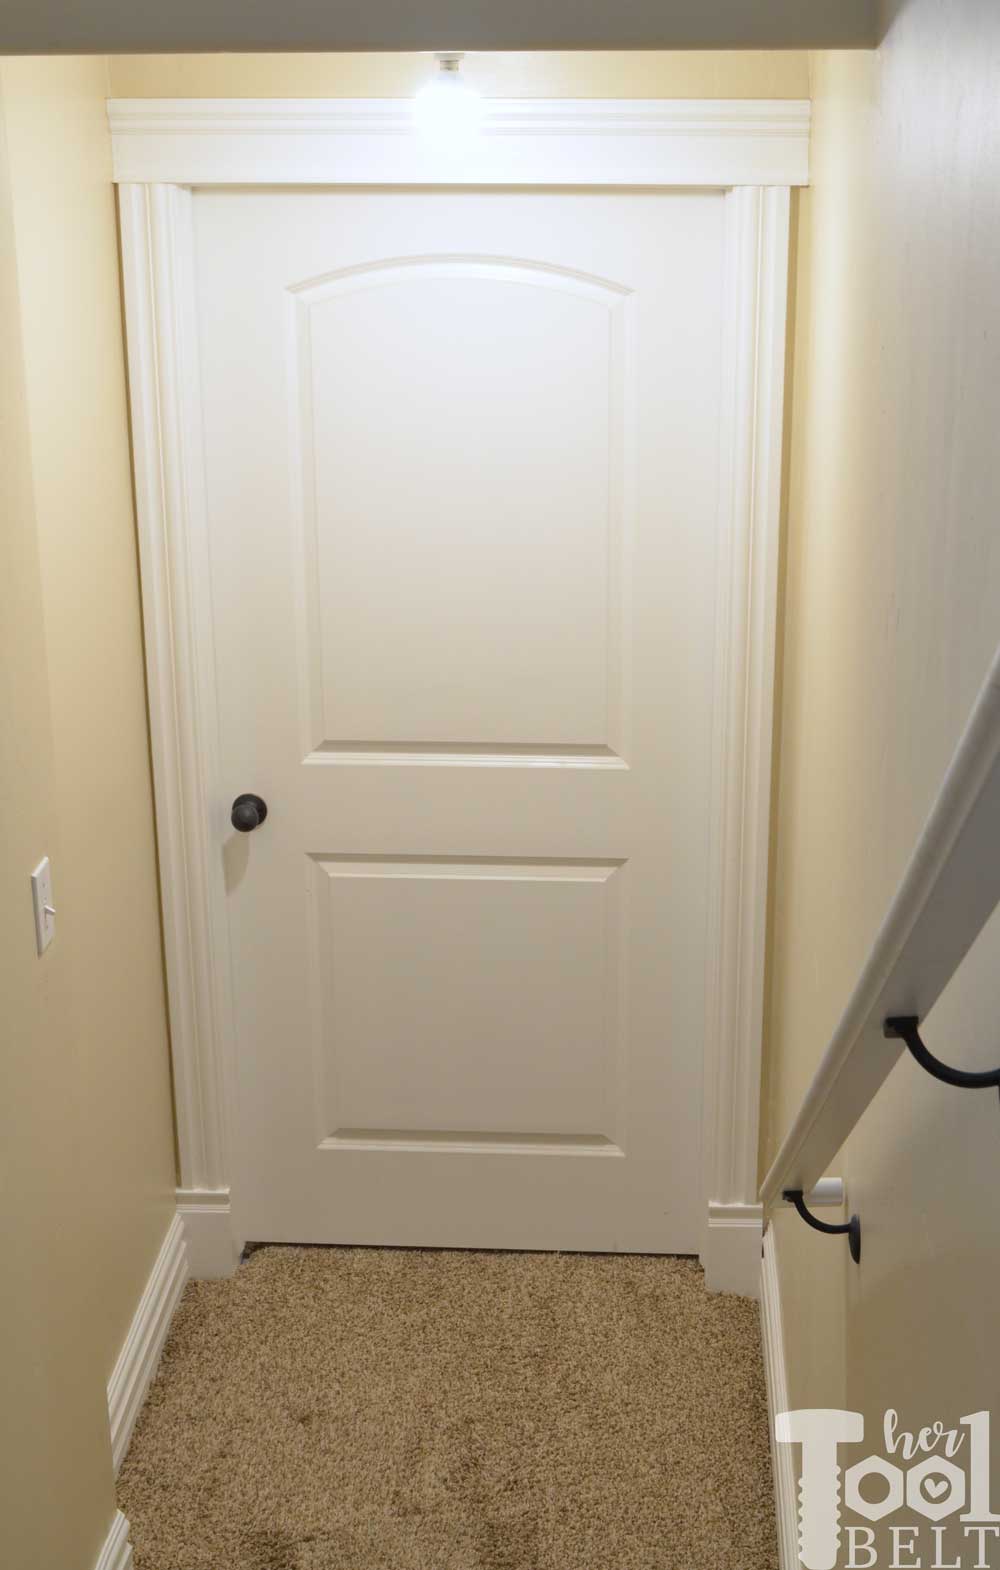
The finished product!
All in all I’m pretty happy with how it turned out. I wish I didn’t have to have the pop out wall, but considering all I had to purchase was 6 studs, 1 sheet of drywall, a bullnose for the rounded wall corner and some caulking, I did pretty good. The carpet only needed to be trimmed about an inch, which was really great. I luckily had enough paint leftover from my touch up kit too, so it all matches. Woot woot.
I’m excited to use that nail gun again and start working on the playhouse!
“I acknowledge that The Home Depot is partnering with me to participate in the Tool Review Program. As a part of the Program, I am receiving compensation in the form of products and services, for the purpose of promoting The Home Depot. All expressed opinions and experiences are my own words. My post complies with the Word Of Mouth Marketing Association (WOMMA) Ethics Code and applicable Federal Trade Commission guidelines.”
Leave a Reply