• Home
  • Project Gallery
  • About me
    • Disclosure
    • Disclaimer
  • Blog

Her Tool Belt

DIY furniture plans, crafts, and home improvement tutorials to empower you!

  • Free Woodworking Plans
    • Bathroom Furniture
    • Bedroom Furniture
    • Entry
    • Family Room Furniture
    • Garage
    • Kitchen furniture
    • Laundry Room
    • Mudroom Furniture
    • Organization
    • Outdoor Furniture
  • Home Decor
    • Upcycle
  • Crafts
    • Holiday
  • Home Improvement
    • Cleaning
    • Fix IT
    • Paint
    • Tile
  • Tool Reviews
  • Tool Time Videos

Tips to make a sign with perfect lines

July 12, 2014 by Amy 46 Comments

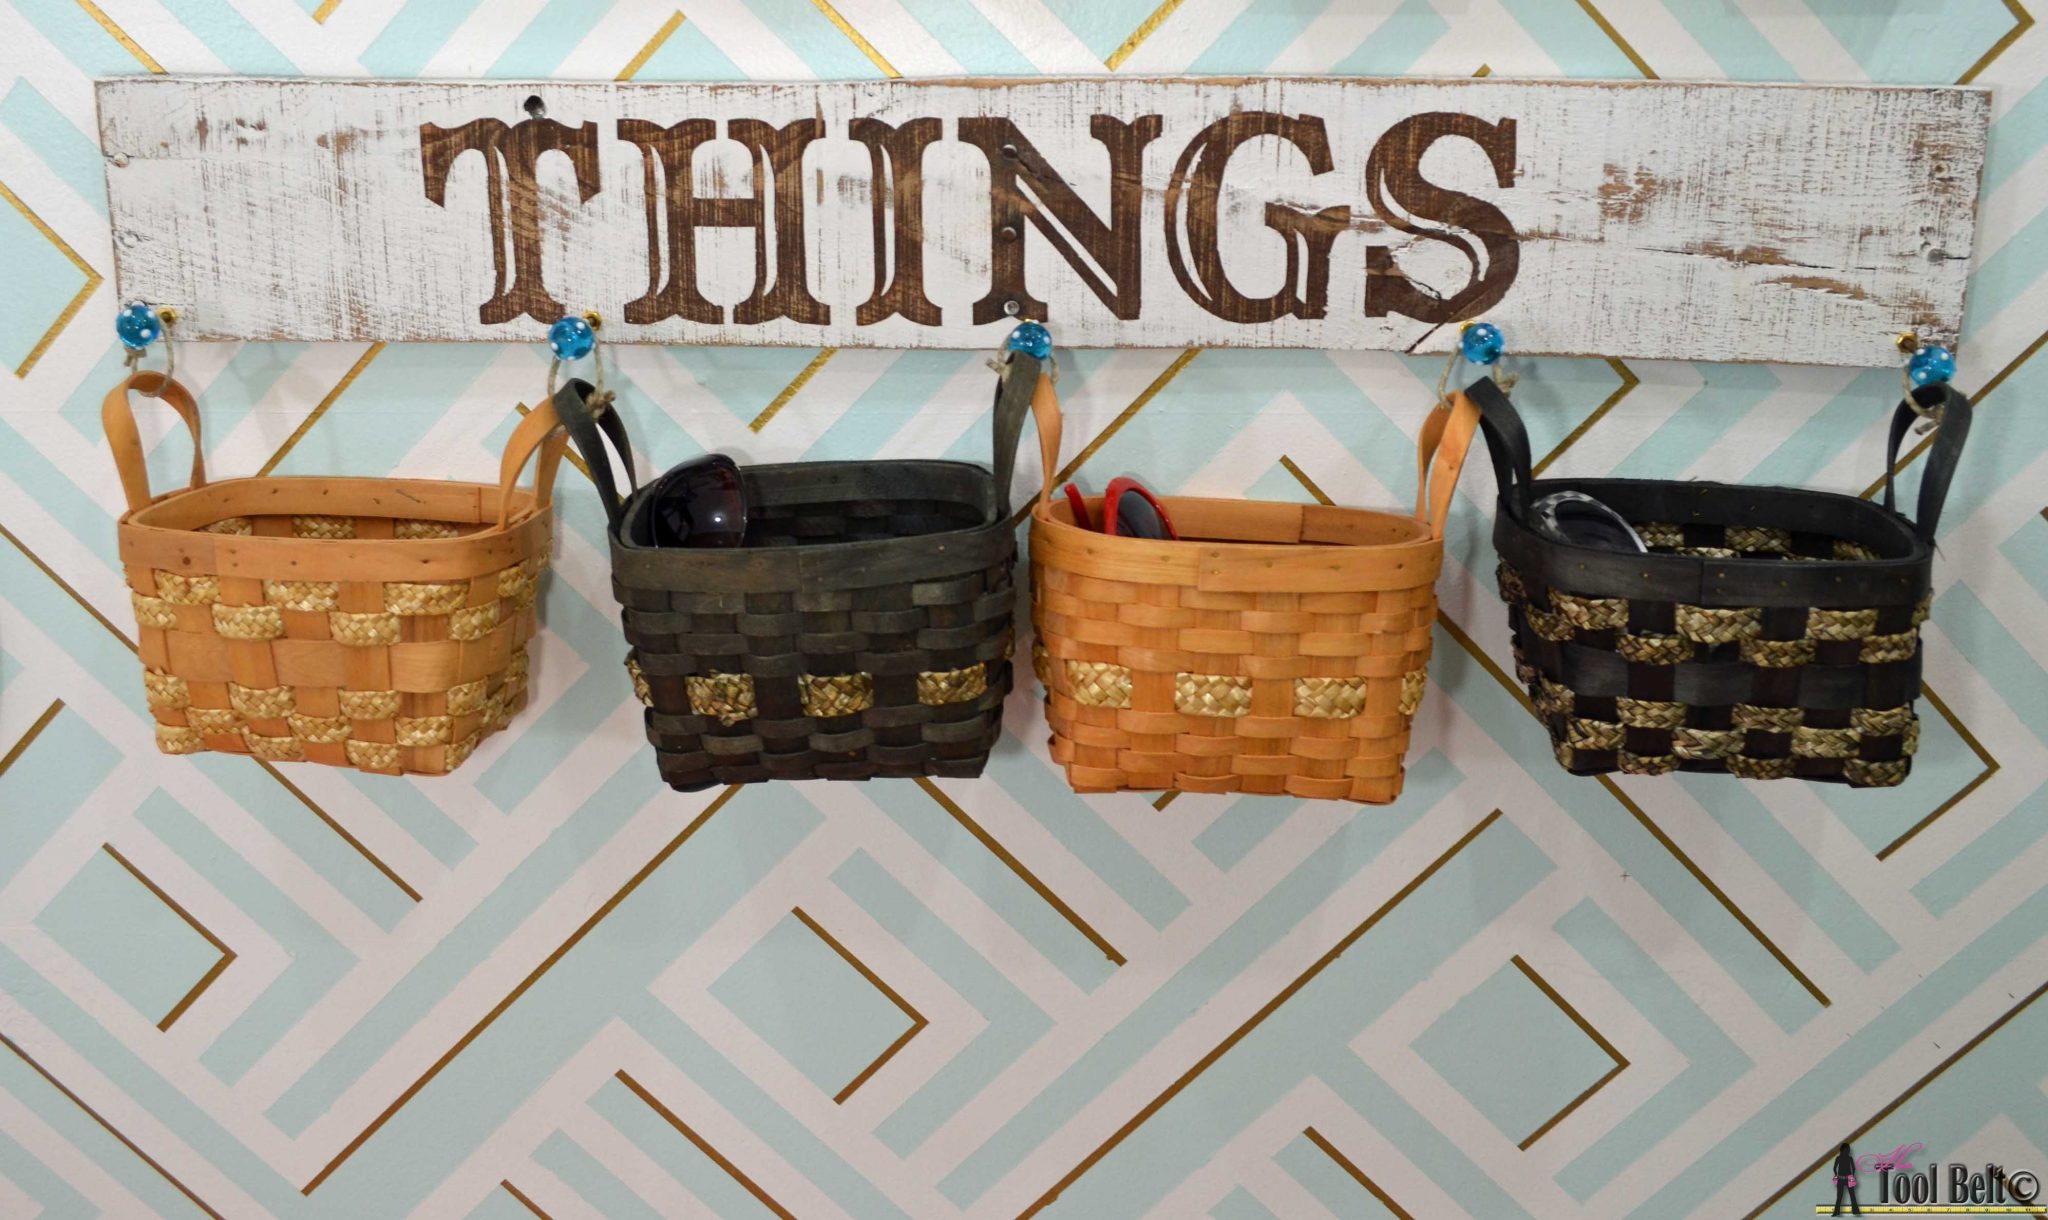
This ‘THINGS’ sign is another element in my newly revamped mudroom & command center project: Save my counters!  I wanted to make a painted sign, but I have horrific handwriting and my hand painting skills are really really lacking.  This is the easiest method to have perfect lines, like you get with a vinyl stencil…but without the expensive vinyl cutter.

To make this project you’ll need:

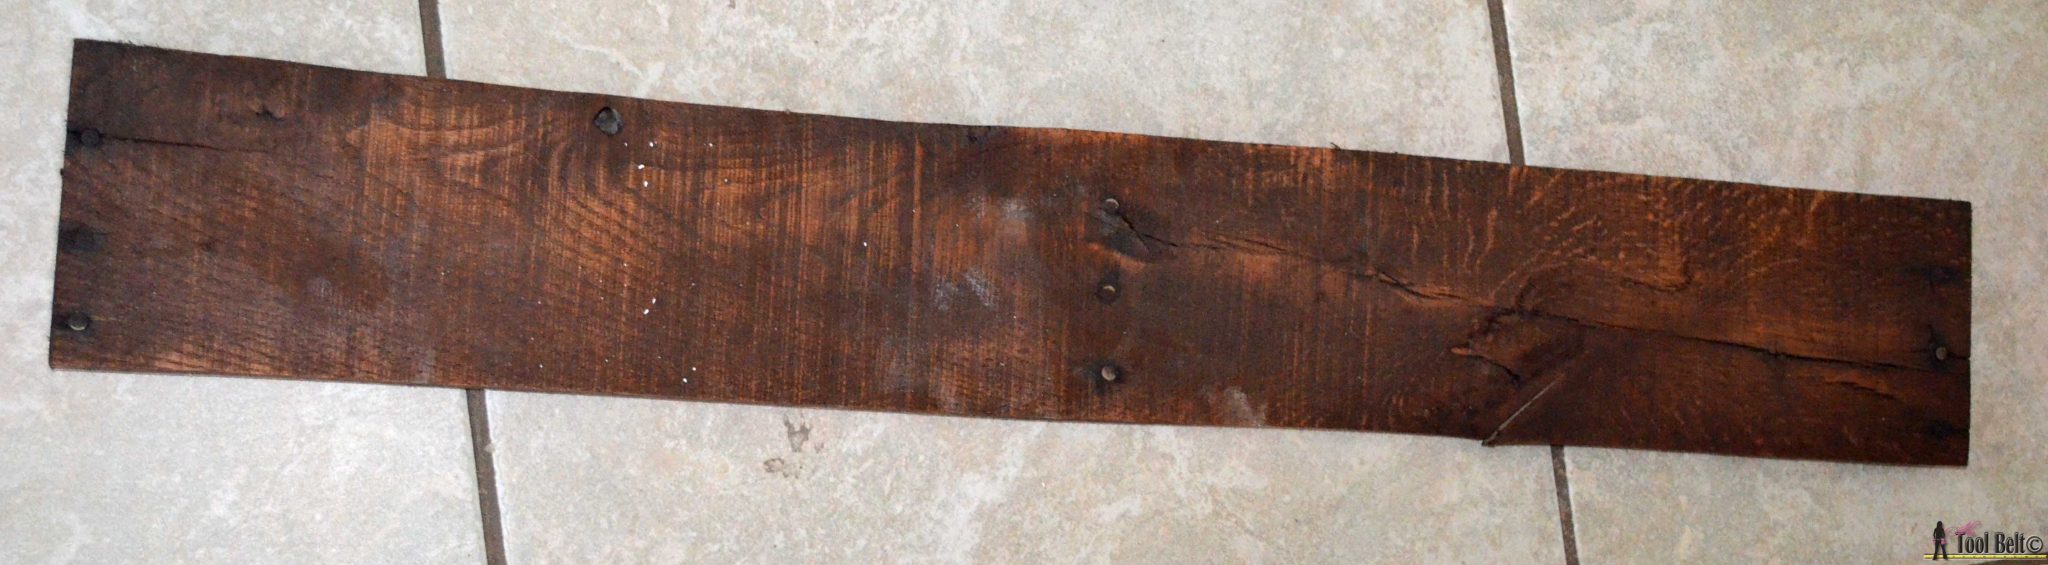
  • wood (mine is a pallet slat 5 1/2″ x 35″)
  • Printer/paper
  • Frog Tape (affiliate)
  • X-acto Knife (affiliate)
  • Stain/paint

I wanted my sign to be a little bit rustic.  So I used a pallet slat, I love to leave the nails for added character (here’s a video showing how.)

Please Subscribe!

Then I stained the wood with the under color that I wanted, this is General Finishes Nutmeg.   Let the stain dry for at least a day.

Things Sign - Stain wood

Download and print THINGS  Things – THI Things – NGS and tape together.  Or design the words or shapes that you want on your sign and print it out.  The font I used is called Captain Howdy.

Add Frog Tape to the wood, when overlapping the tape, overlap around 1/4″ or more.

Things - Tape wood with Frog tape on hertoolbelt
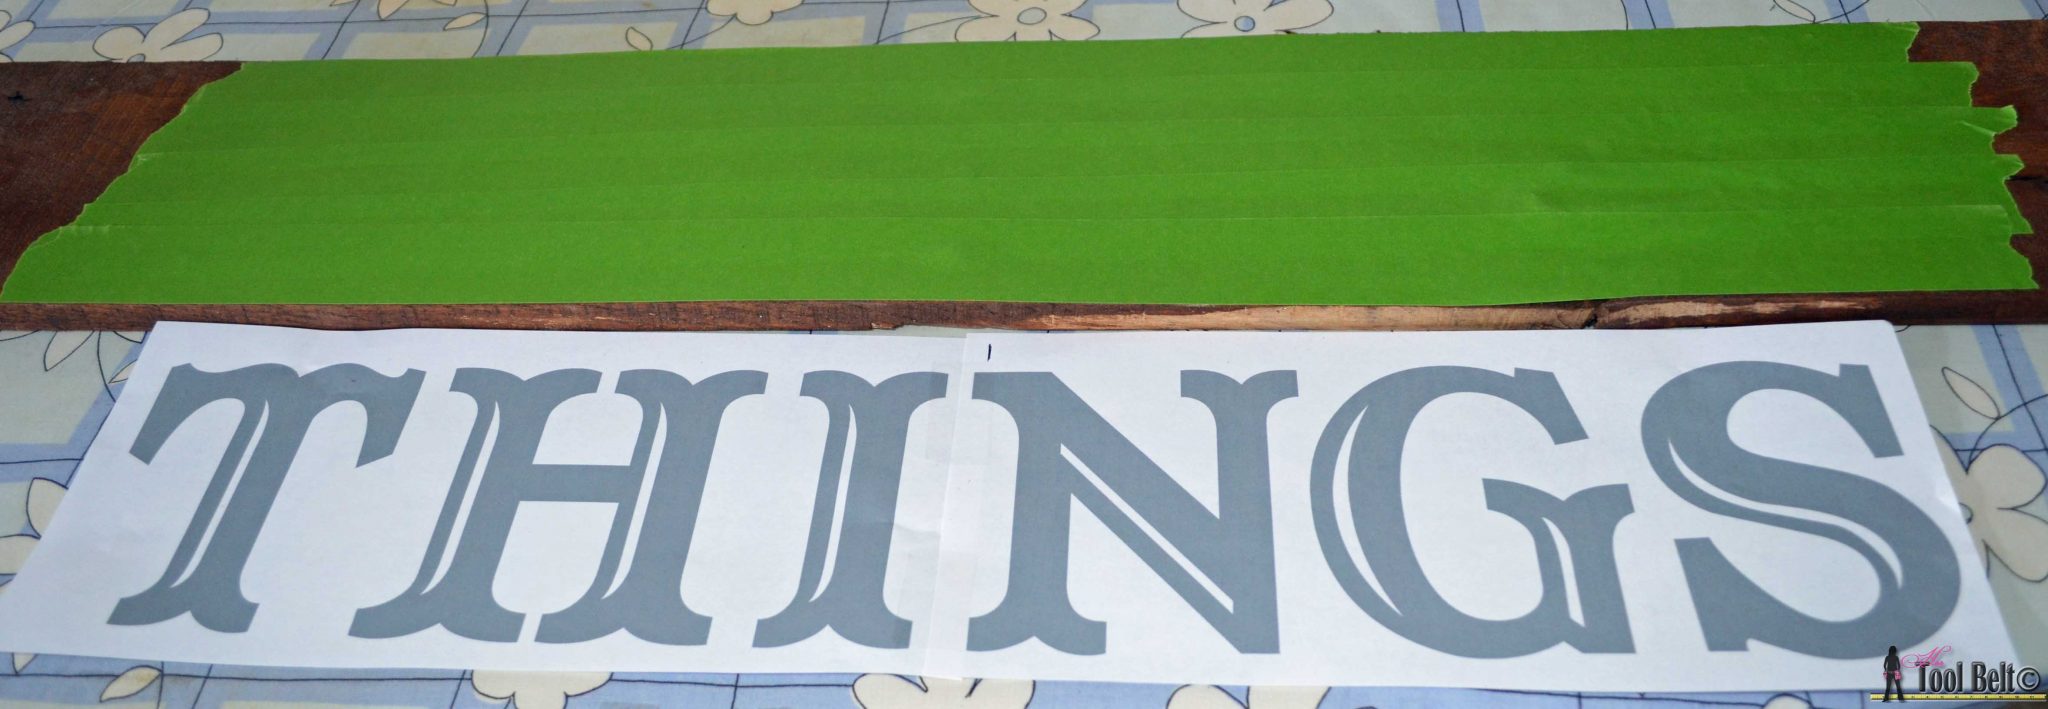
Tape ‘things’ or your pattern in place on top of the Frog Tape.

Use X-acto knife to cut out pattern #hertoolbelt
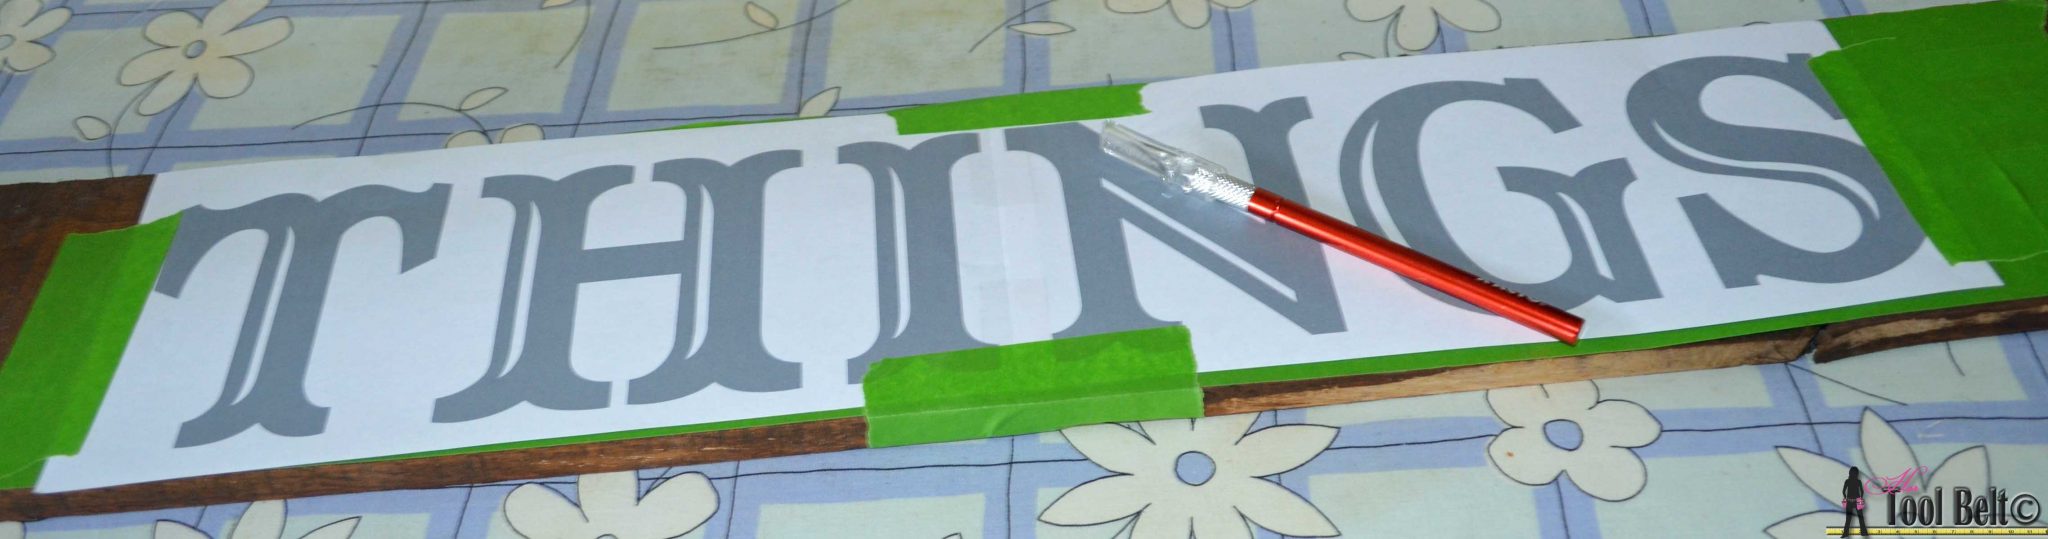
Use an X-acto knife and trace around the pattern, cutting through the paper and tape.

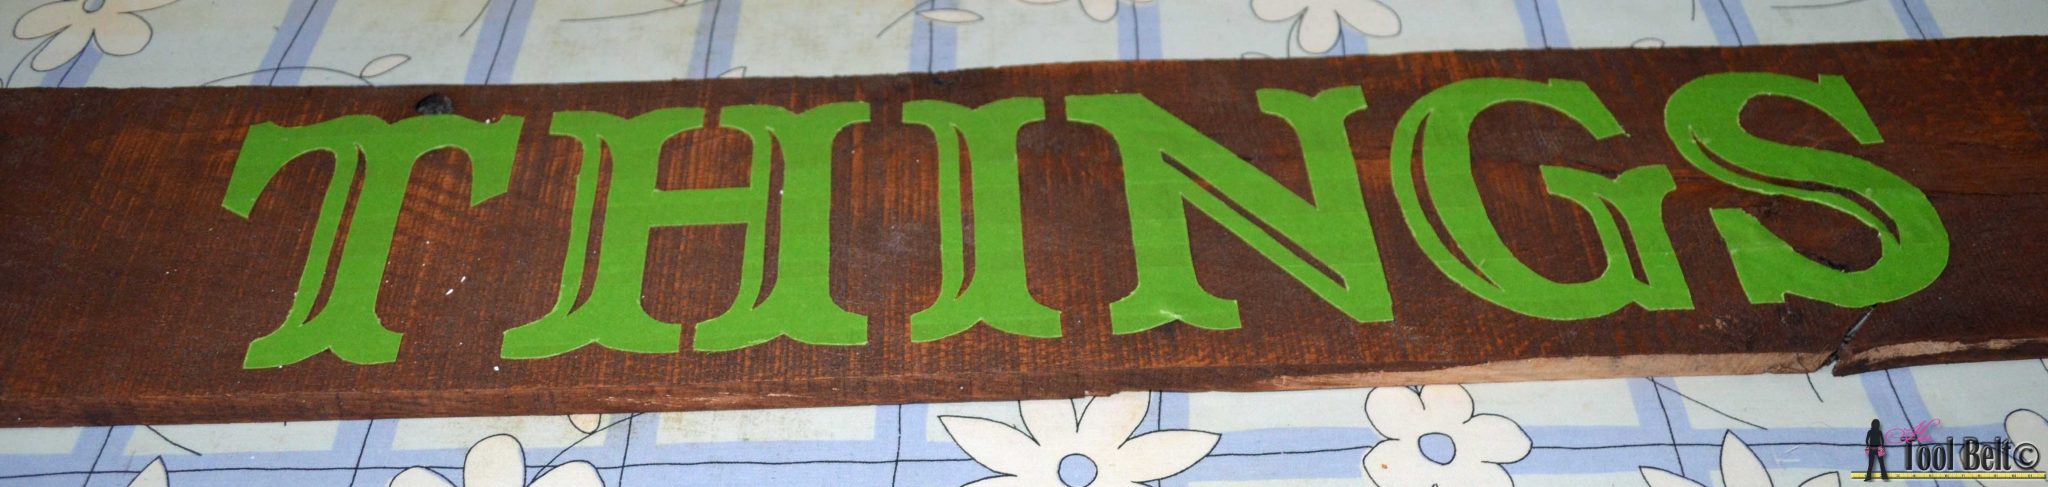
Remove the paper pattern and excess Frog Tape, revealing the stencil.  Make sure all of the tape is pressed down firmly.

Make a stencil with Frog Tape for perfect lines on hertoolbelt.com

Now it’s time to paint!  One painting tip that I’ve learned is that you don’t want to soak the painters tape.  To get the crispest lines, paint on a super light coat of paint at first.  I used the dry paint method, where you put minimal paint on your brush and dab it off on a paper towel or sponge and lightly coat the wood.  Let this thin paint coat dry, it’ll dry fast.  Then add another thicker coat of paint depending on the look you’re going for.

After painting, you can either pull off the tape carefully wet or wait until the paint is dry.

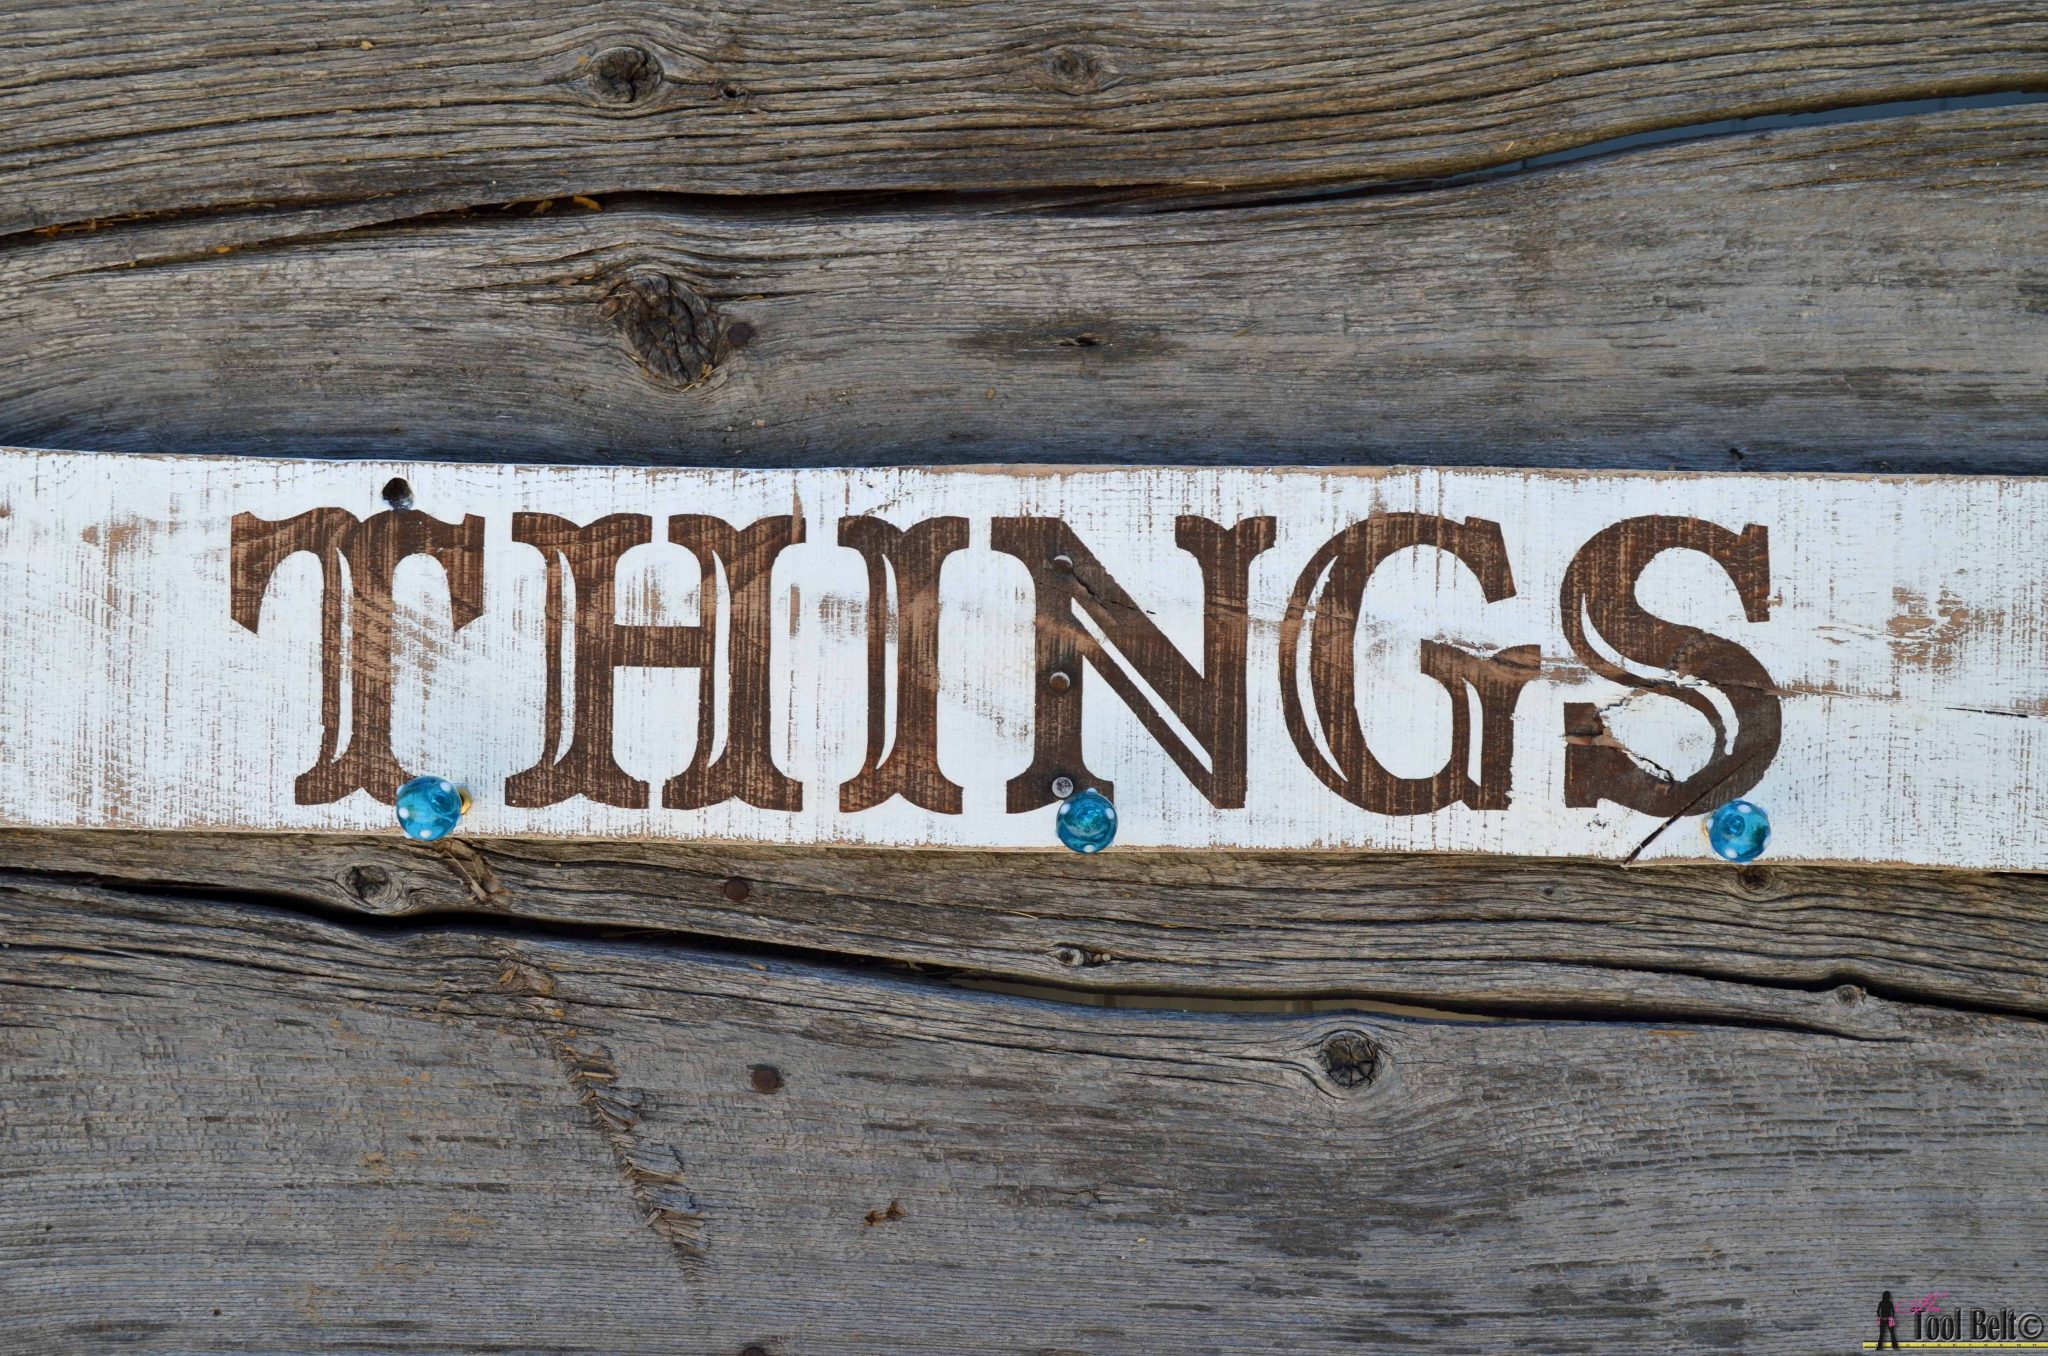
Tip for rustic look:  wait for the paint to be FULLY dry, at least 1 day, then lightly sand the edges and face until the sign is distressed as much as you like.

Things Sign - easy rustic sign, perfect lines made with Frog Tape on hertoolbelt.com

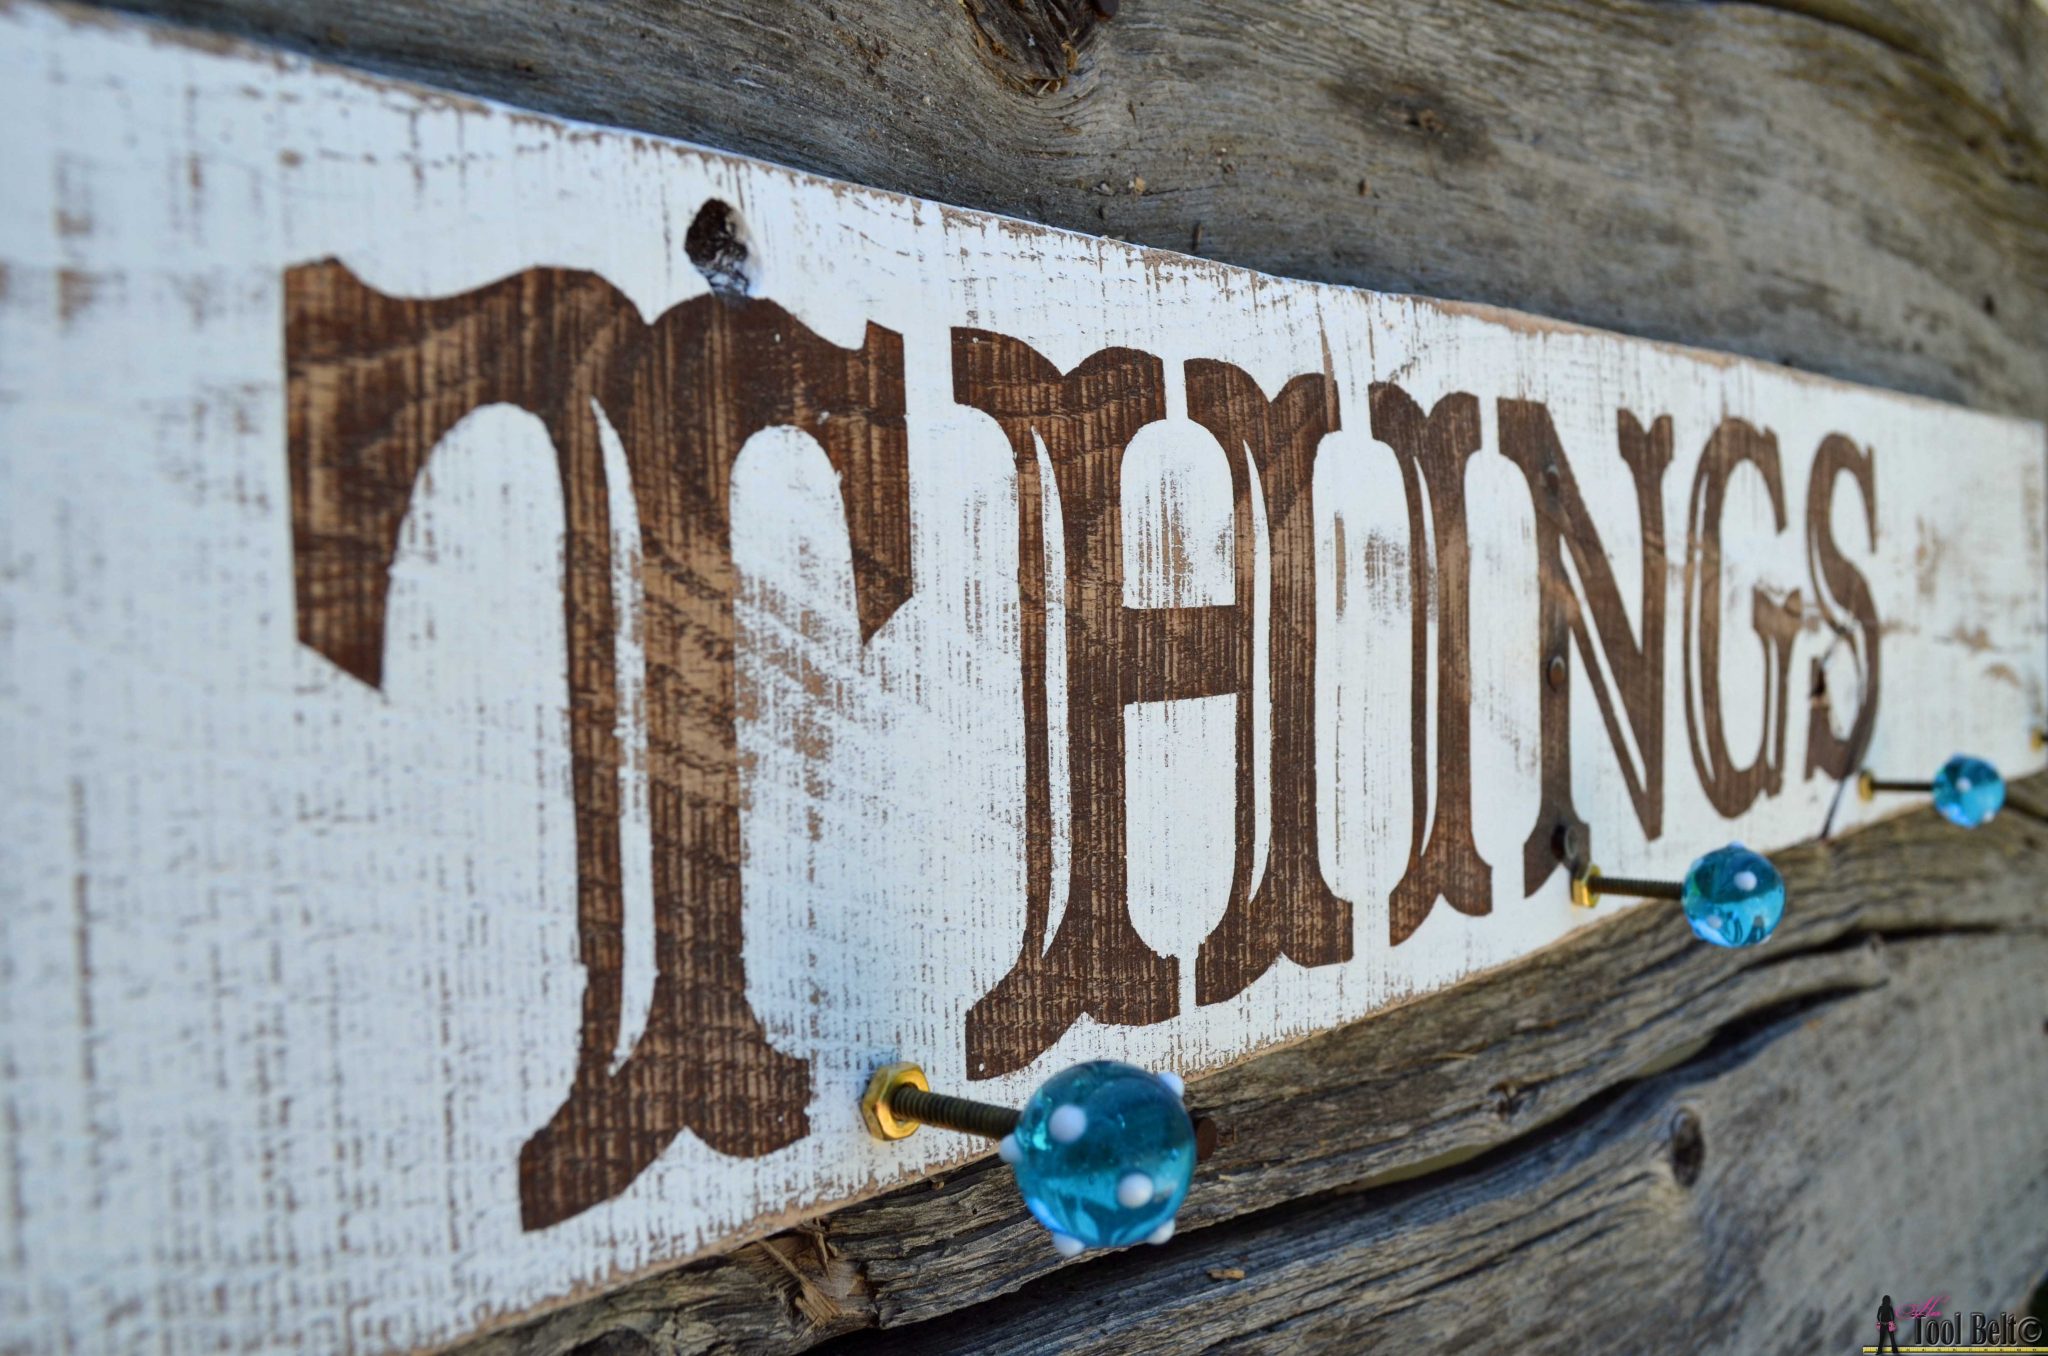
I added turquoise glass knobs that I had previously purchased on ebay for another project, but didn’t work out.  Add 2 picture hangers to the back.

'Things' sign made with a frog tape stencil on hertoolbelt.com

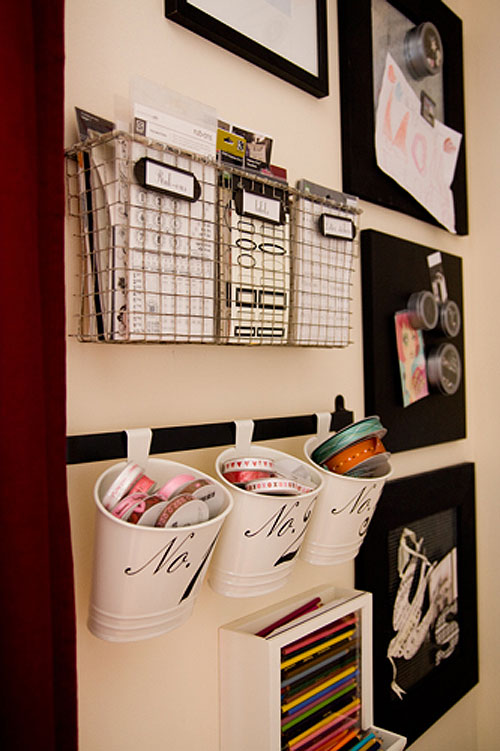
For the baskets I really wanted to find something like these white bins.

Poppytalk office org


Or these woven baskets.woven hanging basket

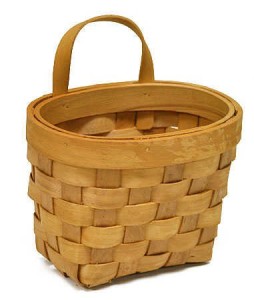
But the baskets I found were at Jo-Ann’s for $2.50, so I had a hard time passing them up.  Maybe I’ll come across something a little cuter later.  The purpose of the ‘things’ and baskets, is for each family member to have a place to put their little things that they need frequently.

Things rustic sign with perfect lines on hertoolbelt.com

Pin for later:

Tips to DIY signs and perfect lines - cheaply on hertoolbelt.com

Linked to: My Favorite Link Parties &

Not JUST a house wife, remodelaholic, Savvy Southern Style, House On The Way, Be You tiful, Creative Exchange, Creative Ways, DIY Dreamer, Funky Junk, Confessions of a serial diyer

Related

Filed Under: Home Decor, Upcycle Tagged With: finishes, mudroom, organization, pallet, reclaimed wood

Attention: Any do-it-yourself project involves risk of some sort. Your tools, materials, and skills will vary, as will the conditions at your work site. Hertoolbelt LLC will not assume any responsibility or liability for damages or losses sustained or incurred in the course of your project or in the use of the item you create. Always follow the manufacturer's operating instructions in the use of tools, check and follow your local building codes, and observe all commonly accepted safety precautions.

Comments

  1. Kim says

    July 13, 2014 at 1:58 pm

    Great Job Amy!!

    Reply
  2. Kimm at Reinvented says

    July 14, 2014 at 6:51 pm

    Wow, I have never thought of using frog tape as a stencil, what an awesome idea! It was great to meet you at Haven, Amy, hope to see you again next year!

    Reply
    • Amy says

      July 14, 2014 at 10:13 pm

      It was great meeting you too!

      Reply
  3. Šárka says

    July 14, 2014 at 10:36 pm

    great job and you have so many great articles here! gotta follow 🙂

    Reply
  4. Julie says

    July 15, 2014 at 2:40 am

    What a great technique. Pinning this for when I need it – for the project I don’t even know I want to do yet!

    Reply
  5. Crystelle Boutique says

    July 15, 2014 at 8:30 am

    wow…. I have never seen this painters tape method done before. great thinking!!! 🙂
    xo, Crystelle
    Crystelle Boutique

    Reply
    • Amy says

      July 15, 2014 at 8:39 am

      Thanks Crystelle

      Reply
  6. Dee says

    July 15, 2014 at 10:50 am

    I love making signs, and yours looks awesome! Thanks for sharing this tutorial at Snickerdoodle! 🙂

    Reply
  7. Melanie says

    July 15, 2014 at 7:35 pm

    I am keen to make a sign for my kitchen, so thanks for sharing this tip. I was going to battle with regular contact paper, but I love the idea of painter’s tape.

    Reply
  8. Carmody Tisdale says

    July 16, 2014 at 4:20 am

    Great tutorial!

    Reply
  9. Leslie @ House on the Way says

    July 16, 2014 at 10:44 am

    What a clever idea! I love the frog tape as a stencil! If you get a chance, I’d love for you to link your project up to my linky party. It’s the Twirl & Take a Bow Party and it runs from Tuesday to Sunday.

    Reply
    • Amy says

      July 16, 2014 at 11:13 am

      Oh great, thanks I’ll be there.

      Reply
  10. Kristina & Millie says

    July 16, 2014 at 1:39 pm

    I love the glass knobs! that pop of blue draws the eyes so you see how awesome the sign is 🙂 Thanks for sharing with us!

    Reply
  11. Michelle says

    July 17, 2014 at 8:10 am

    This looks great Amy. Pinned!

    Reply
    • Amy says

      July 17, 2014 at 8:15 am

      Thank you!

      Reply
  12. AmieJo says

    July 17, 2014 at 10:20 pm

    I love this. You make it look easy.

    Reply
    • Amy says

      July 18, 2014 at 7:29 am

      Thanks, it really is super easy.

      Reply
  13. Bobbie says

    July 18, 2014 at 6:39 am

    Such great tips and I love how it turned out!

    Reply
  14. sineamaries says

    July 18, 2014 at 9:32 am

    Amy, I really love this post. It is featured on my Facebook page for Ducks ‘n a Row as one of the first entries on our Friday boosting party. Stop by? Here is the blog post w all the info in it! http://www.ducksnarow.com/2014/07/facebook-boosting-frenzy-today-only-on.html

    Reply
    • Amy says

      July 18, 2014 at 10:09 am

      Thank you so much, I’ll be there.

      Reply
  15. juliaklimek says

    July 20, 2014 at 9:59 am

    This is awesome! Frogs tape is a great idea! Please drop by Merry Monday Linky (Sunday at 6pm pst)!!! We’d love to have you! Pinning and sharing this! And making one myself! LOL!! Julia

    Reply
  16. lacey says

    July 20, 2014 at 3:36 pm

    im too lazy and cheap to use frog tape lol dollar store contact paper works great for me! i love the font you used!

    Reply
    • Amy says

      July 20, 2014 at 4:03 pm

      Thanks for the contact paper tip. The font is Captain Howdy.

      Reply
  17. Erin says

    July 21, 2014 at 12:36 am

    Such a neat way to do this! Never thought of using frog tape! Thanks for sharing with us at Your Designs This Time!

    Erin & Emily

    Reply
  18. Corrine says

    July 21, 2014 at 9:55 am

    Very Cute! Great work!

    Reply
  19. Nicole says

    July 21, 2014 at 11:10 am

    Another great post! I’m bookmarking you for ideas for when I have time to DIY anything. 🙂 Thanks again for sharing at the Merry Monday Linky Party!

    Reply
    • Amy says

      July 21, 2014 at 11:13 am

      Thanks Nicole! I’ll be back and visit often.

      Reply
  20. chiccalifornia says

    July 21, 2014 at 3:47 pm

    Great tutorial! I am going to give this a try for sure. Thanks for linking up to the Be. YOU. tiful link party. Pinning!

    Reply
  21. thehappyscraps says

    July 21, 2014 at 4:21 pm

    I LOVE the way this sign turned out, and I am completely amazed that you did this without a digital cutter! Good job! I’ll be featuring this on The Happy Scraps today.

    Reply
    • Amy says

      July 21, 2014 at 4:33 pm

      Thank you Amy!

      Reply
  22. Cottage in the OaksDaune | Cottage in the Oaks says

    July 22, 2014 at 8:08 am

    Love this, Amy! =) It was great meeting you at Haven earlier this month! I hope you’re having a great summer….. xoxoxoxo

    Reply
    • Amy says

      July 22, 2014 at 6:22 pm

      It was great meeting and chatting with you Daune, thanks for stopping by.

      Reply
  23. Michelle from Weekend Craft says

    July 23, 2014 at 8:33 am

    Pallet signs are my favorite projects lately. I use vinyl or vinyl stencil and cut it with my cameo. Thanks for linking up at the Creative Spark Link Party! I hope you will stop by again today to link up! http://bit.ly/1kbGQ7W

    Reply
  24. laurascraftylife says

    July 23, 2014 at 9:46 pm

    Great tips! Thanks for linking up to The Creative Exchange. I am featuring your project this week. xo, Laura

    Reply
    • Amy says

      July 24, 2014 at 7:17 am

      Thank you!

      Reply
  25. Wendi @ H2OBungalow says

    July 25, 2014 at 12:28 pm

    Great idea! Such a useable tutorial thanks for sharing!

    Reply
    • Amy says

      July 25, 2014 at 1:26 pm

      Thanks Wendi

      Reply
  26. Emily, Our house now a home says

    July 29, 2014 at 10:21 am

    these are great tips, thank you for sharing at Friday Favorites!

    Reply
  27. Kimberly says

    August 4, 2014 at 11:56 am

    This is so cute and great tips! Pinned. Lou Lou Girls

    Reply
  28. Melissa says

    December 15, 2014 at 11:01 am

    What kind of paint did you use? Thanks!

    Reply
    • Amy says

      December 15, 2014 at 11:07 am

      For this sign I used regular white latex paint left over from painting a wall in my house. However I’ve used chalky paint and that works really well too.

      Reply
  29. Nora says

    March 28, 2015 at 7:14 am

    I love this post. I’m doing a project but was honestly dreading the not-so-smooth lines I just with regular stencils. You’ve just changed my day for the better! I do have one tip I would like to share though, after I cut out the letters with the exact knife, I will give my project another light coat of the underlying (or base) color. Then, if there are any places where the tape is not pressed down all the way, those “bleed spots” match the base and the lines are even crisper. I’m even more excited about my Saturday project now – Thank You!!!!

    Reply
    • Amy says

      March 28, 2015 at 7:48 am

      Awesome! Thanks so much for sharing your tip.

      Reply

Trackbacks

  1. {nifty thrifty sunday #165} | {nifty thrifty things} says:
    July 19, 2014 at 4:01 pm

    […] {3} Three Kids and a Fish: Peanut Butter Ripple Milkshake {4} Her Tool Belt: Tips to Make a Sign with Perfect Lines […]

    Reply
  2. Off the Hook Monday {Week 13} | Little Monkeys Crochet says:
    August 4, 2014 at 8:16 am

    […] DIY Cherry Blossom Decor | Designs by Miss Mandee — Oreo Cake | Kitchen Gidget — Make a Sign with Perfect Lines | Her Tool Belt […]

    Reply
  3. 20 Pinspired Projects {Get Your DIY On Features} - Just a Girl and Her Blog says:
    September 21, 2014 at 3:01 am

    […] Tips to Make a Sign with Perfect Lines by Her Tool Belt {April’s pick} […]

    Reply

Leave a Reply Cancel reply

Your email address will not be published. Required fields are marked *

This site uses Akismet to reduce spam. Learn how your comment data is processed.

Search Her Tool Belt

Follow Me!

  • Bloglovin
  • Email
  • Facebook
  • Google+
  • Instagram
  • Pinterest
  • RSS
  • Twitter
  • YouTube

Top Posts & Pages

Custom Drill Storage and Charge Station - Easy
Cordless Drill Storage - Charging Station
Wood Bunny Easter Basket
Pallet Planter Box For Cascading Flowers
$5 Blanket Ladder
Wood DIY LOVE Marquee Letters
How to Build a Redwood Pergola with Arch Detail
Kid's Step Stool

Check out more projects

Copyright

Thank you for wanting to share my work! No need for my permission to pin my work or to feature 1 or 2 pictures with full watermarks intact that link back to the original project. Please do NOT copy tutorials.

Disclosure & Privacy Policy

Disclaimer

Copyright © 2023 · Magazine Pro Theme on Genesis Framework · WordPress · Log in

This website uses cookies to improve your experience. We'll assume you're ok with this, but you can opt-out if you wish.Accept Read More
Privacy & Cookies Policy

Privacy Overview

This website uses cookies to improve your experience while you navigate through the website. Out of these, the cookies that are categorized as necessary are stored on your browser as they are essential for the working of basic functionalities of the website. We also use third-party cookies that help us analyze and understand how you use this website. These cookies will be stored in your browser only with your consent. You also have the option to opt-out of these cookies. But opting out of some of these cookies may affect your browsing experience.
Necessary
Always Enabled
Necessary cookies are absolutely essential for the website to function properly. This category only includes cookies that ensures basic functionalities and security features of the website. These cookies do not store any personal information.
Non-necessary
Any cookies that may not be particularly necessary for the website to function and is used specifically to collect user personal data via analytics, ads, other embedded contents are termed as non-necessary cookies. It is mandatory to procure user consent prior to running these cookies on your website.
SAVE & ACCEPT