Hi! I’d love to for you to follow me on Pinterest Her Tool Belt and if you love instagram, you can keep up with me there too!
Have you ever had a Woof ’em?
We love to cook dutch oven dinner and roast hot dogs and marshmallows, but my friend recently told me about the most delicious campfire treat – Woof ’ems. Have you tried them?
Rumor on the street is they get their name because they’re so tasty that you Woof them down! Yum
See how Woof ’ems are made
Please Subscribe
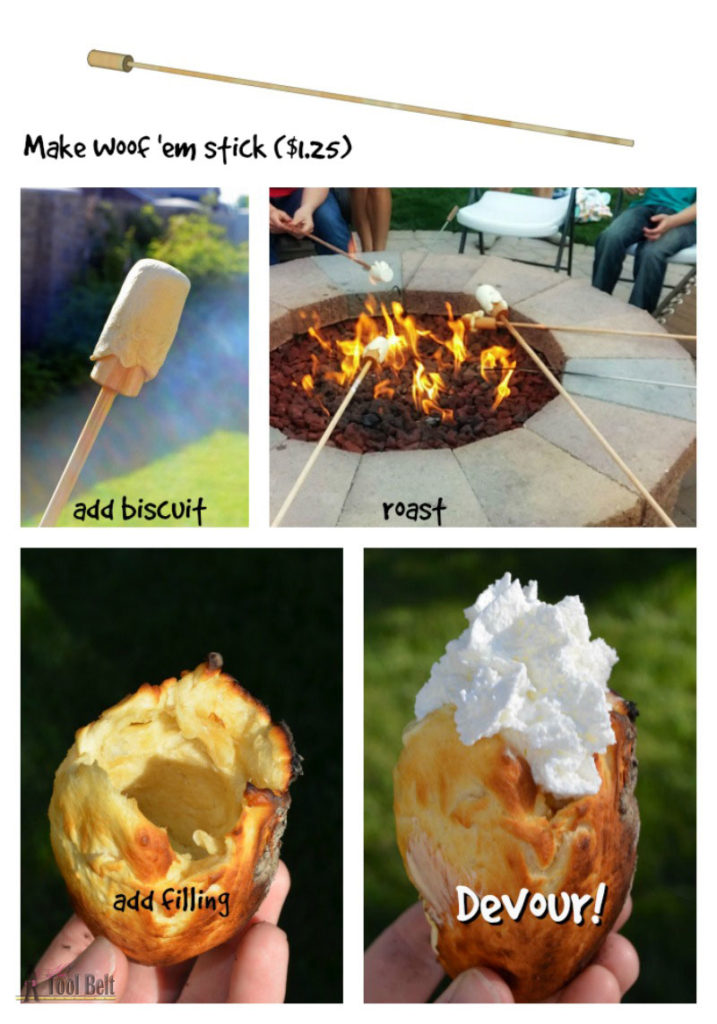
First, You need to build special roasting sticks.
 Make these sticks for as low as $1.25 each.
This post contains some affiliate links for your convenience. Click here to read my full disclosure policy.
Materials needed:
- 1 1/4″ x 48″ round dowel – available at the hardware store for $4-$4.50 (makes up to 15)
- 3/8″ x 48″ or 36″ round dowel – available at the hardware store for around $1 (need one for each stick)
- Wood glue
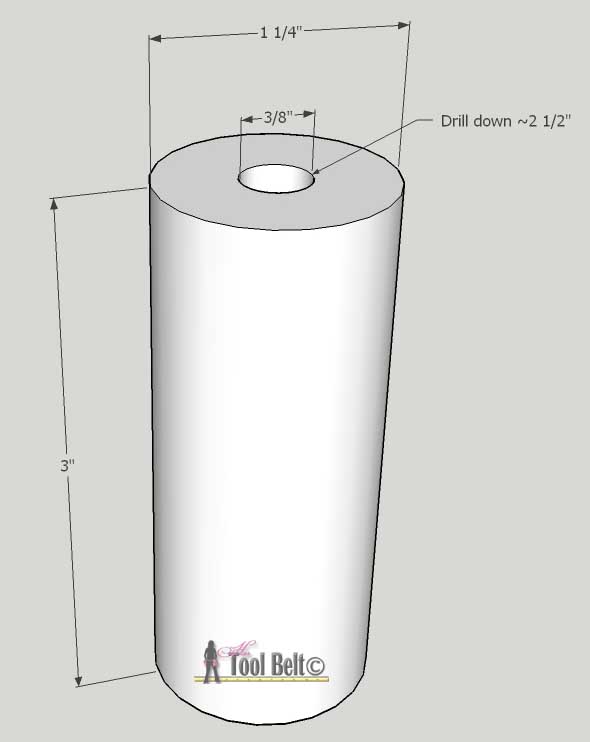
Cut the 1 1/4″ round dowel into 3″ lengths. Drill a 3/8″ hole (or slightly larger than the 3/8″ dowel) down the center of the 3″ dowel piece about 2 1/2″ deep.
 Lightly sand the 3″ dowel pieces to remove and rough areas, and slightly round the edges.
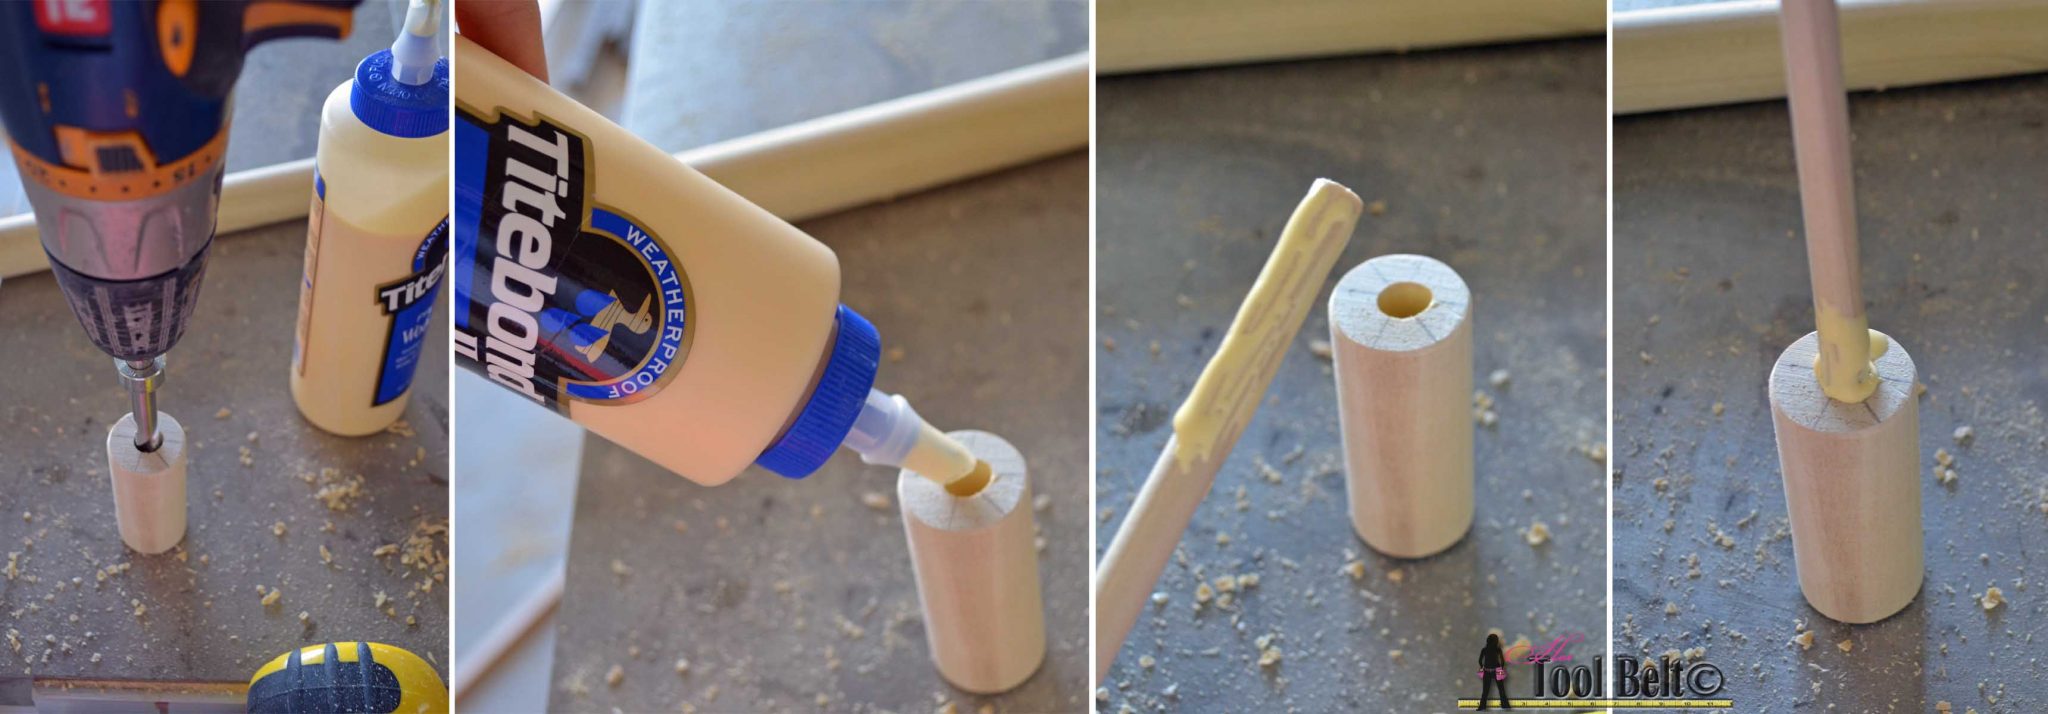 Drill a 3/8″ hole in the center of the 3″ dowel piece about 2 1/2″ deep. Make sure the 3/8″ dowel fits in the drilled hole. Put a dab of wood glue in the drilled hole. Lightly coat the 3/8″ dowel with wood glue and slide the dowel into the hole. Wipe off any excess wood glue. Allow the glue to dry, at least over night.
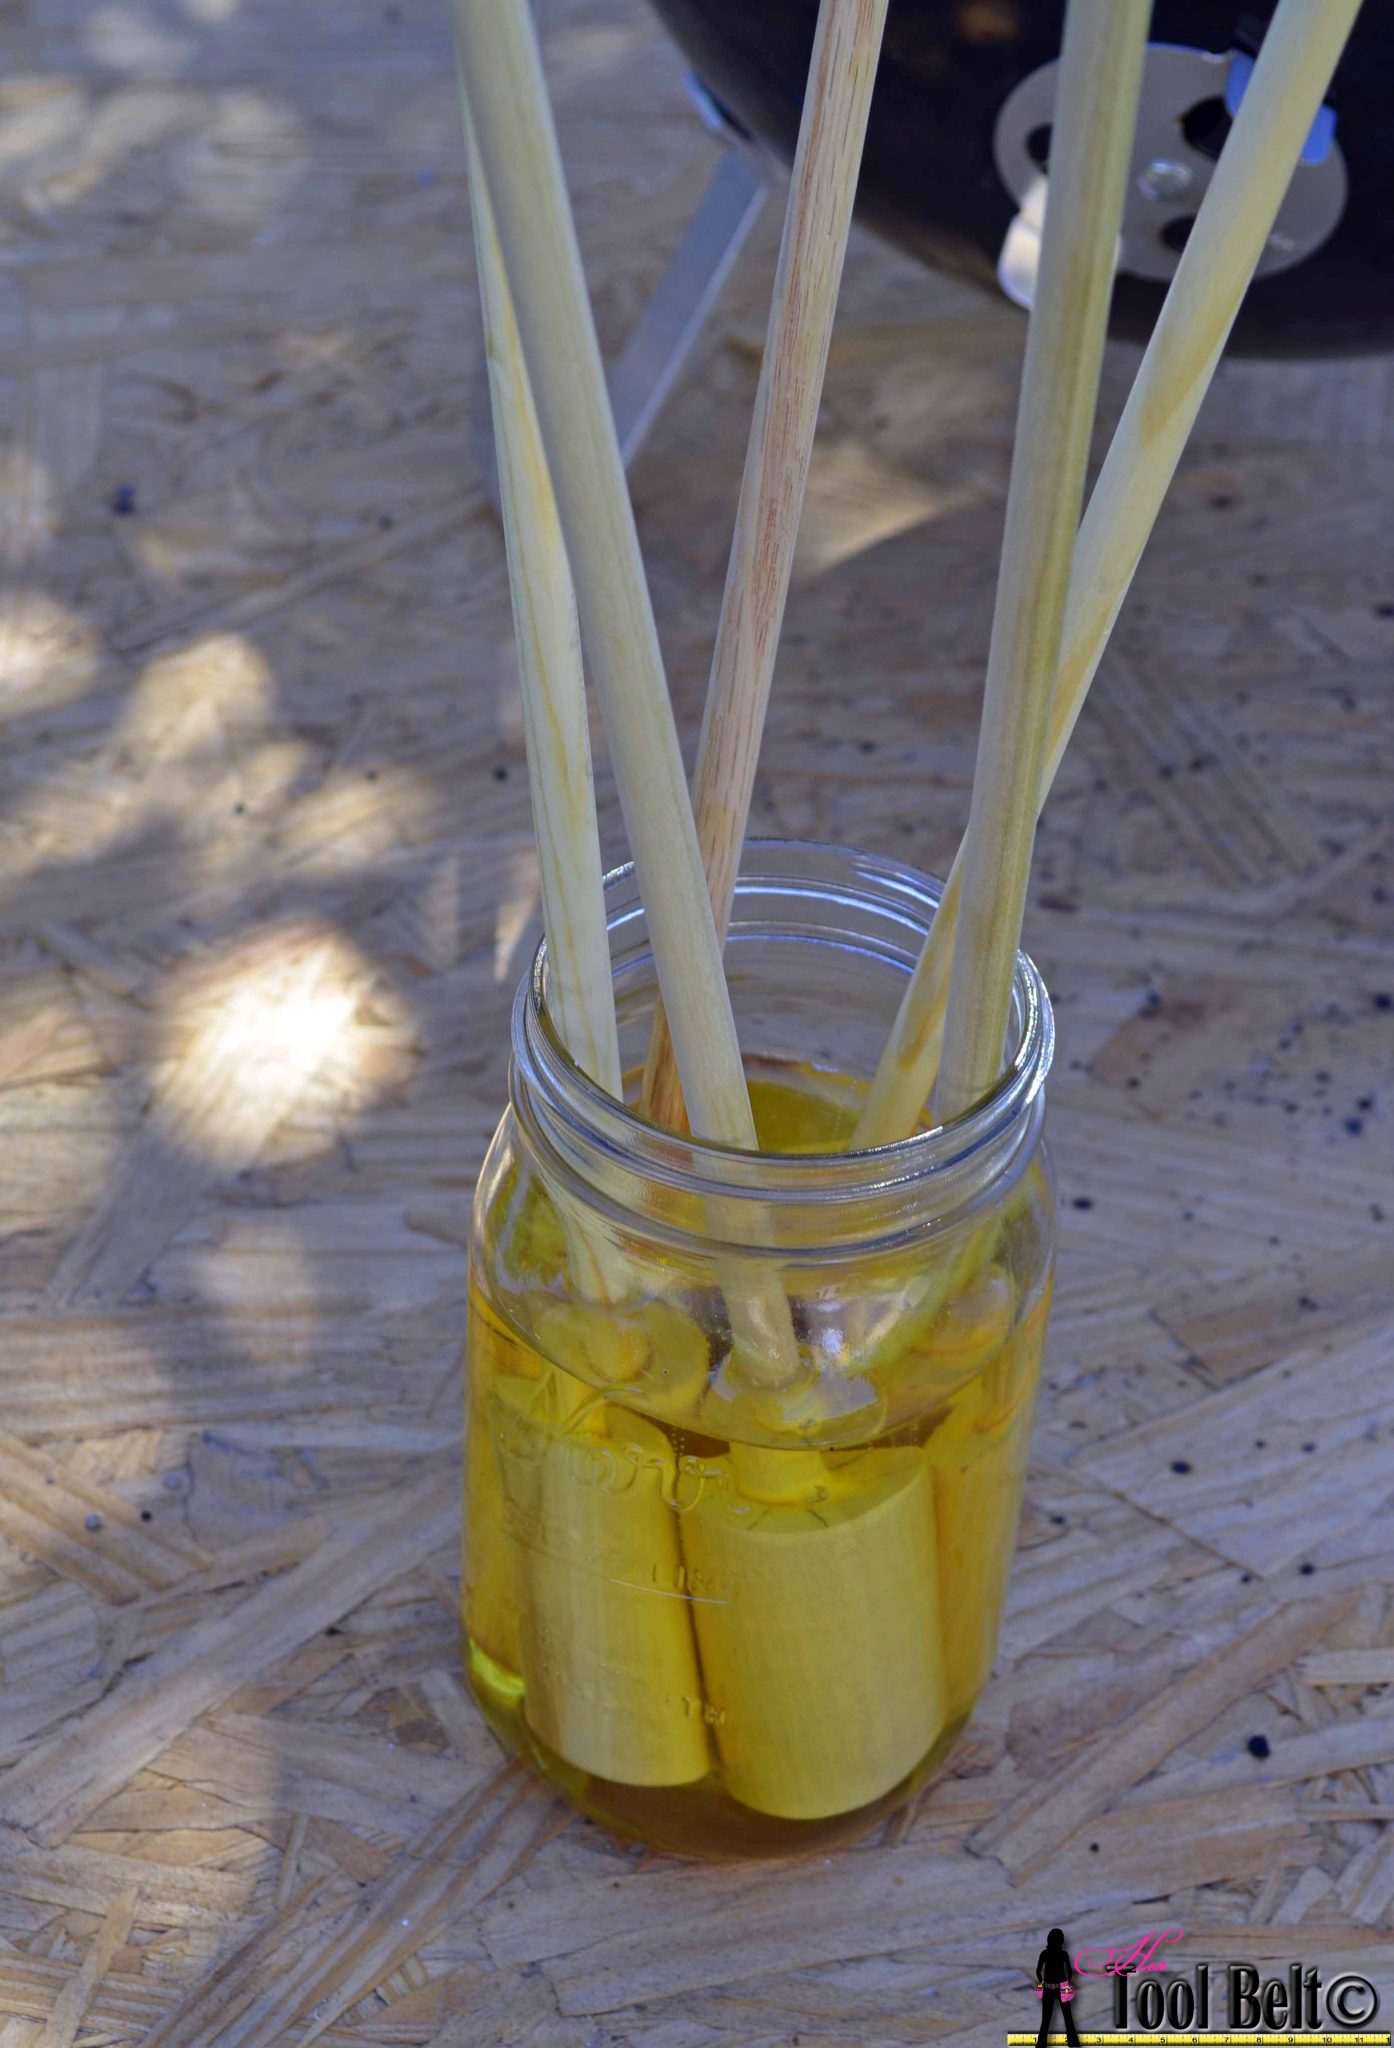 Before using the Woof ’em sticks for the first time, soak them in cooking oil for a few hours. (Spray big stick end with Pam cooking spray in between biscuit roastings.)
Now for the fun part, making and eating the Woof ’ems. The recipes and concoction possibilities are endless. Here are some of our favorites:
- Vanilla pudding
- Chocolate pudding
- Coconut pudding
- Fluffernutter – Mix together 7 oz Marshmallow Creme jar and 1/4 cup to 1/2 cup creamy peanut butter.
- Nutella/creamcheese – Mix together 8 oz cream cheese, 2 heaping spoonfuls of Nutella spread and 1/2 cup powdered sugar. Add more Nutella as desired.
- Drizzle with Smucker’s chocolate coconut topping.
- Fruit pie filling
- Always top with whipping cream!
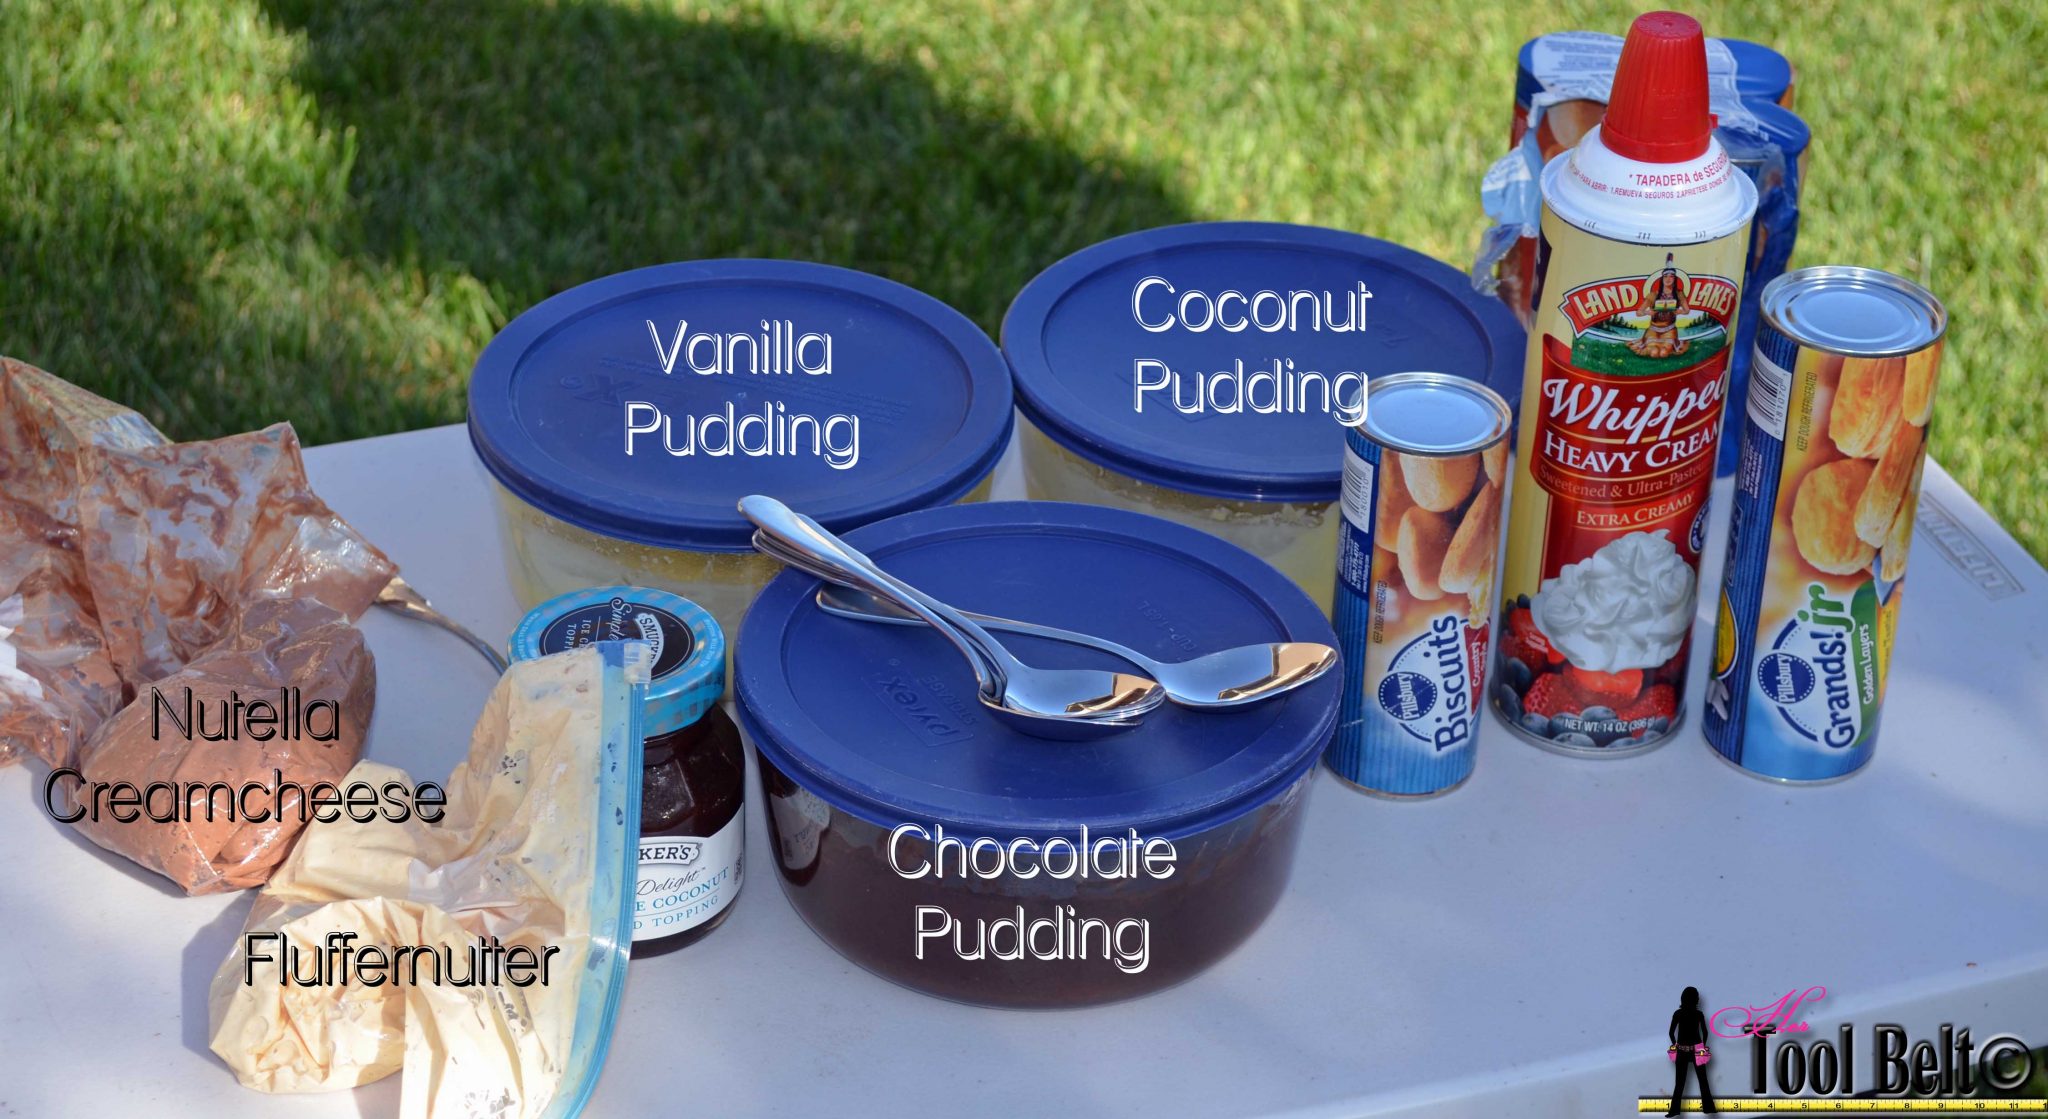
The crust of the Woof ’em is made from refrigerator biscuits. The small biscuits make a perfect size, but for a deep dish style use Pillsbury Grands Jr. 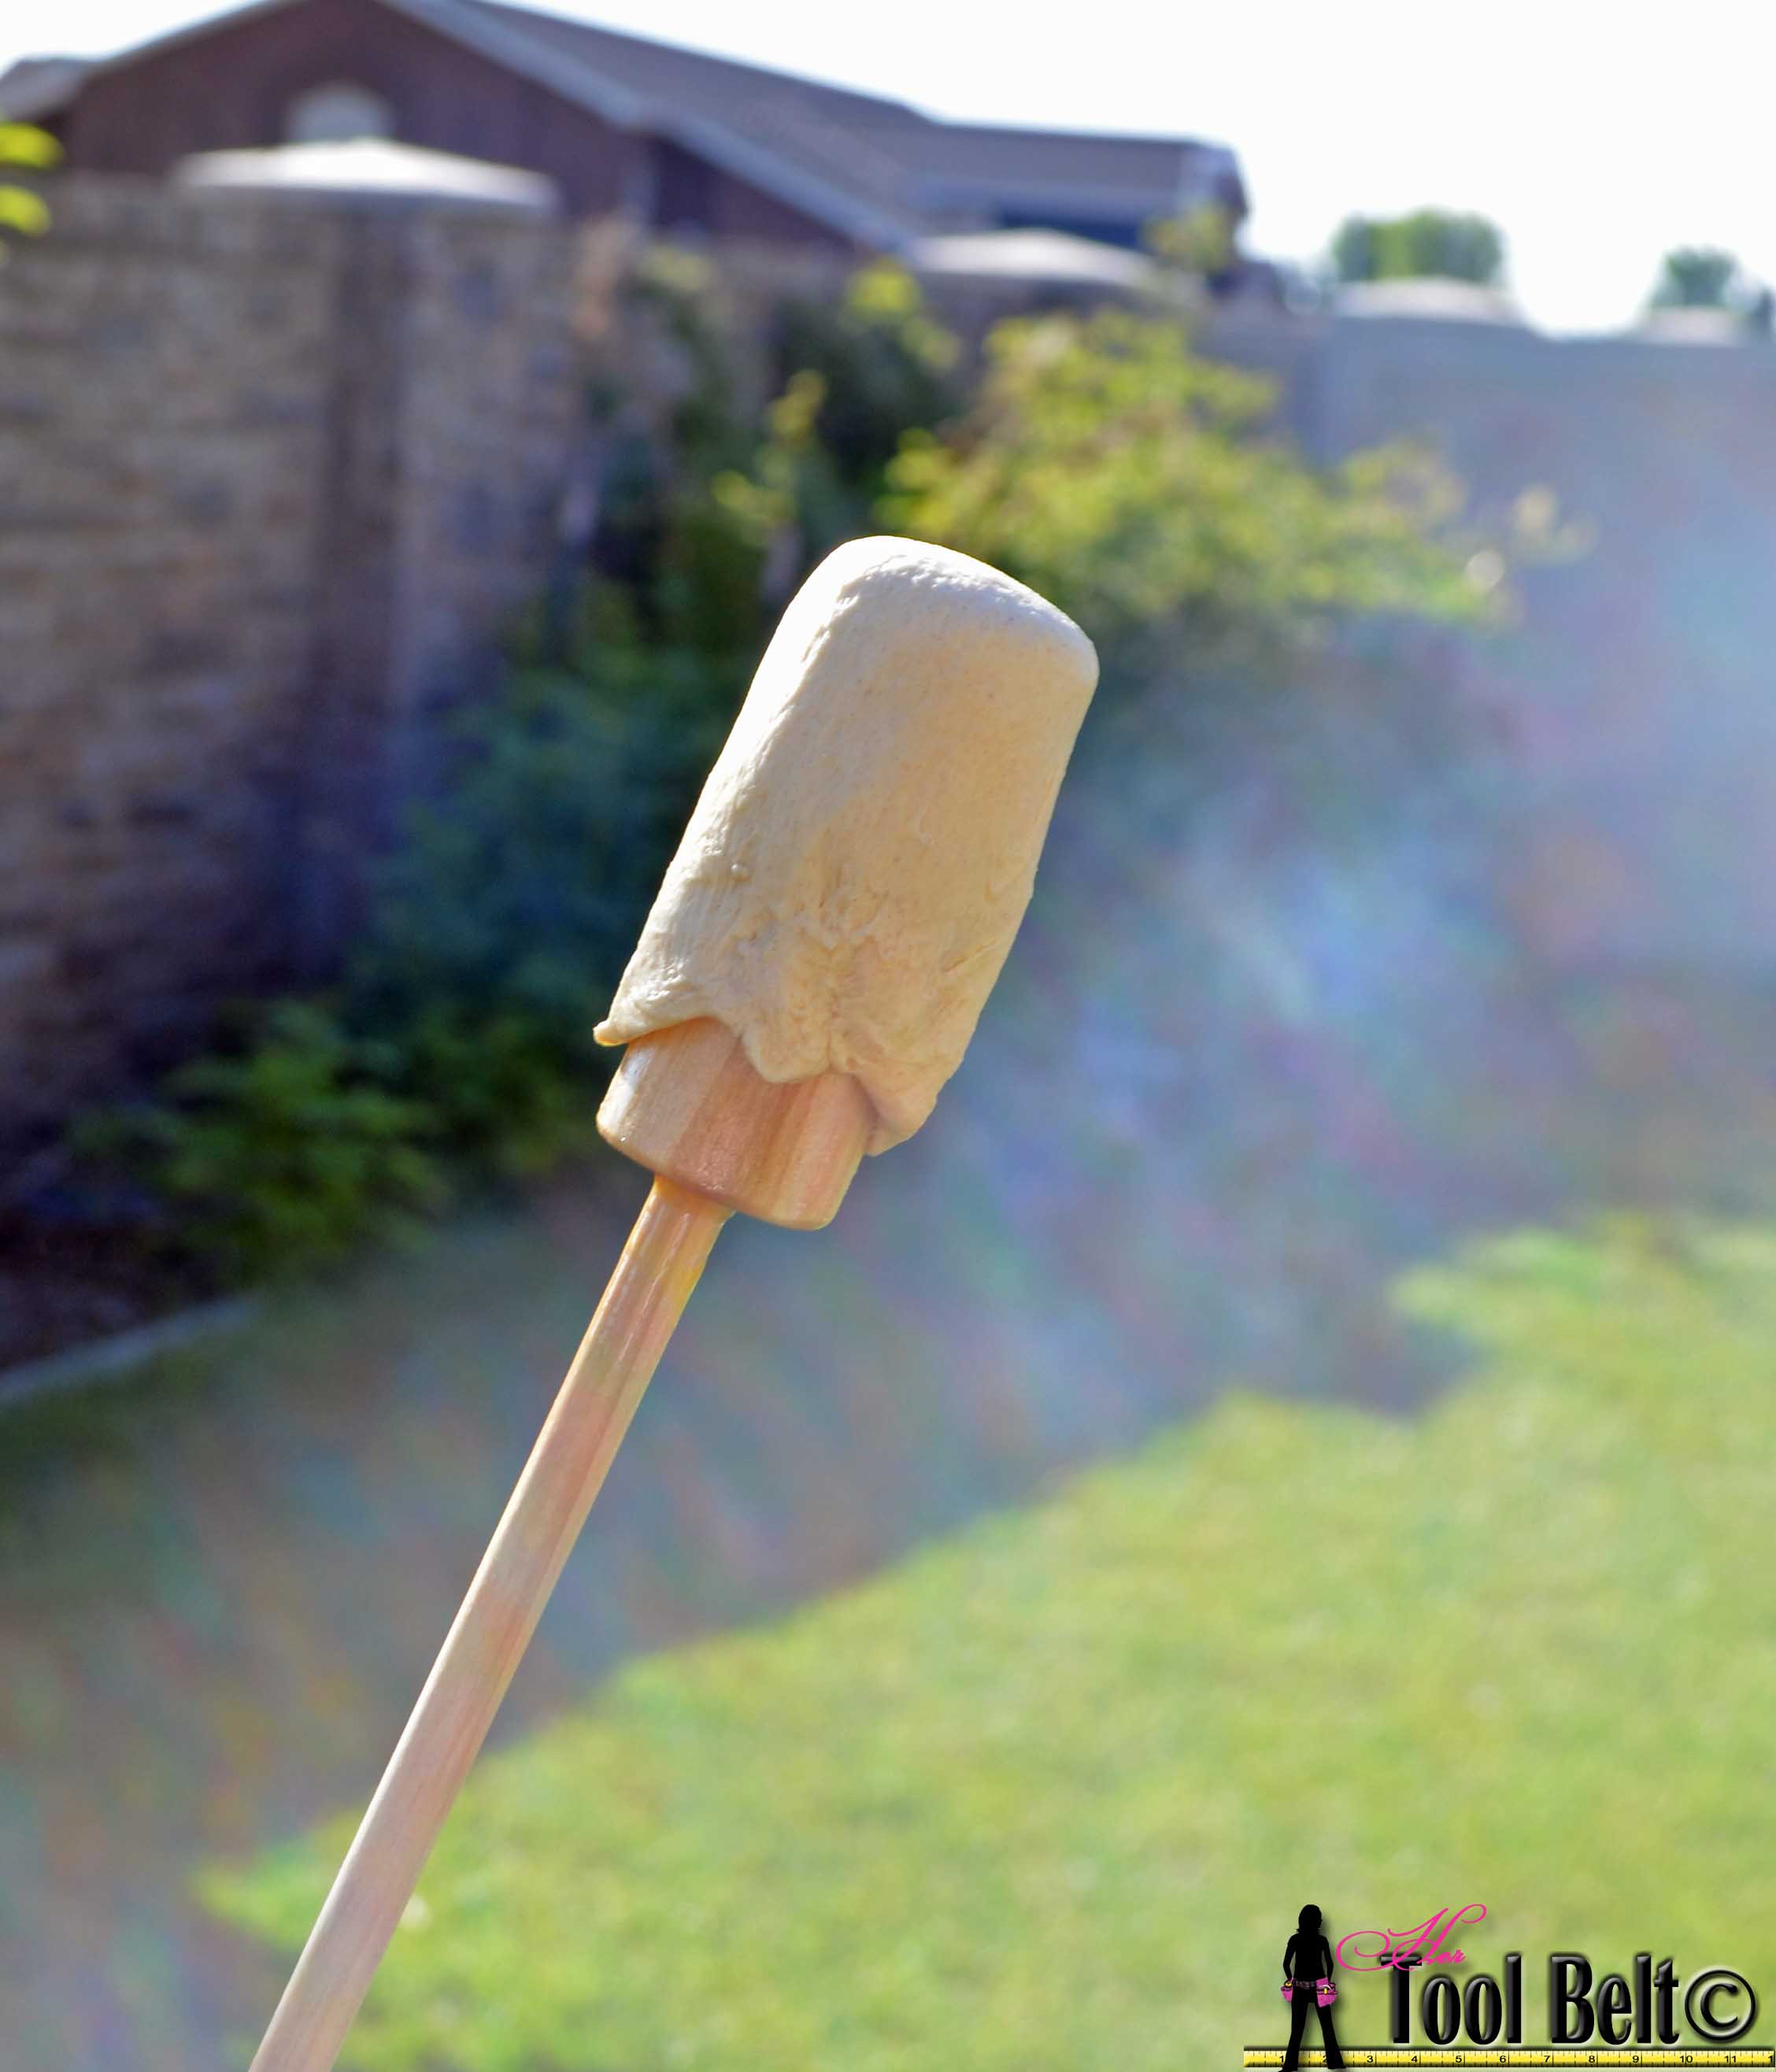
Stretch out a biscuit and wrap it onto the fat end of the Woof ’em stick.
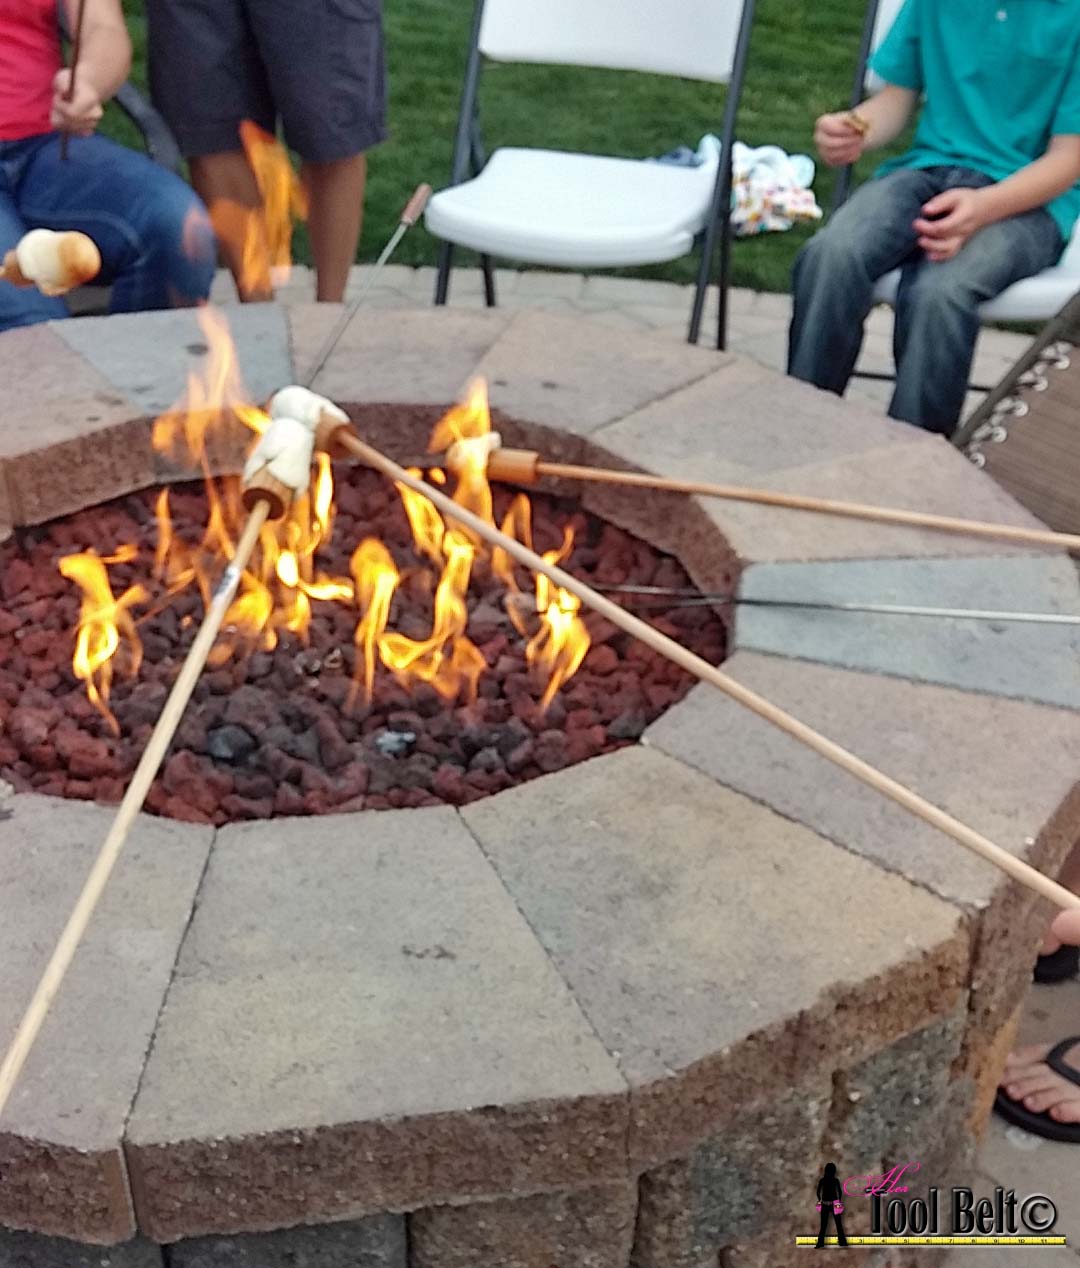 Roast the biscuit over a fire or charcoals until the outside of the biscuit is golden brown and looks done.
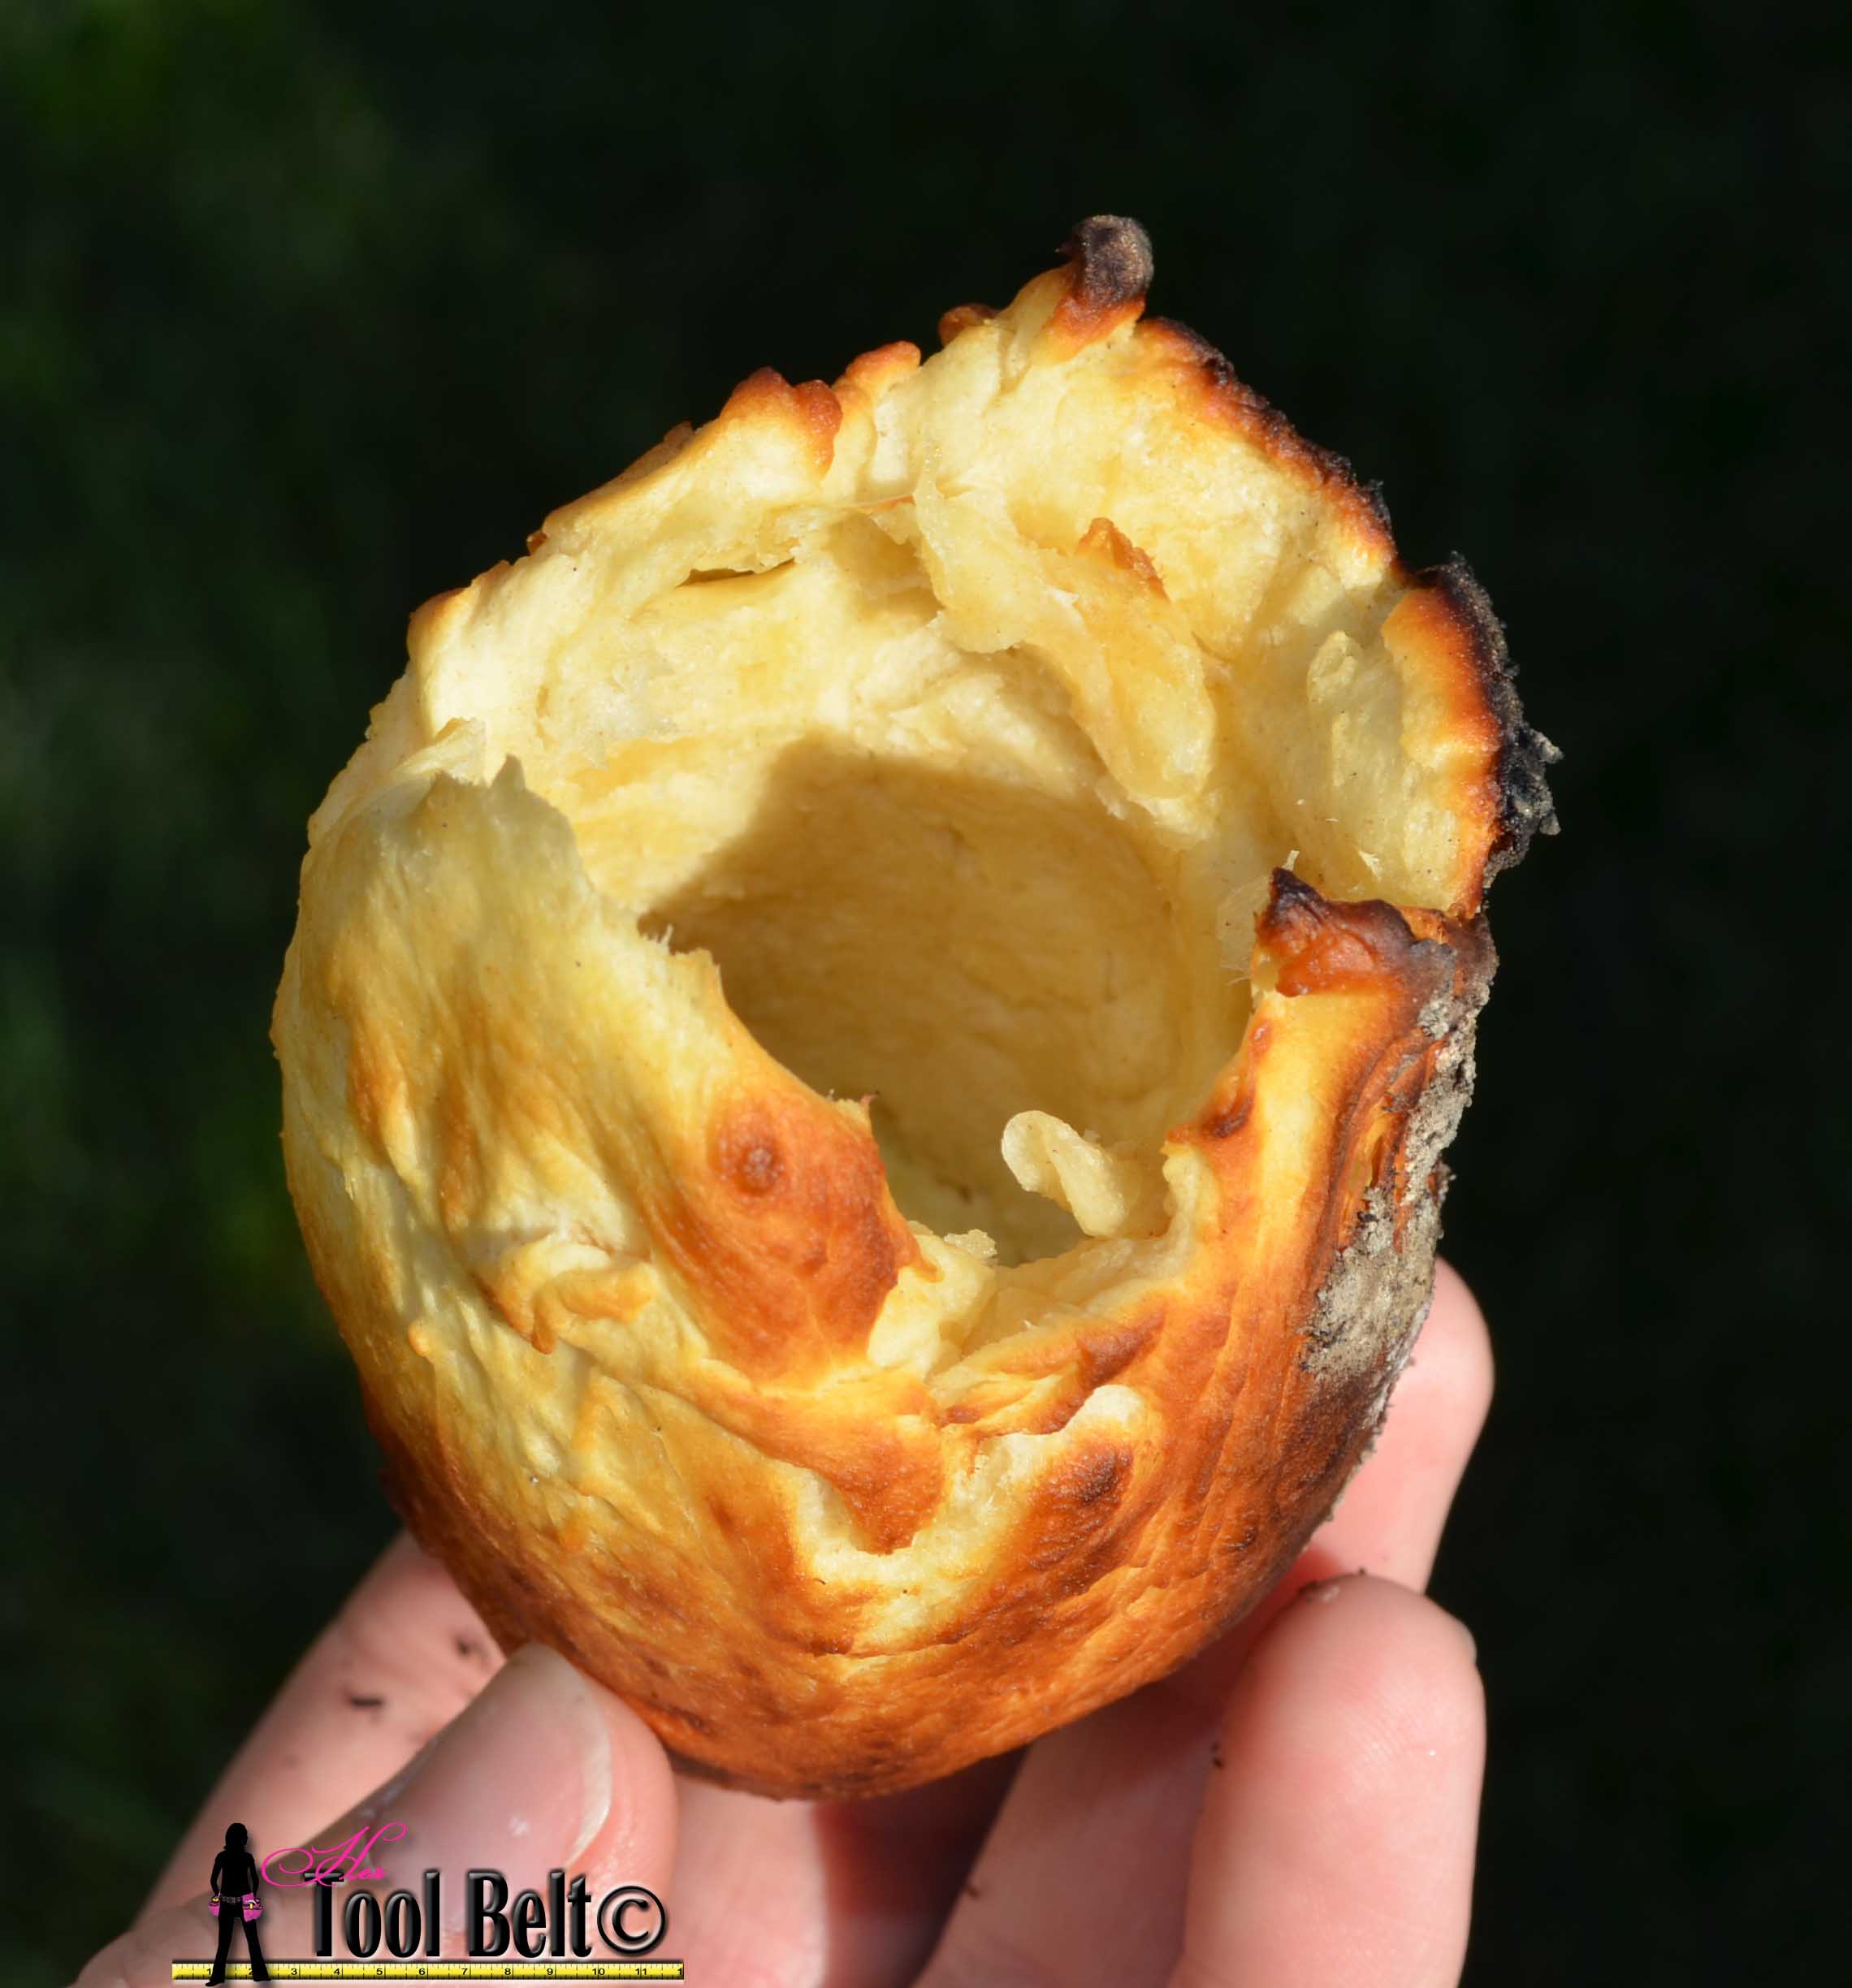
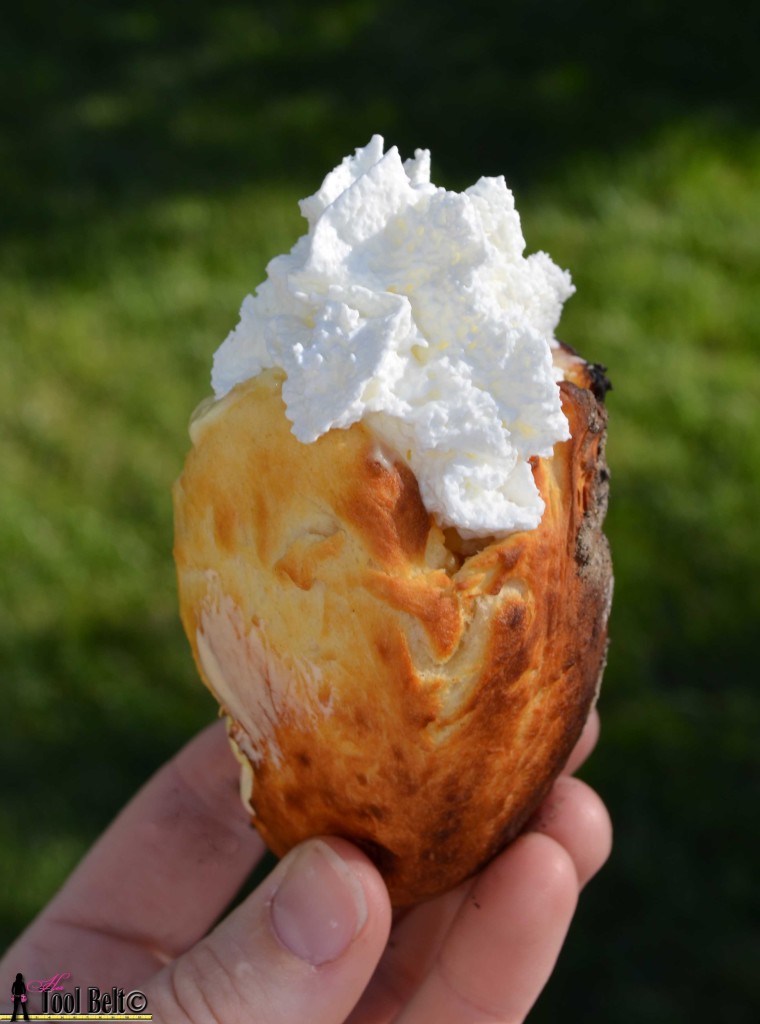
Slip the biscuit off of the stick end.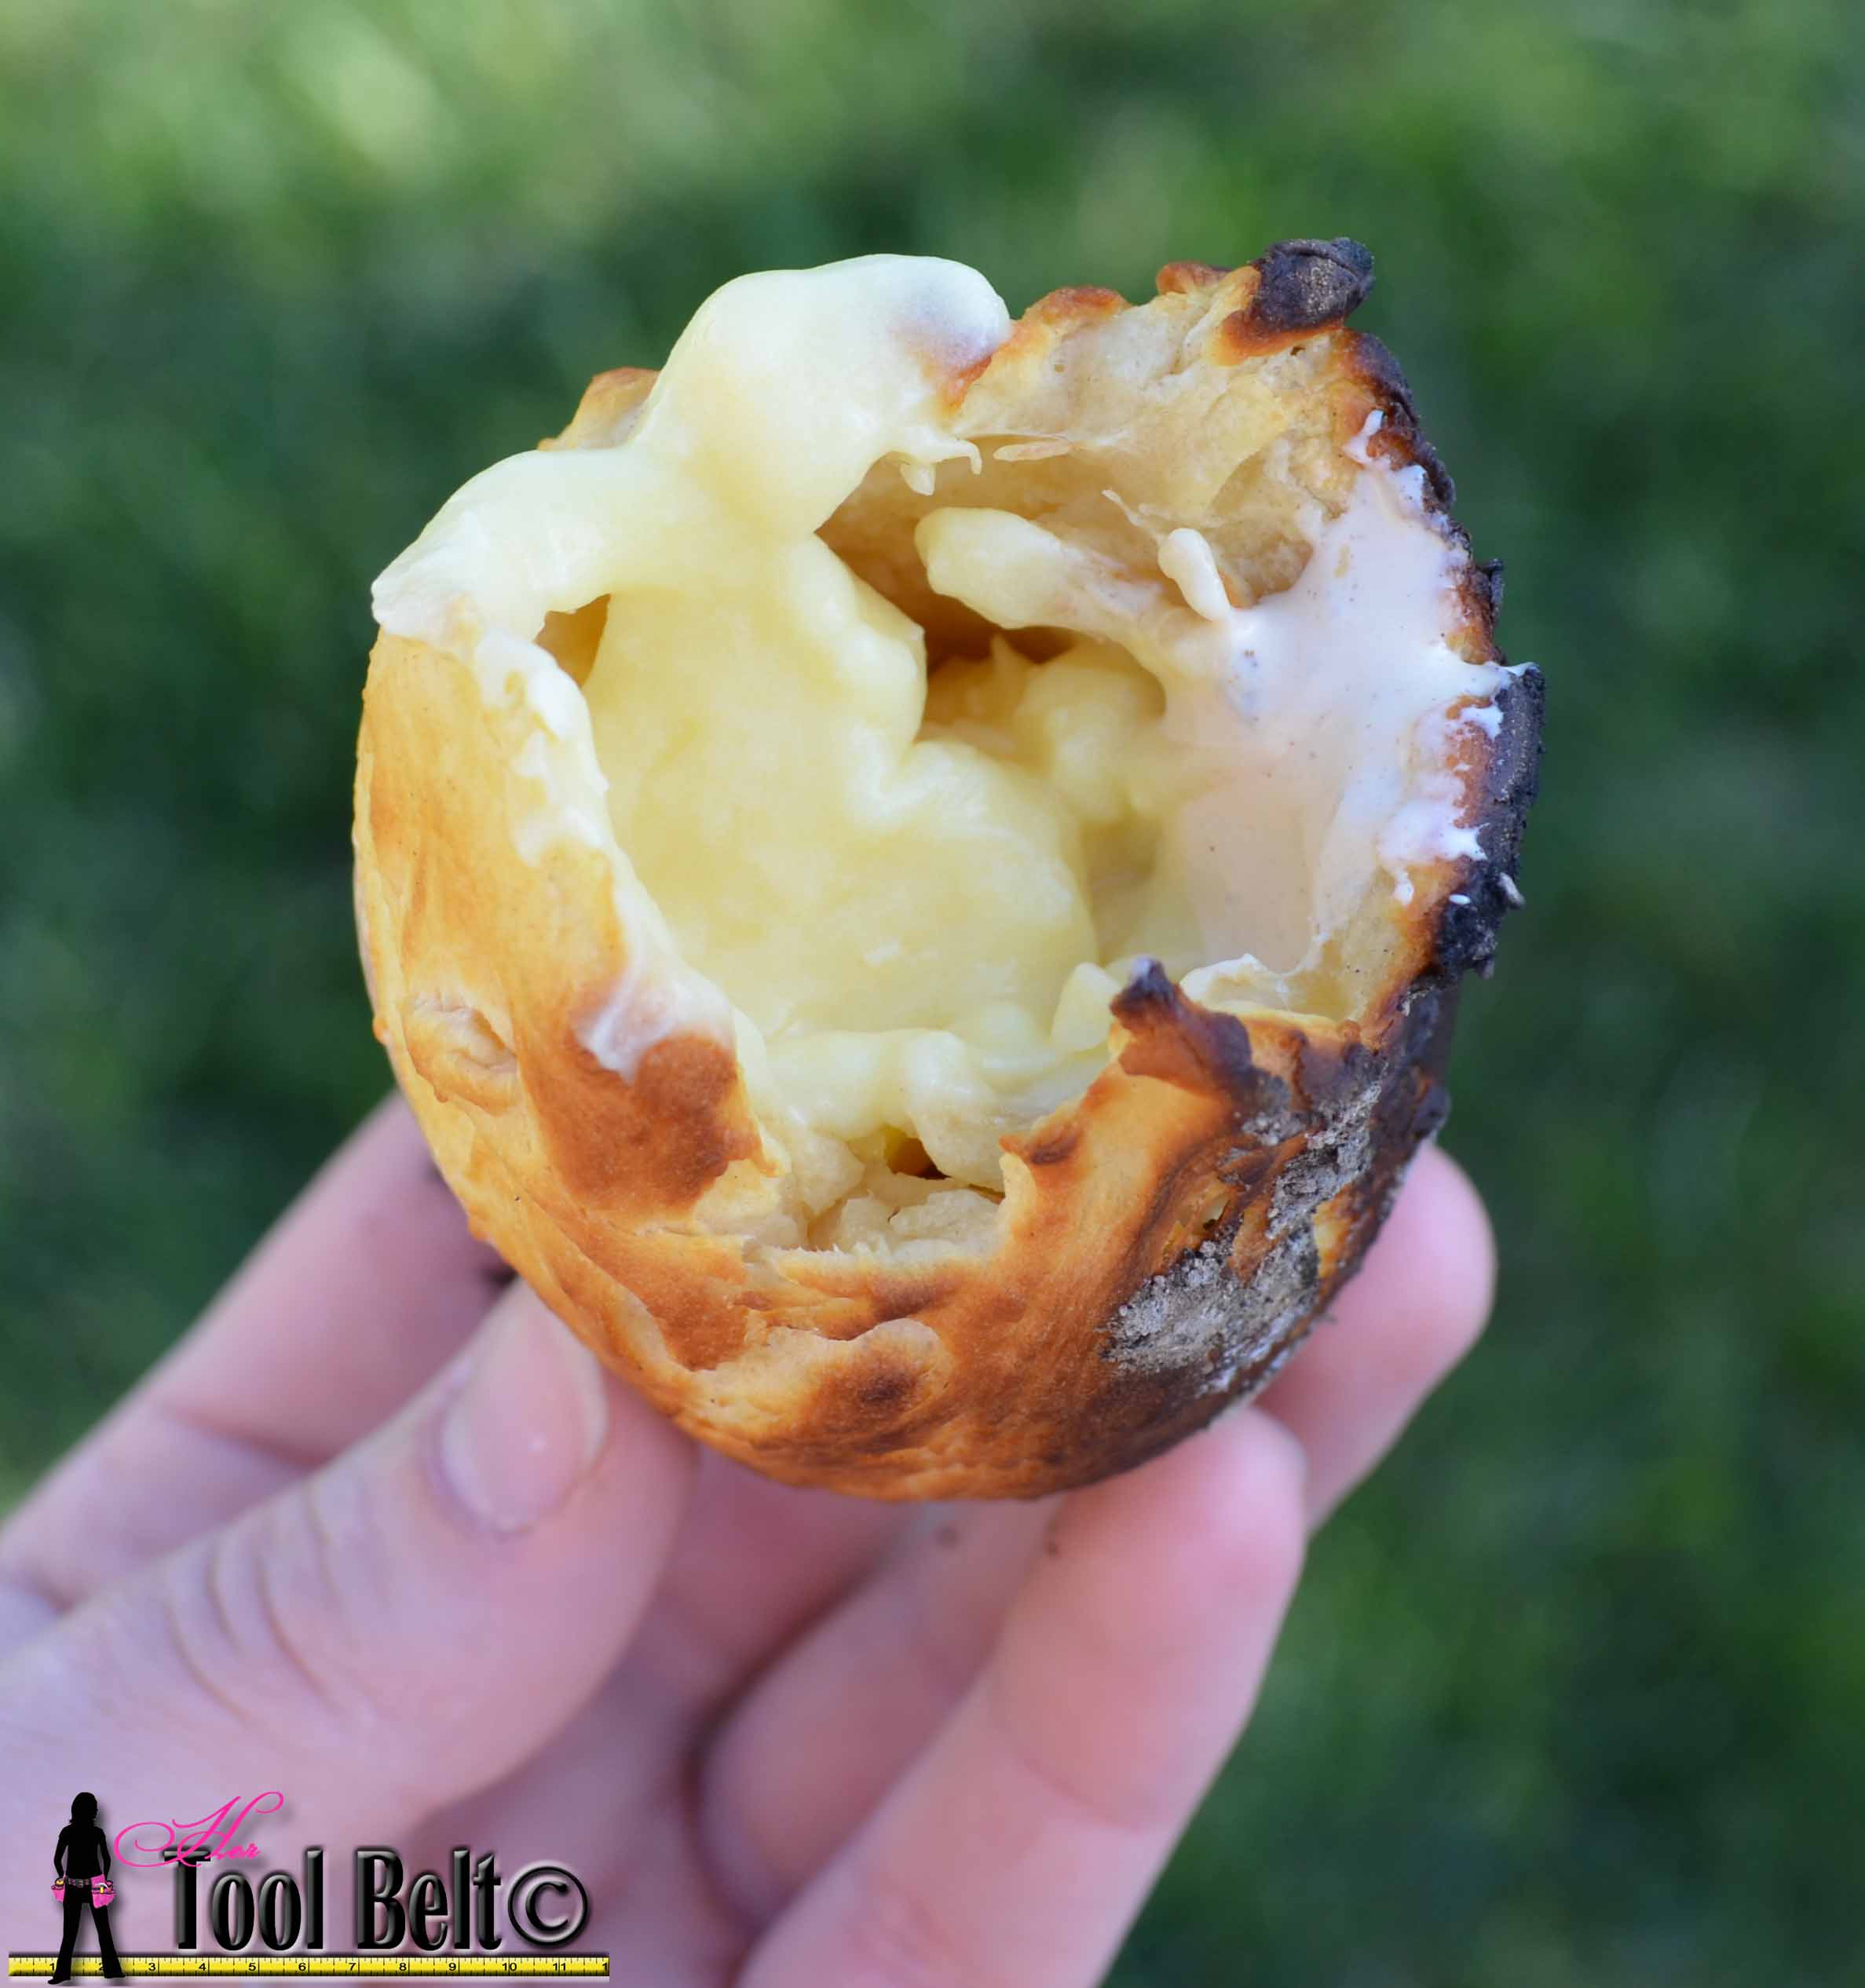 Fill your biscuit with layers of your favorite fillings.
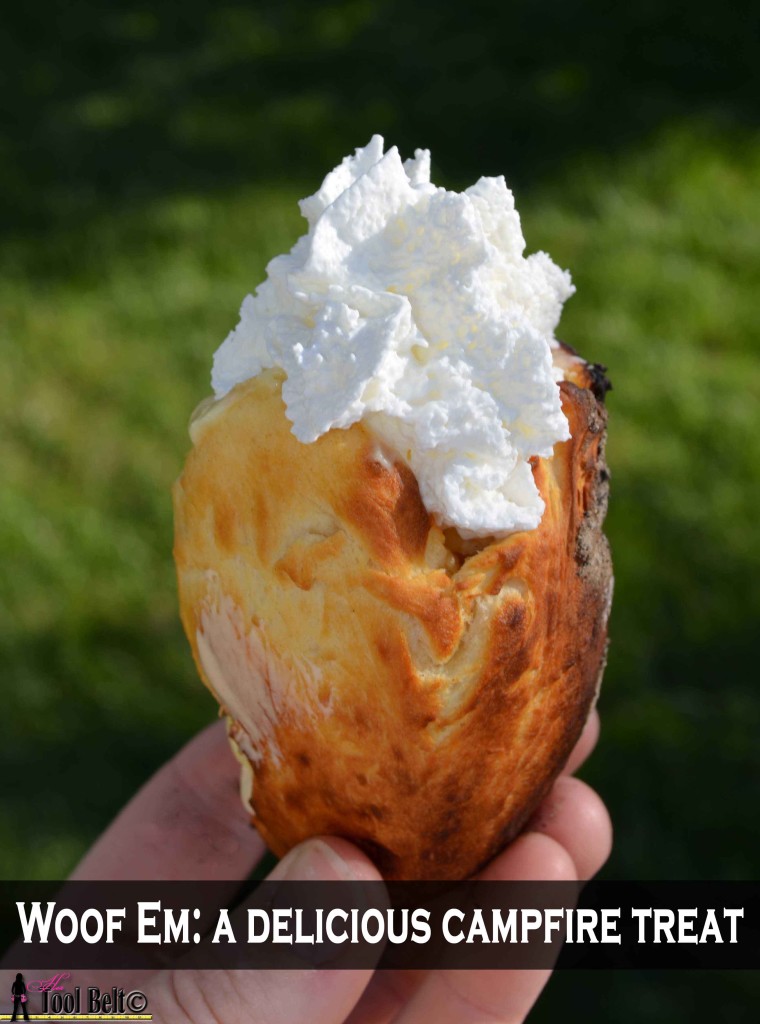
Always top your Woof ’em with whipping cream and woof it down! The hot savory biscuit and cool whipping cream are unexpectedly delicious together. I don’t know who originally invented the Woof ’em, but they’re a genius.
We also think these roasted biscuits will make a fun campfire dinner. A few dinner options, fill your roasted biscuit with:
- Taco meat, tomatoes, lettuce and cheese (these taste like mini Navajo Tacos, Mmm)
- Ham and cheese
- Chili, tomatoes and cheese
- Sausage and scrambled eggs
Please let us know what your favorite concoctions are. Enjoy your Woof ’em.
Thanks for pinning!
(FYI I originally posted this over at Made to be a Momma )
Thanks for visiting. You’ll definitely have to try them, they’re yummy and a lot of fun.
If they taste half as good as they look, I am ready to make some right now! 🙂 Thanks for sharing with us!
We have made these for years. We call them Pole Pies. You can literally put anything in them! We use wooden closet rods, much easier than cutting and gluing etc. put chocolate bar and a roasted marshmellow inside for a S’more twist. Mmmm!!!
What is a wooden closet rod?
It’s a thick wooden dowel about 1 3/8″ diameter. http://www.lowes.com/pd_411167-261-436976_1z0ry7t__?productId=3852041&pl=1
OMG! What a great idea! Thank you, we are going to try this the next time we go camping. Perhaps an alternative to making the special sticks for them would be to just form the biscuits into a muffin tin and put that over the camp fire. You’d still end up with a little cup shape to fill up with your favorite stuff!
Oh that’s a great idea!
My husband thinks the sticks will burn. Has that been an issue for you?
Nope, our sticks haven’t burned.
If you are camping, I wonder how would you keep the biscuits chilled. When I say camping, I mean boy scouts kind of camping
Ya I’m sure this idea is not for hardcore backpacking type of camping. 🙂
We do this but with foil wrapped around whatever we are using for a stick. A shovel handle usually lol. But a closet rod or broom handle does great to. Just build up your foil on the end if you want your biscuit pocket to be bigger. But make sure to put a nice smooth layer of foil over it so it’s easy to remove. We like to put jam and thick cream or custard in ours.
Oh that’s a great idea, thanks for the tips!
Yes we’ve always put foil on first, too.
Ps: I love your fire pit, did you make it?
Have been making them for over sixty years ,don’t need a special cooking stick we always used a larger diameter branch /stick and peeled the bark off the last 8 inches .then just roast them on it.
I learned to make something like this from a dear friend Pat Lewis about 25 years ago when we were invited to there trailer up at Silver Lake. She would wrap a biscuit around a dowel and put over the fire. When they were brown she would fill them with pudding or pie filling. They were the BEST !!! My kids still ask for them and they are 28-32. I can’t wait to make them when we go camping this summer ???
These are the darndest treats! I had a little difficulty figuring out how long to cook them, but they turned out so delicious. So clever! I love all the suggestions as to what to put inside and how large a dowel to use. Who thinks up these things! Looking forward to carrying some ingredients along in my ice chest and using them for the first night of camping. What a start to a weekend! Thanks much!
They are good aren’t they. Who would have thought??? 🙂 Happy Camping
We made these and they turned out great! A total hit! Thank you so much for posting the instructions. My family was skeptical but we used Grands biscuits cut in half, roasted and filled with apple pie filling and topped with whipped cream. They were delicious!!
Oh I bet that was yummy!
I tried these and they are so good. I used cresent rolls instead of biscuits and they puffed up more. I need to try with other stuff. Thanks
What an amazing idea!! Seriously these looks so so good and would go over so well while camping. Thanks for sharing 🙂
Sausage gravy & maybe scrambled eggs would be good for a breakfast.
Oh my gosh ! We are camping with our family ( kids and grandkids) for July 4th week. I can’t wait to try these !
THANK YOU !
We made these 40 years ago using wooden broom handles! We filled ours with jam. Yummy!!
Shouldn’t that be “Wolf’ ems”? Since the phrase is “wolf them down?
“Woof ’ems” sounds like a doggie treat.
Other than that, they sound yummy, lol!!
We love these and have made them for years. We call them eclairs, because we use vanilla pudding inside and then coat the outside with chocolate frosting. We use a handle from a poker, stake, branch, or anything we can find then put foil over it. No mess
Great idea, thanks for sharing!
Just saw this…I’m even more excited to get a Fire Pit for my backyard. My grandchildren will love “cooking on a stick”. I didn’t grow up camping and have never camped as an adult. (My part of Texas is hot and humid and has too many mosquitoes.) This treat looks delicious. I will be looking for more Fire Pit Cooking Recipes. Thank you for sharing.
I was stoked to make these with my family last weekend while camping. After finding the appropriate sized stick, we covered the end with aluminum foil and sprayed it with cooking spray before wrapping the crescent dough on. However when we began to roast them they began to sag off the stick. One burnt completely and wasn’t done in the center. I tried placing foil over the other other dough to help hold it on but they just wouldn’t cook. Any suggestions? After reading so many great reviews on Multiple blogs I want to try again and hopefully be successful.
Oh darn, that is frustrating. I don’t use tinfoil.
This is what we do:
-We only use the small biscuits, not the grands.
-Try and stretch the biscuit evenly up the stick about 2″ or more.
-I roast it at a high angle upwards, so the end closest to me gets done first, then it’s easy to get the ‘bottom’ golden when the rest is done.
-Slow roasting and very slow turning is best.
-If my kids rotate their sticks too fast, then they will sag off the stick.
Hope that helps!
Thanks Amy! We’ll we attempting these again using all your suggestions.