• Home
  • Project Gallery
  • About me
    • Disclosure
    • Disclaimer
  • Blog

Her Tool Belt

DIY furniture plans, crafts, and home improvement tutorials to empower you!

  • Free Woodworking Plans
    • Bathroom Furniture
    • Bedroom Furniture
    • Entry
    • Family Room Furniture
    • Garage
    • Kitchen furniture
    • Laundry Room
    • Mudroom Furniture
    • Organization
    • Outdoor Furniture
  • Home Decor
    • Upcycle
  • Crafts
    • Holiday
  • Home Improvement
    • Cleaning
    • Fix IT
    • Paint
    • Tile
  • Tool Reviews
  • Tool Time Videos

Count Your Many Blessings Thankful Tree

November 4, 2014 by Amy 6 Comments

I thought it would be fun this year to do a Thankful Tree.   Hopefully helping my young kids and us parents continually think of our blessings all month.  Every day in November, each family member will write something that they are thankful for and hang it on the tree!  Theme:  Count Your Many Blessings.  Last year, I made a West Elm Knock-off Wooden Wall Tree.  This year, I put a twist on it, made it out of rulers and yardsticks to stick with the count-ing theme.
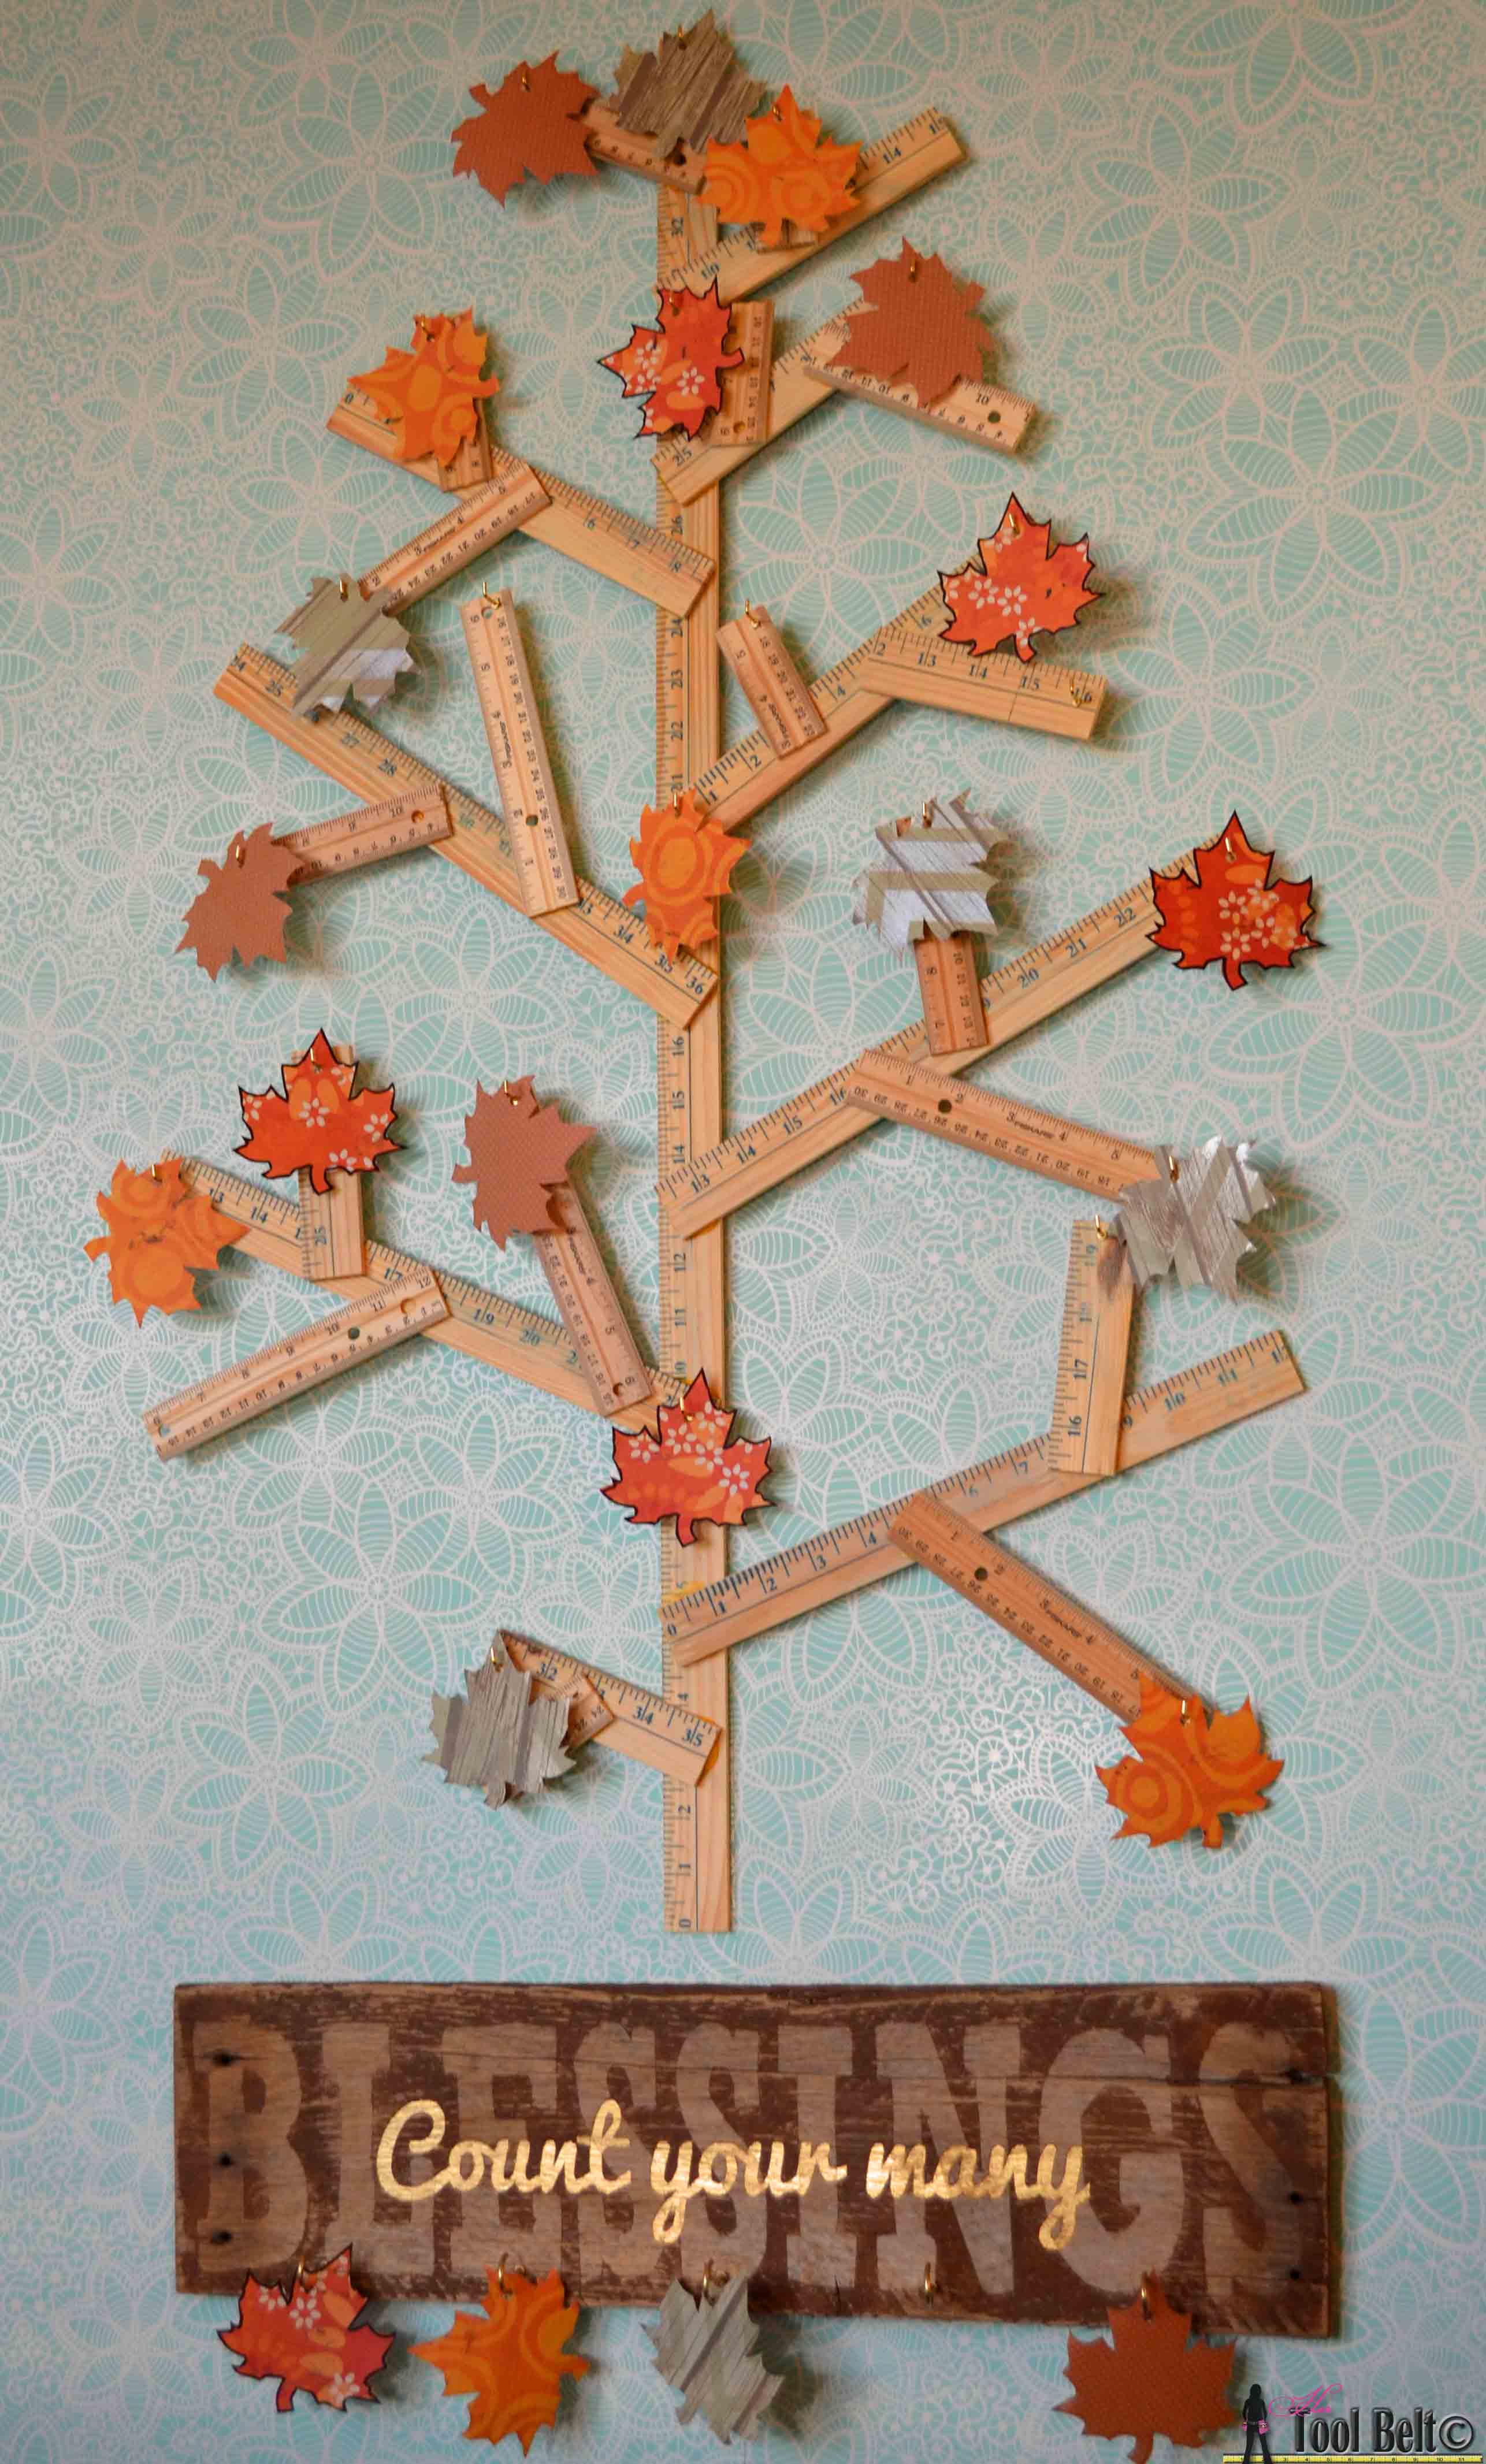
Create an easy Thankful Tree to celebrate the Thanksgiving Holiday. Adorn it with a rustic Count your many Blessing Sign. #GiveThanks


Thankful Tree

I bought the yardsticks and wood rulers at Walmart, they were cheap.  I believe the YS were .68 cents and the rulers were .46 cents.  Look for rulers without the metal edge, these had a small plastic edge so I could cut them with my saw.  The yardsticks did have some words on it about paint and walmart, but it will sand off quickly.

Materials

  • 4 yardsticks
  • 8 wood rulers
  • wood glue
  • 20 + hooks (I used ½” shoulder hooks (Grainger $2.48/20 hooks https://www.grainger.com/product/Shoulder-Hook-1WBK5?functionCode=P2IDP2PCP))

Cut List

Branch TypeLengthQuantity
Yard Stick36"1
Yard Stick12 1/8"4
Yard Stick8 3/4"2
Yard Stick6 1/4"2
Yard Stick4 1/2"1
12" Ruler6 3/8"5
12" Ruler4 3/8"8
12" Ruler2 3/4"5

Cut all of the yardstick and ruler pieces, I used a miter saw.  If you happen to run out of rulers, you can sub with the extra yardstick.

Assemble the tree similar to the following diagram.  Glue the branch pieces together with wood glue and allow them to dry, approx an hour.

Create an easy Thankful Tree to celebrate the Thanksgiving Holiday. Adorn it with a rustic Count your many Blessing Sign. #GiveThanks

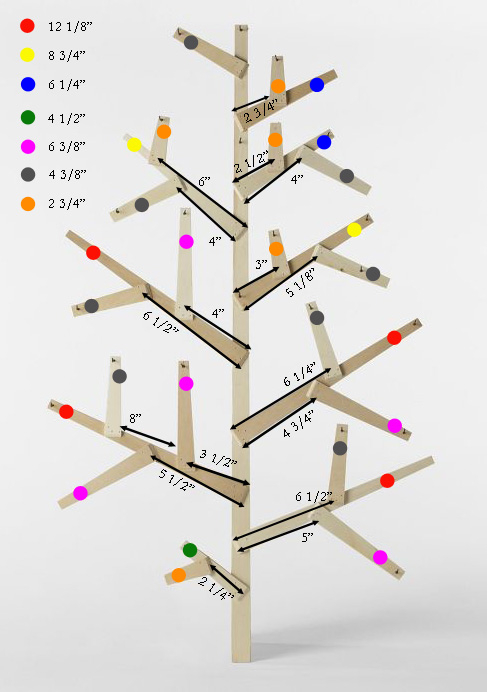
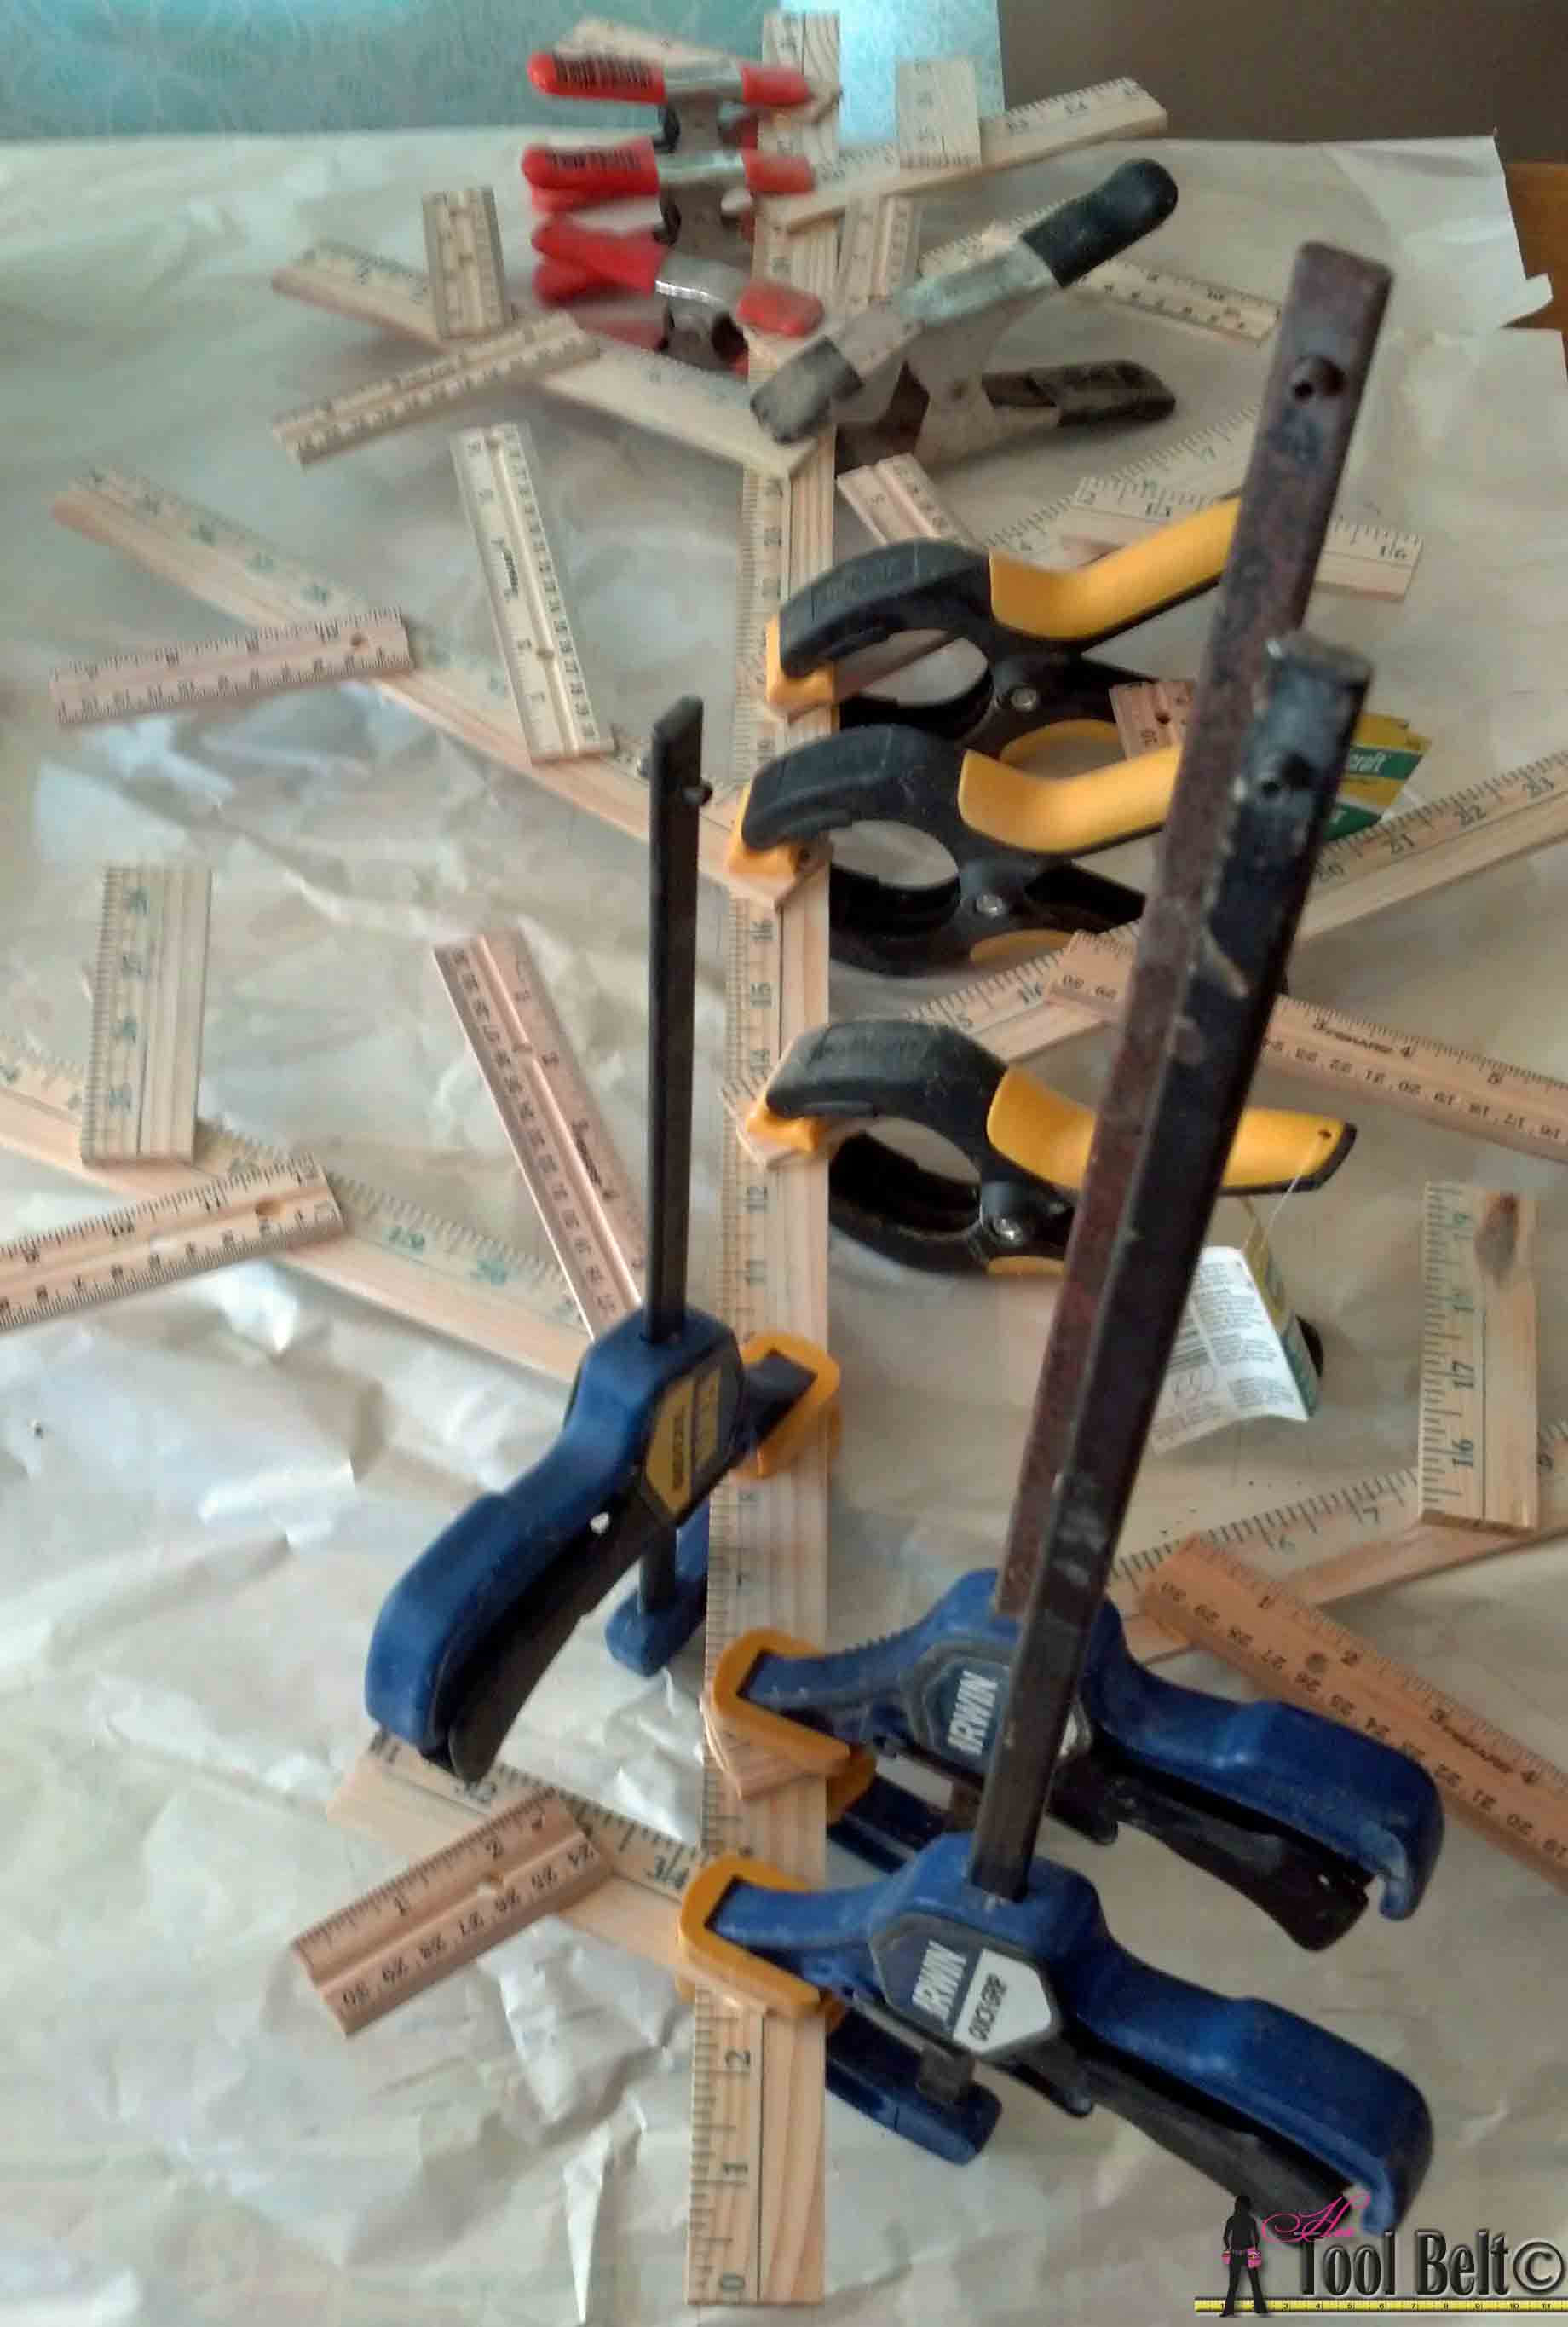
Use wood glue to glue the branches to the tree trunk.

Create an easy Thankful Tree to celebrate the Thanksgiving Holiday. Adorn it with a rustic Count your many Blessing Sign. #GiveThanks

You may need to use clamps to hold it in place while the glue dries.

Create an easy Thankful Tree to celebrate the Thanksgiving Holiday. Adorn it with a rustic Count your many Blessing Sign. #GiveThanks

Drill little pilot holes for the hooks where ever you want them, and screw the hooks into place.  Drill a hole near the top and your cool tree is ready to go.  I imagine this could be a fun decoration in a classroom too.

Create an easy Thankful Tree to celebrate the Thanksgiving Holiday. Adorn it with a rustic Count your many Blessing Sign. #GiveThanks

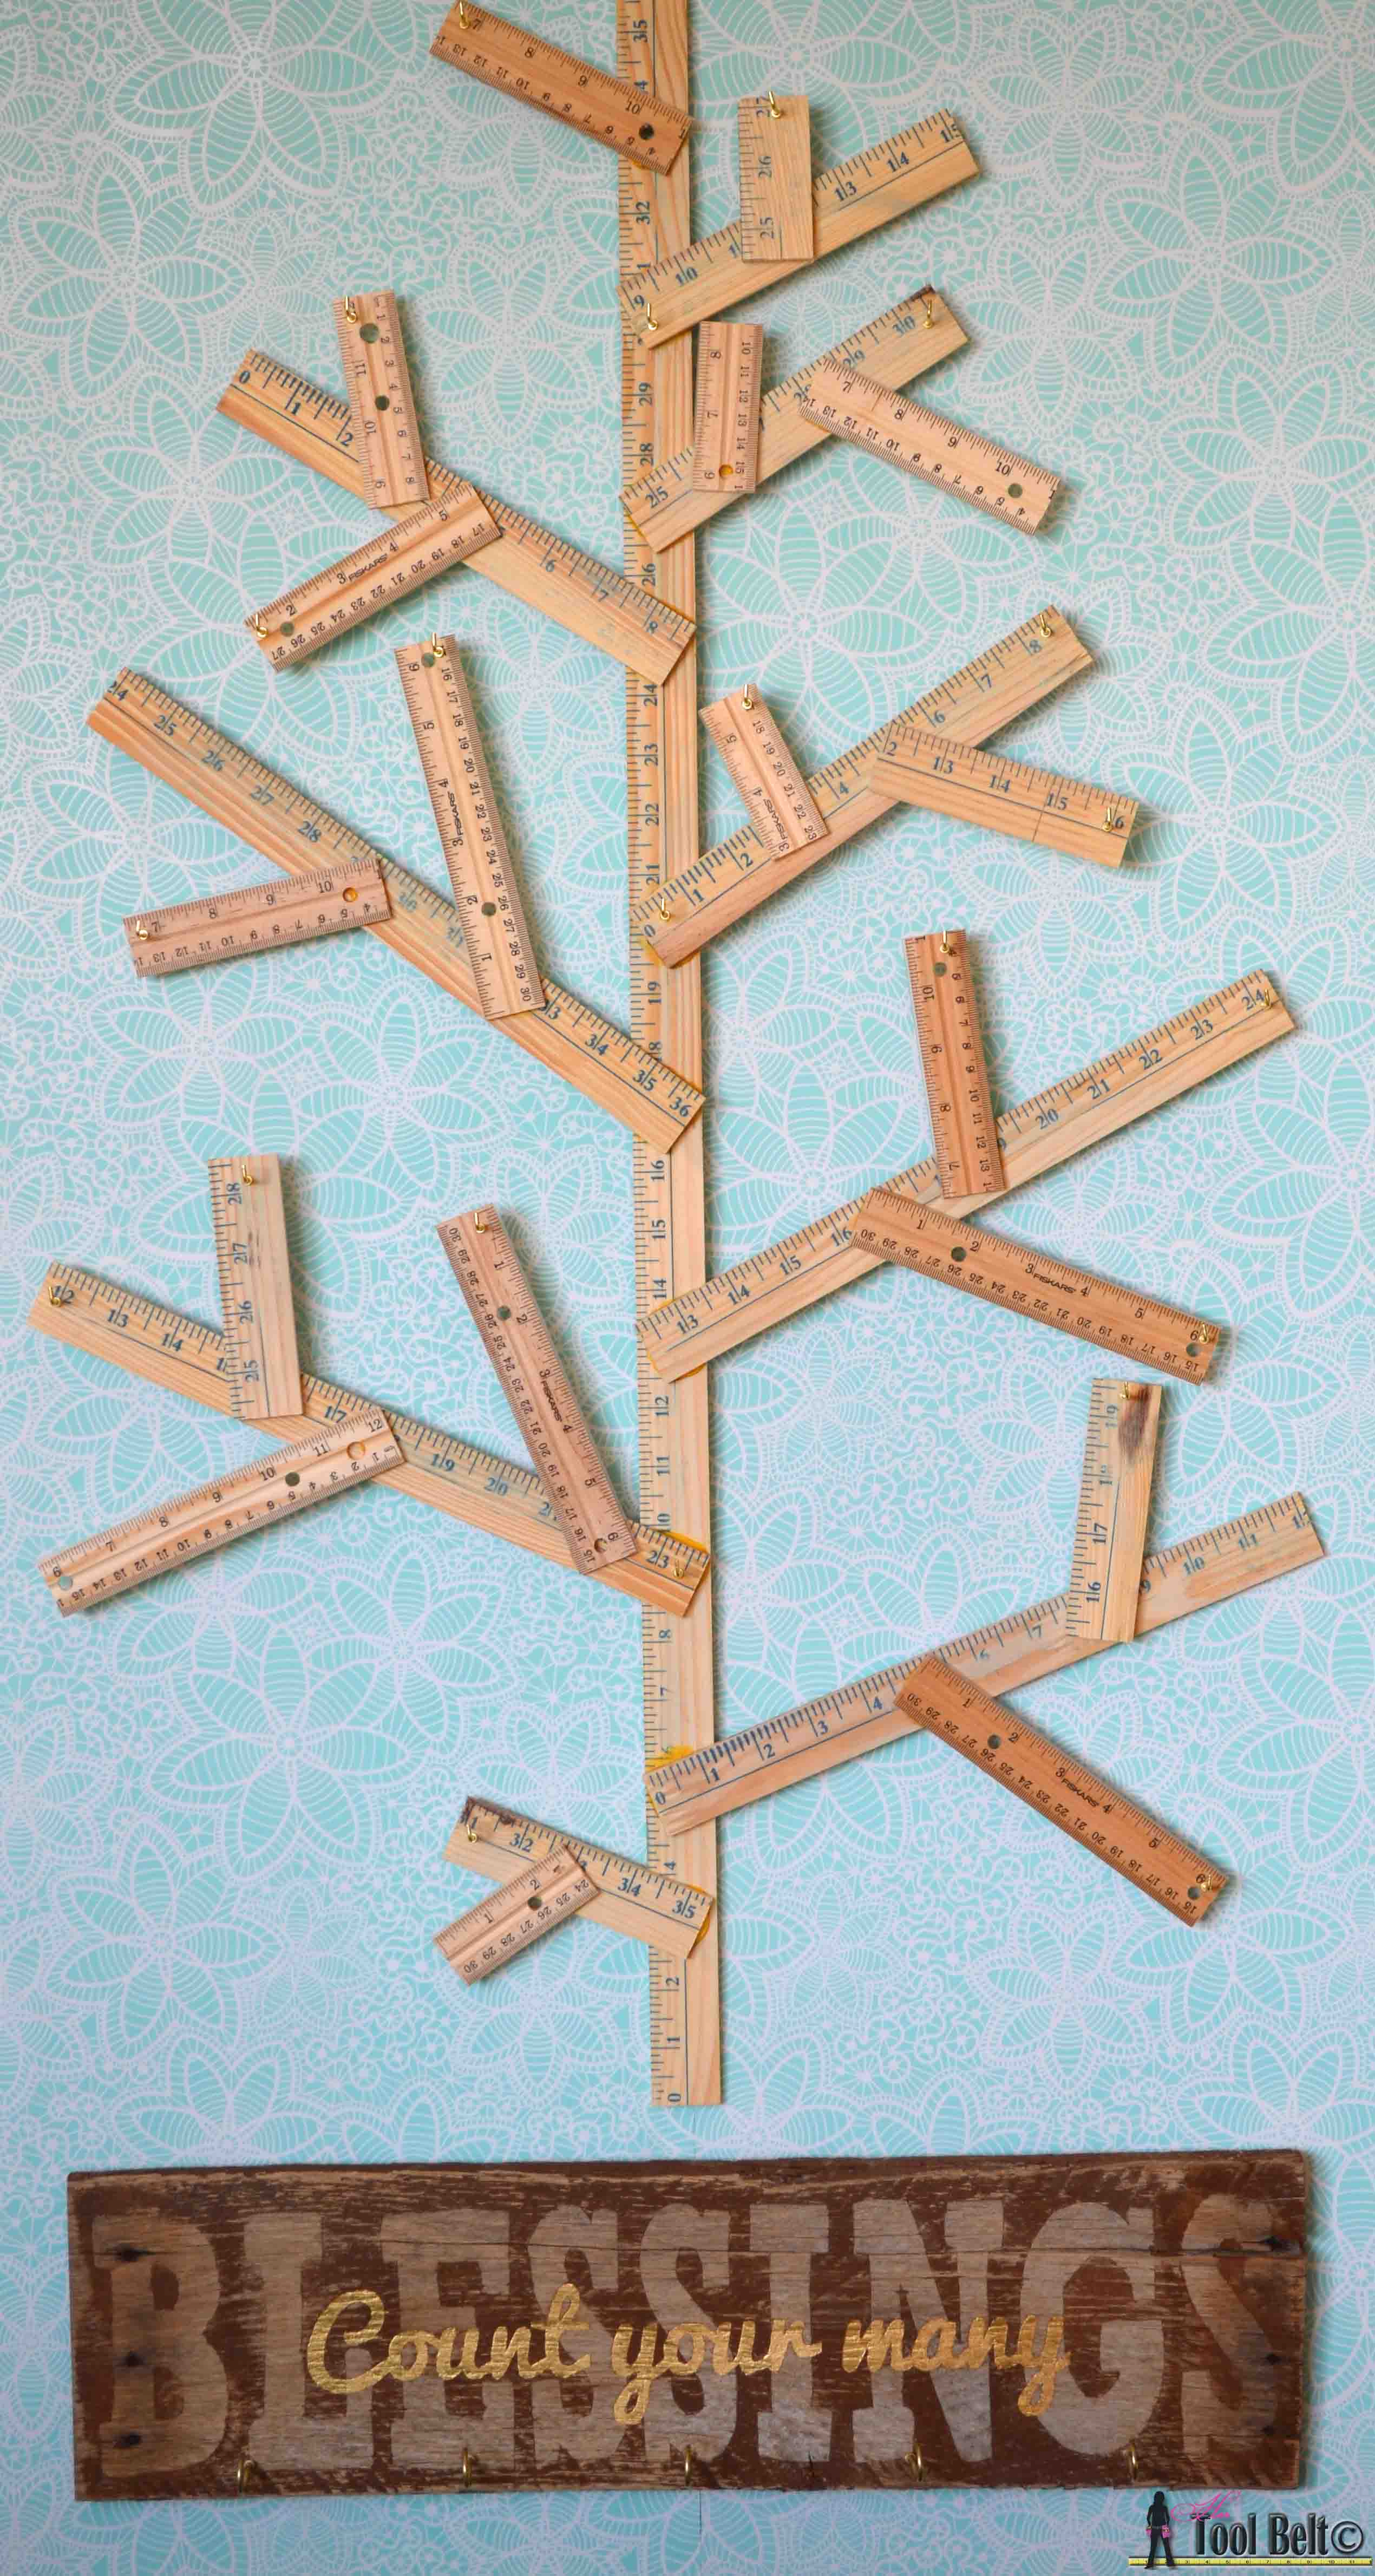
Count Your Many Blessings Sign

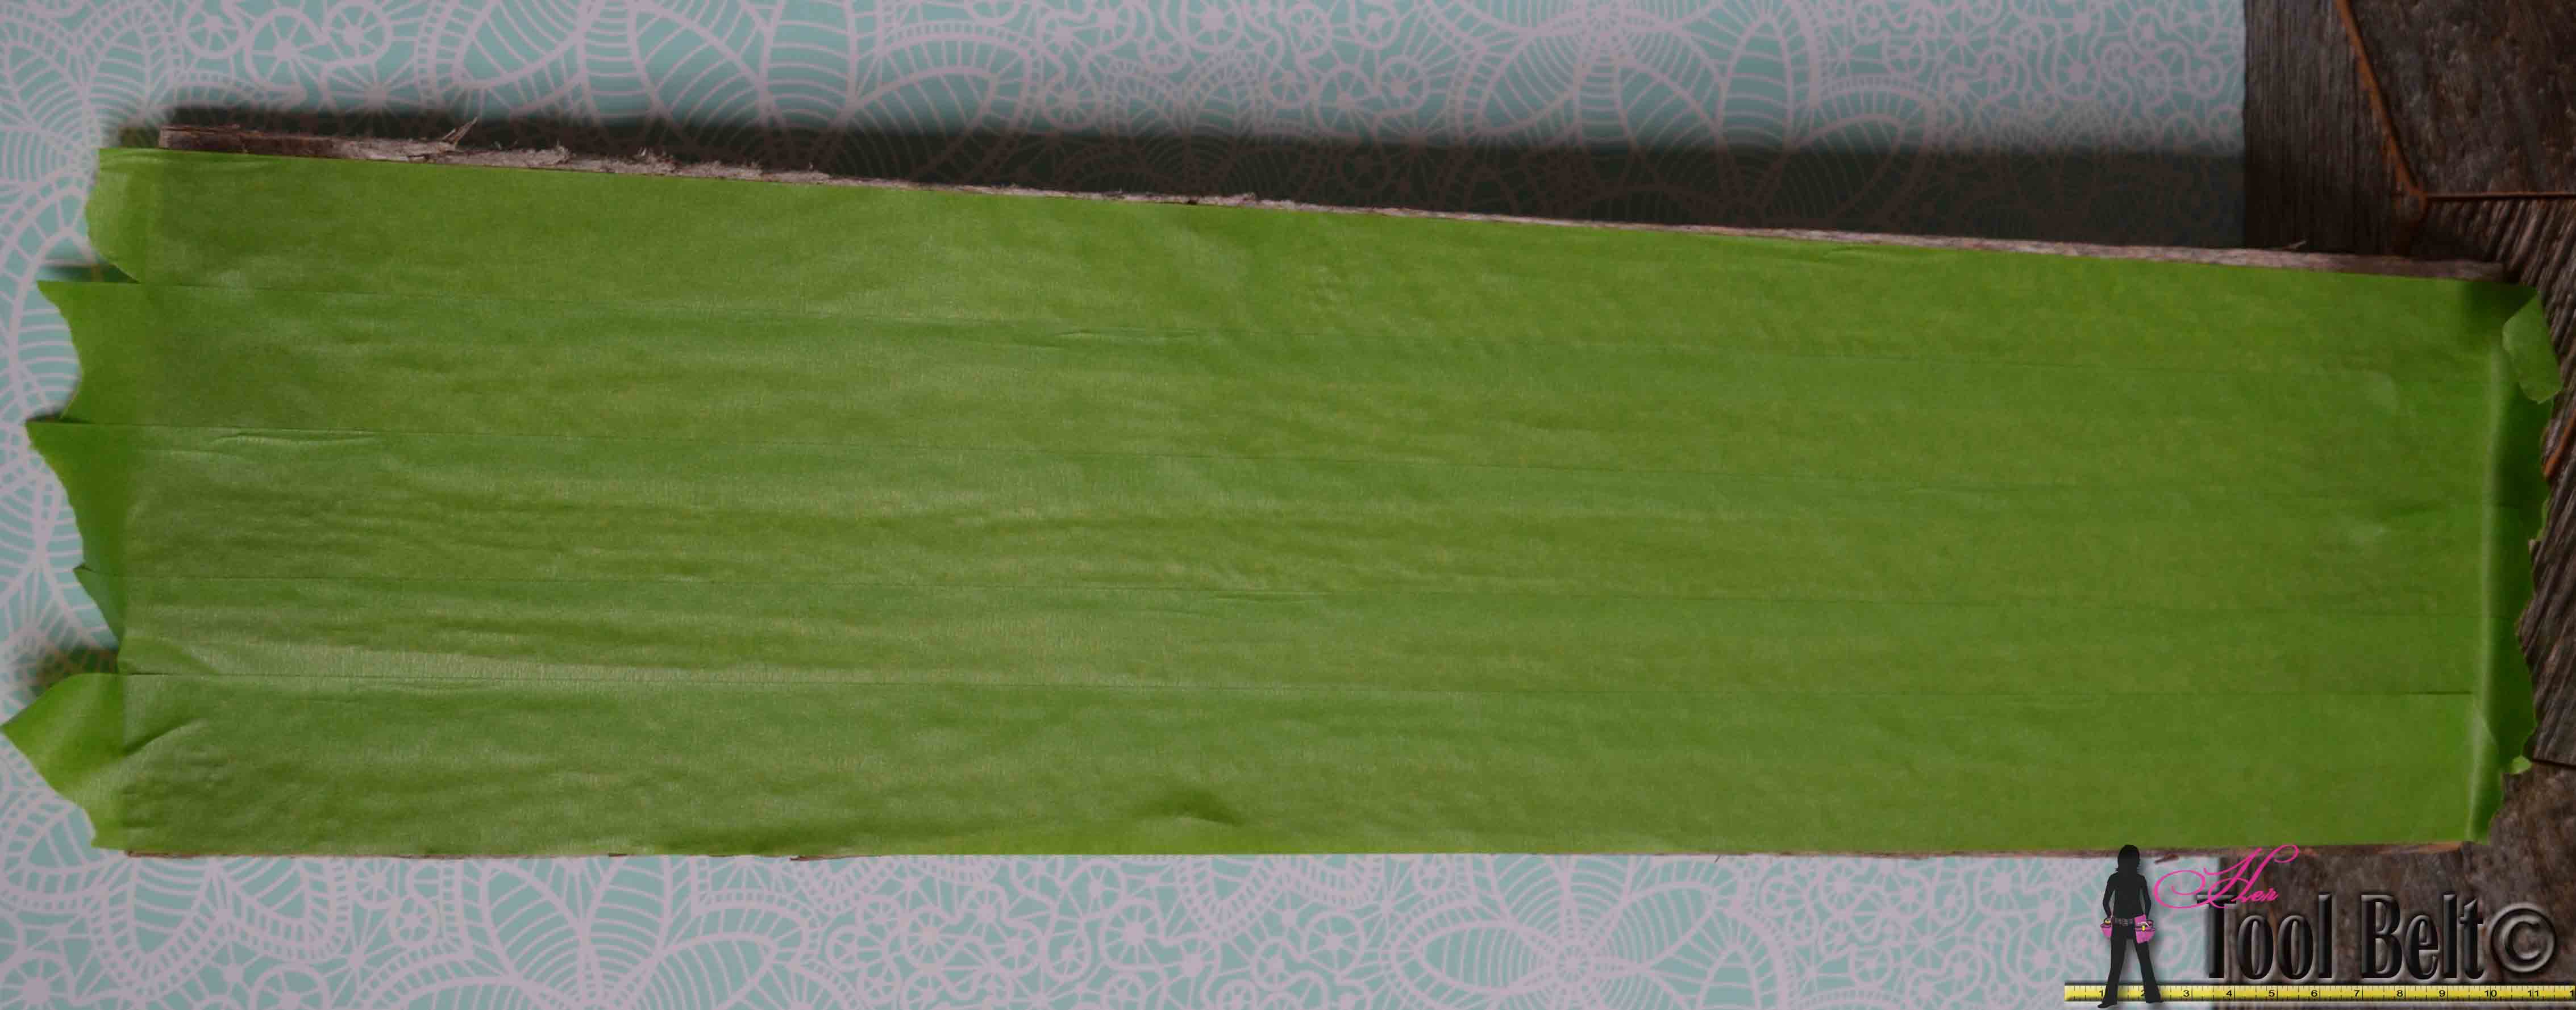
For the sign, I used a pallet slat that is 21″ wide x 5 1/2″ tall.  I washed off the dirt and stuff with a brush and soapy water and let dry. Create an easy Thankful Tree to celebrate the Thanksgiving Holiday. Adorn it with a rustic Count your many Blessing Sign. #GiveThanks

Then I taped the face of the wood with painters tape.

Create an easy Thankful Tree to celebrate the Thanksgiving Holiday. Adorn it with a rustic Count your many Blessing Sign. #GiveThanks

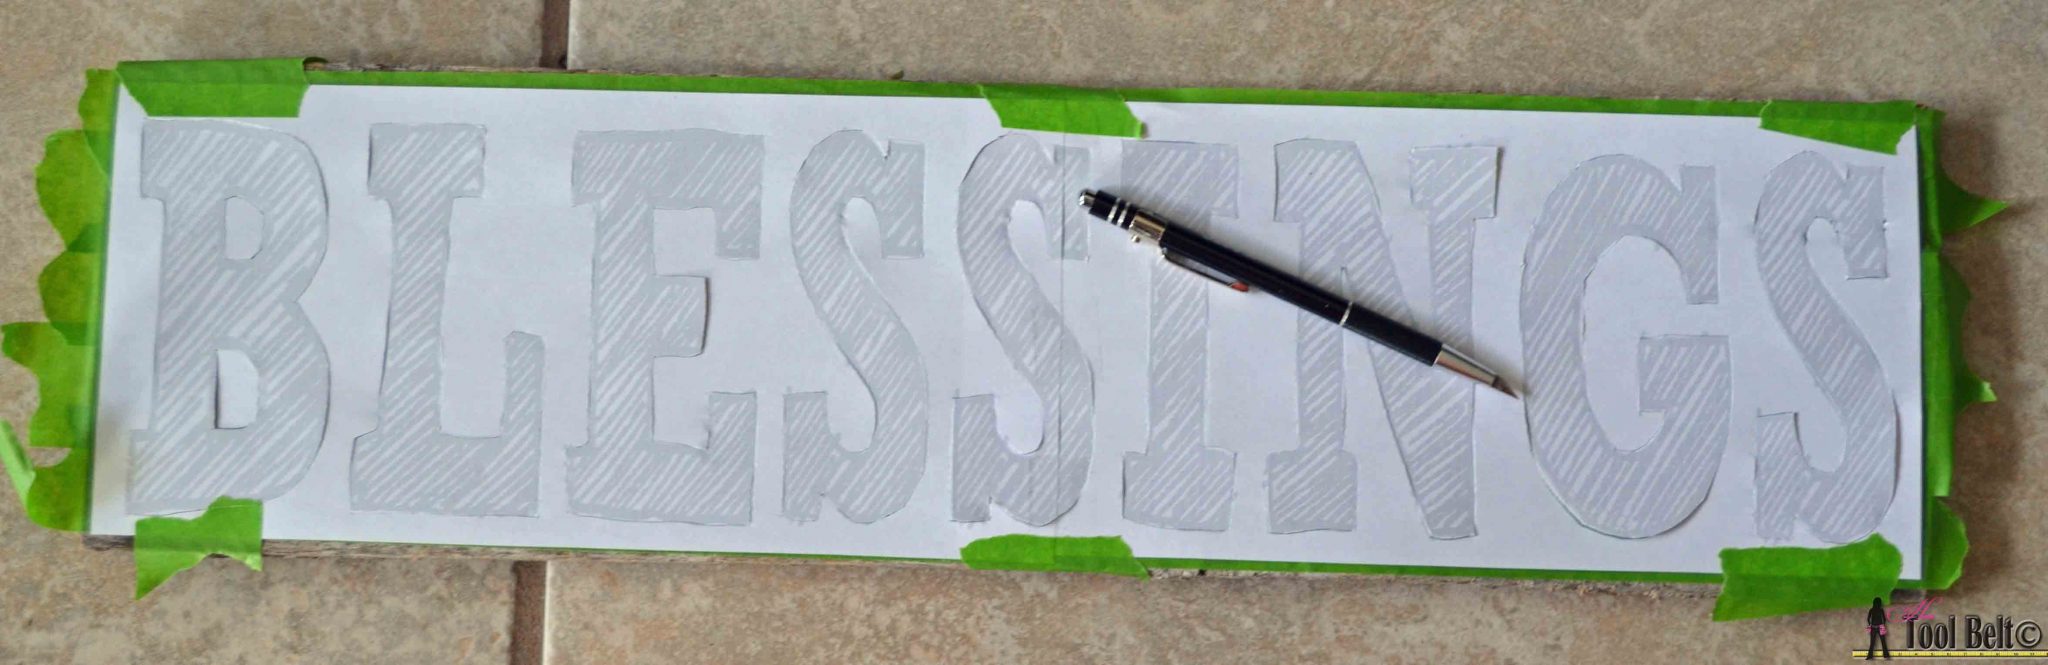
In photoshop elements, I sized Blessings to fit the wood and printed it off.  If you have a similar wood size, you can use mine or make your own.  bless –, -sings . Using a sharp X-acto trace around the outside of Blessings.

Create an easy Thankful Tree to celebrate the Thanksgiving Holiday. Adorn it with a rustic Count your many Blessing Sign. #GiveThanks 
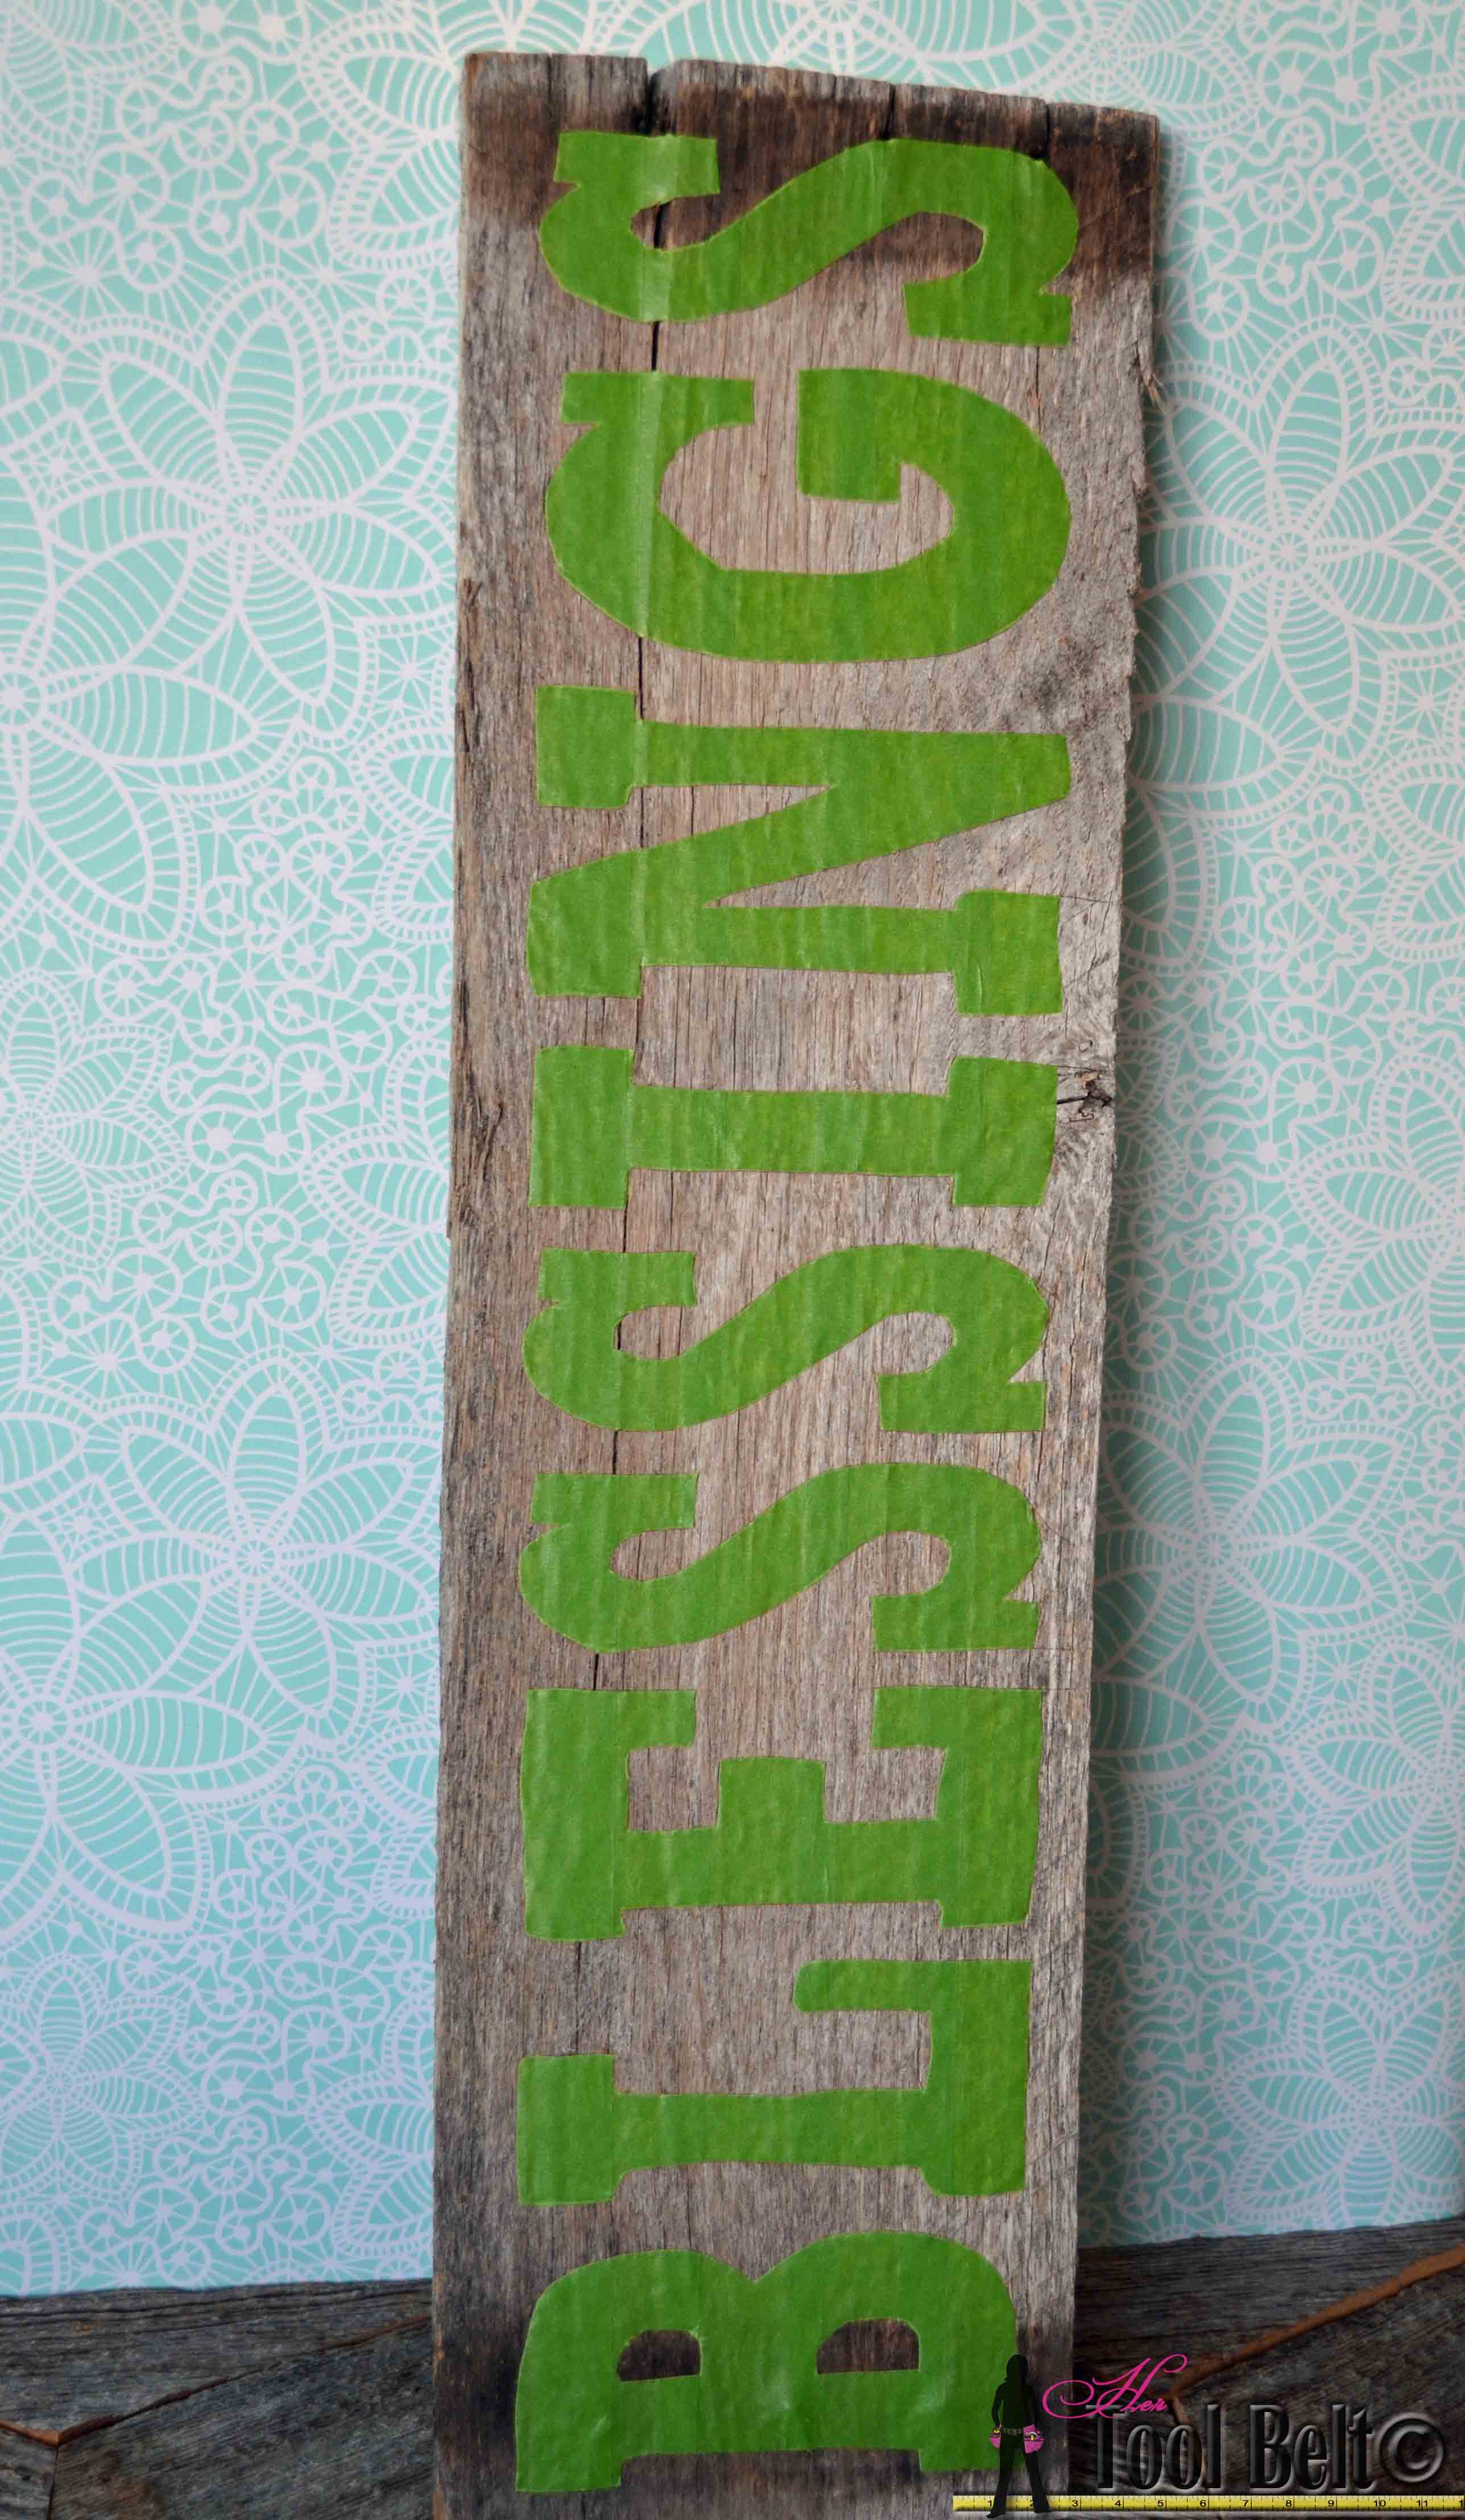
Remove all of the outer tape, leaving the words.

Create an easy Thankful Tree to celebrate the Thanksgiving Holiday. Adorn it with a rustic Count your many Blessing Sign. #GiveThanks

I originally planned on painting the outside white, like my old ‘Things’ sign, but decided to try something different.  I have some of these Minwax stain cloths and stained the outside Chestnut brown.  It’s super easy, just dab it on and the old wood will suck it up quick.

Create an easy Thankful Tree to celebrate the Thanksgiving Holiday. Adorn it with a rustic Count your many Blessing Sign. #GiveThanks

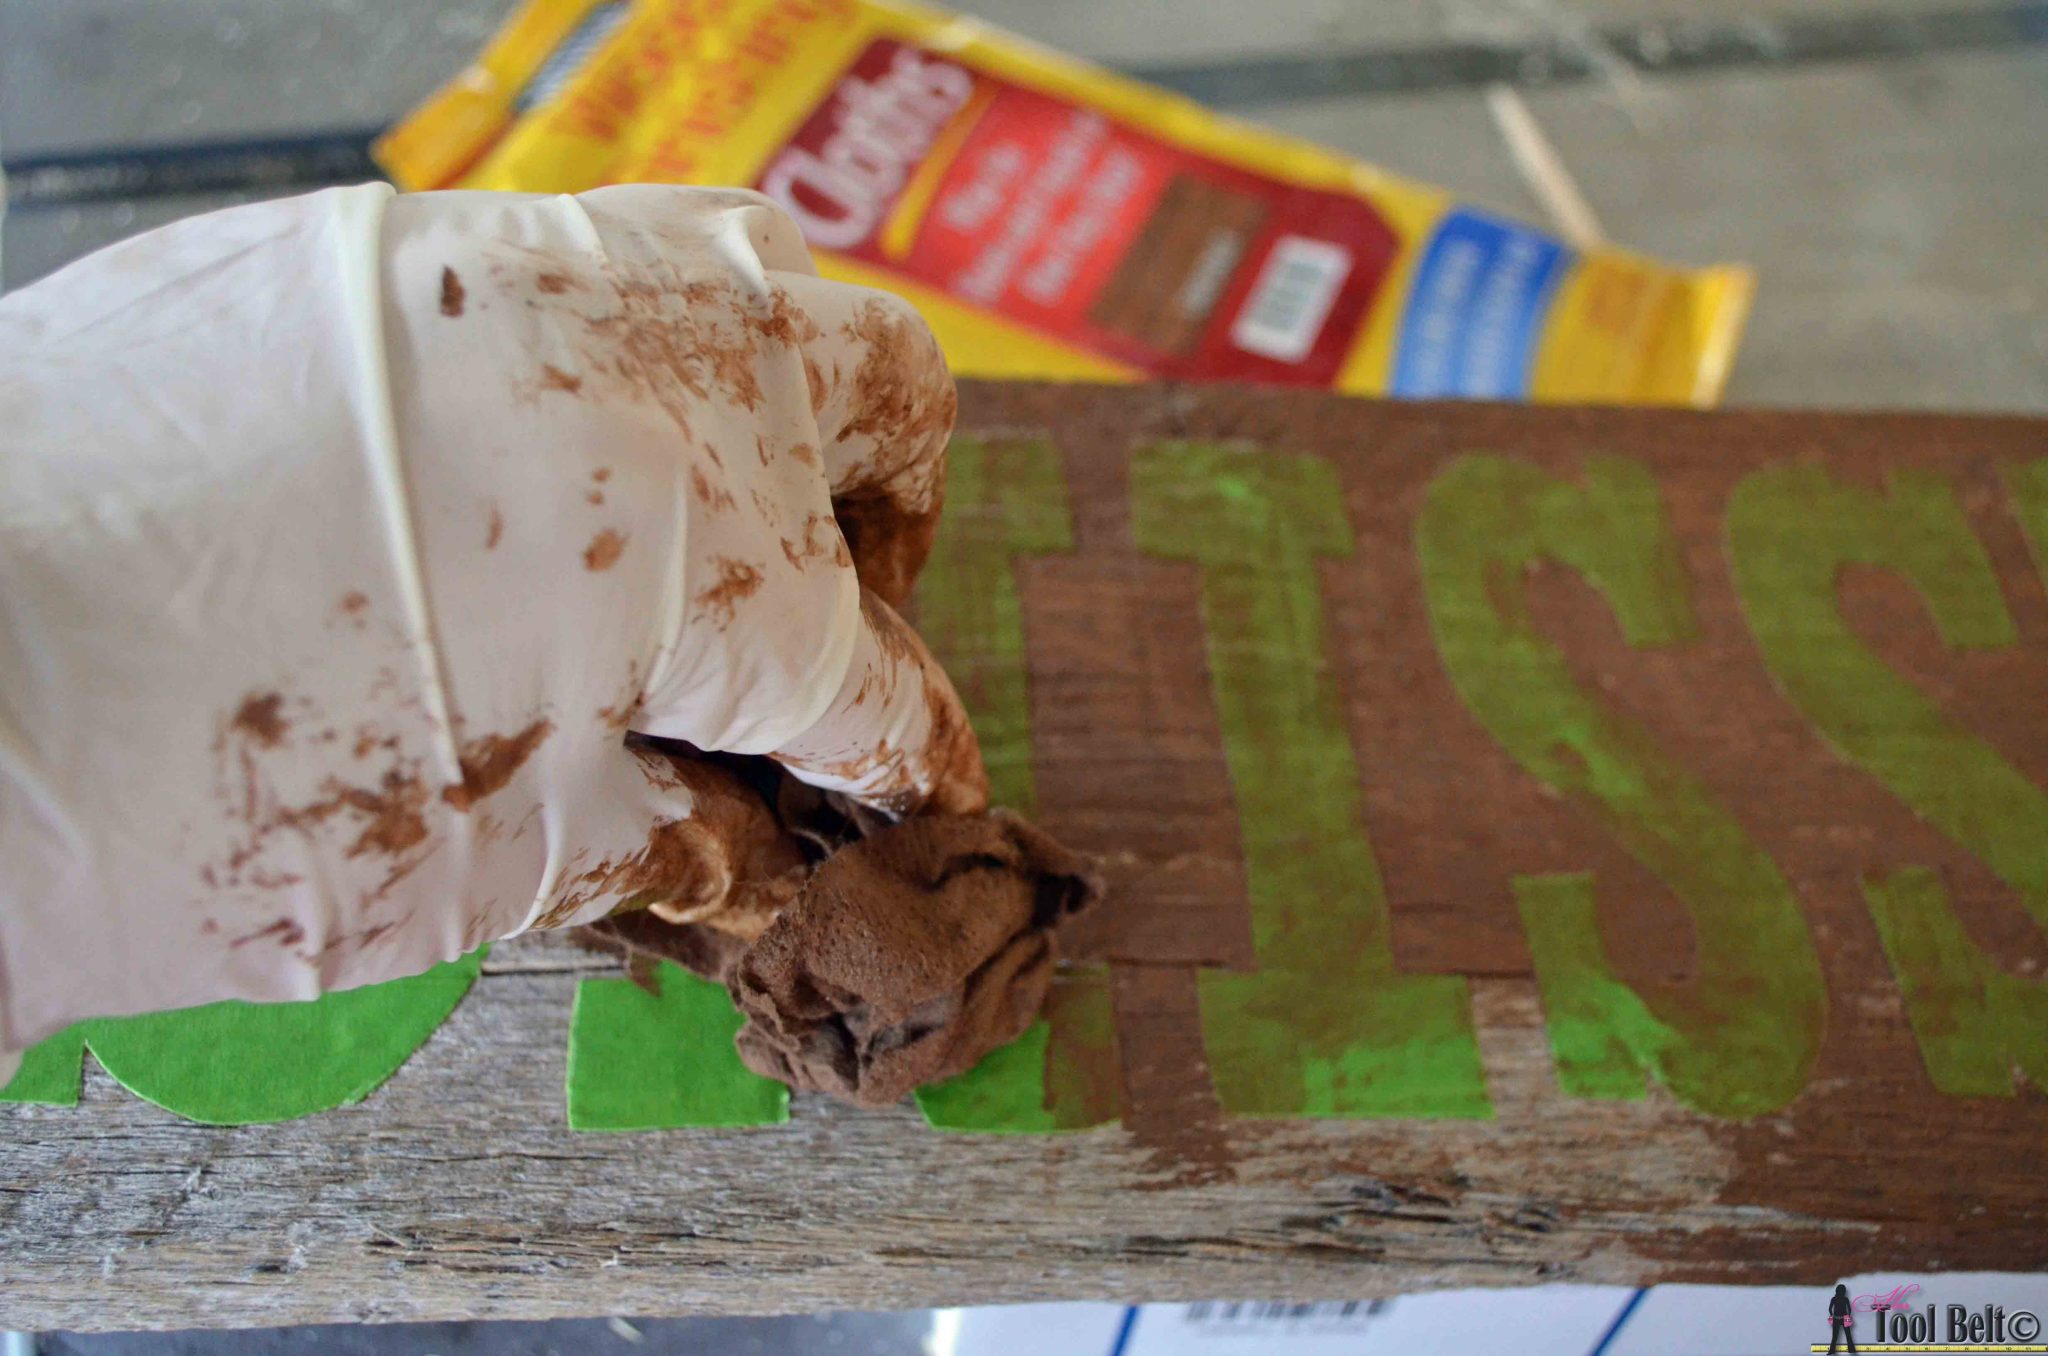
Once the stain totally dried, I lightly sanded the board to make is rustic.

Create an easy Thankful Tree to celebrate the Thanksgiving Holiday. Adorn it with a rustic Count your many Blessing Sign. #GiveThanks

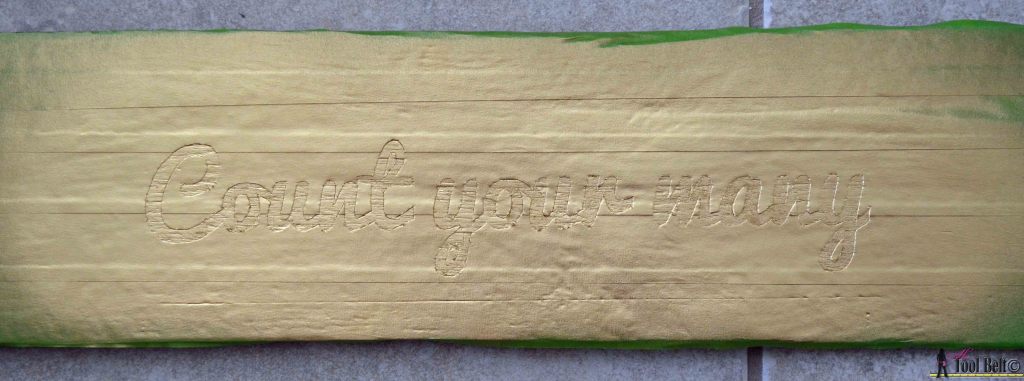
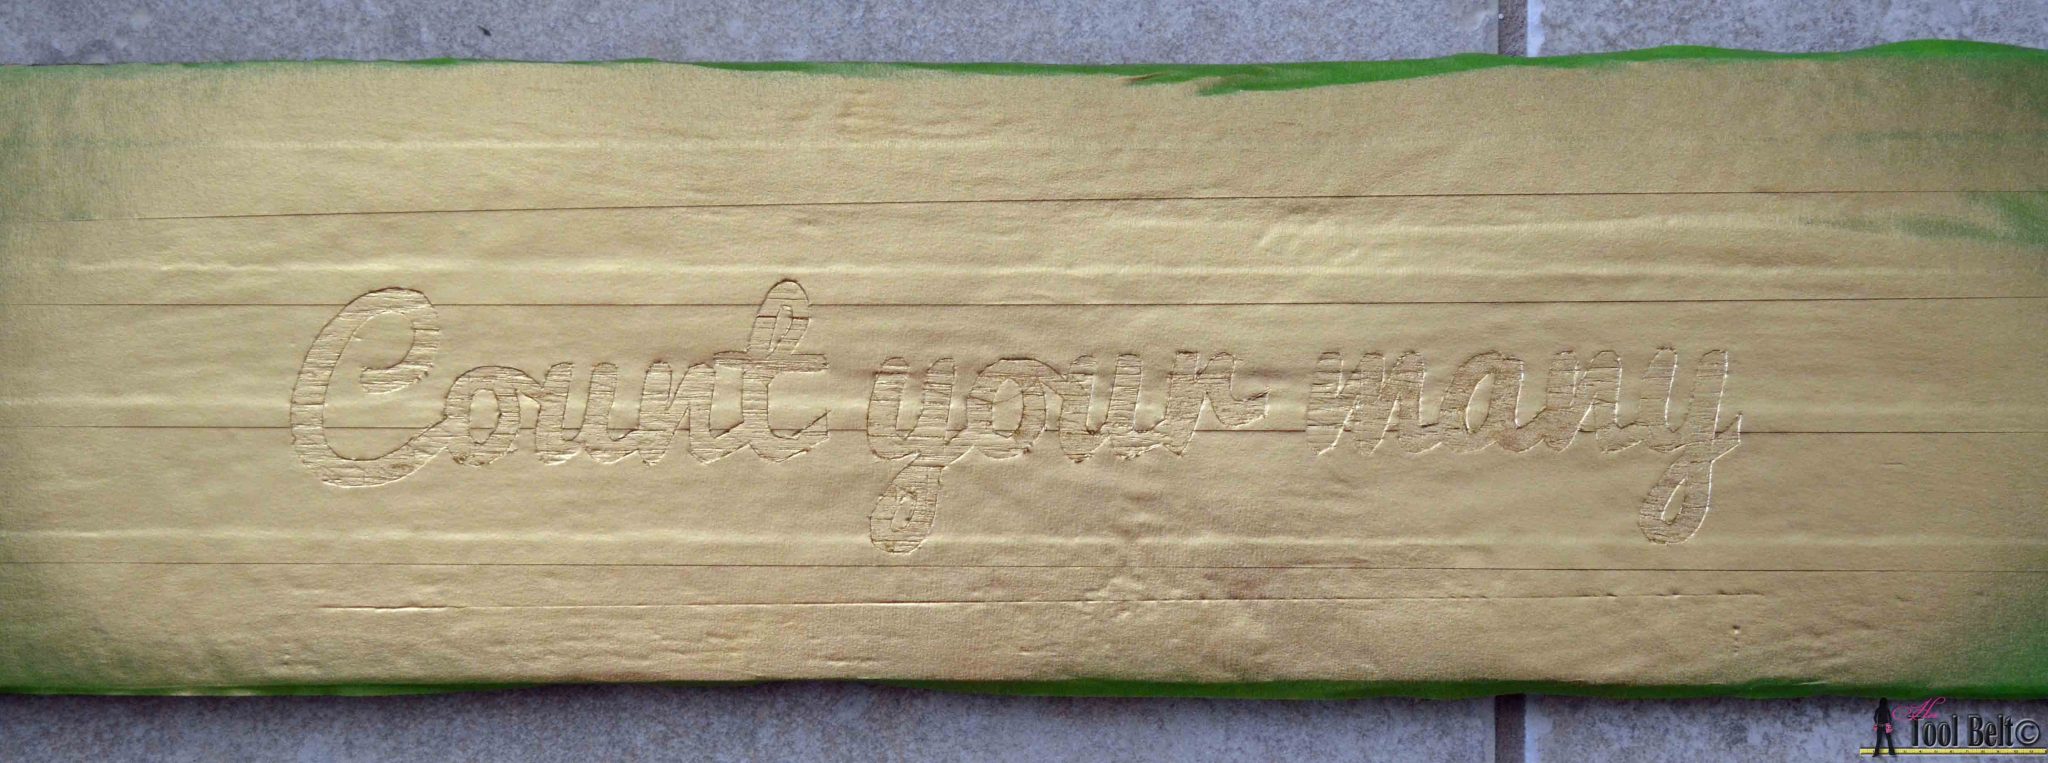
Then I taped the board face again.  Trace cut the words ‘Count Your Many’, but this time removed only the words.  I should have painted ‘count your many’ a bright color, but thought I’d try gold.  It looks cool when it’s sunny and bright, but hard to see later at night.  Remove the tape.  I drilled some holes at the bottom and used 1″  cup hooks to hold the leafs.

Create an easy Thankful Tree to celebrate the Thanksgiving Holiday. Adorn it with a rustic Count your many Blessing Sign. #GiveThanksThankful Leafs

Now all of you that have an electric cutting machine can laugh at me.  I cut out a bunch of maple leafs from some fun fallish scrapbook paper, enough for a leaf for each family member/day.

My kids are super excited about our Thankful Tree, so far they’ve loved writing or coloring what they are thankful for and hanging it on the tree!

Create an easy Thankful Tree to celebrate the Thanksgiving Holiday. Adorn it with a rustic Count your many Blessing Sign. #GiveThanks

Linked to My Favorite Link Parties, Remodelaholic, SavvySouthernStyle

Related

Filed Under: Crafts, Holiday Tagged With: blessing, FHE, leafs, thankful tree, Thanksgiving

Attention: Any do-it-yourself project involves risk of some sort. Your tools, materials, and skills will vary, as will the conditions at your work site. Hertoolbelt LLC will not assume any responsibility or liability for damages or losses sustained or incurred in the course of your project or in the use of the item you create. Always follow the manufacturer's operating instructions in the use of tools, check and follow your local building codes, and observe all commonly accepted safety precautions.

Comments

  1. Mila says

    November 4, 2014 at 7:42 pm

    Awesome idea! Pinning 🙂
    xx
    Mila

    Reply
  2. Pauline says

    November 4, 2014 at 10:31 pm

    Amy, I can’t properly express how much I love this! Such a great idea. Thanks for sharing!

    Reply
  3. Lou Lou Girls says

    November 10, 2014 at 4:19 pm

    Hello beautiful! This looks so amazing. What a great idea. Pinned. Thank you for taking the time to stop by! I hope to see you at our party tonight, it starts at 7 pm. We love to party with you!
    Happy Monday! Lou Lou Girls

    Reply
  4. Britney says

    November 14, 2014 at 2:38 pm

    Oh my goodness, Amy! This is incredible! Totally loving it!

    Reply
    • Amy says

      November 15, 2014 at 9:30 am

      Thanks Britney!

      Reply
  5. Cyndee says

    November 6, 2015 at 9:00 am

    What a clever idea! I love this! Good job!

    Reply

Leave a Reply Cancel reply

Your email address will not be published. Required fields are marked *

This site uses Akismet to reduce spam. Learn how your comment data is processed.

Search Her Tool Belt

Follow Me!

  • Bloglovin
  • Email
  • Facebook
  • Google+
  • Instagram
  • Pinterest
  • RSS
  • Twitter
  • YouTube

Top Posts & Pages

Custom Drill Storage and Charge Station - Easy
Cordless Drill Storage - Charging Station
$5 Blanket Ladder
Pallet Planter Box For Cascading Flowers
Wood Bunny Easter Basket
Kid's Step Stool
How to Build a Redwood Pergola with Arch Detail
Double X Console Table Plans

Check out more projects

Copyright

Thank you for wanting to share my work! No need for my permission to pin my work or to feature 1 or 2 pictures with full watermarks intact that link back to the original project. Please do NOT copy tutorials.

Disclosure & Privacy Policy

Disclaimer

Copyright © 2023 · Magazine Pro Theme on Genesis Framework · WordPress · Log in

This website uses cookies to improve your experience. We'll assume you're ok with this, but you can opt-out if you wish.Accept Read More
Privacy & Cookies Policy

Privacy Overview

This website uses cookies to improve your experience while you navigate through the website. Out of these, the cookies that are categorized as necessary are stored on your browser as they are essential for the working of basic functionalities of the website. We also use third-party cookies that help us analyze and understand how you use this website. These cookies will be stored in your browser only with your consent. You also have the option to opt-out of these cookies. But opting out of some of these cookies may affect your browsing experience.
Necessary
Always Enabled
Necessary cookies are absolutely essential for the website to function properly. This category only includes cookies that ensures basic functionalities and security features of the website. These cookies do not store any personal information.
Non-necessary
Any cookies that may not be particularly necessary for the website to function and is used specifically to collect user personal data via analytics, ads, other embedded contents are termed as non-necessary cookies. It is mandatory to procure user consent prior to running these cookies on your website.
SAVE & ACCEPT