I recently went to a DIY conference called Haven. It is a big gathering of DIY enthusiasts (mostly bloggers) that gather together and learn tips and tricks for DIY projects. Besides bloggers and DIY enthusiasts there are vendors, who show off and teach how to use their products. Sometimes the vendors give away products to try. WaterPik was at this conference showing off their cool shower heads and they gave away this cool Spray Shaper shower head.
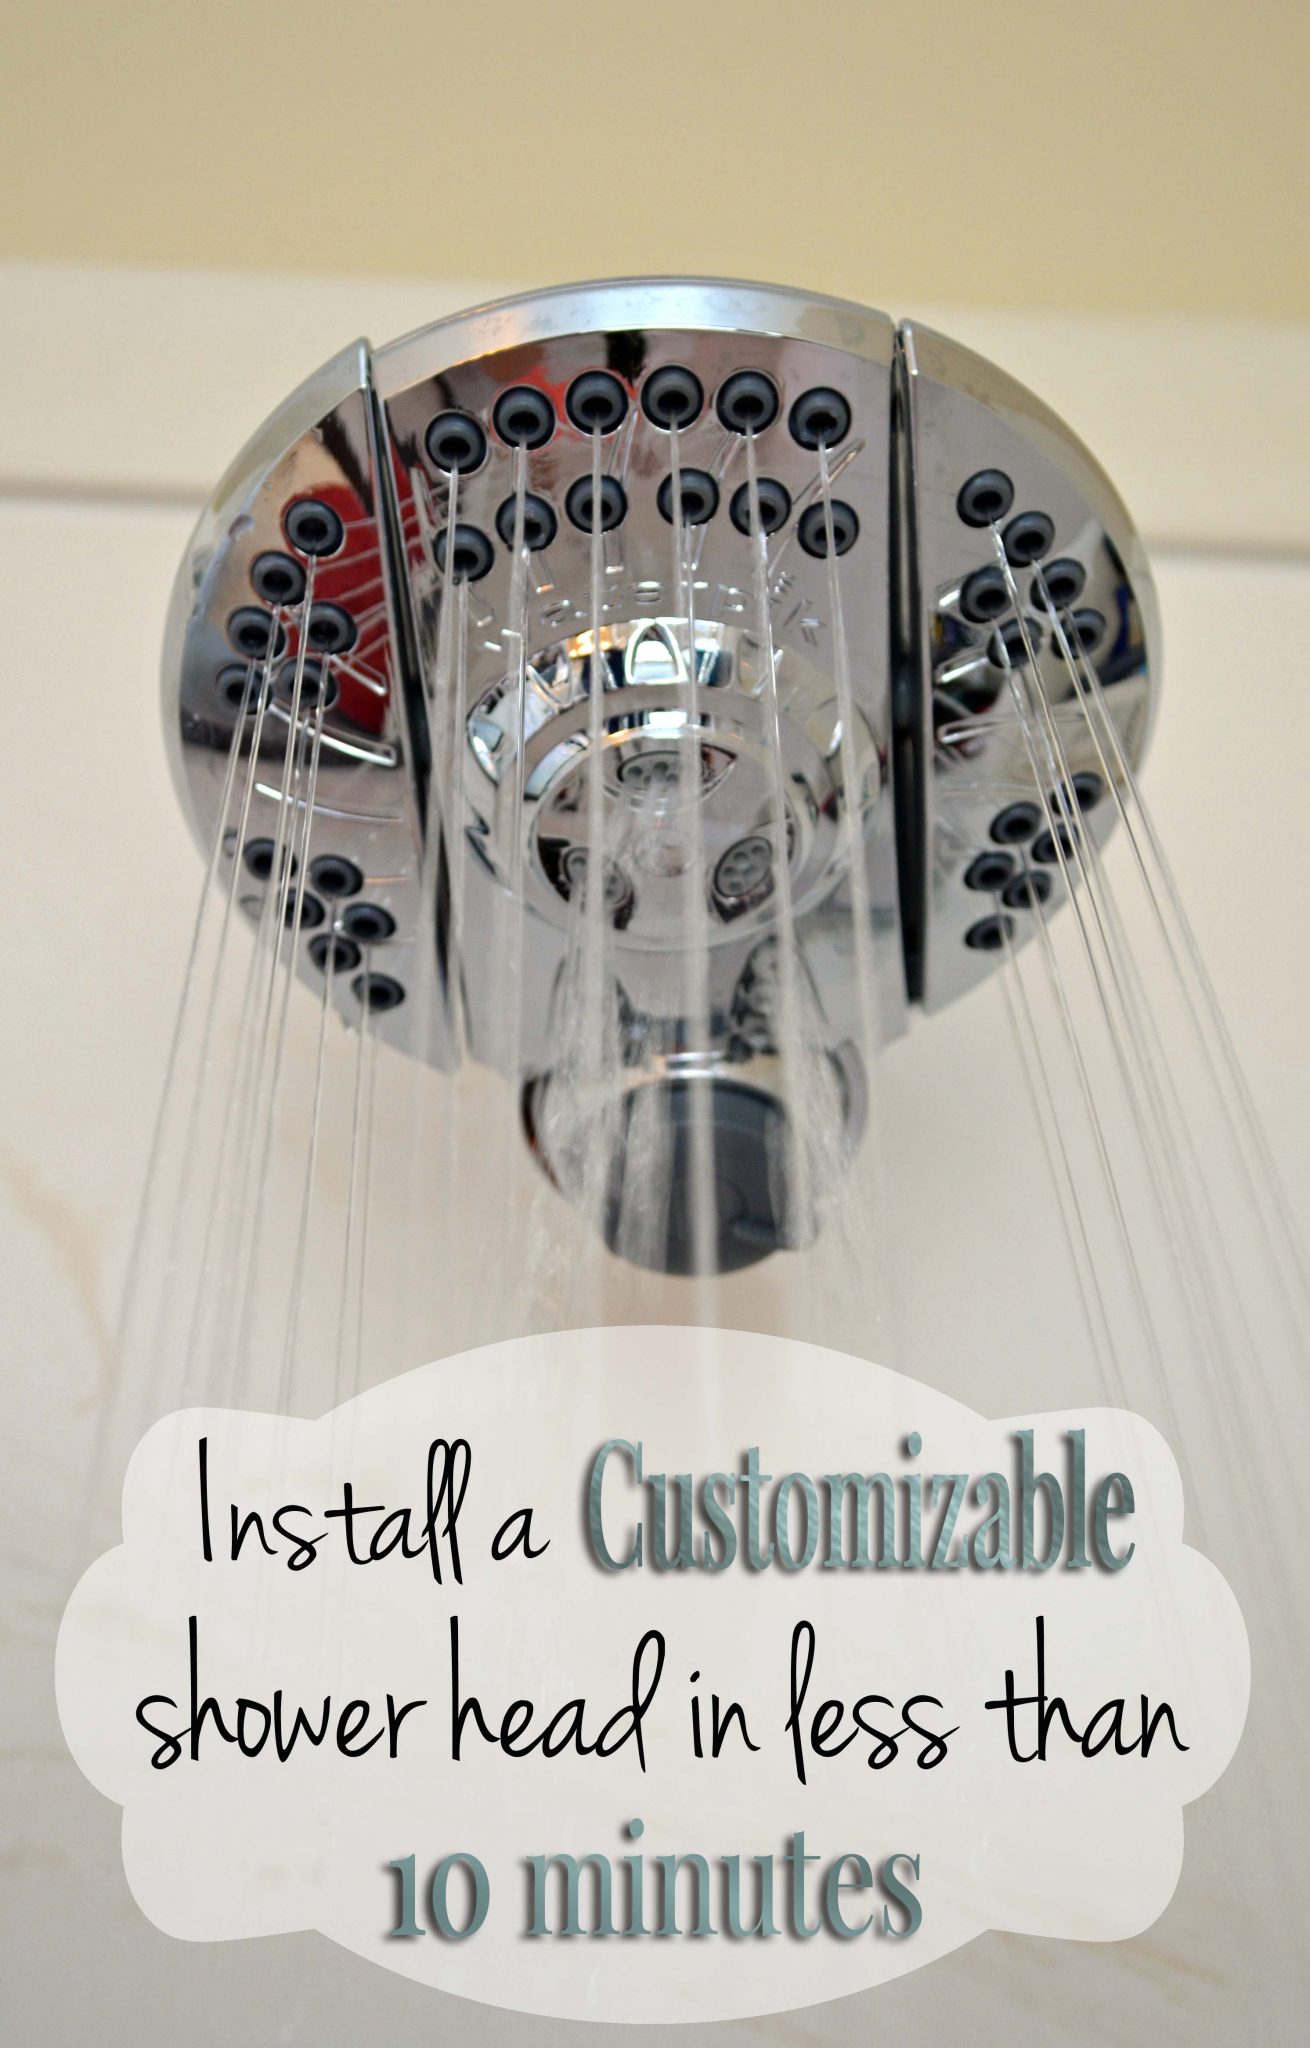
I installed this shower head in my shower within minutes. I was very surprised at how easy the installation was.
Tools Needed:
- Adjustable wrench
- Rag
- Teflon Tape (optional)
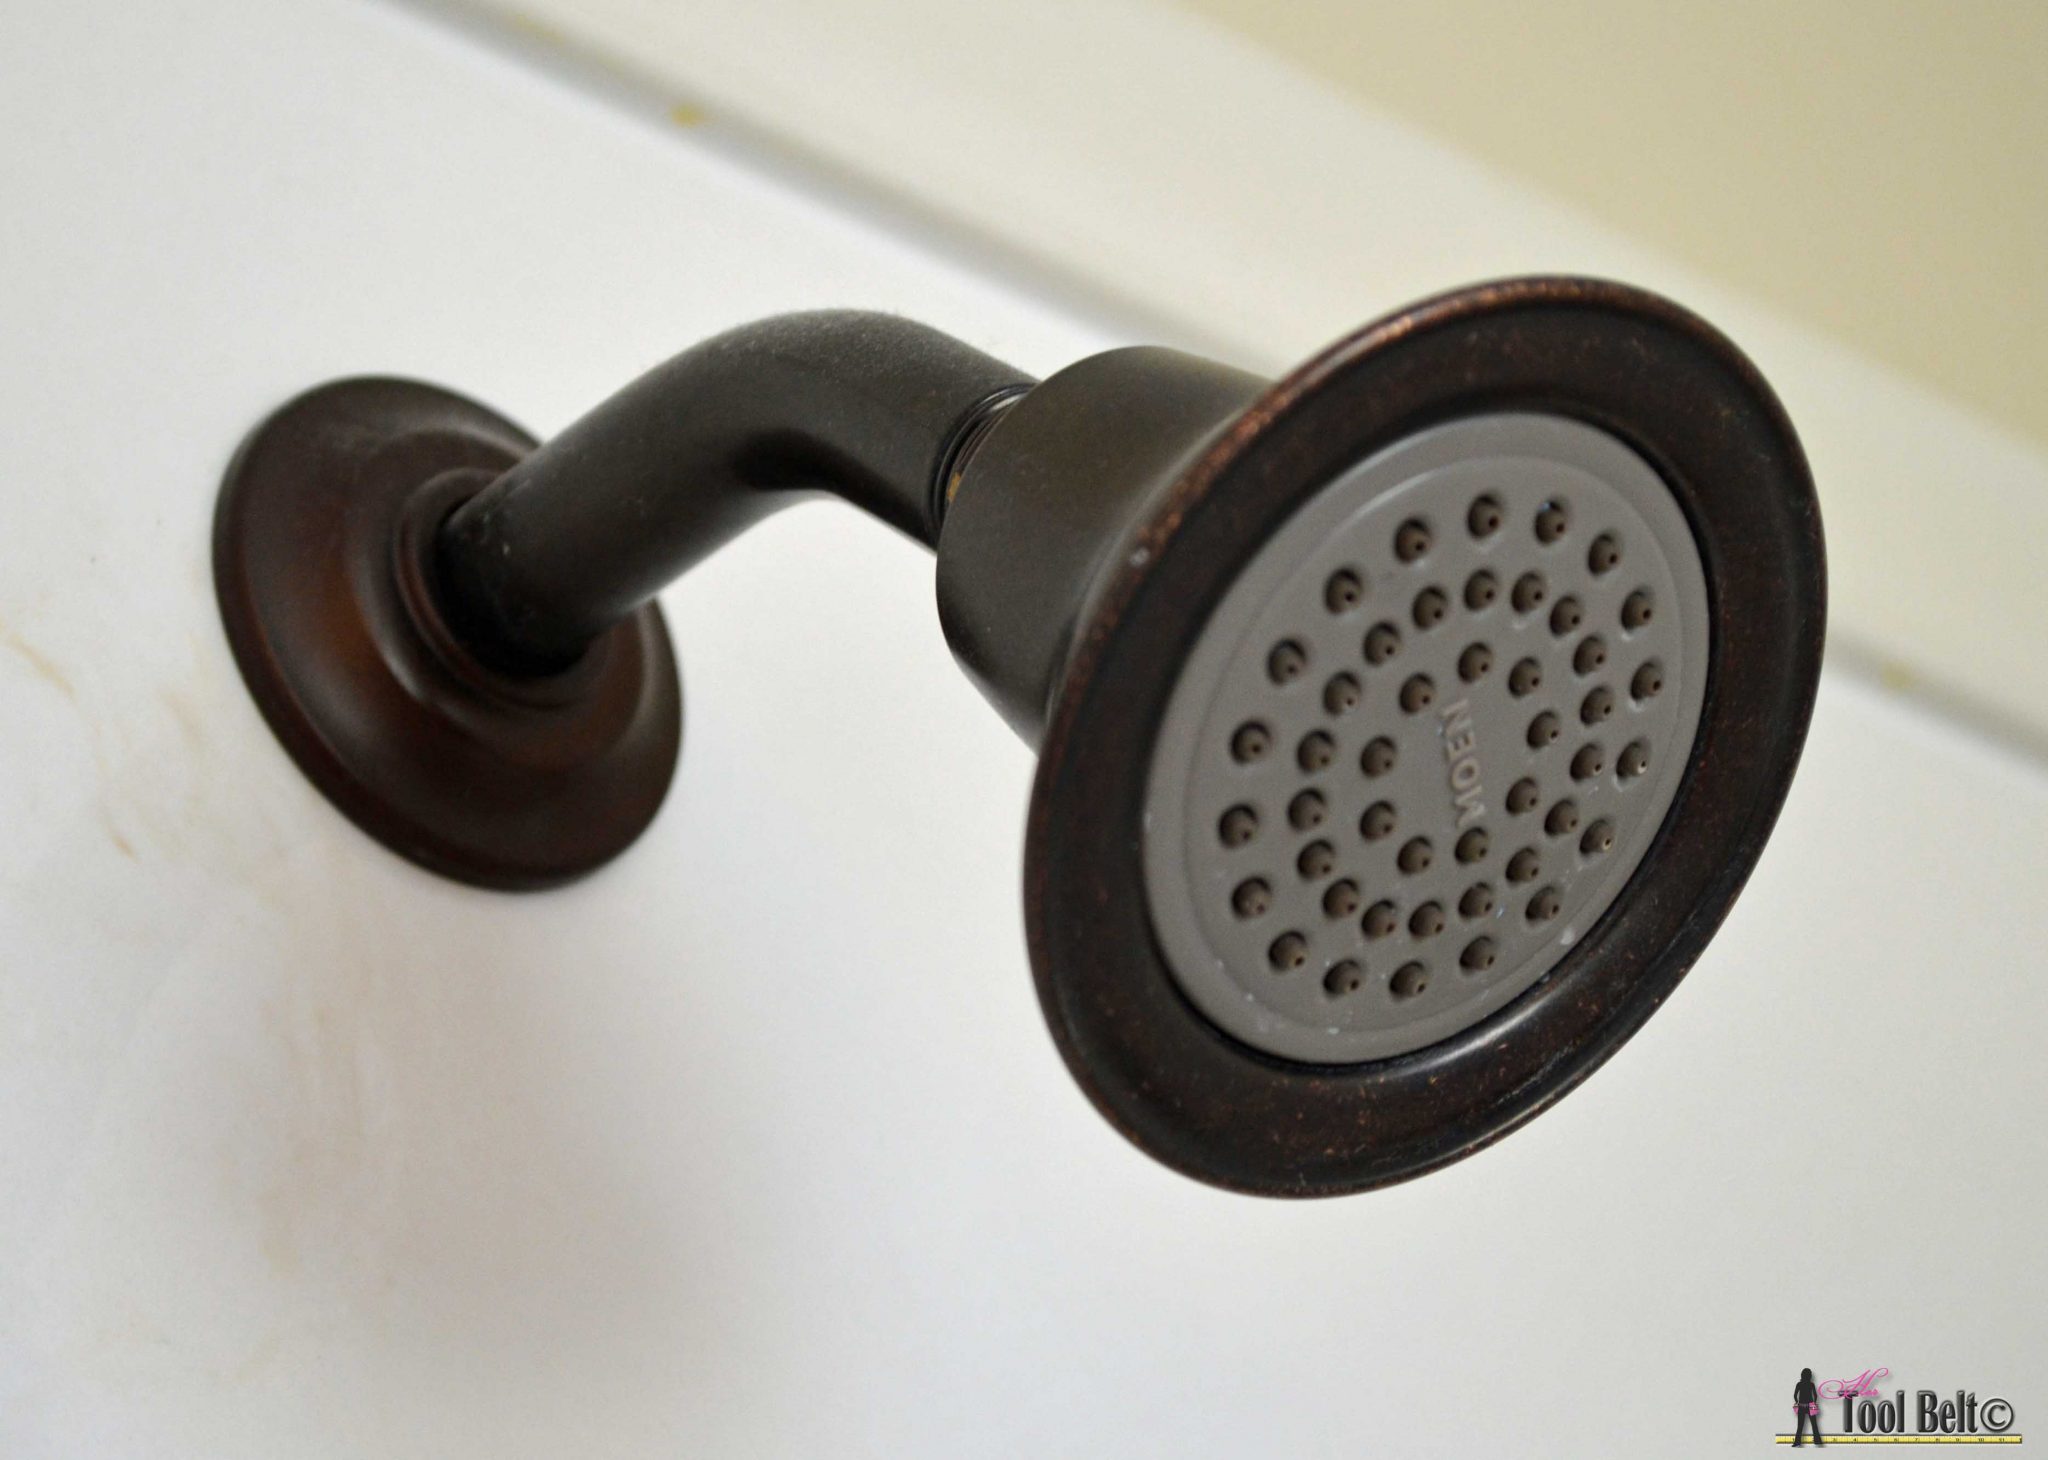
My original shower head was a standard head, nothing special.
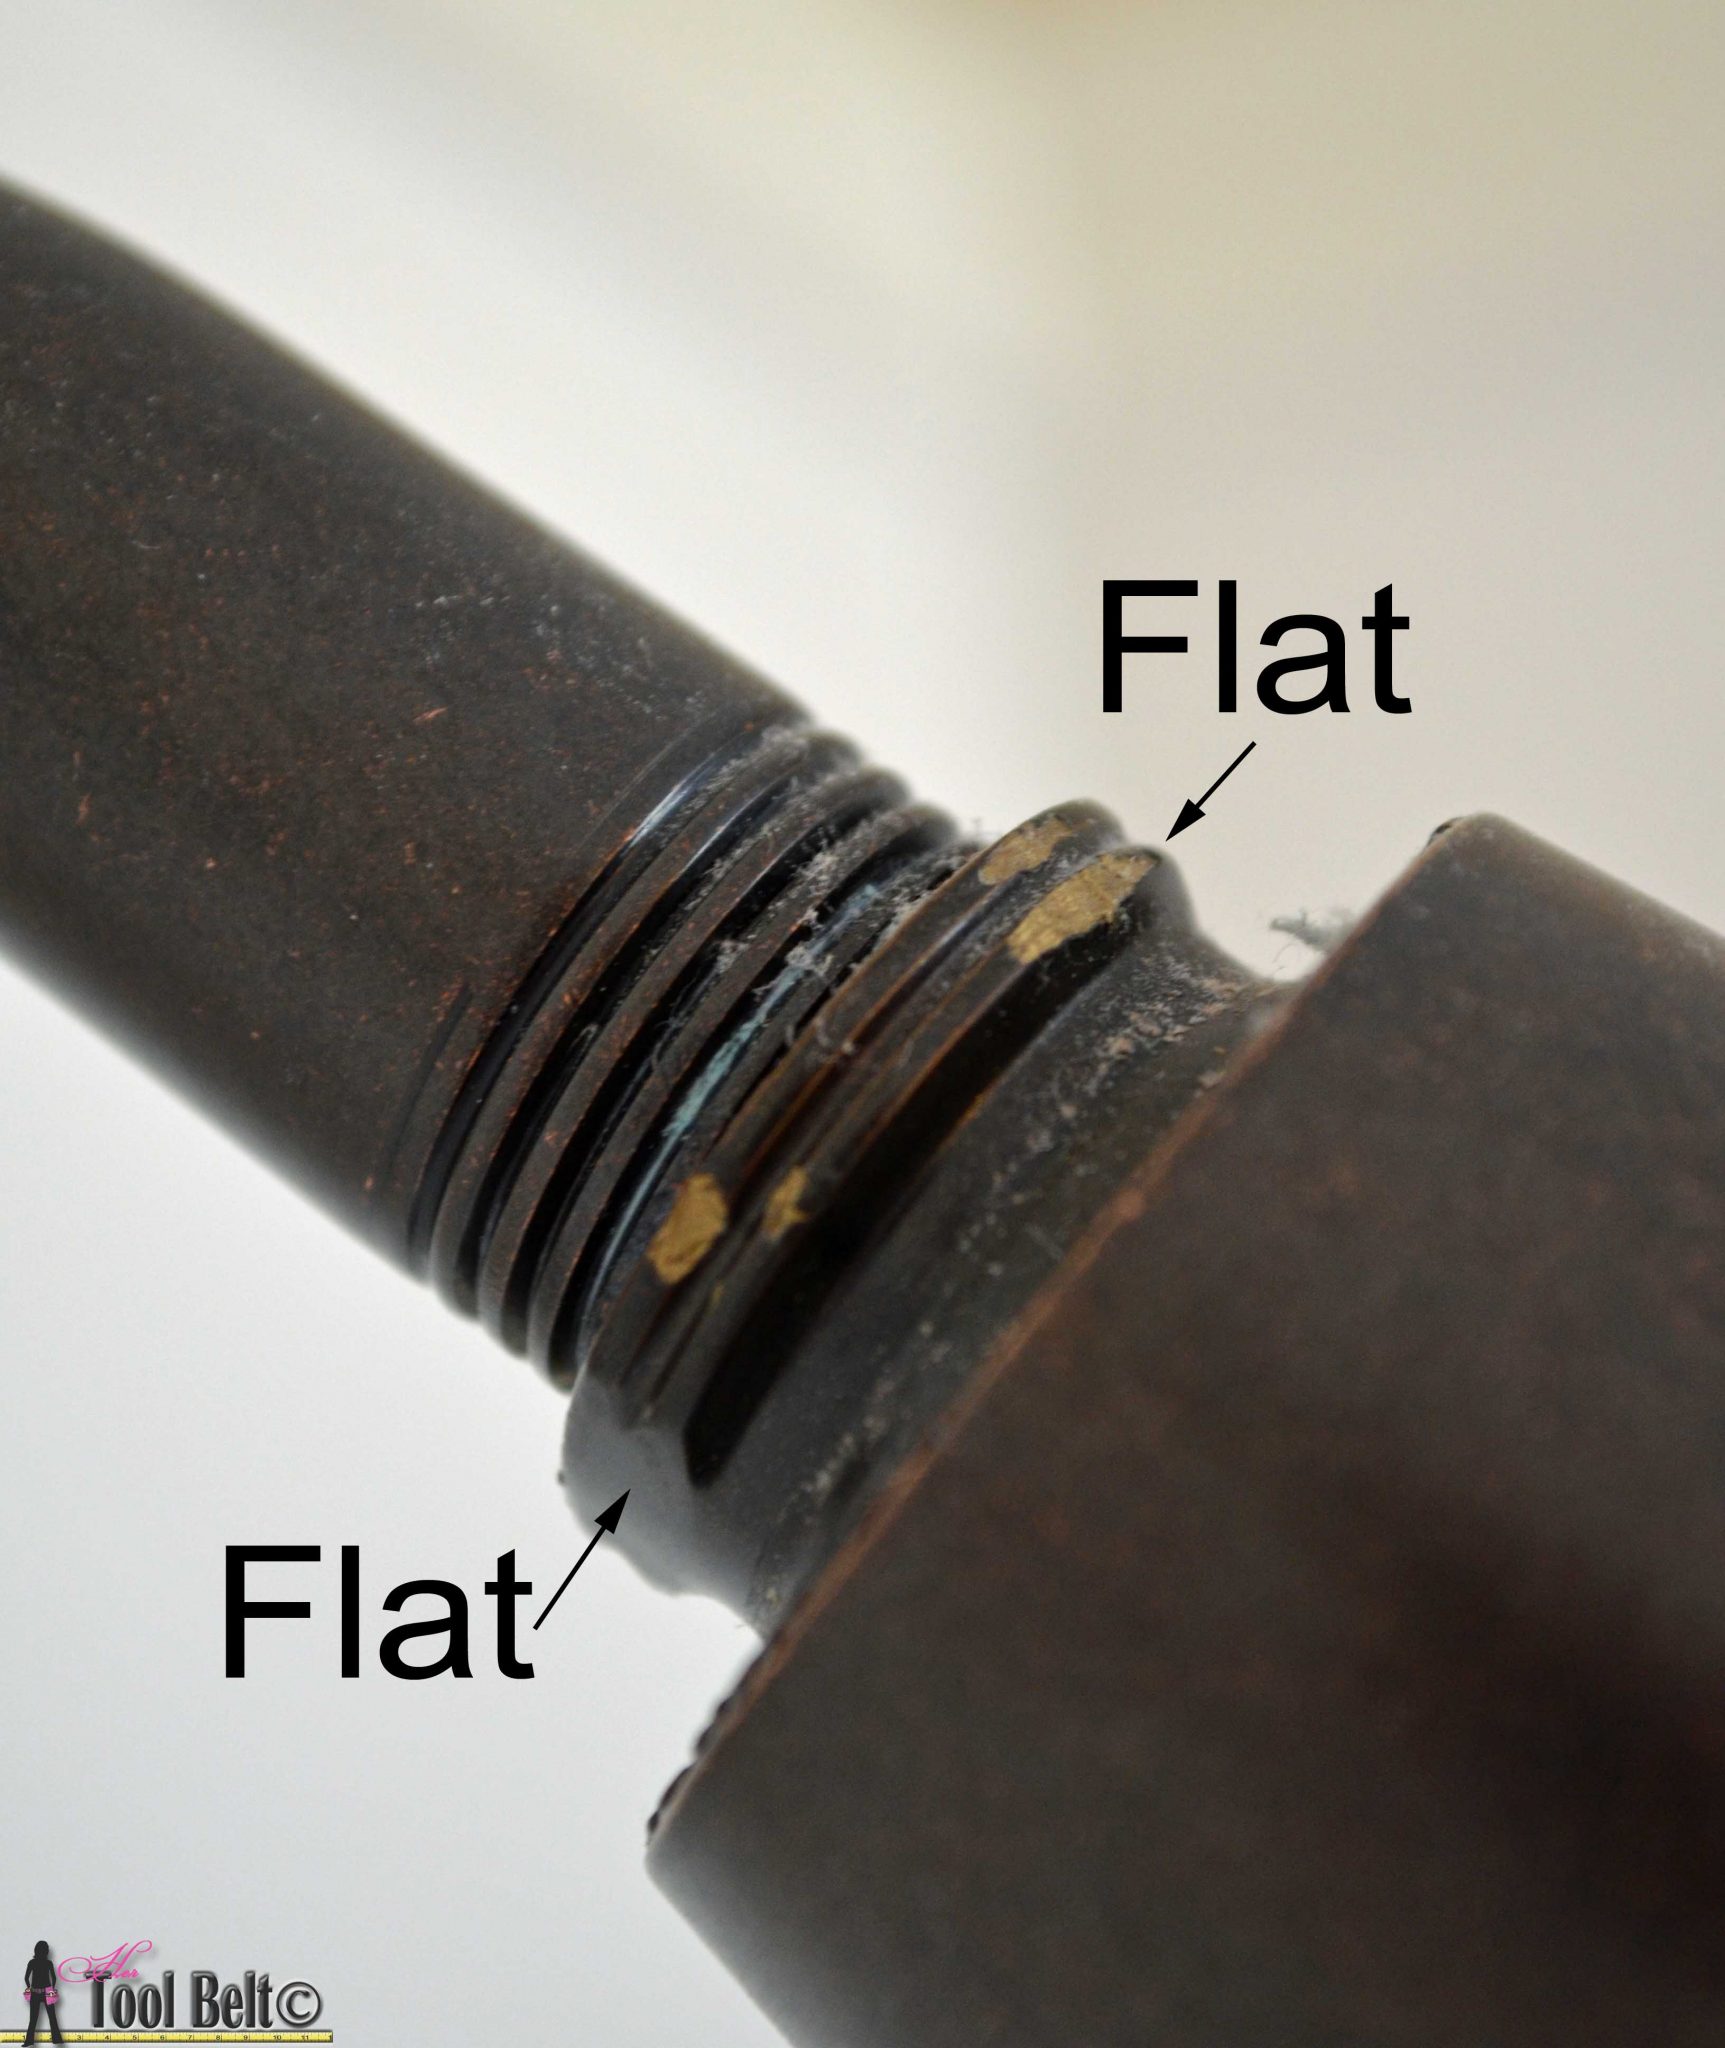
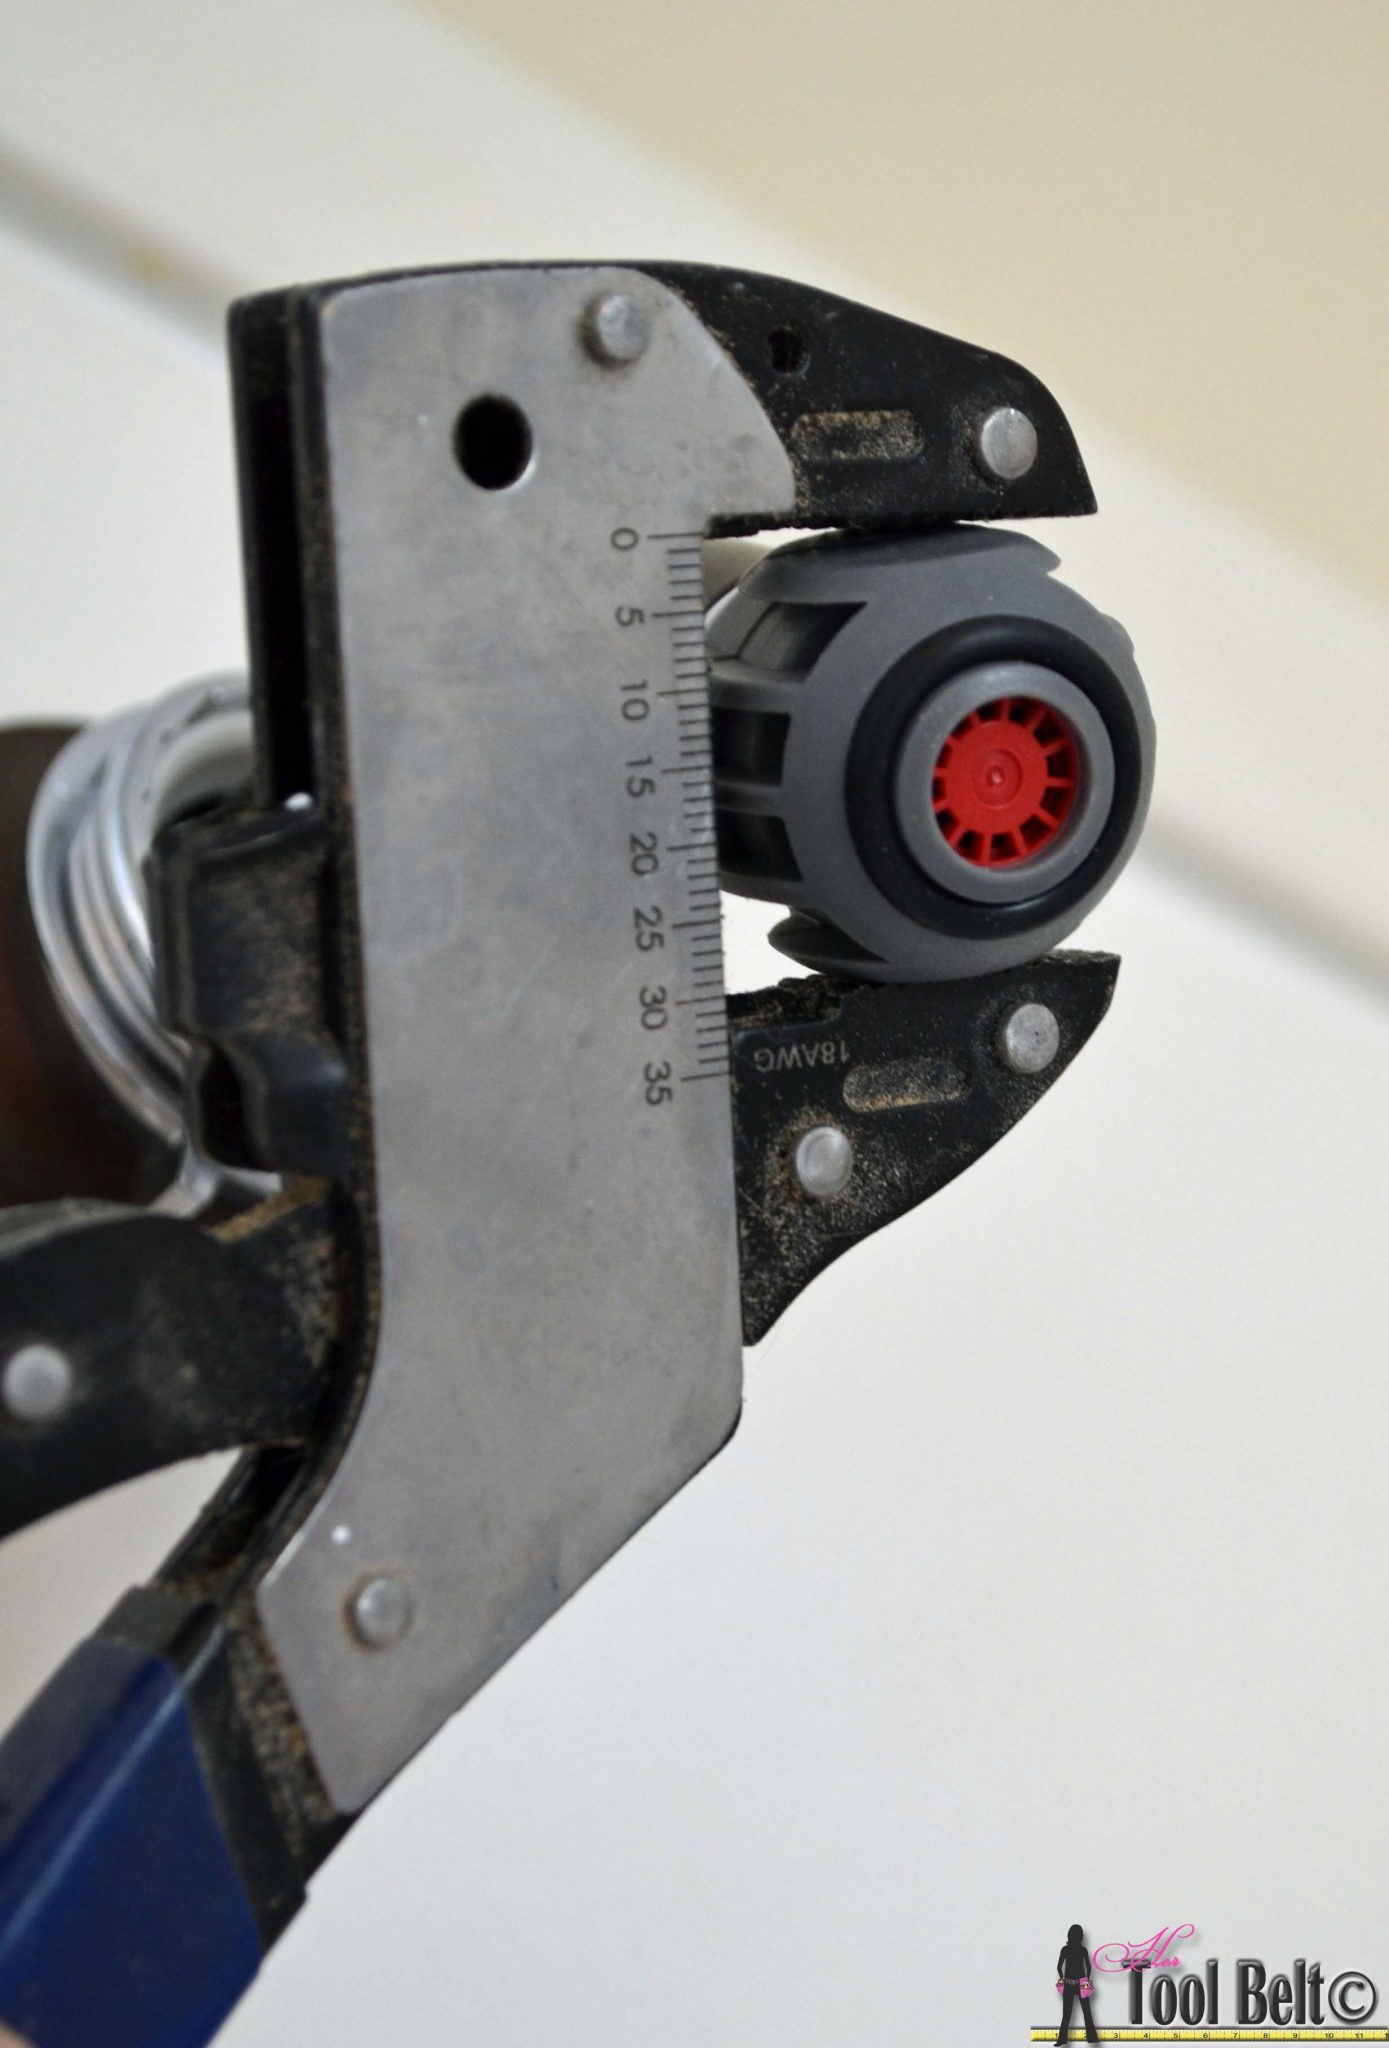
 Grab your adjustable wrench and size it for the flats on the top of the shower head.
 Twist off the old shower head (lefty loosey), until it is off the water pipe.
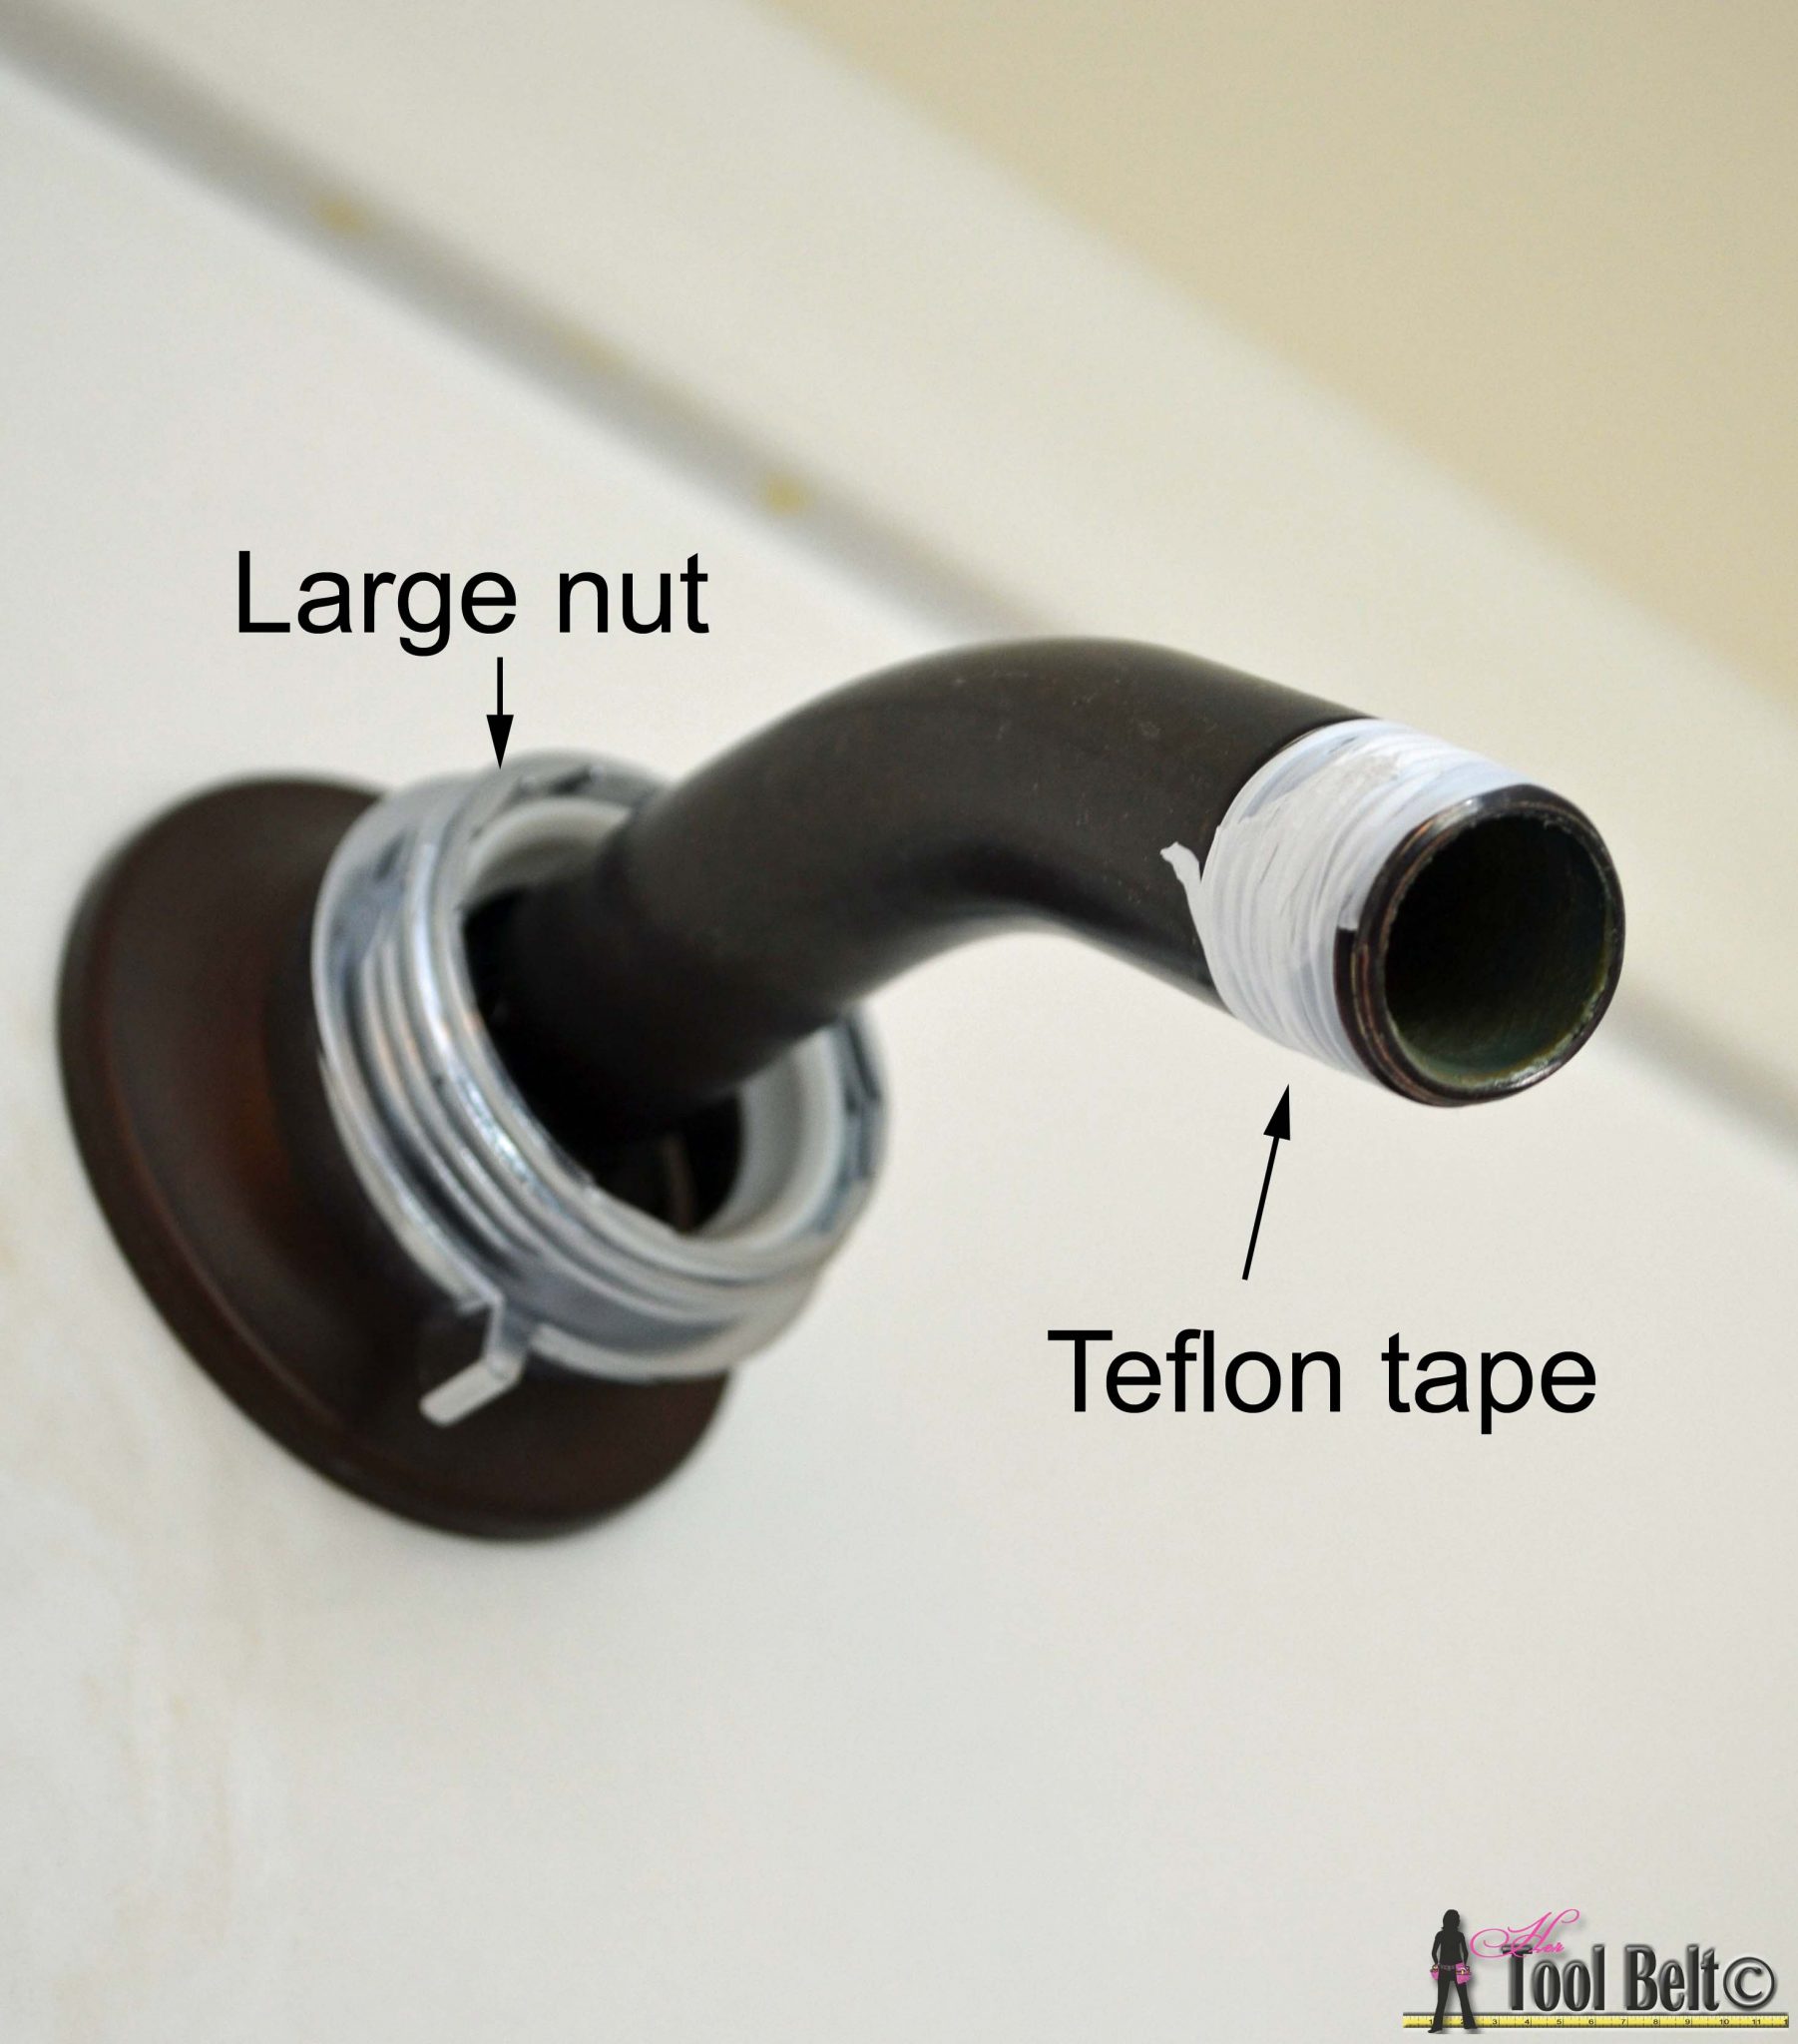
 Use your rag and lightly clean the threads of the water pipe. I like to add a quick wrap of teflon tape, this helps reduce any water leaking up the threads. Remove the large nut from the new WaterPik shower head and place it on the water pipe, threads facing out.
Thread the pivot ball onto the threads of the water pipe (righty tighty), until the pivot ball is hand tight.
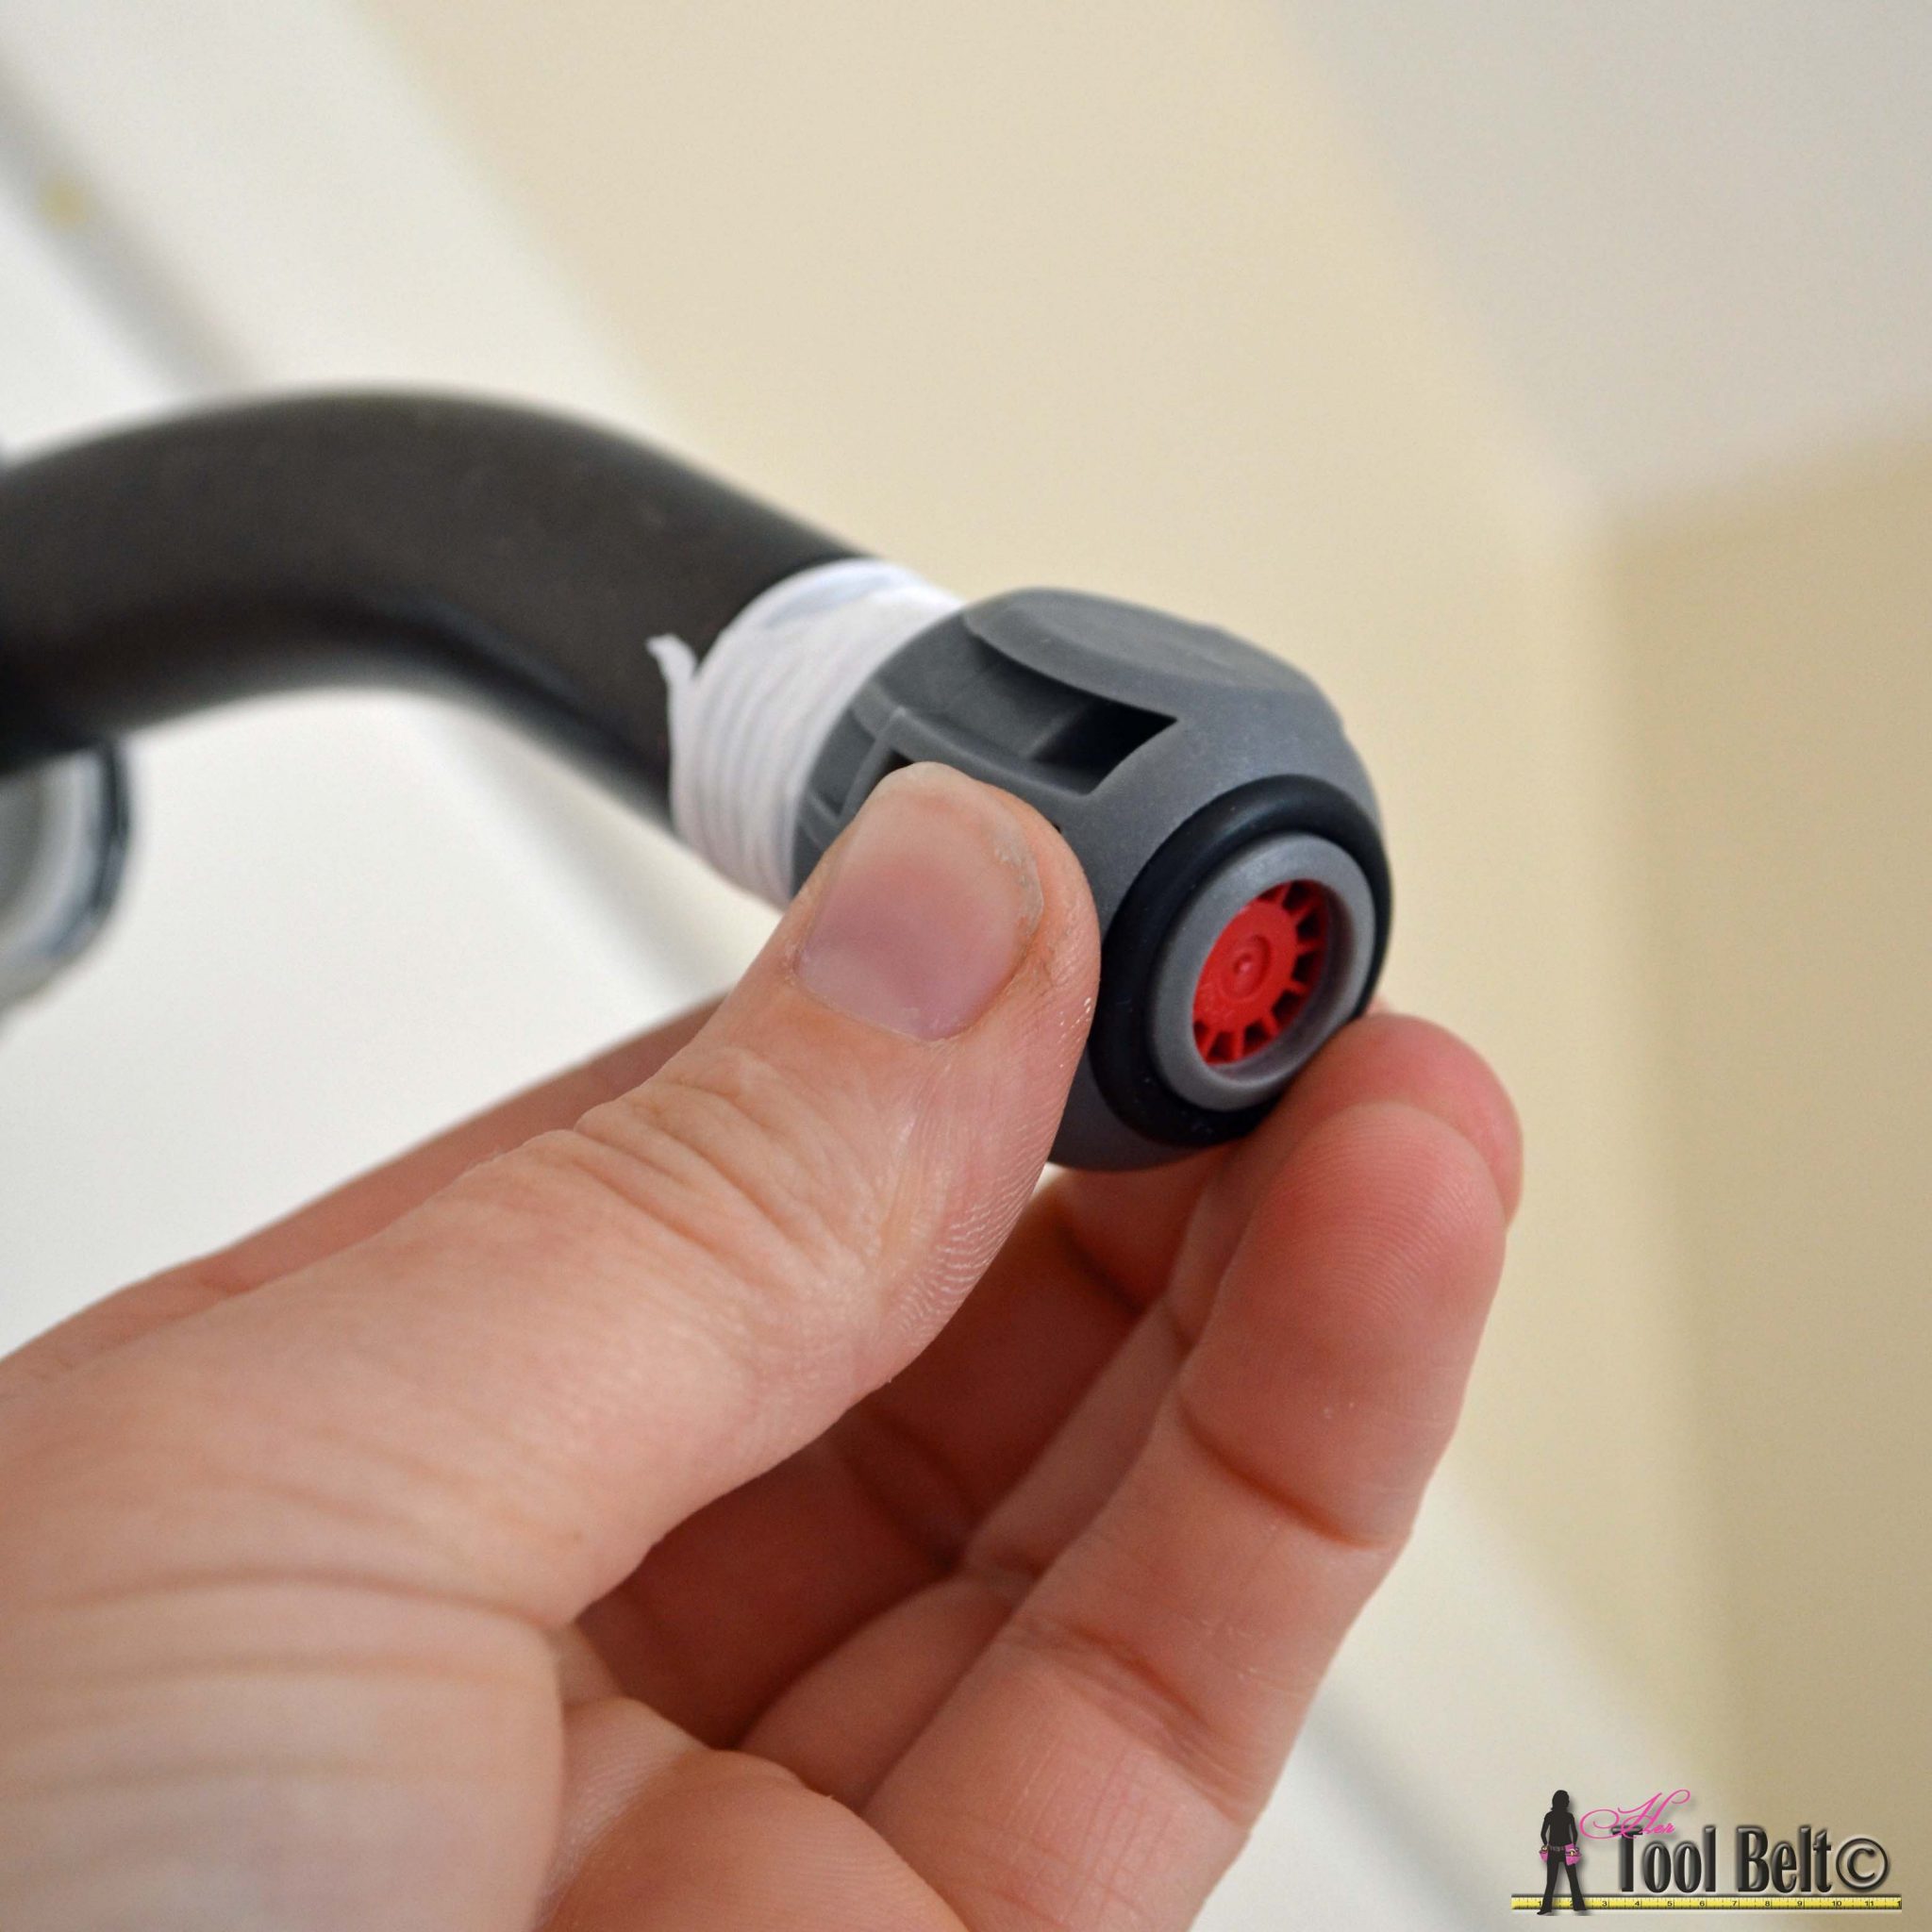 Once the pivot ball is hand tight, take your adjustable wrench and turn it an additional 1/4 to 1/2 turn.
Place the shower head onto the pivot ball and tighten the large nut onto the shower head, until hand tight. Adjust the placement of the shower head so it’s straight, and make sure the large nut is still tight. And that’s it, you’re done – So Easy!
This shower head is nice, it’s a fully customizable showering experience. There are 6 settings with the big gray knob. The outer wings rotate up and down and in and out. So you can create a tighter spray or a wide spray.
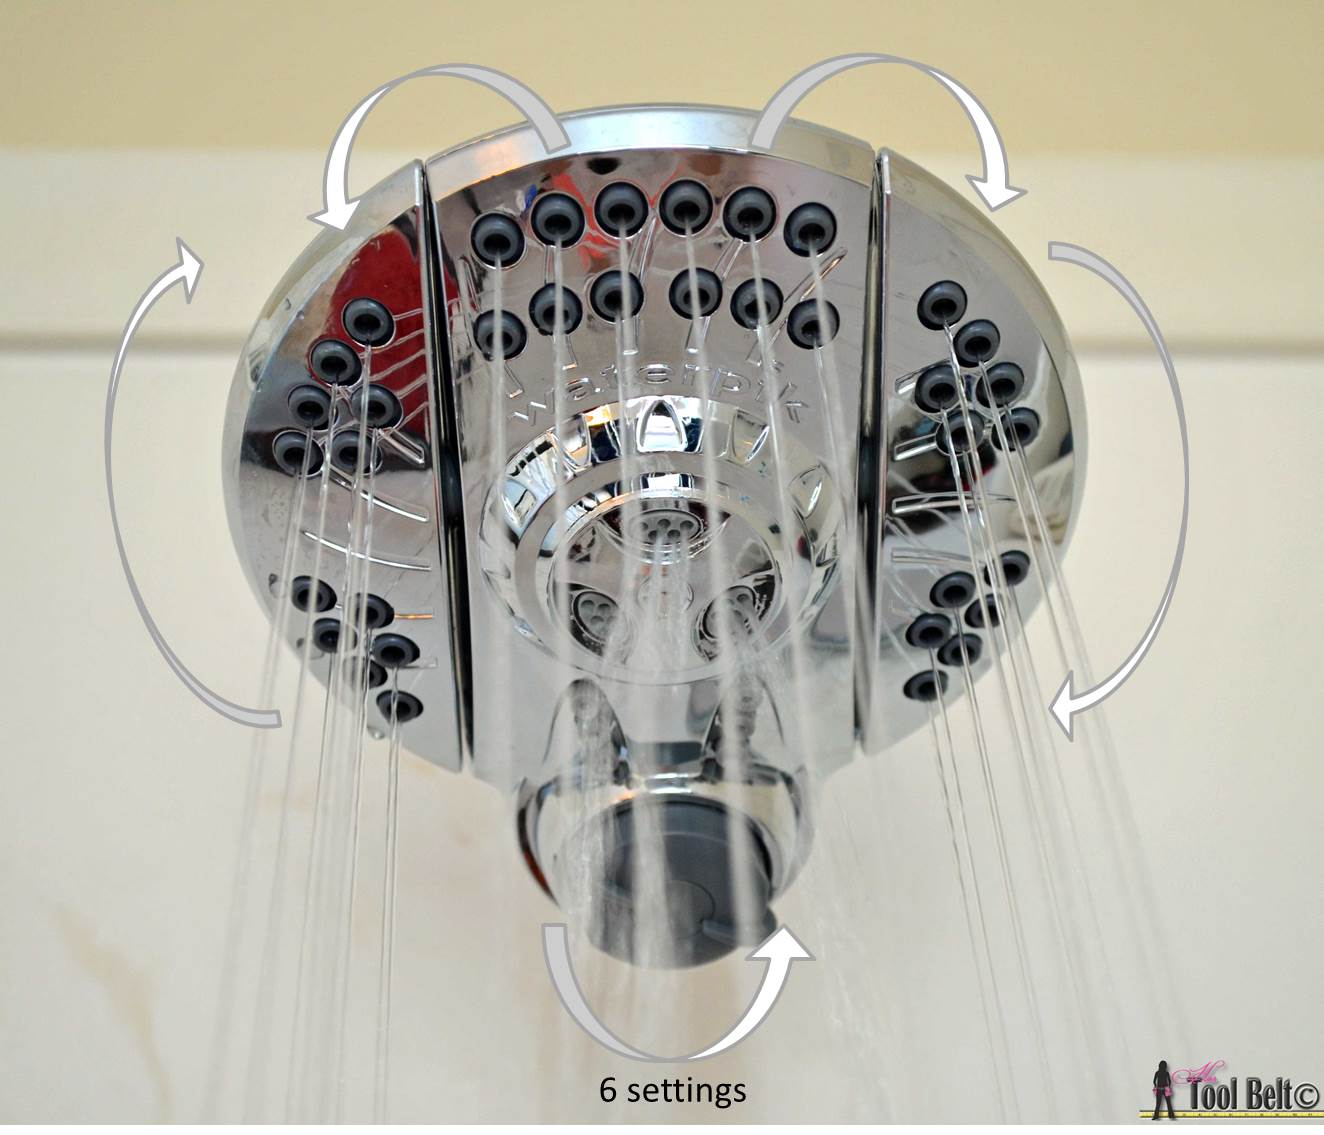 So far we love the new WaterPik Spray Shaper. My husband likes the larger coverage area. I like that I can flip through the settings really easy depending on my mood.
If you’re in the market for a shower head, this is a good one. I noticed that WaterPik offers coupons and rebates, definitely something to look for.
Pin for later:
Linked to: My Favorite Link Parties
Remodelaholic, Savvy Southern Style
Ahh! Another Haven attender! I’m turning green with jealousy I tell you. Thanks for sharing how to switch out the shower head – it’s always a good skill to have on hand! Thanks for linking up with Creative Spark!
I cannot wait to install mine at my new house this weekend! Thanks so much for linking up at the Creative Sparks Link Party. We are live again today so stop by and link up! http://bit.ly/1pEMI5A