This Welcome Farmhouse Sign post is sponsored by The Home Depot. I have been compensated for my time and provided with product. All ideas and opinions are my own. This post contains some affiliate links for your convenience. Click here to read my full disclosure policy.
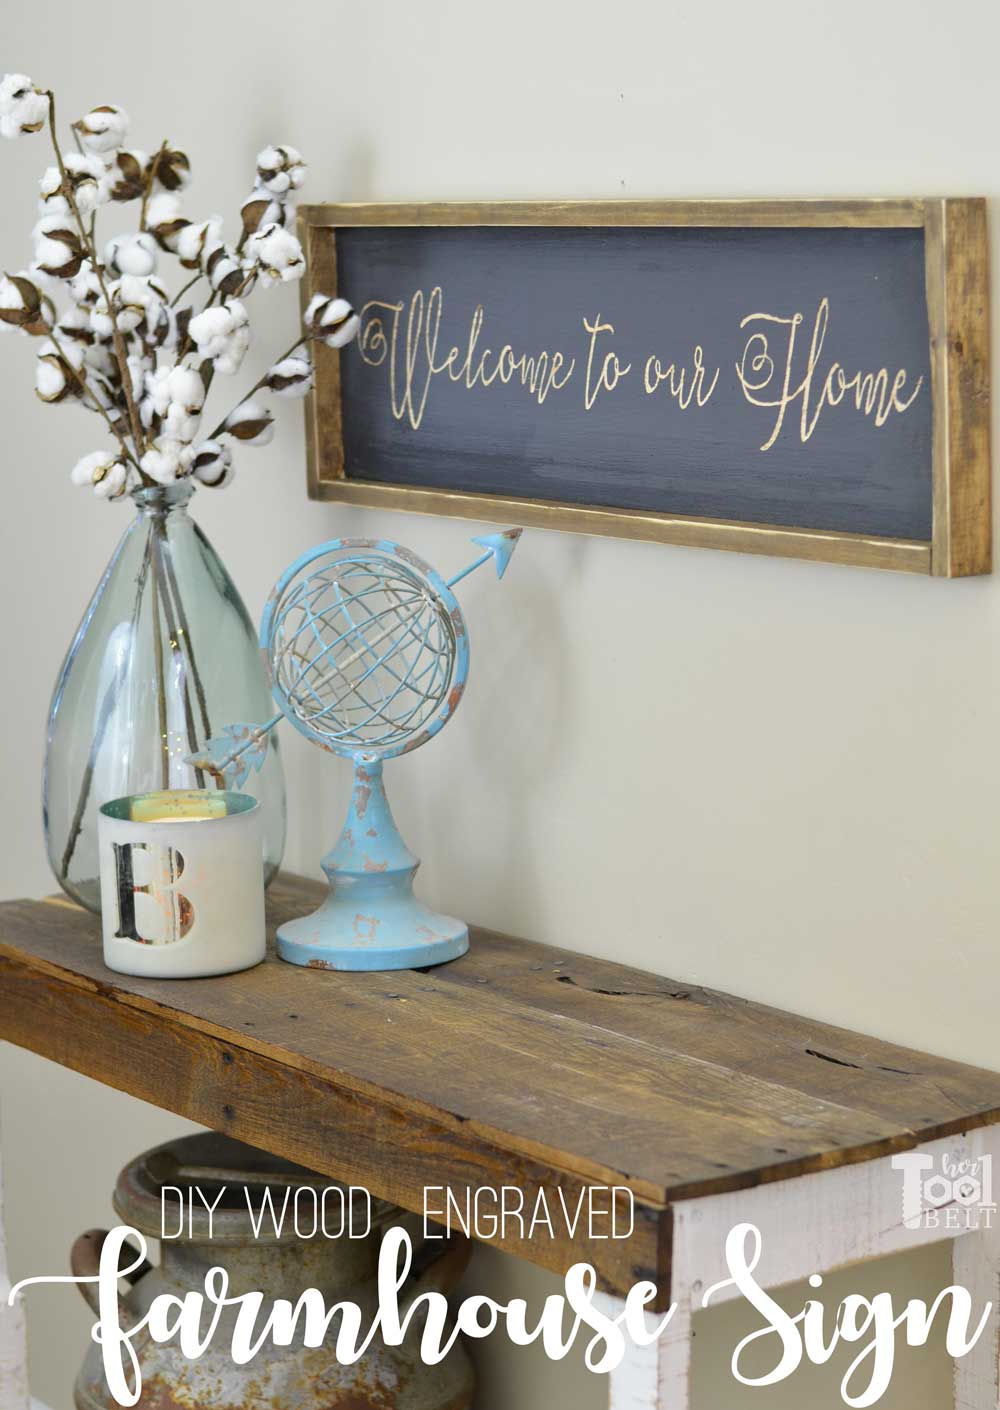
Farmhouse style wood signs are a fun way to personalize your space. They are fairly easy to make yourself too. What’s your favorite style of farmhouse sign? Do you love hand painted, vinyl or even 3D with wood cut outs applied to the sign? Today I’m making a wood sign that is engraved with a dremel rotary tool. I wanted a pleasant greeting (Welcome to our Home) to go above my free pallet console table in the entryway.
How to Make a Welcome Farmhouse Sign
Materials
- 1/2″ plywood (at least 8 1/2″ x 30″)
- 1 – 1″ x 2″ x 8′ board
- wood glue
- paint (I used DecoArt Relic Chalky Finish)
- 1 1/4″ brad nails
- stain
- picture hanger
When it comes to tools, there are many different tools that can accomplish the same task. On this project, I’m reviewing the Dremel 3-tool combo kit and doing as much of the project using these tools.
Tools
- Dremel 3 tool combo kit (Oscillating tool, Saw max and Rotary tool.)
- Brad Nailer
- Dremel engraving bit
- Tape Measure
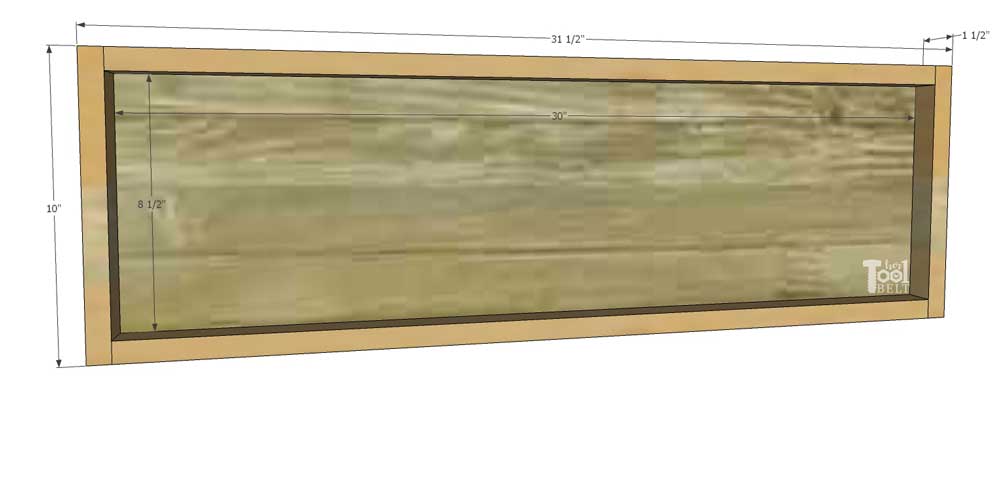
Cut List
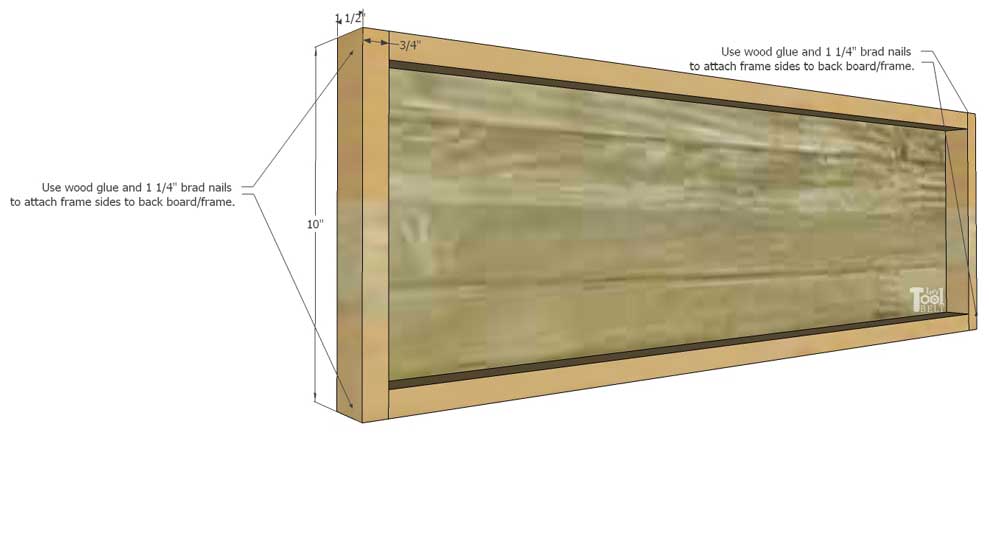
- 1 – 1/2″ x 8 1/2″ x 30″ – back board
- 2 – 3/4″ x 1 1/2″ x 30″ – frame top and bottom
- 2 – 3/4″ x 1 1/2″ x 10″ – frame sides
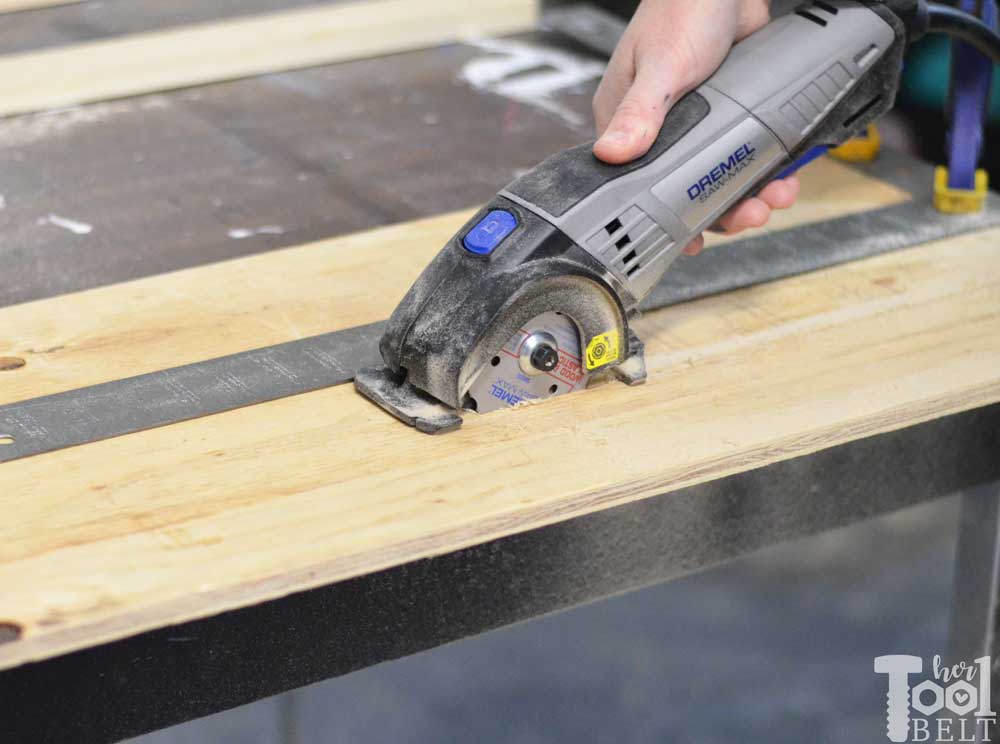
Step 1
Cut the back board plywood to size – 8 1/2″ x 30″. I used the saw max and a straight edge to trim my scrap piece of plywood down to size.
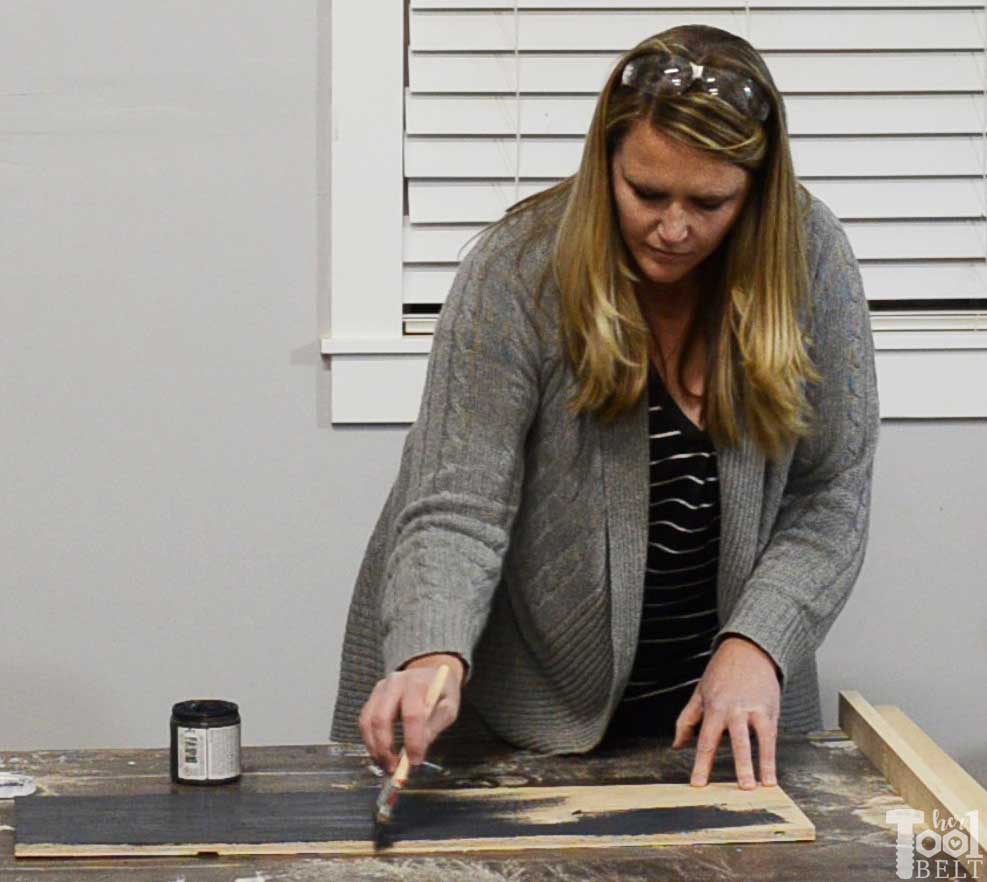
I painted the back board with DecoArt Relic, a dark gray color. Then let the paint fully dry.
Step 2
If you want to use my Welcome to our Home, you can print that out here –> Welcome pattern <– Download and print the 3 pages on landscape and at 100% not fit to page. Tape the pattern together, there will be some overlap on some letters.
Use white chalk and rub the chalk on the back of the pattern where the letters are.
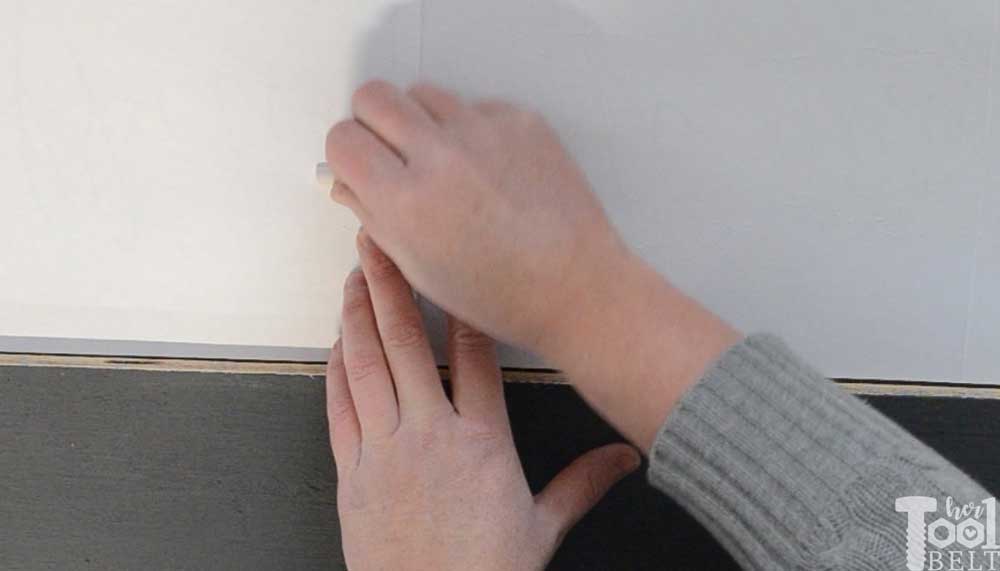
Place the welcome pattern onto the painted back board and center it. Use a sharp pencil or pen and trace the letters, the chalk will transfer a small outline onto the paint.

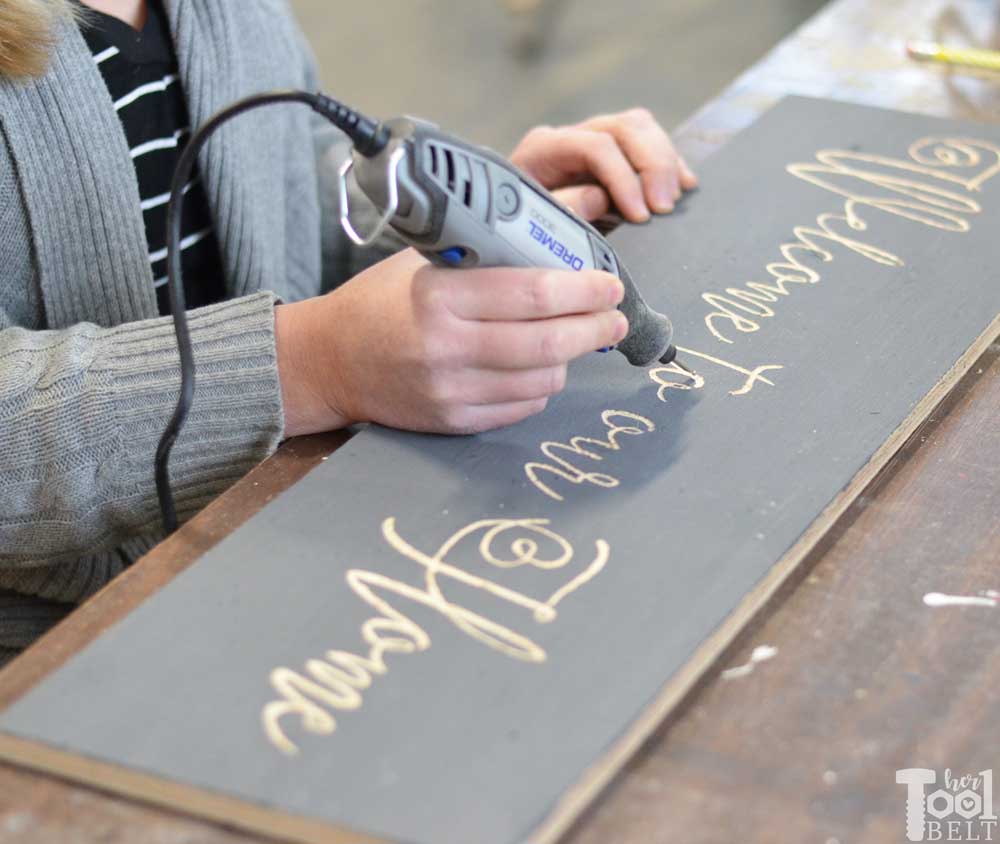
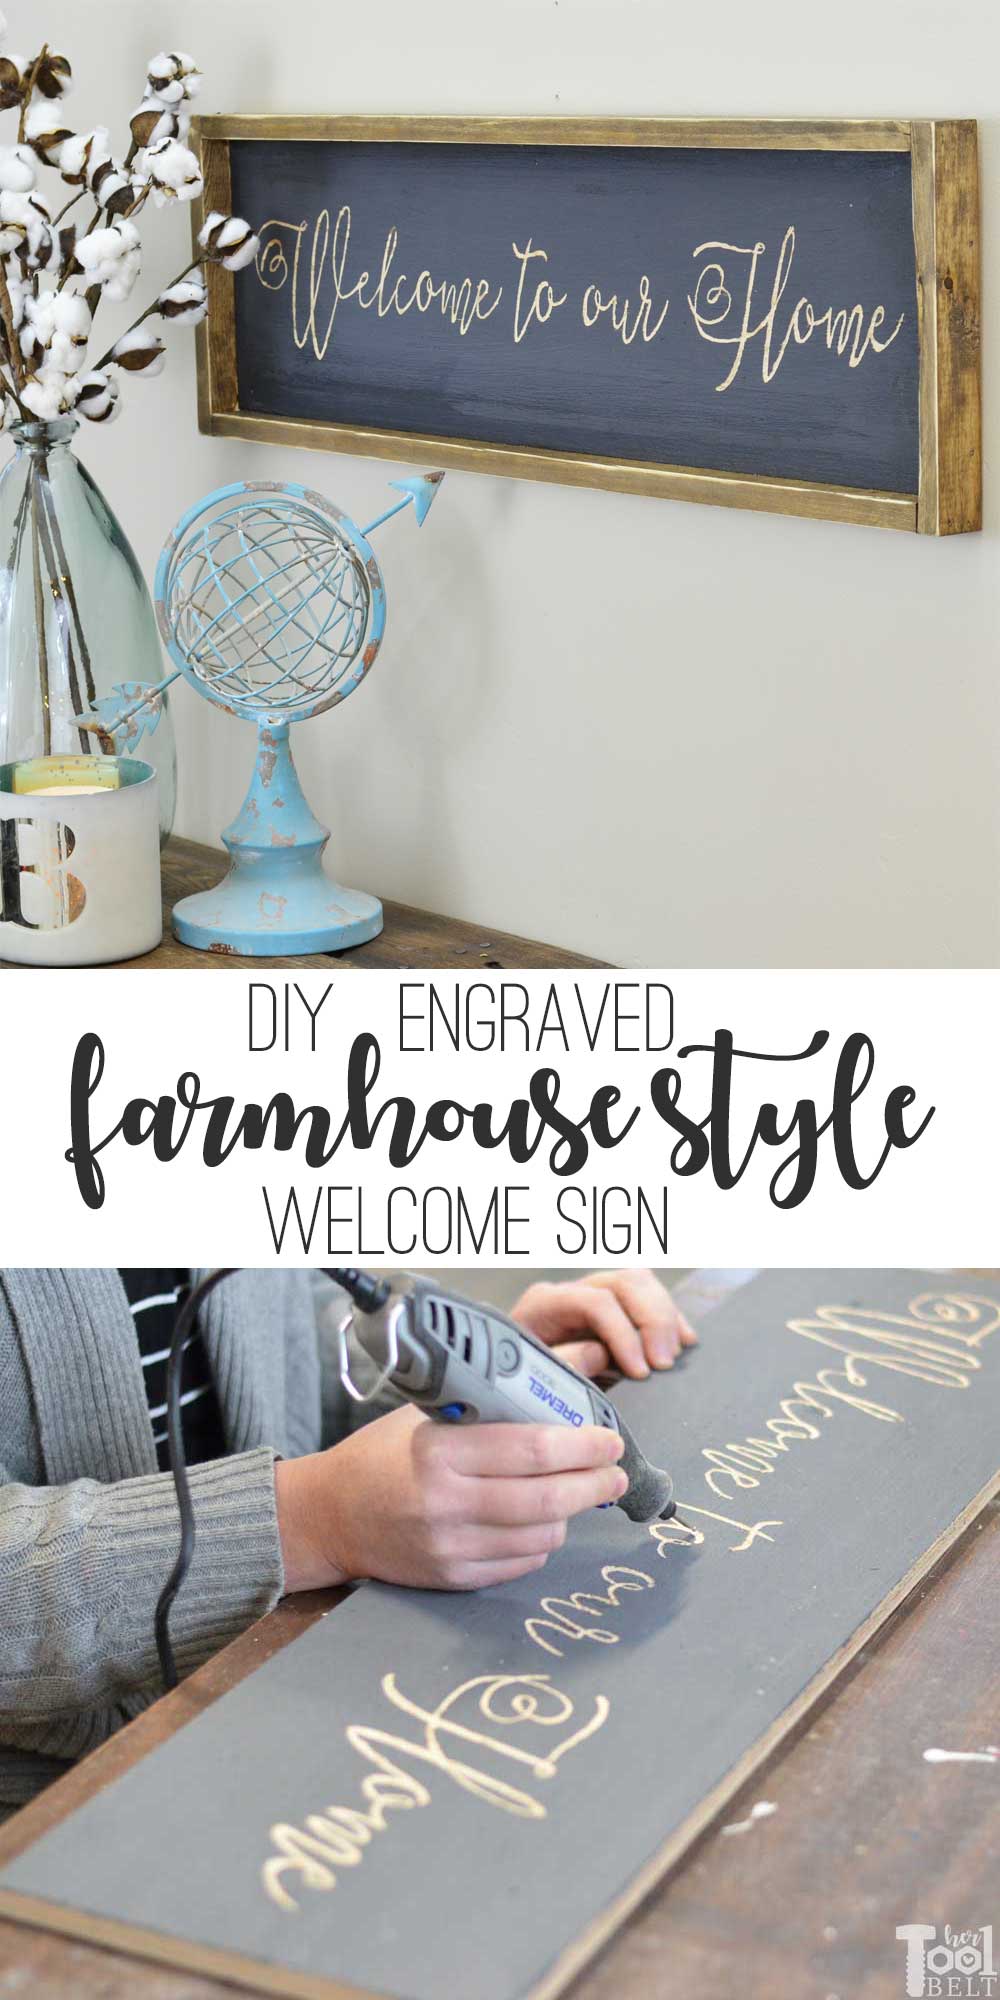
Use the Dremel rotary tool and an engraving bit to engrave the letters onto the back board.
Step 3
Time to add the frame. Cut 2 of the 1×2 pieces to 30″ long (or the length of the back board). Use wood glue and 1 1/4″ brad nails to attach the top and bottom pieces to the back board.
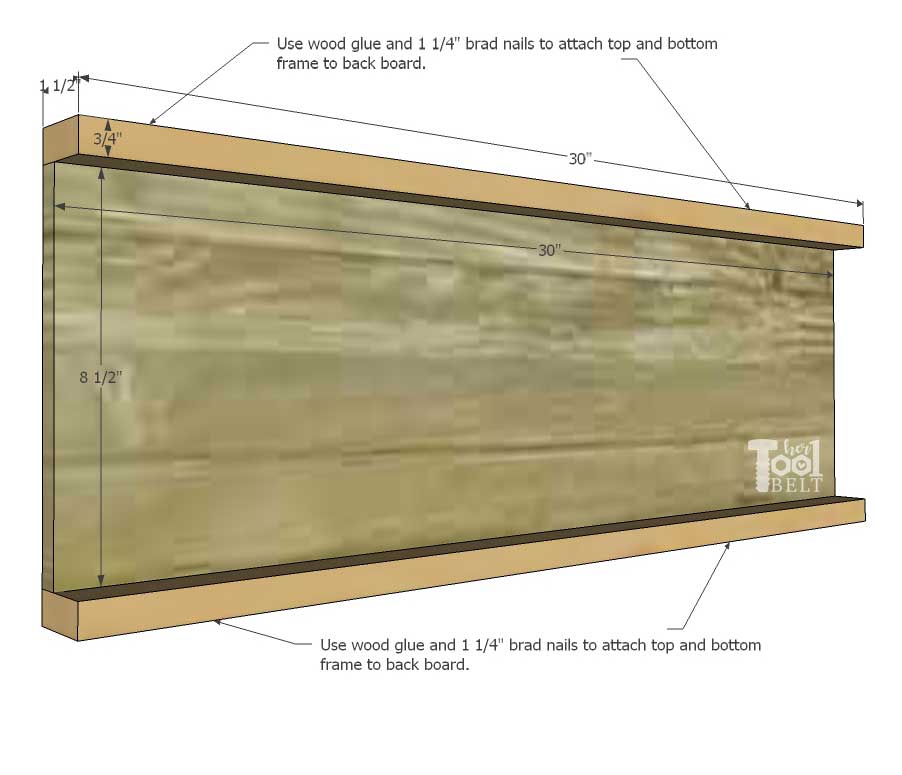
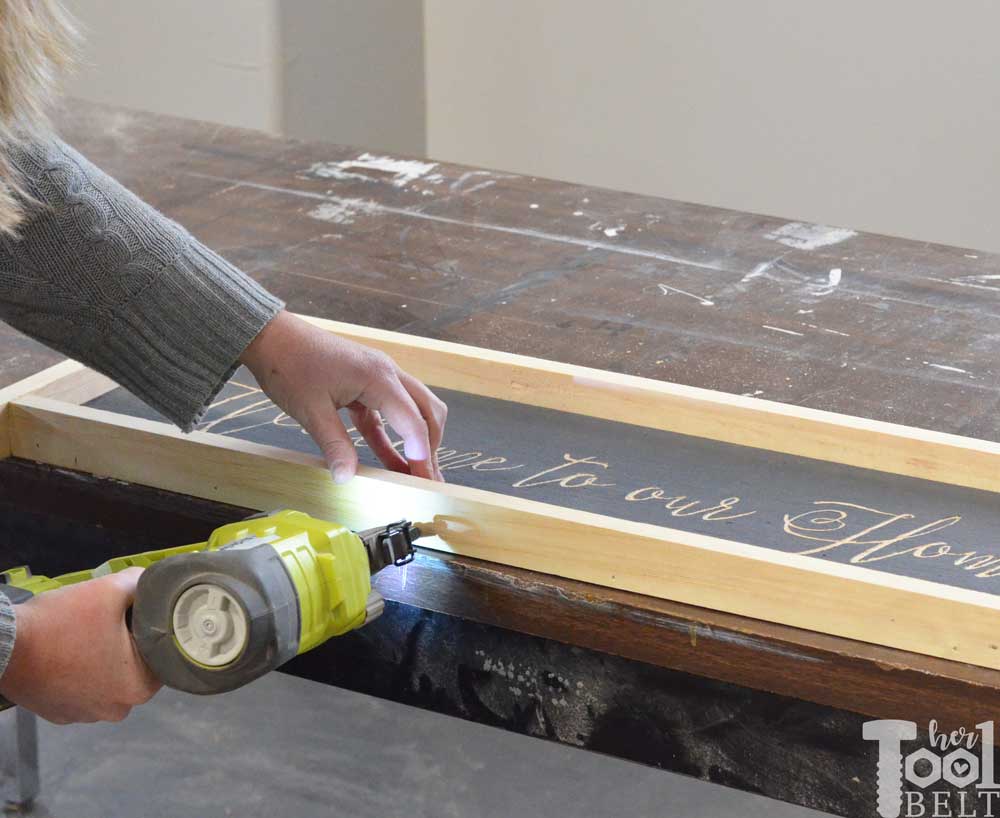
Measure the length needed for the side pieces (about 10″) and 2 side pieces accordingly. Use wood glue and 1 1/4″ brad nails to attach the sides to the top and bottom frame and back board.
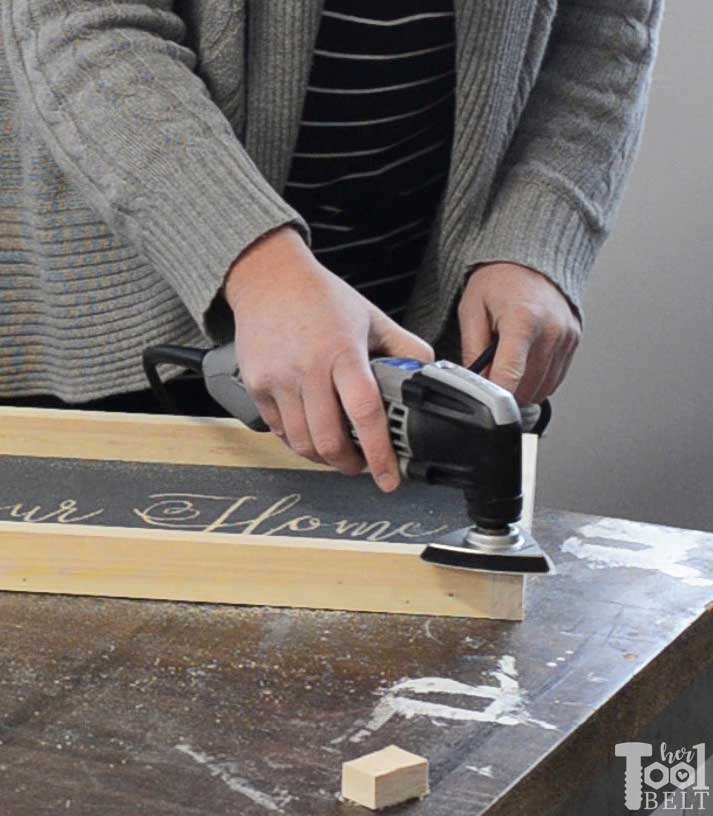
Use the flush cut blade for the oscillating tool to trim any excess wood from the side pieces.

Use the sander attachment to smooth any rough areas on the frame.
Stain the frame as desired. I used aged oak with a little weathered gray on top to tone down the yellows. Let the stain fully dry.
Add a picture hanger on the back, or route a key hole to hang the welcome to our home farmhouse sign.
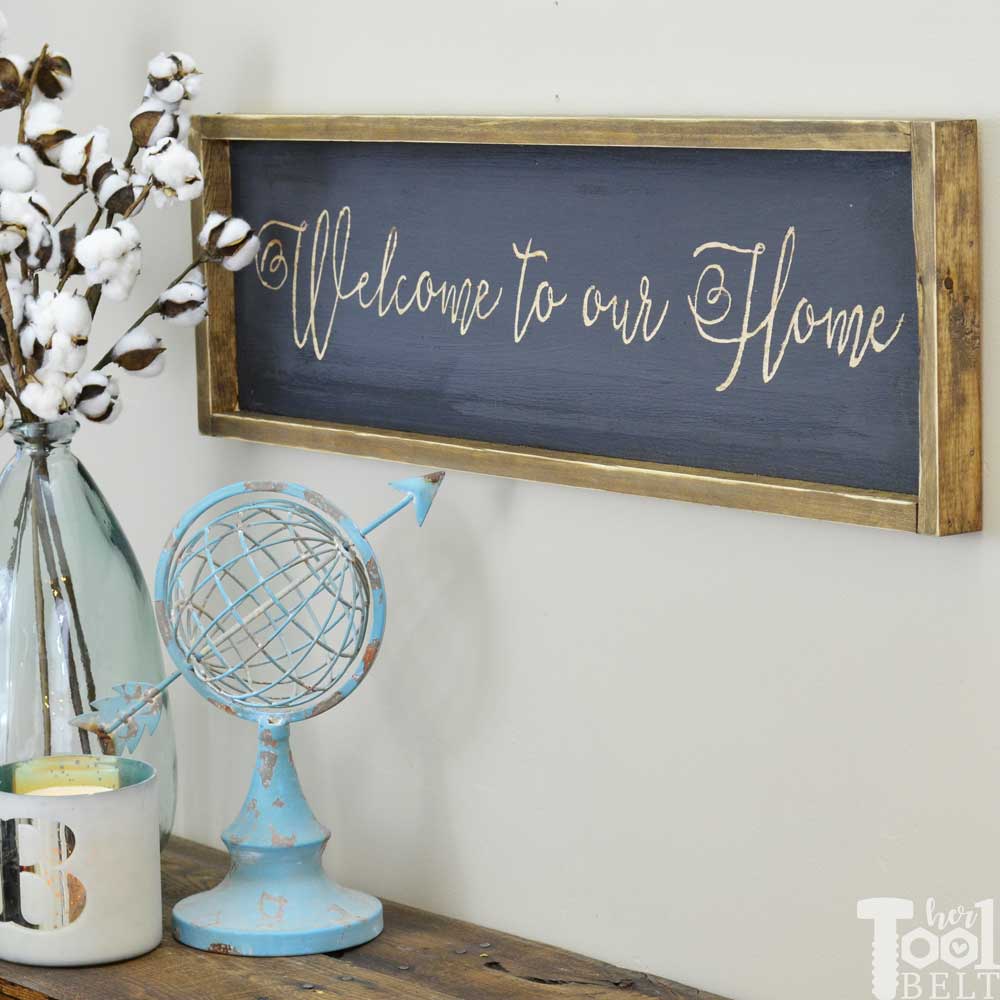
What do you think of the engraved look? It’s not as crisp as vinyl, but I do like the added dimension.

Thoughts on the Dremel 3-tool Combo Kit
The Dremel combo kit is handy kit and the tools are very versatile. There are a lot of projects and repairs that you can do around the house with these tools. Just note that all of the included tools are the very base models. There aren’t any bells and whistles like you might find with the upper tool models. One other thing to note is that the kit comes with very few accessories, but you can buy the accessories you need either ala carte or in bundles.
Are you ready to make your own farmhouse sign? Thanks for pinning
“I acknowledge that The Home Depot is partnering with me to participate in the Tool Review Program. As a part of the Program, I am receiving compensation in the form of products and services, for the purpose of promoting The Home Depot. All expressed opinions and experiences are my own words. My post complies with the Word Of Mouth Marketing Association (WOMMA) Ethics Code and applicable Federal Trade Commission guidelines.”
Hi Amy! This is a lovely piece of art. Would you please share what is the name of the font you used? Thanks!
Hi Laura,
The font is Askern Regular.
Have a great day!
I have wanted to make signs like this in my woodworking shop for some time very nice project well done.
Where do l buy the paper with “ Welcome To Our Home” ?
As well do l sign up to try out and promote these types of products and try them on my shop?
The Dremal tool l would like to buy what is the cost?
I signed up for Home Depot tool testing program in 2 years no contact l gave up was sad because Home Depot is my fav store.
Great project
Hi there. I love your project. It’s one of the “why didn’t I think of that” things 🙂 I downloaded your sign and am very excited to get it going. I HAVE to ask…is that a Ryobi brad nailer? If so, is it like a +one or a corded and does it use an air compressor? I love ryobi and am working all my cordless and more being just that. Thank you so much for your project!
Yes it’s the Ryobi +one Airstrike, uses a battery and no compressor/hose is needed! One of my favorite tools.
Thanks for doing such a helpful post! I have a dremel tool and the ultra saw, but am always trying to figure out new uses for them and this tutorial was perfect!
Would it work if I wanted to paint the letters in with a small paint brush? I like yours but I would like my letters painted in either white or black. Thanks Have a Blessed day ??
Yes that would be great!
Can you tell me what size engraving but you used
Many thanks