This Easter Egg Decor and Dremel Stylo+ tool review is sponsored by The Home Depot. I have been compensated for my time and provided with product. All ideas and opinions are my own. This post contains some affiliate links for your convenience. Click here to read my full disclosure policy.
Easter seems to be so early this year, wasn’t it just St. Patty’s Day? We love Easter around here, and love to get together with cousins for lots of fun. In the morning we usually go to the city candy and egg hunt, later we meet with cousins for a nice picnic. We usually end the fun festivities rolling our beautifully decorated eggs down a hill west of town…which always ends up in an egg fight!
What are your favorite Easter traditions?
In this post I’ll be reviewing the new Dremel STYLO+ rotary tool. I’m excited to try out the new rotary Dremel because it’s supposed to be light weight and comfortable to use with a much slimmer body. One of my all time favorite Dremel crafts, are these cool engraved ornaments by Kim Six. I wanted to try something similar…but with eggs. Of course the rotary tool can be use for lots of other projects, like a farmhouse welcome sign.
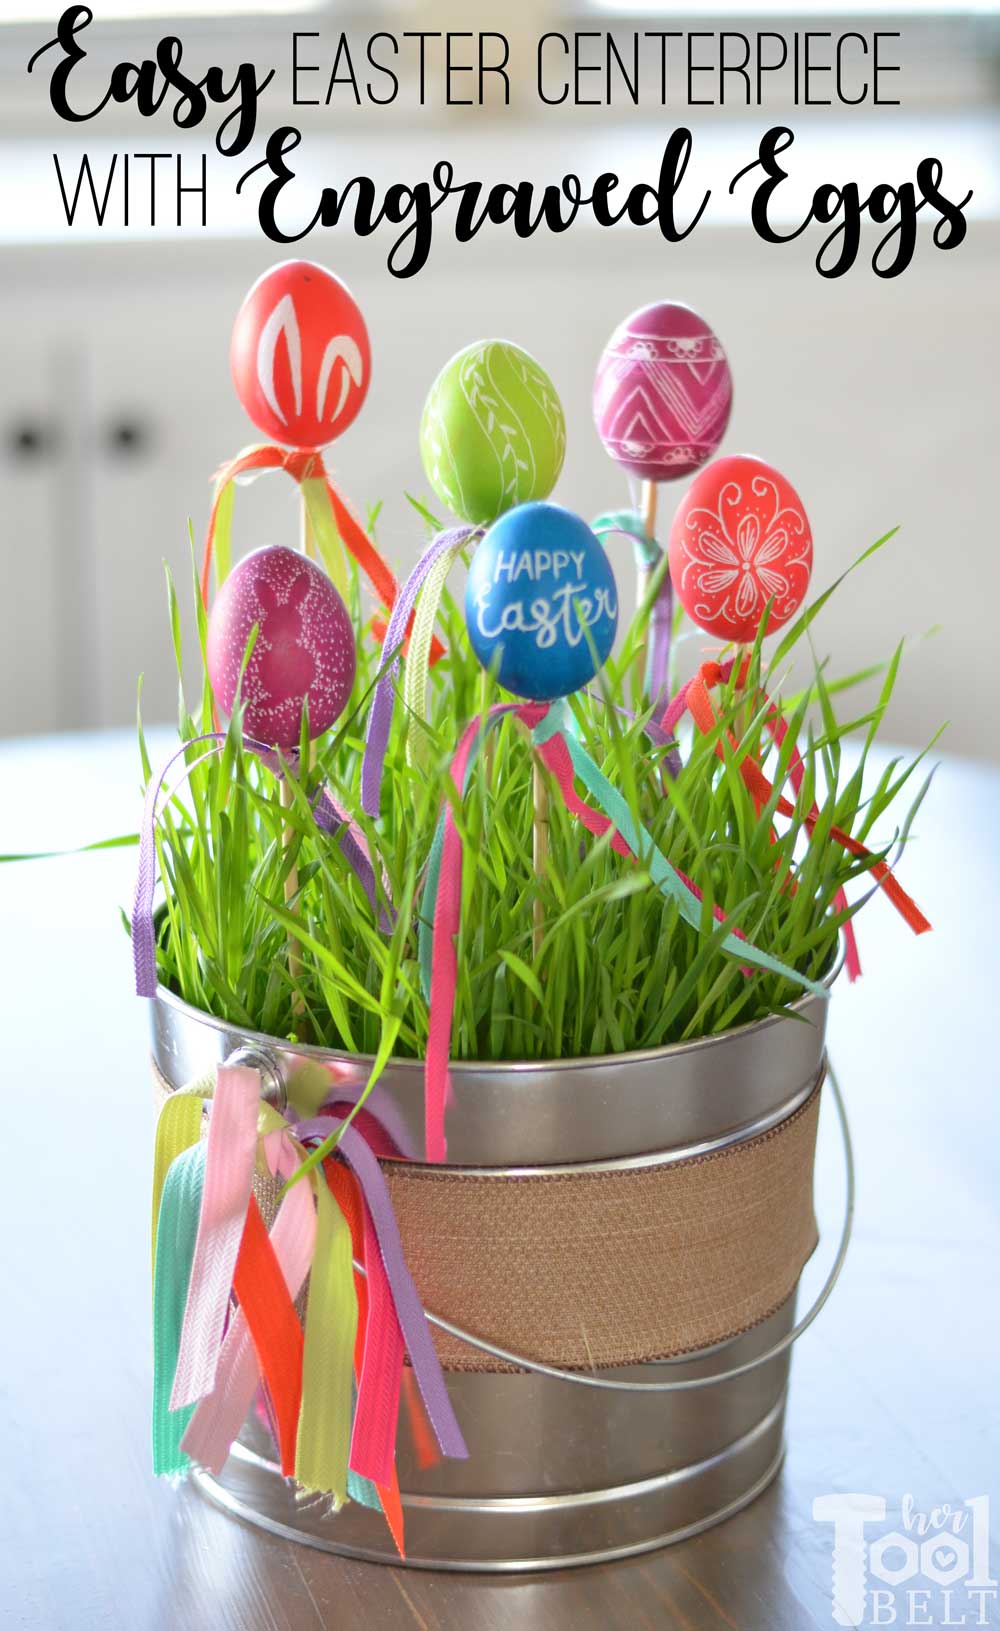
How to Make an Easter Egg Decor Centerpiece
Materials
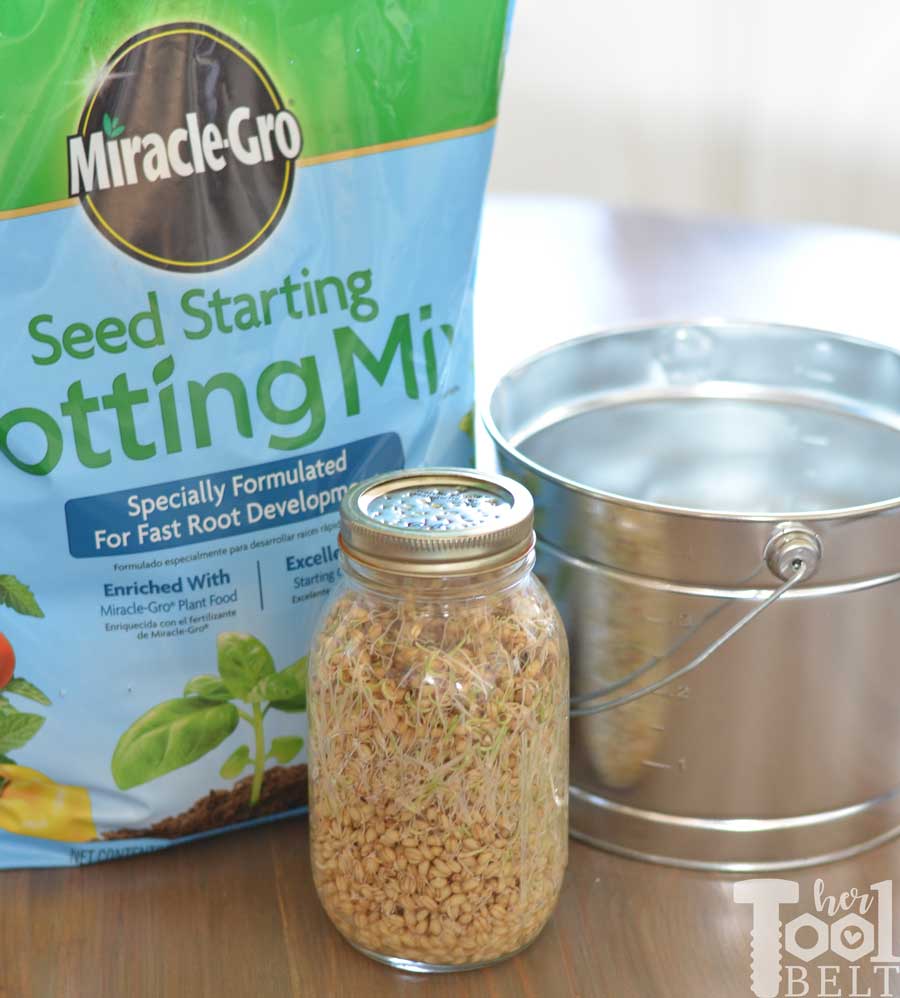
- 5 qt Metal Bucket (from the Home Depot paint section)
- Miracle Gro Seed Starting Dirt
- Wheat (Hard White Wheat) – fake Easter grass will work too.
- Eggs
- Dye (water, vinegar, food coloring)
- Wood Skewers
- Toothpick
- Hot Glue
- Ribbon
Tools Used
How to Grow Wheatgrass for Easter Decor
Wheatgrass is really easy to grow, and it only takes about 7 days to look great. I sprouted about 1 1/2 cups of Hard White Wheat for this project, but really only needed about 1/2 cup sprouted wheat.
To grow the wheatgrass you’ll need:
- 1/2 cup wheat (hard white or red wheat)
- mason jar and lid with holes poked in it
- water
- potting mix dirt
- container – 5 qt metal pail/bucket
To sprout the wheat, I followed this easy video.
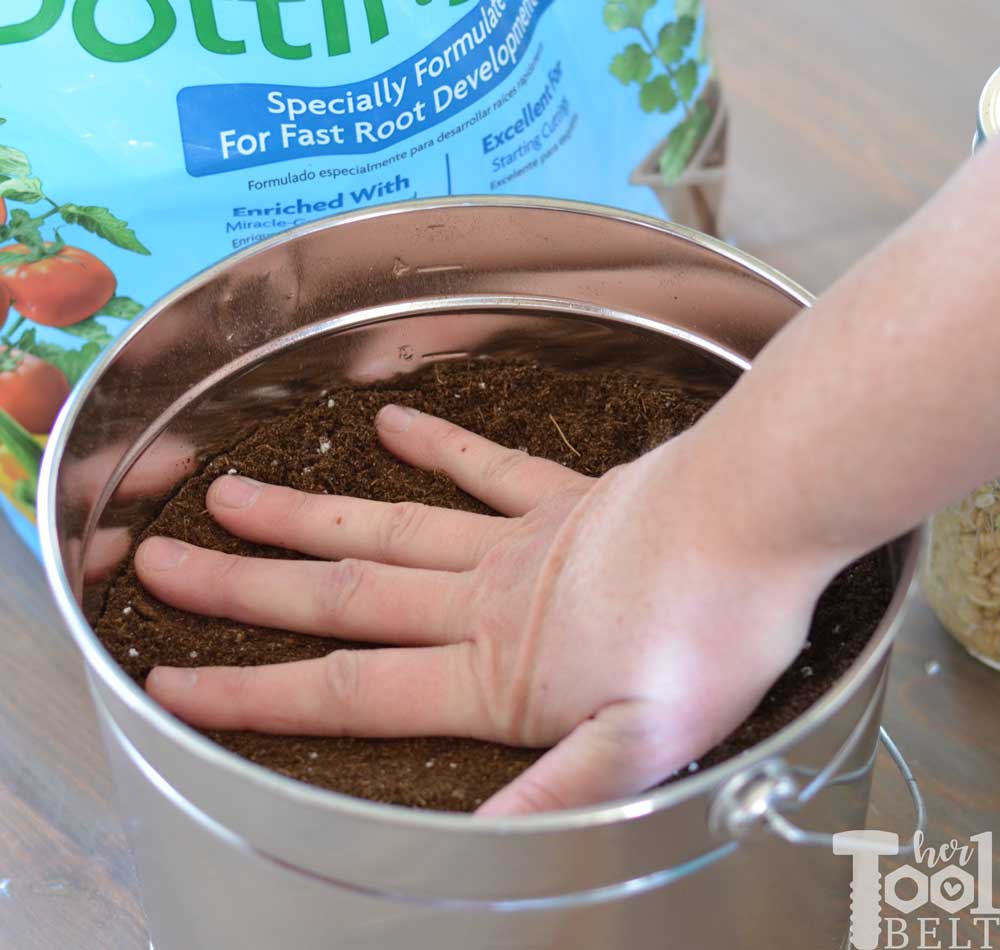
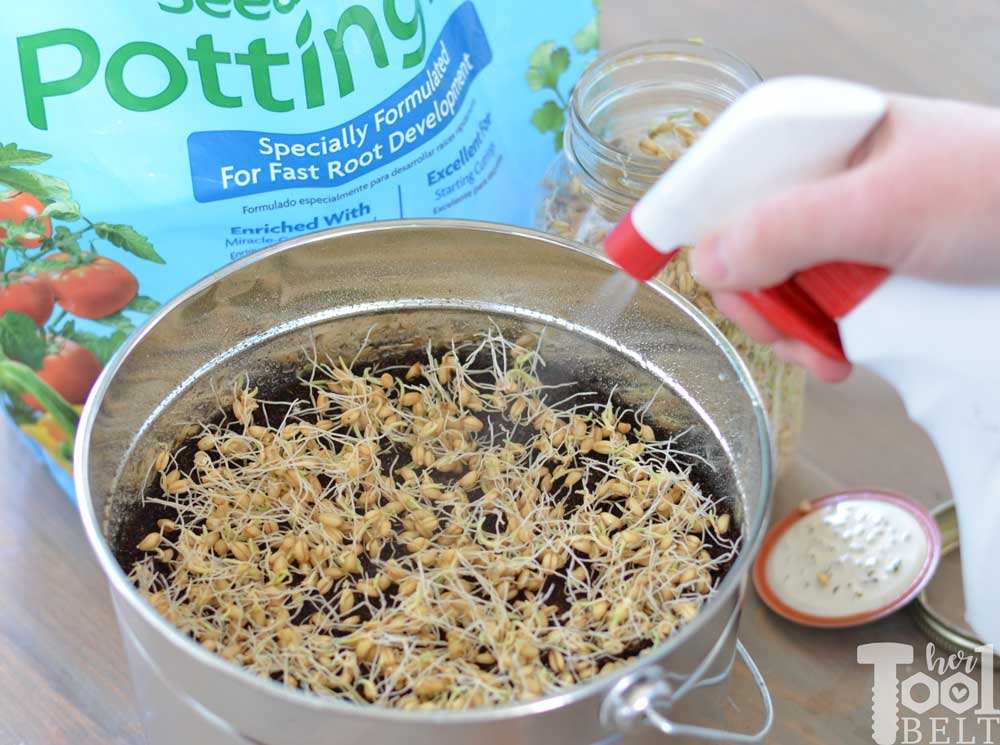
After the wheat rinsing days, I filled the bucket with potting mix (dirt) to about 2″ from the bucket top and packed it down.
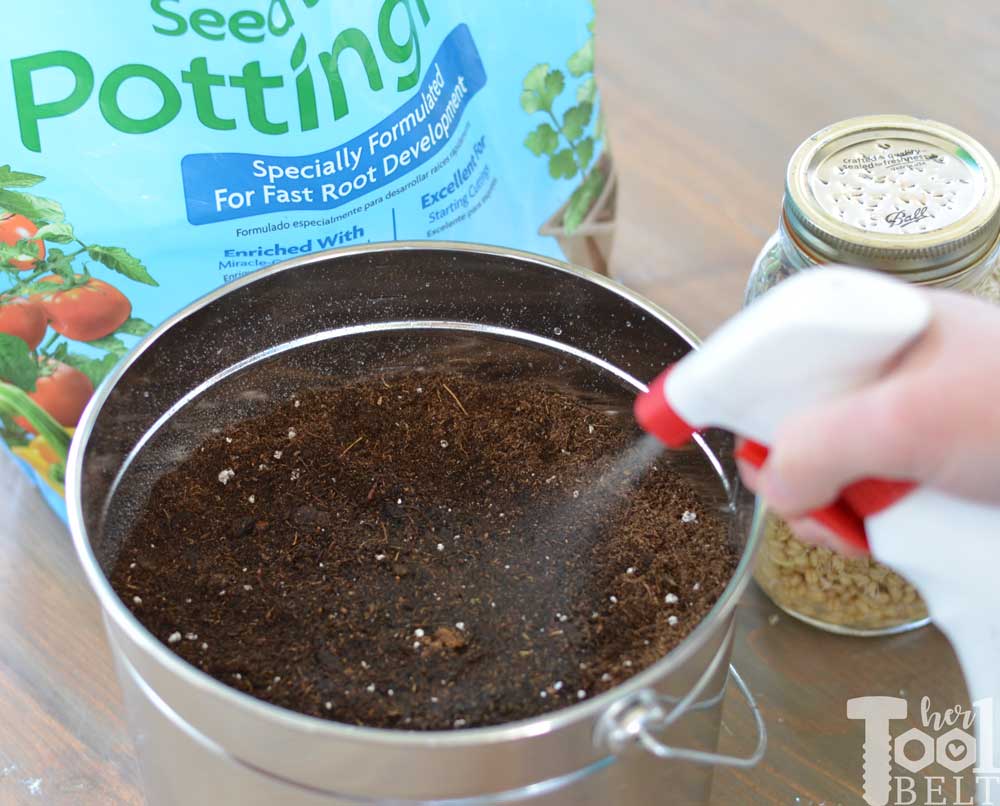
Then I sprayed the potting mix with water to moisten it.
Then spread a layer of wheat sprouts on the dirt, sprayed them with water and covered the sprouted wheat with plastic wrap with holes poked through. I removed the plastic wrap after a couple of days, and made sure to water the sprouts once a day.
Time to work on the Easter Eggs while the grass is growing.
How to Dye Easter Eggs with Food Coloring
I decided to use hollow eggs for this Easter centerpiece. First I colored the eggs, then blew them out. Use your favorite egg coloring method to dye the eggs, I went with using neon food coloring.
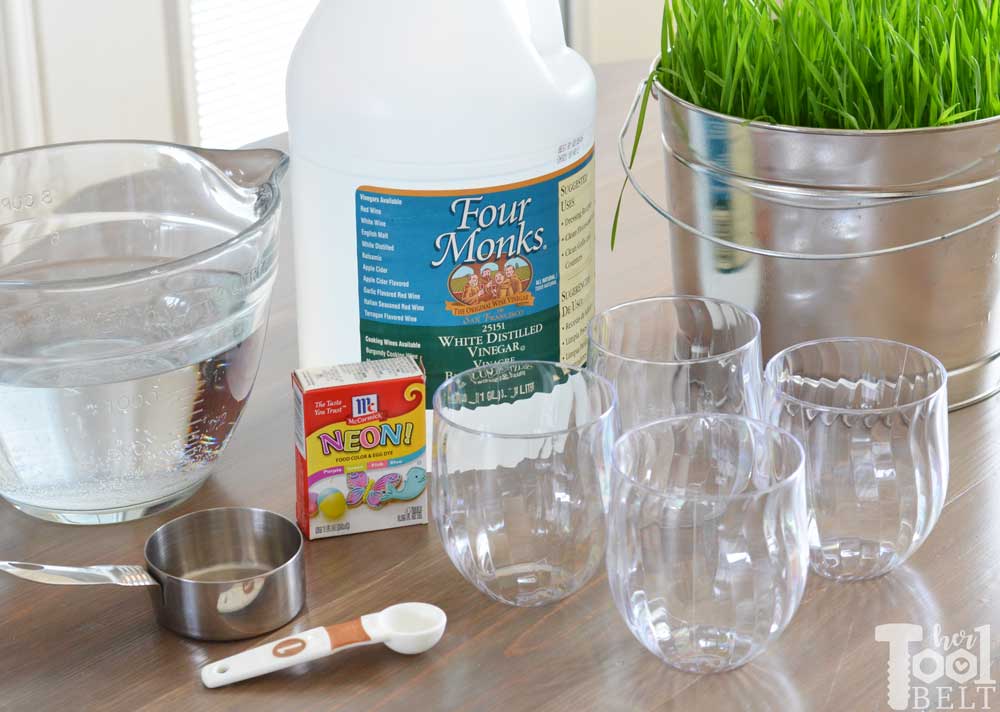
To color dye the eggs I used:
- Per color
- 1/2 cup boiling water
- 1 tsp vinegar
- 20 drops of food coloring
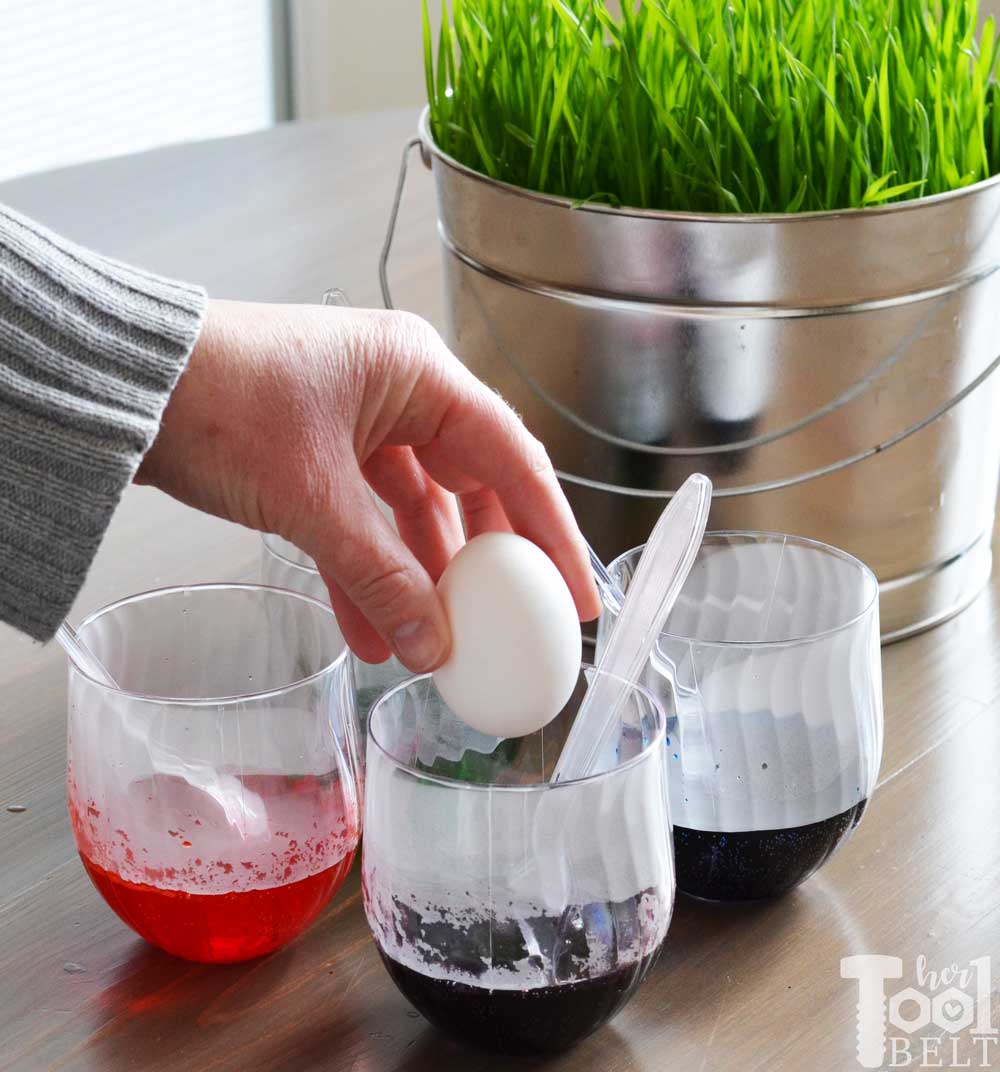
- For each color pour 1/2 cup boiling water, 1 tsp vinegar and 20 drops of water based food coloring in a cup and stir until combined.
Place an egg or two in each cup until the egg is dyed according to your liking. Pull the eggs out and let them dry, on a wire rack (cookie cooling rack) with newspaper/paper towels underneath.
How to Hollow Out Eggs
I remember doing this in elementary school, I think we had a craft that we made little egg people or something.
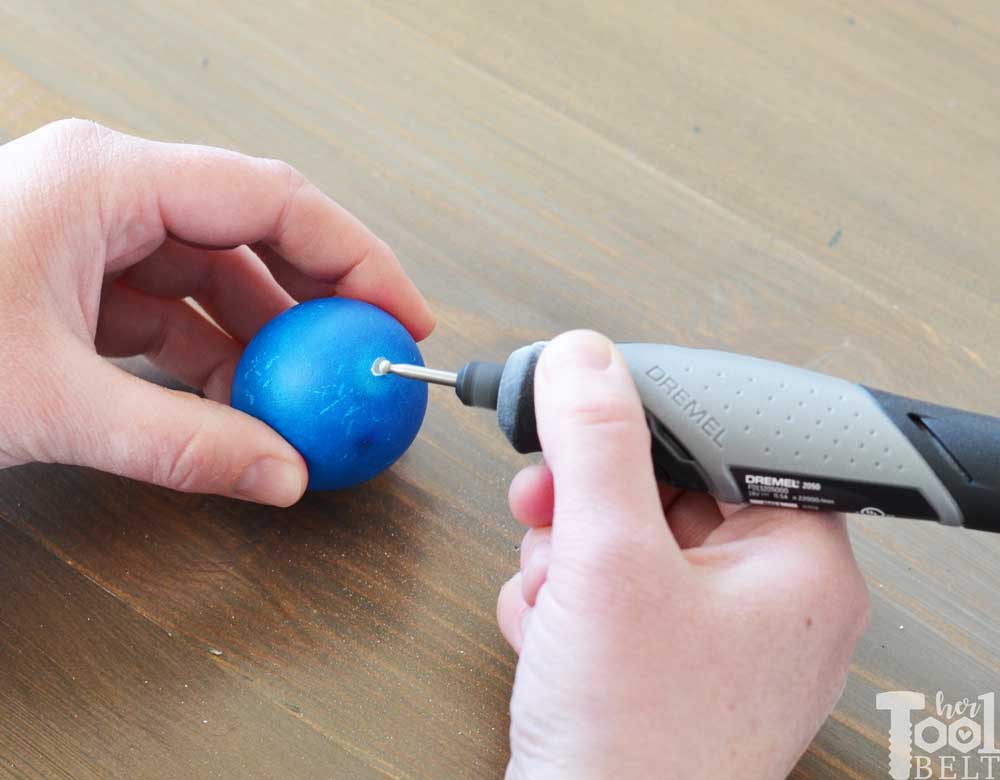
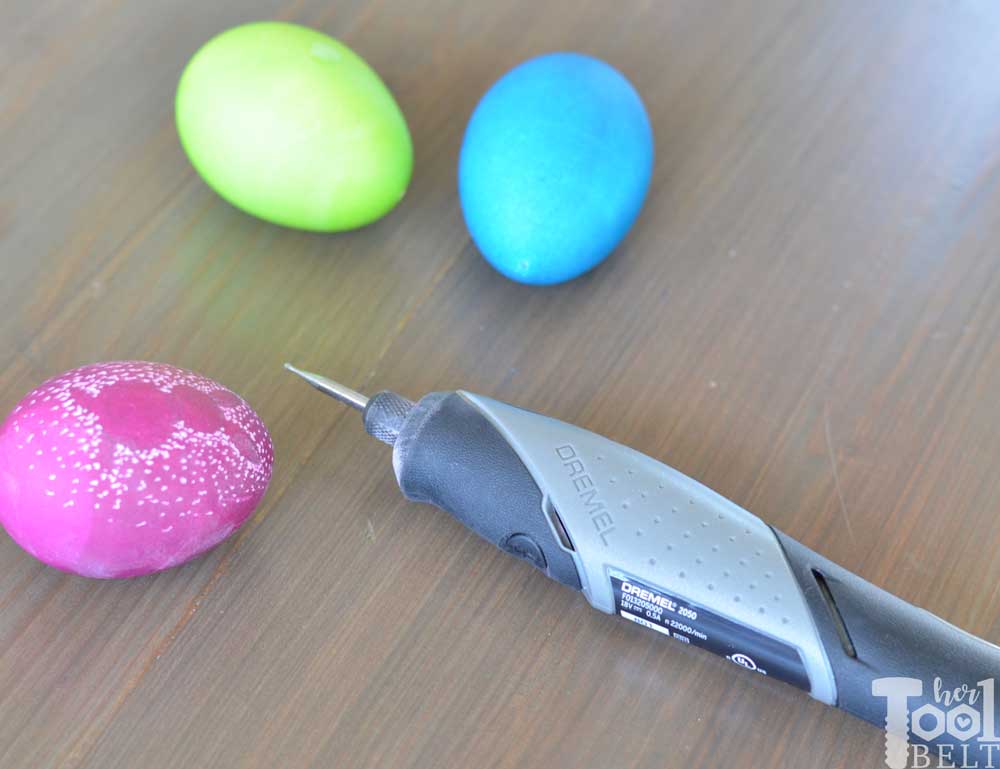
Drill a small hole with the Dremel in the top and bottom of the egg. The hole should be large enough to fit a toothpick in to break the membrane. I found it easiest to blow out the egg if the bottom hole was a little bit bigger, maybe 1/8″ diameter or a little bigger.
Either place your mouth on the egg and blow out the contents into a bowl, or you can place a straw over the top hole and blow to push the contents out. The straw method was a little more comfortable for me.
Now time to get creative and Engrave/Etch Eggs
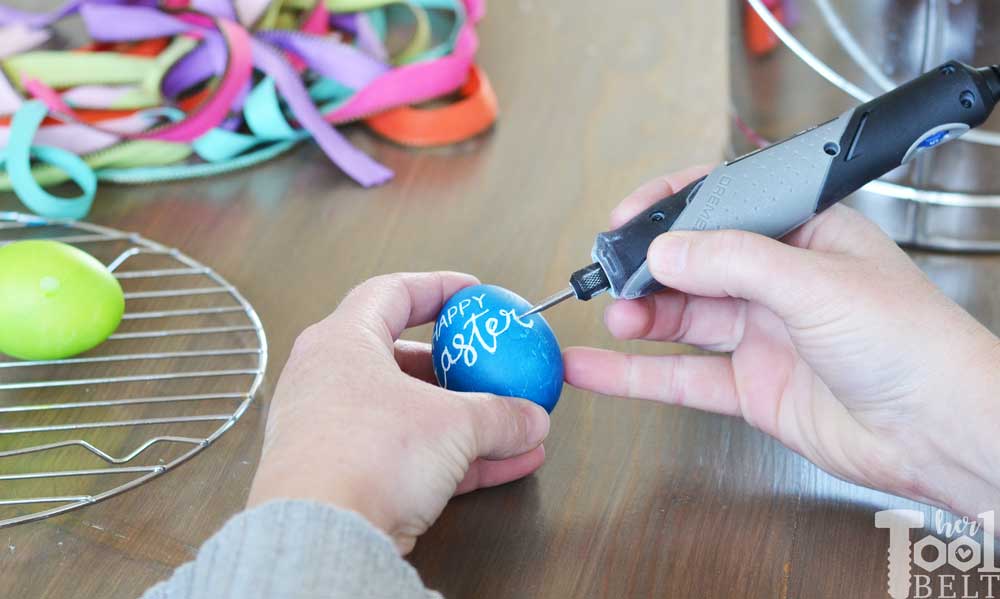
To make the engraved designs on the eggs, I used a pencil to draw patters onto the colored eggs. Then I used this small etching bit to be the most productive and useful bit for egg shells in the STYLO+ kit. I hope you don’t mind the sound of a drill at the dentist office 🙂 .
Etching the eggs is pretty easy, just takes a bit of time. The Dremel STYLO+ is significantly easier to hold while doing intricate projects (compared to the 4300), plus it has a nice variable speed dial to change between 5,000 and 22,000 RPMs. It will definitely be my go to for a rotary tool now.
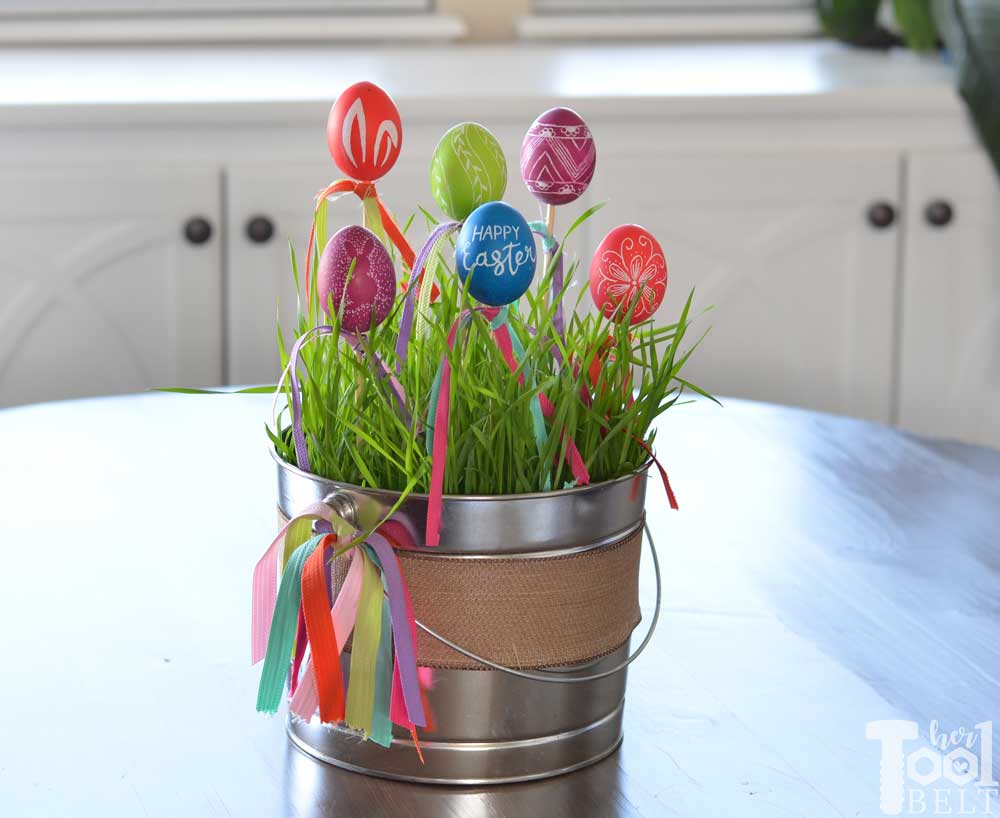
The cute little bunny ears are inspired by a darling printable by Snap Creativity. My hands aren’t the most steady for detailed work, but I think the eggs turned out pretty cute.

To finish off the Easter centerpiece, I hot glued a wood skewer to each egg bottom and tied a couple of ribbons to the skewer. Then poked the skewers into the wheatgrass. I also hot glued burlap ribbon to the metal bucket and tied a few pieces of ribbon to the handle.
Have a Hoppy Easter!
“I acknowledge that The Home Depot is partnering with me to participate in the Tool Review Program. As a part of the Program, I am receiving compensation in the form of products and services, for the purpose of promoting The Home Depot. All expressed opinions and experiences are my own words. My post complies with the Word Of Mouth Marketing Association (WOMMA) Ethics Code and applicable Federal Trade Commission guidelines.”
Danke dir für das Rezept! Ich habe sie zuhause noch nie gemacht und erst einmal habe ich sie irgendwo getrunken. Aber ich habe auch schon Mal wheatgrass shots ausprobiert und die waren richtig ekelhaft, hehe! Liebe Grüße, Sandra