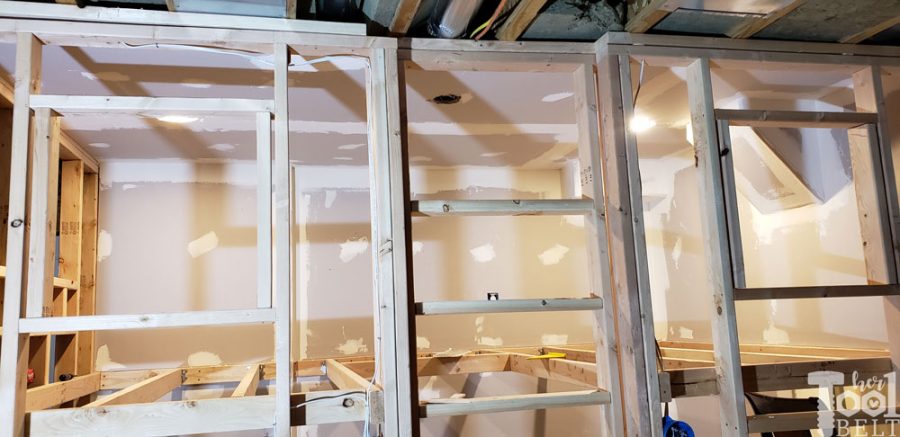
Progress on the basement playhouse is moving right along. In Part 2 of the build, I added the shiplap, sheetrock and the 2nd floor/ceiling. Adding the shiplap and sheetrock has been the most gratifying process, because it really made the playhouse take shape. When designing the playhouse, I decided to put shiplap on the inside and outside of all the walls with windows. Then sheet rock on the other walls and ceiling (the regular basement ceiling). I framed the windows with 2×4 in the framing process of part 1. I didn’t want to waste the space of properly trimming out the windows, so when adding shiplap I left a 1/2″ reveal of the 2×4 framing to paint black later. This worked out really well. After painting the walls and ceiling, I added the 2nd floor to the playhouse. It’s starting to look cute!
You can check out the tutorials for the whole playhouse build:
- Part 1 – Basement Playhouse Build – Framing
- Part 2 – Basement Playhouse Build – Shiplap & Sheetrock
- Part 3 – Basement Playhouse Build – Trimming all the things
- Part 4 – Basement Playhouse Build – Cedar Doors & Accents
- Basement Playhouse Reveal!
- House Frame Doll Bed
- House Frame Doll Bunk Bed
This post contains some affiliate links for your convenience. Click here to read my full disclosure policy.
Materials Used
Shiplap
Sheetrock
- 12 – 1/2″ x 4′ x 8′ drywall
- 3 – buckets of Joint Compound
- 1 roll Joint Tape
- 1 1/4″ drywall Screws
- Rounded bullnose drywall edges if wanted
- Drywall sandpaper
Paint
2nd Floor
- 17 – 3/4″ x 6″ x 8′ Blue Pine Tonge and Groove Siding
- weathered oak stain
- Briarsmoke stain
- polyurethane
- sandpaper
Tools Used
Shiplap & Floor
- Ridgid Angled Finish Nailer
- Ridgid Air Compressor
- Air hose + quick connects
- Makita subcompact miter saw + Diablo Fine Finish Blade
- Speed Square
- Tape measure
- Random Orbit Sander
- Jigsaw
Drywall
- Bessey Utility knife
- Straight Edge like Husky 4′ Level
- Drywall drill – or a regular drill is fine
- DeWALT Multi Tool
- To texture I should’ve used hawks, but I used my tile trowels 🙂
- spatula
- shop vacuum
- paint sprayer
A lot of this part of the build is measure and cut to fit, I’ll share tips and things I learned along the way.
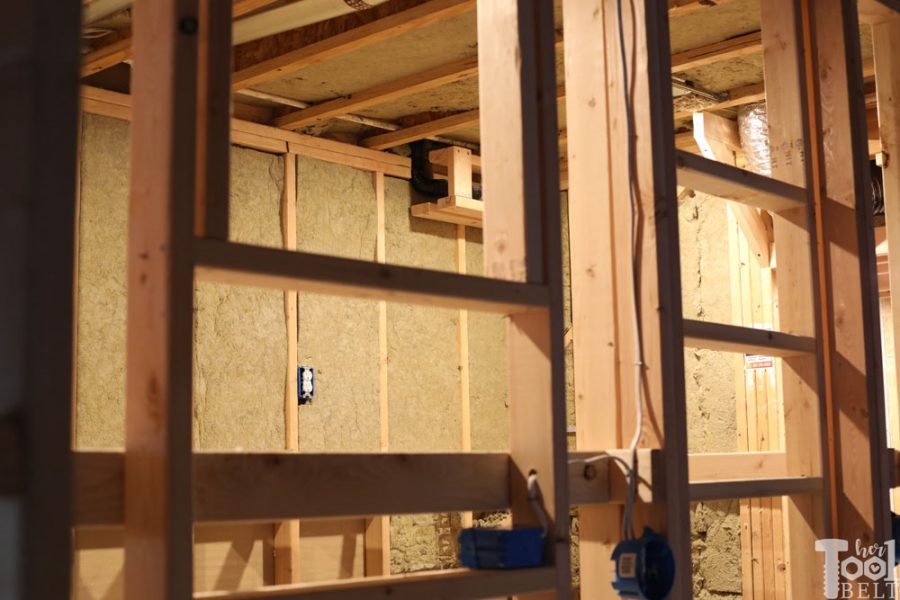
Before starting on the drywall, I bought sound insulation for in between the existing walls and basement ceiling joists because the washer and dryer are right above the playhouse and I’m hoping to reduce the kids being ‘scared’ by noises. 🙂 The mineral insulation was super easy to install, just cut with a utility knife and lightly place between joists/studs. Definitely wear leather gloves when handling this stuff. For the most part it was fine, but there are little pieces of slag that were a little sharp.
Install the Sheetrock (Drywall)
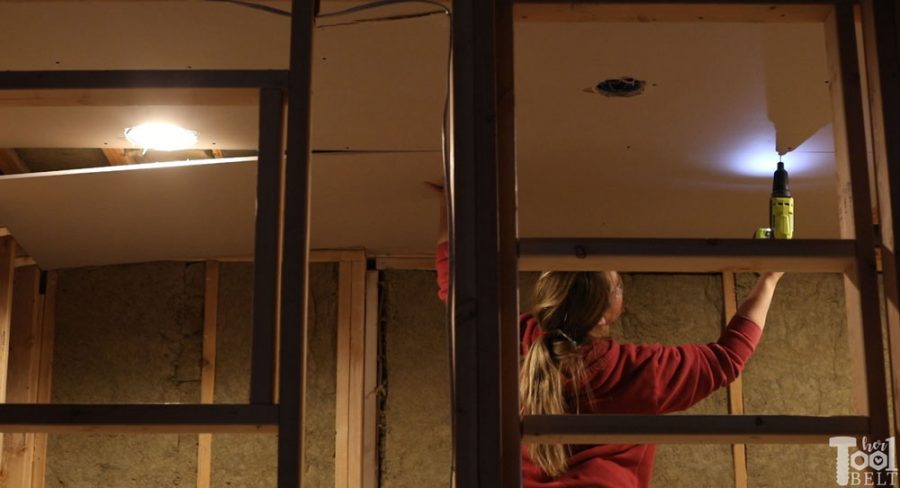
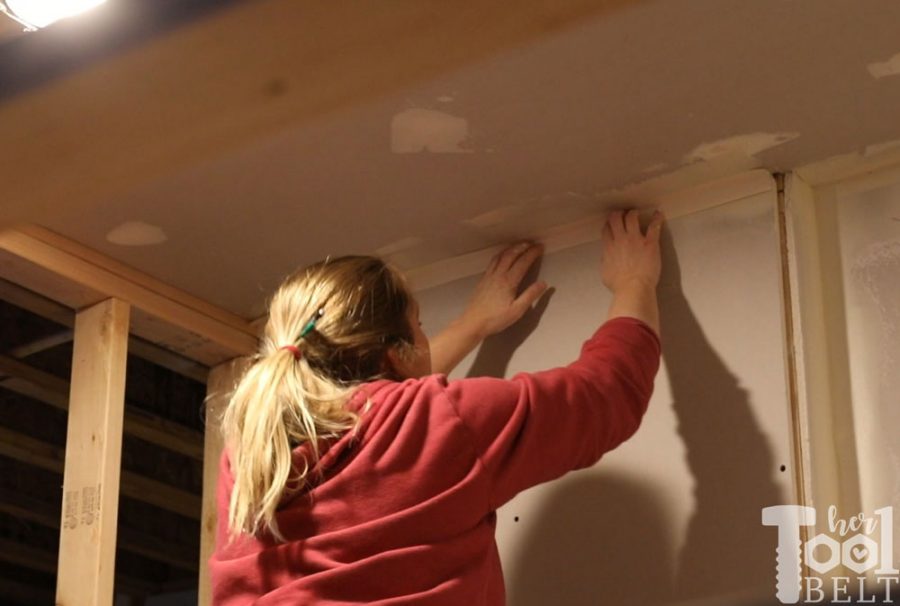
I tried to install as many full sheets of sheet rock as I could, I secured the sheet rock to the joists or studs with 1 1/4″ screws. Where sheetrock pieces came together, I made sure to make the seam in the middle of the stud/joist to have something to secure to. I used a sheetrock drill, it was really nice because you set the depth you want the screw (just below the surface) and the screw goes to the same depth every time!
Cutting sheetrock on a straight line
Cutting the sheetrock is pretty simple when you have straight lines. Place your straight edge where you want to cut. Score the paper on one side with a utility knife, then bend the sheetrock opposite of your cut side and it should snap in a fairly straight line. Then you’ll have to use the utility knife to cut the paper on the side you didn’t cut.
Cutting holes and notches in the sheetrock
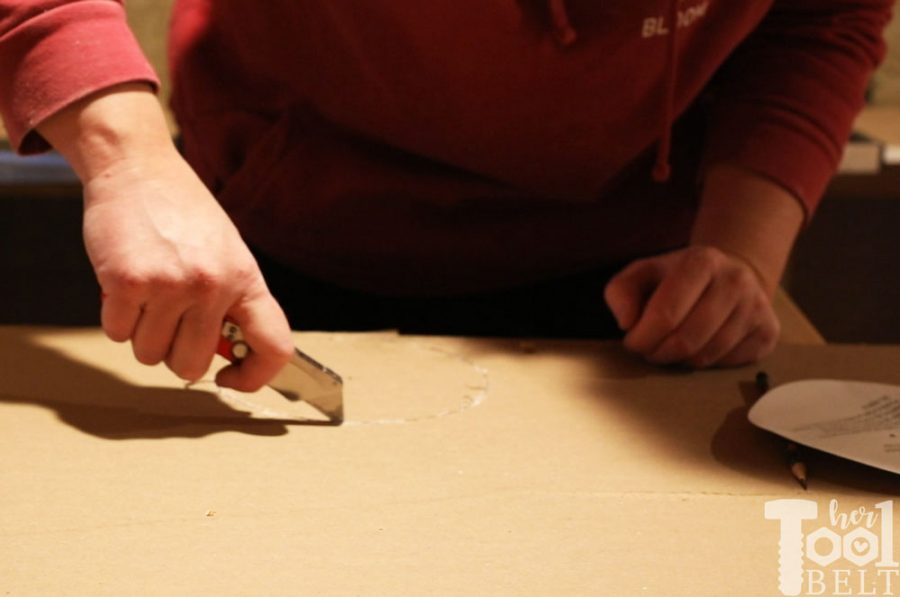
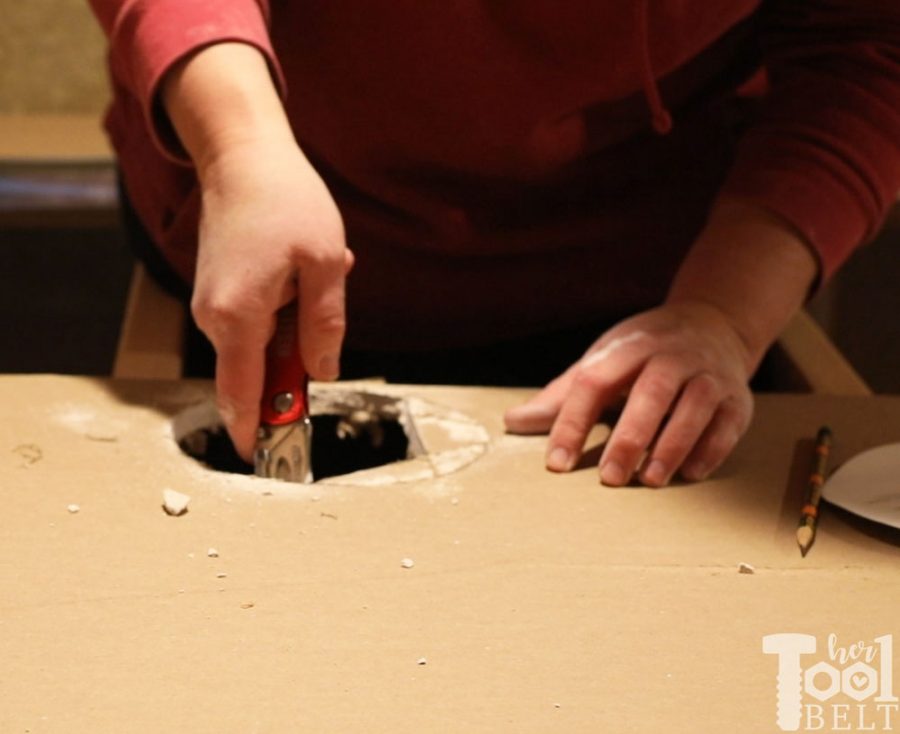
When cutting holes for the recessed lights and outlet boxes, I used a combination at the multi-tool (oscillating) with the drywall blade and the utility knife. The recessed lights come with a circle template that I traced, then I would score the paper around the circle.
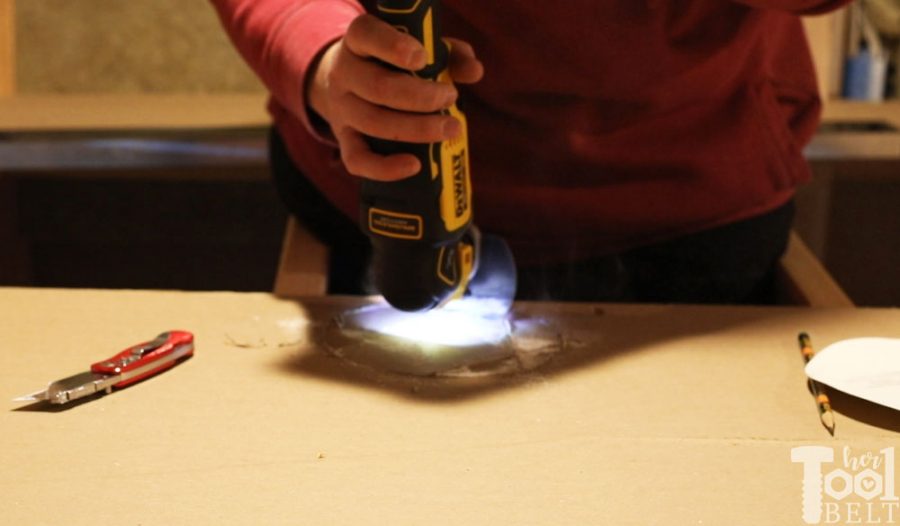
Then I used a multi-tool to cut multiple cuts in the circle cutting to the edge.
The pieces were easy to break off after that, and I could clean up the circle with the utility knife. I know they have a fancy tool to attach to your drill, but I only had 3 circles to cut so this was good enough. Cutting the square holes for outlet boxes is really easy with the multi-tool and drywall blade.
When cutting notches, I would usually score the sheetrock with a straight edge and utility knife on the longest edge. Then use the multi-tool on the short edge(s) and snap the notch.
Taping the drywall joints
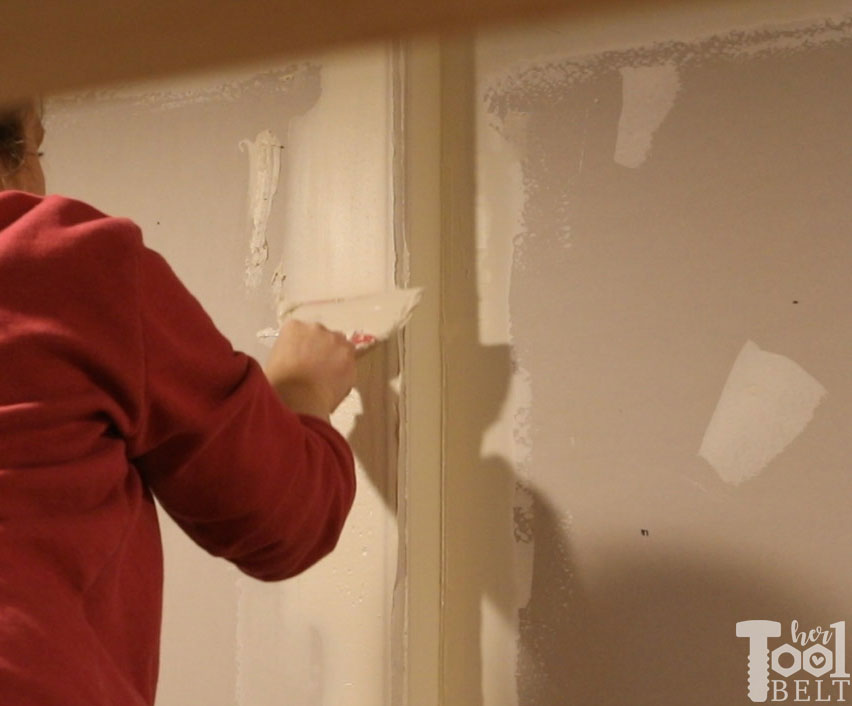
I’ve never been great at frosting cakes and cookies, so taping seams and joints isn’t my strong suit :-). I did find it best to not be stingy on the joint compound skim coat before tape, then tape and press that firmly down with the spatula (knife), followed by a fairly generous top layer of joint compound spread smoothly.
I also filled all of the screw holes with joint compound.
On the outside corners, I bought bullnose edges, I like the ones with paper. Applying the bullnose is similar to the tape, skim coat, bullnose, smooth coat to blend the bullnose into the wall.
Any joint compound ridges and globs left need to be sanded later, so the smoother the better.
Ceiling and Wall Texture
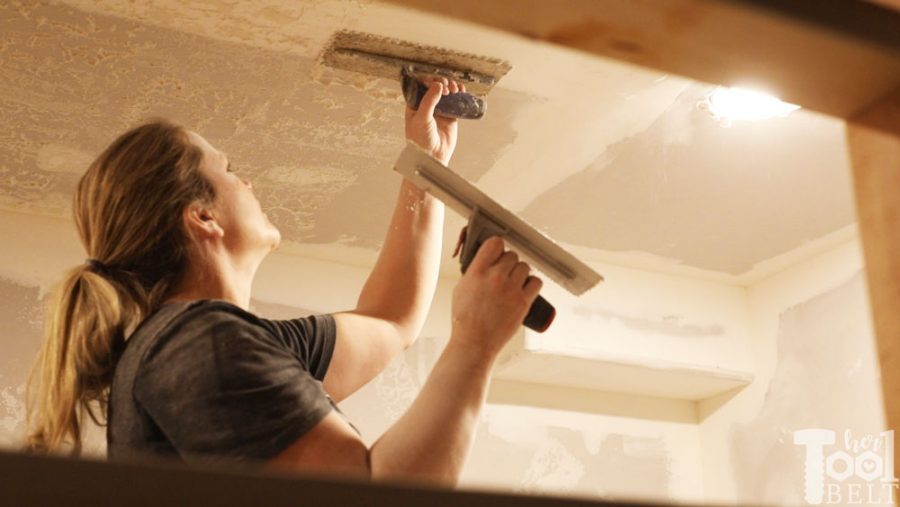
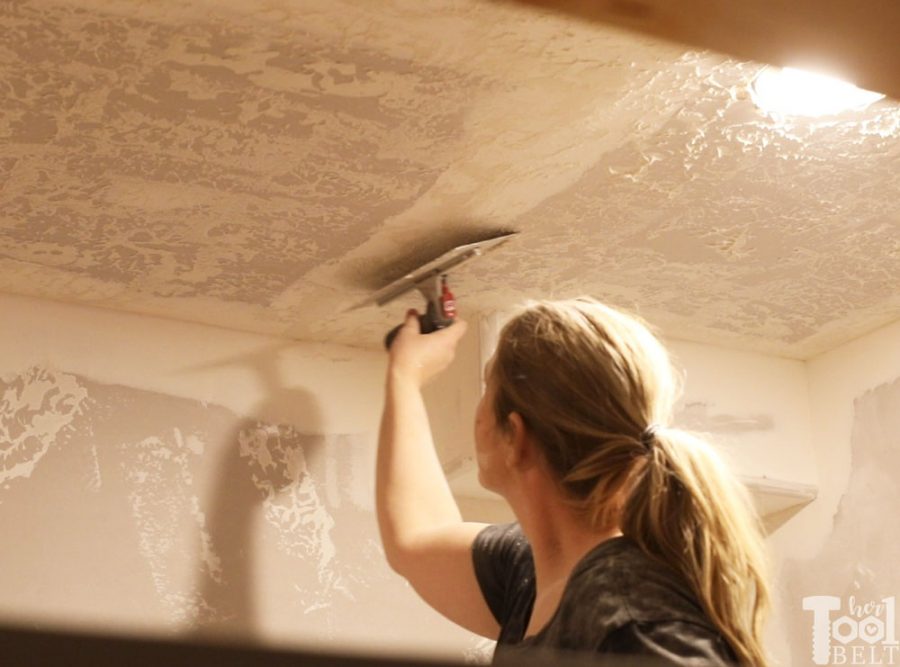
For the ceiling texture I kind of did a hack with my tiling trowels to create the knock down texture. I took two trowels and put a big glob of joint compound on one and smashed them together, then punched them on the ceiling leaving little pointy stalactites hanging.
Important – let the ceiling texture dry some but not fully (15-20 min).
Then take the straight edge of the trowel on a 45 deg angle and lightly knock over (fold over) the pointy stalactites. Then I let that dry fully. This method worked quite well. If I had a larger area to texture, real hawks would’ve been nice. I did a similar thing on the walls, I sparingly and randomly punched the wall with joint compound. Although with the wall texture, I didn’t let it dry, just kind of lightly scraped it leaving minimal elevation. Once painted, both texture surfaces looked great.
Once the joint compound fully dried, I sanded the walls and ceiling lightly with drywall sandpaper.
Shiplap on the walls and siding
As I mentioned before, when designing out the playhouse, I decided to put shiplap on the inside and outside of all the walls with windows. Then sheet rock on the other walls and ceiling (the regular basement ceiling). I framed the windows with 2×4 in the framing process of part 1. I didn’t want to waste the space of properly trimming out the windows, so when adding shiplap I left a 1/2″ reveal of the 2×4 framing to paint black later.
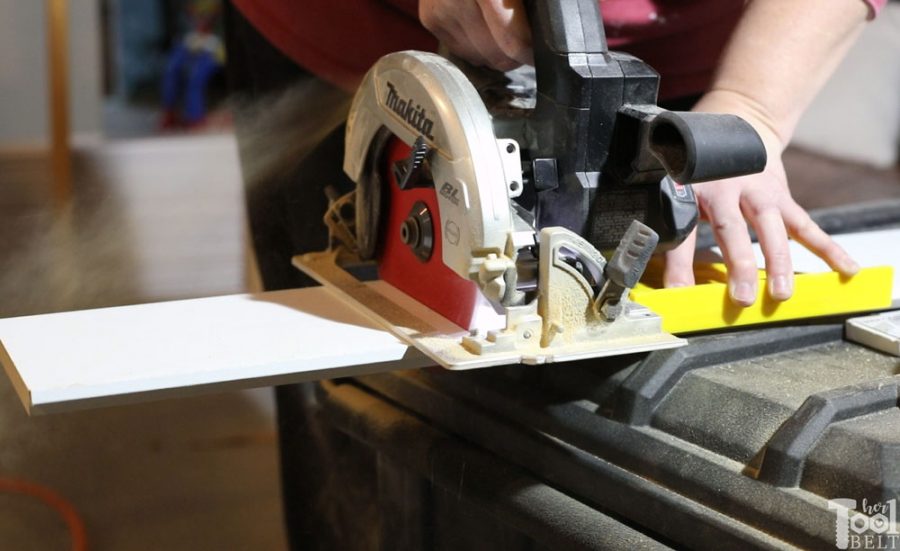
For this basement playhouse I used pre-primed MDF shiplap, the 12′ were slightly cheaper/ft than 8′, so I went with the 12′. There isnt much shiplap waste because there are lots of small edges to use the small pieces on. It’s important to cut as many large pieces first, so you don’t have to piecemeal the pieces together. The mdf shiplap was really slick to cut with my circular saw and fine (60 teeth) blade.
I measured then cut each piece to fit…around the windows leaving 1/2″ reveal, around the doors about 1″ reveal.
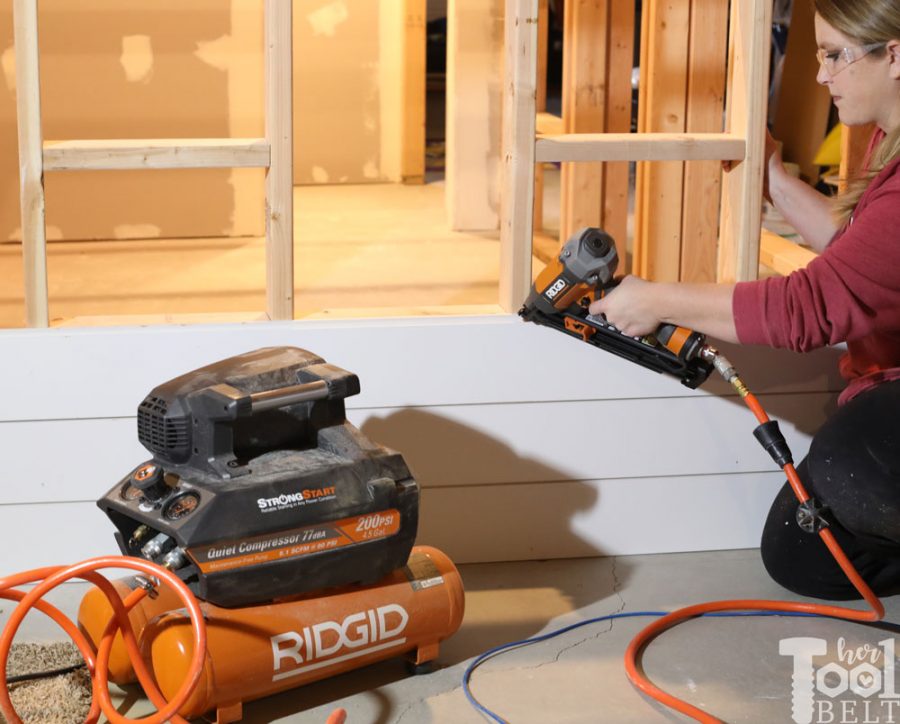
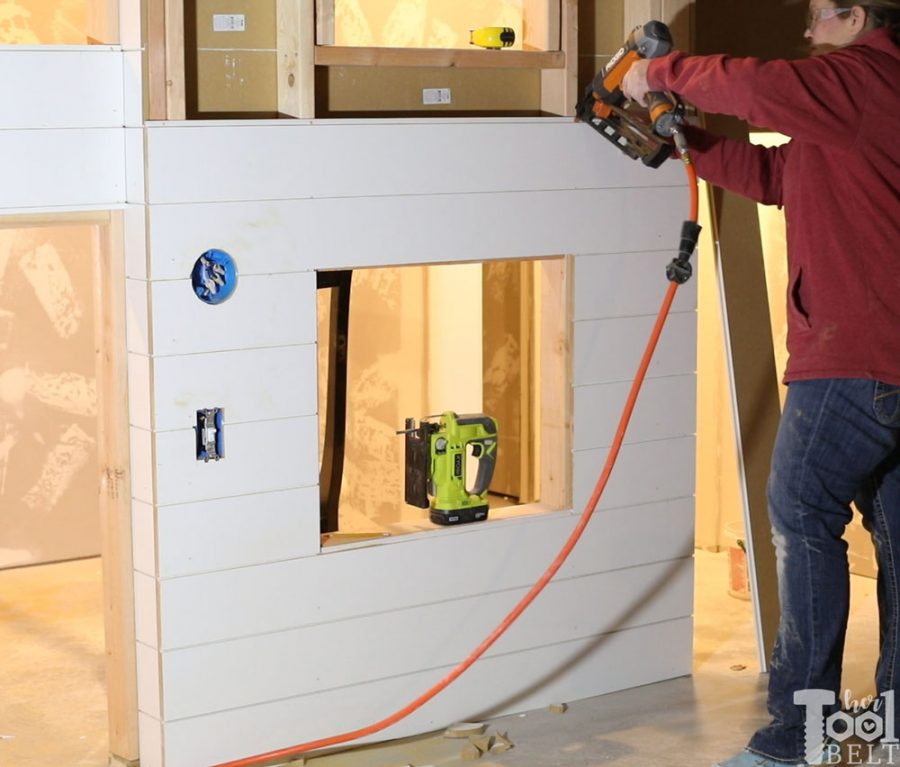
I wanted to reduce the number of nail holes to fill, so I nailed the shiplap in place on the tongue at every stud, and a few places on the face of the shiplap to hold it down.
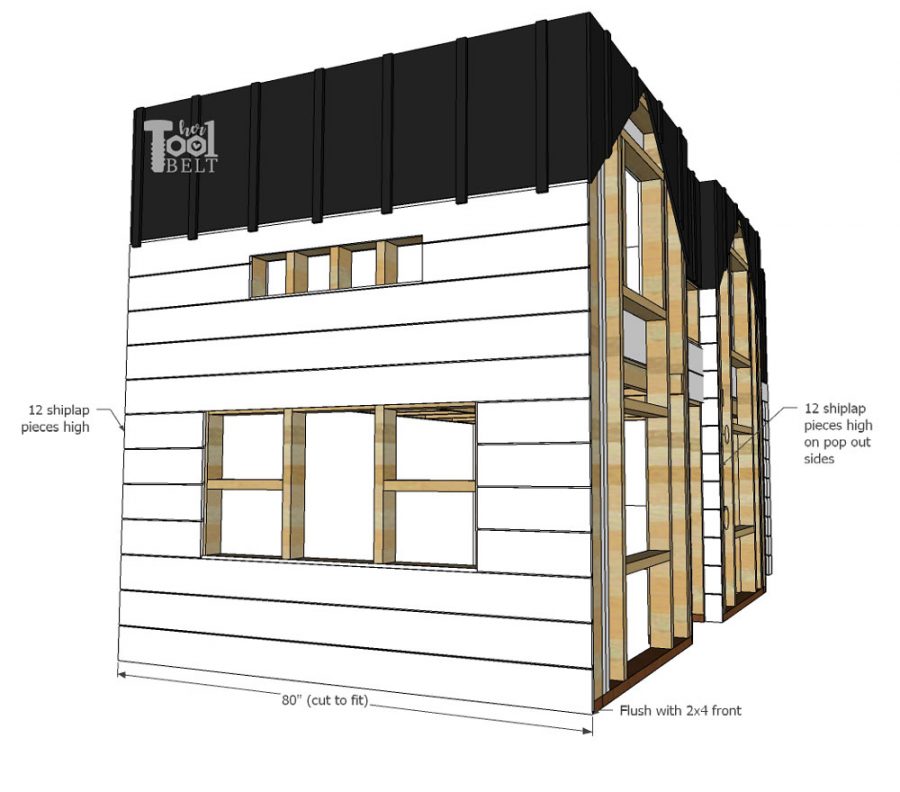
On the left side of the playhouse, the shiplap goes 12 boards high. Cut to fit, making the edge flush with the front 2×4. Leave a 1/2″ reveal around windows. The shiplap pieces at the bottom of the windows should be flush with the window seal, if not it can be trimmed off. Attach all of the side shiplap pieces first, then move onto the front.
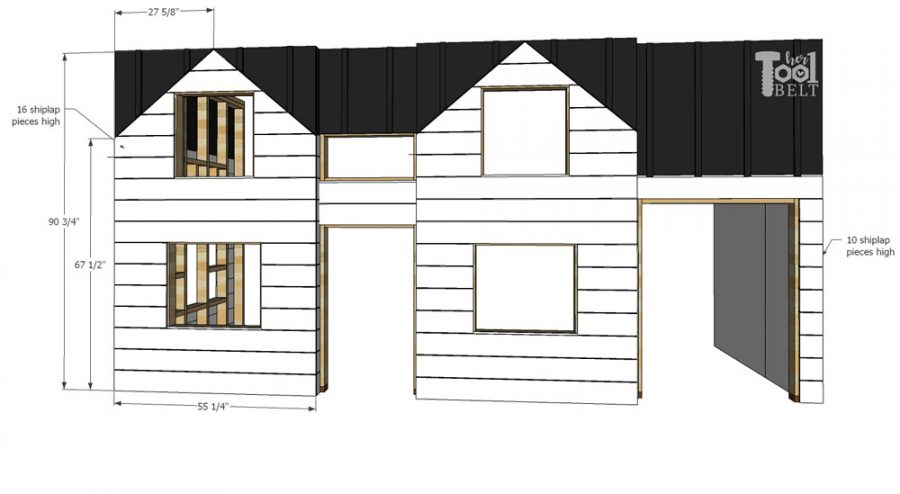
 The front shiplap is easy on the lower area, but gets slightly tricky near the roof. I’d put up 12 pieces on the front normally. Then take a straight edge from the window center (27 5/8″) and 90 3/4″ from the ground, out to the corner 67 1/2″ up from the ground and draw a line. Cut the shiplap pieces to go along that angle. There will be a 2×4 piece that covers that seam later.
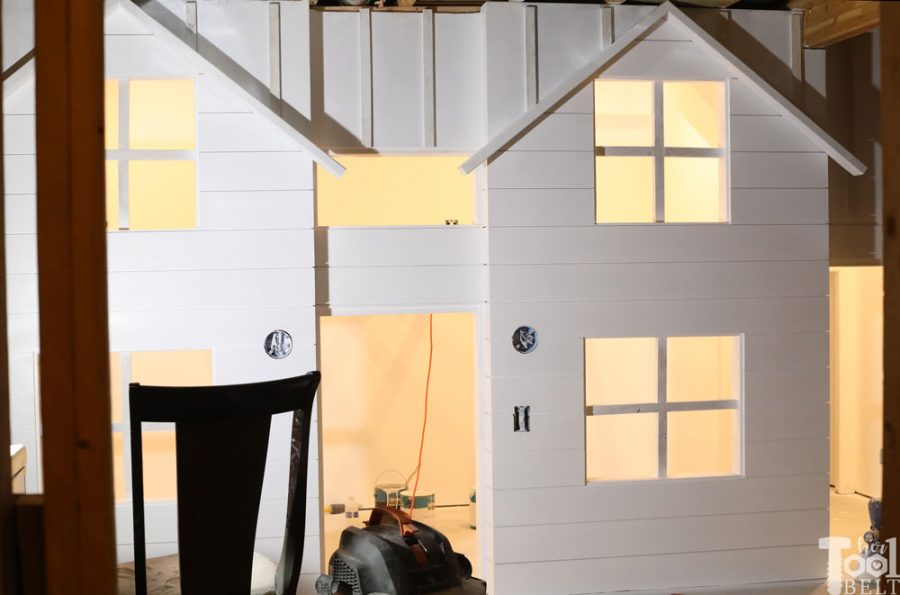
 On the inside of the playhouse, I put shiplap on the window walls from the ground to the ceiling.
To start the shiplap, I put some pennies on the ground to make a small gap and nailed the first row of shiplap down with 15 ga finish nails. The second row sits right on the first row, nail in place and continue to the third…it really is that easy to install. To make the front of the playhouse look more seamless, I attached all of my side of the house pieces first, making them flush with the front stud. Then the front of the house shiplap pieces would over lap the side piece edges and be flush with the face of the side pieces. Or of course you can make a whole bunch of 45 deg miter cuts and try to get them to line up! 🙂
A jigsaw was handy for any holes or notches that needed to be cut in the shiplap.
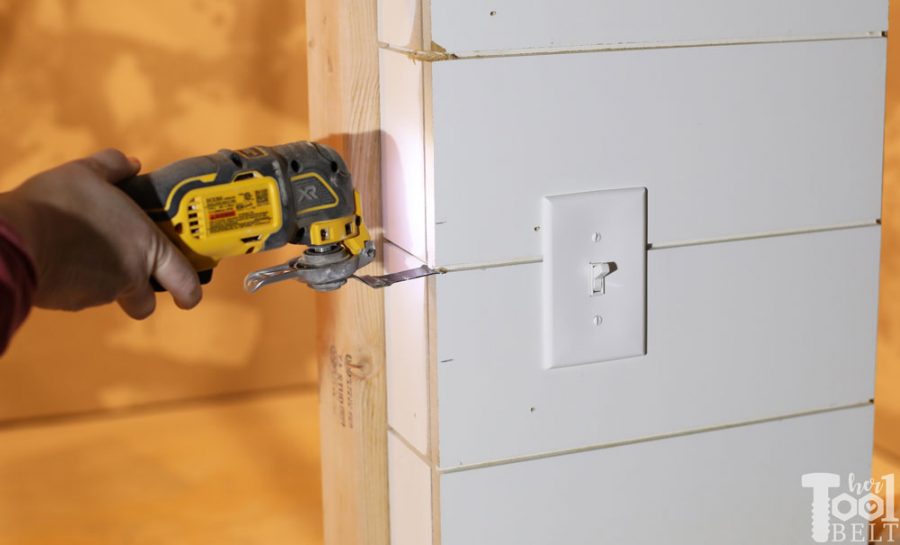
So with my method, there was a small piece in the front shiplap pieces that I notched out with the multi-tool (oscillating) and that made it look like the shiplap was seamless. Super easy.
Once all of the shiplap was in place, I sanded all of the nail holes on the face. Sometimes nailing into MDF can raise it up, so it’s important to sand it. Then filled holes with spackle and caulked the shiplap corner seams and around the windows, doors and ceiling.
Cut sheetrock to go above all of the outer wall shiplap to make the ‘roof’ (it’s the part in black).
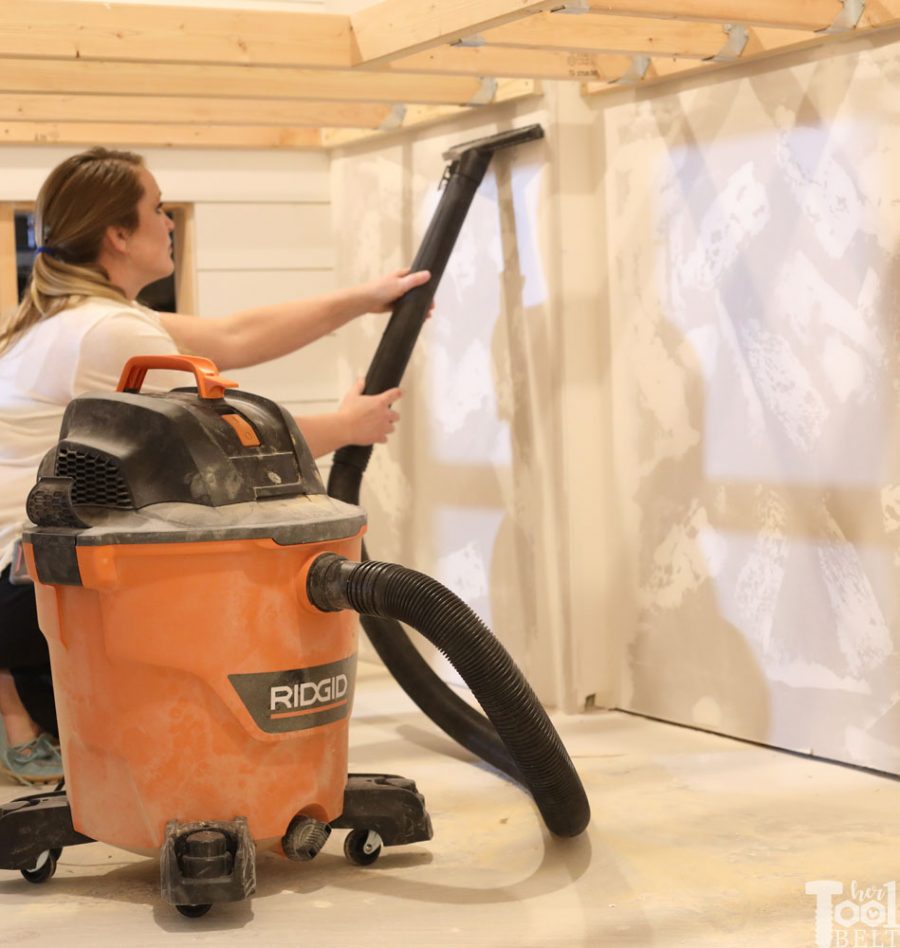
Before painting I vacuumed up all that dust from sanding the drywall and cutting shiplap.
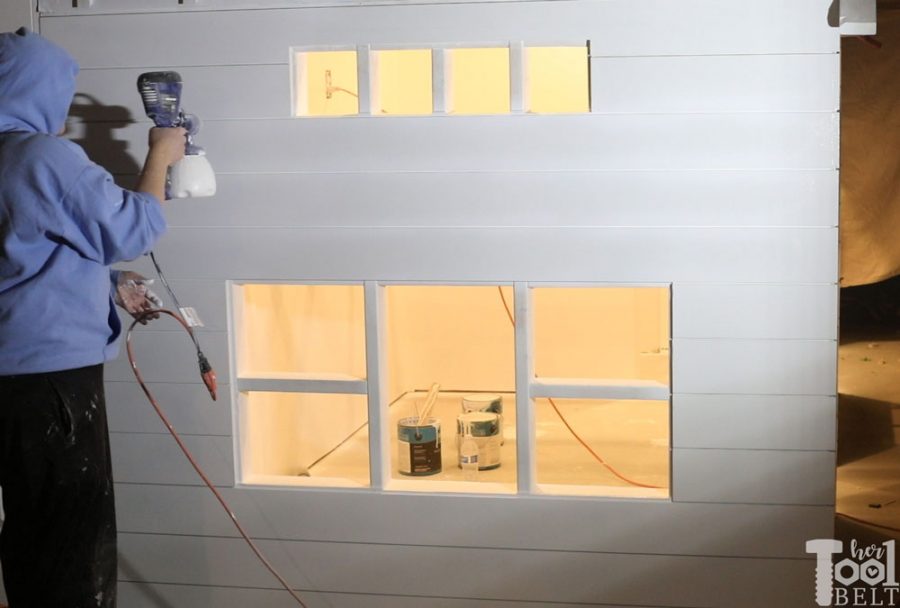
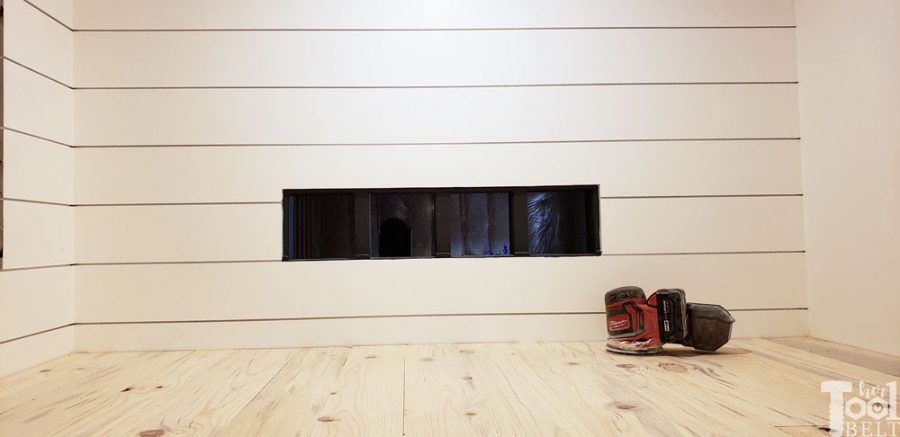
The face of the shiplap is already primed, but all of the cut edges need to be primed really well (at least 2 coats). MDF sucks up paint and if not primed, it’ll look different on the cut edges. I primed the whole basement playhouse with two coats of Zinsser primer then painted it with Behr ultra pure white. I have a small paint sprayer, so I used that to paint the playhouse. It was really nice to get all of those shiplap gaps.
Installing the 2nd floor
Once all of the paint dried, I moved onto installing the 2nd floor/ceiling of the first floor. I painted the floor beams white with the rest of the house, but wanted a wood tongue and groove ceiling. So I picked out this blue pine tongue and groove siding. It has the traditional bevel on one side, but it fits together flat on the other. The bevel side will be the ceiling of the first floor and the flat side will be the ‘hardwood floor’ of the 2nd floor!
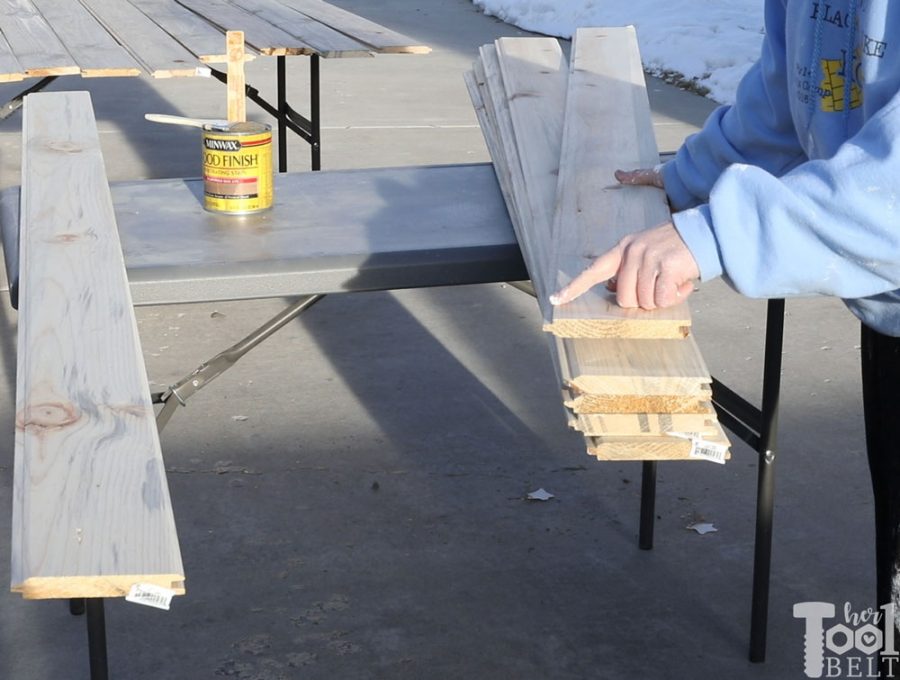
I stained the beveled (ceiling) side with weathered oak and let that freeze (I mean dry).
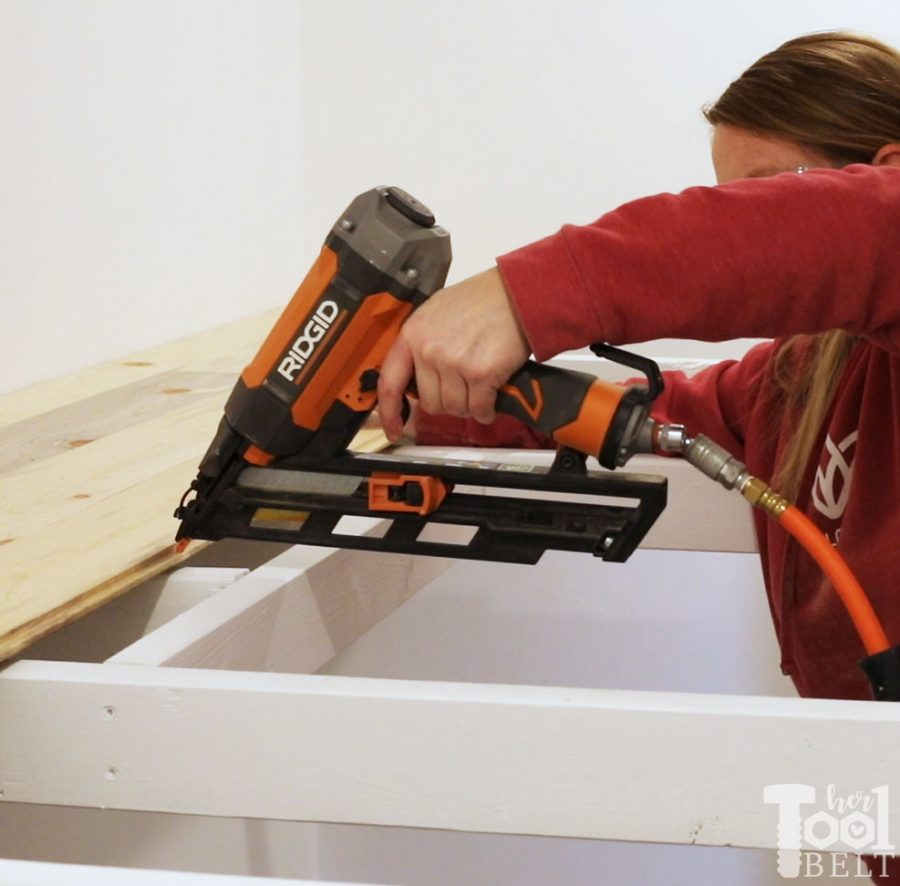
Installation was simple, I lined the groove up on the back straight wall and nailed it in place with 15 ga finish nails thru the tongue. I didn’t glue the floor down because I may remove it in the future, but I did nail it on each floor joist. The boards were cut to fit, leaving a small gap for expansion on each end. Also I lined up the floor boards to be flush with the loft opening (where the railing will go).
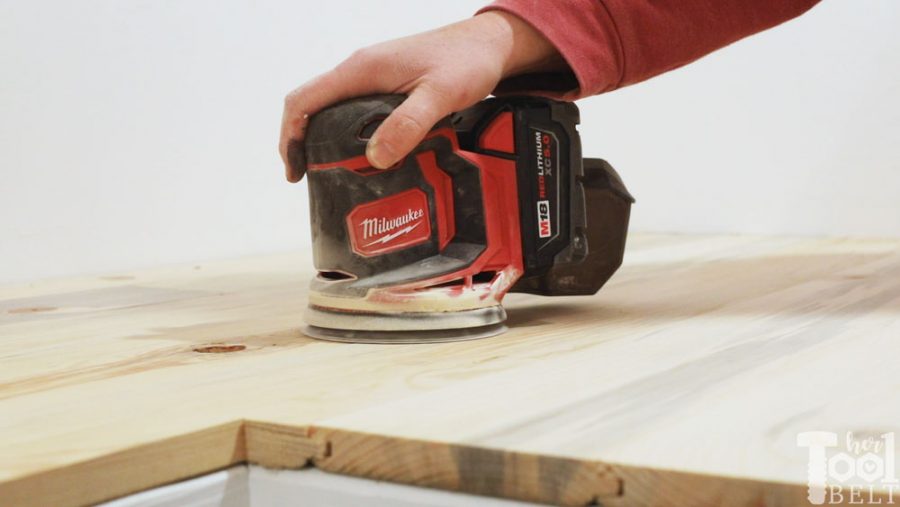
When the floor was in place, I gave it a good sanding with 120 grit paper.
Then I stained the floor in Varathane Briarsmoke. After the stain dried, I applied 2 coats of polyurethane.
The next step will be adding all of the trim! Stay tuned.
“I acknowledge that The Home Depot is partnering with me to participate in the Tool Review Program. Many of the tools used were part of this review program. As a part of the Program, I am receiving compensation in the form of products and services, for the purpose of promoting The Home Depot. All expressed opinions and experiences are my own words. My post complies with the Word Of Mouth Marketing Association (WOMMA) Ethics Code and applicable Federal Trade Commission guidelines.”
Leave a Reply