 I love the granite in my kitchen. I think that it’s called Typhoon Bordeaux, it has these beautiful rusty-red and charcoal swirls all through out a creamy base. But one thing that I’ve learned about my granite, is that it is a TERRIBLE backdrop for photos! It is very evident with my Simple Circuit photo, are there even wires in that picture? It’s like camo 🙂
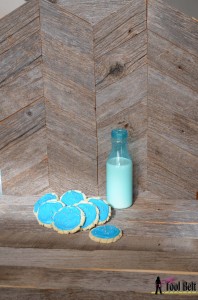
I have noticed on Pinterest all of the beautiful photos that lure you in, have great backdrops. I recently attended my first Blog Conference BYB hosted by the Six Sister’s. One of the classes that I attended was presented by Kristen Duke Photography. She mentioned that you need to be careful not to ‘date’ your photos with your background, unless you are trying to for a holiday. She said neutral backgrounds are best. I have been wanting a rustic backdrop for a while. I thought it would be fun to incorporate a subtle herringbone pattern for visual interest. So let’s get building. (BTW the cookies in this picture are the most delicious sugar cookies ever. They are the knock off Swig Cookie brought to us by Vintage Revivals. These cookies are the new family favorite!)
Rustic Herringbone Photo Backdrop
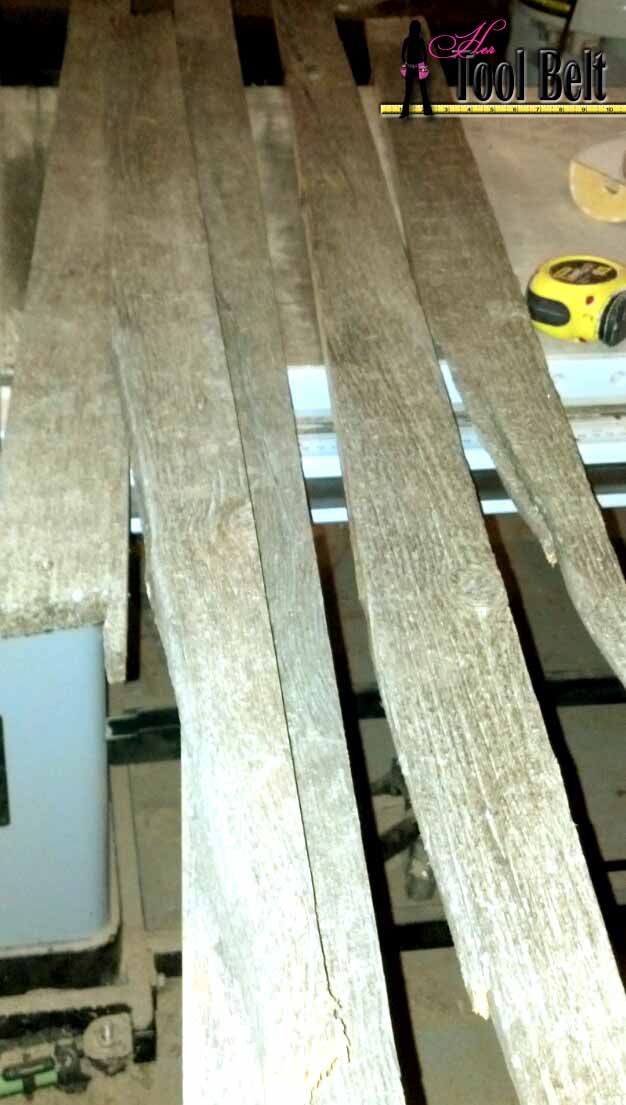
Gather your wood. Naturally weathered wood is fantastic for the rustic look, you can also try for a faux finish, but nothing compares to the real deal. I used barn wood, but a nicely weathered pallet would be great too. When working with weathered wood, be extra cautious to check for nails and foreign objects, you don’t want to hit that stuff with your saw blade. Make sure to wear your safety glasses, you are more likely to have wood chips fly back at you with old wood.
 Cut your boards in 3″ strips.
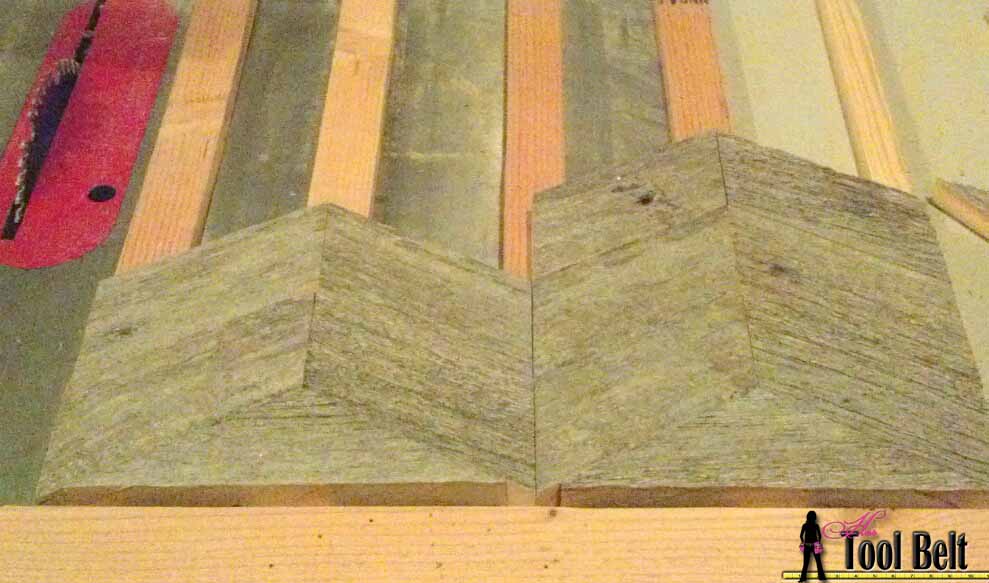
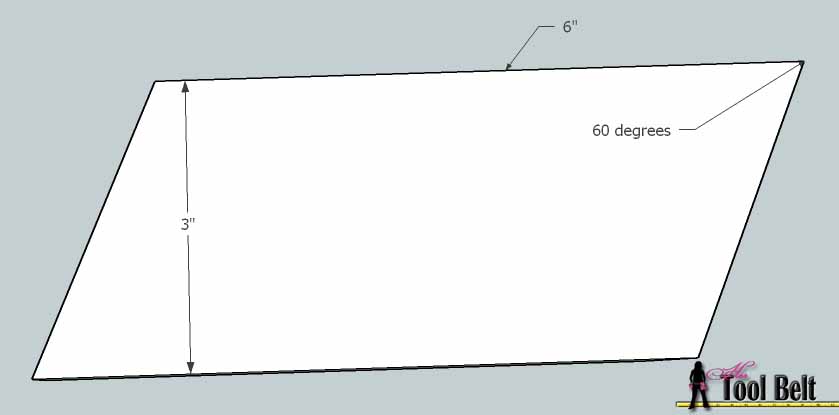 Next we need to cut the angles to make the herringbone. I used my table saw, but a miter saw will work just as well. Make each herringbone piece 6″ long (as shown). You’ll want length as similar as possible.
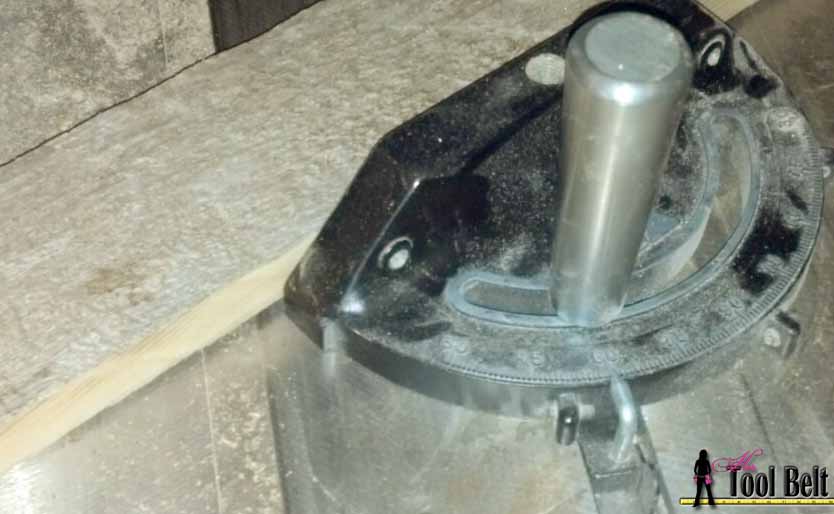 Set the angle to 60 degrees and cut 12 pieces.
Now switch to the 60 deg on the other side and cut 12 more pieces. Note: I wanted to use a certain face of my wood, if it doesn’t matter which face is showing, then you don’t need to switch your 60 deg. You can flip your cut pieces.
 If you want, you can cut 3 triangles to fill in the peak area. The triangles are cut at 30 degrees.
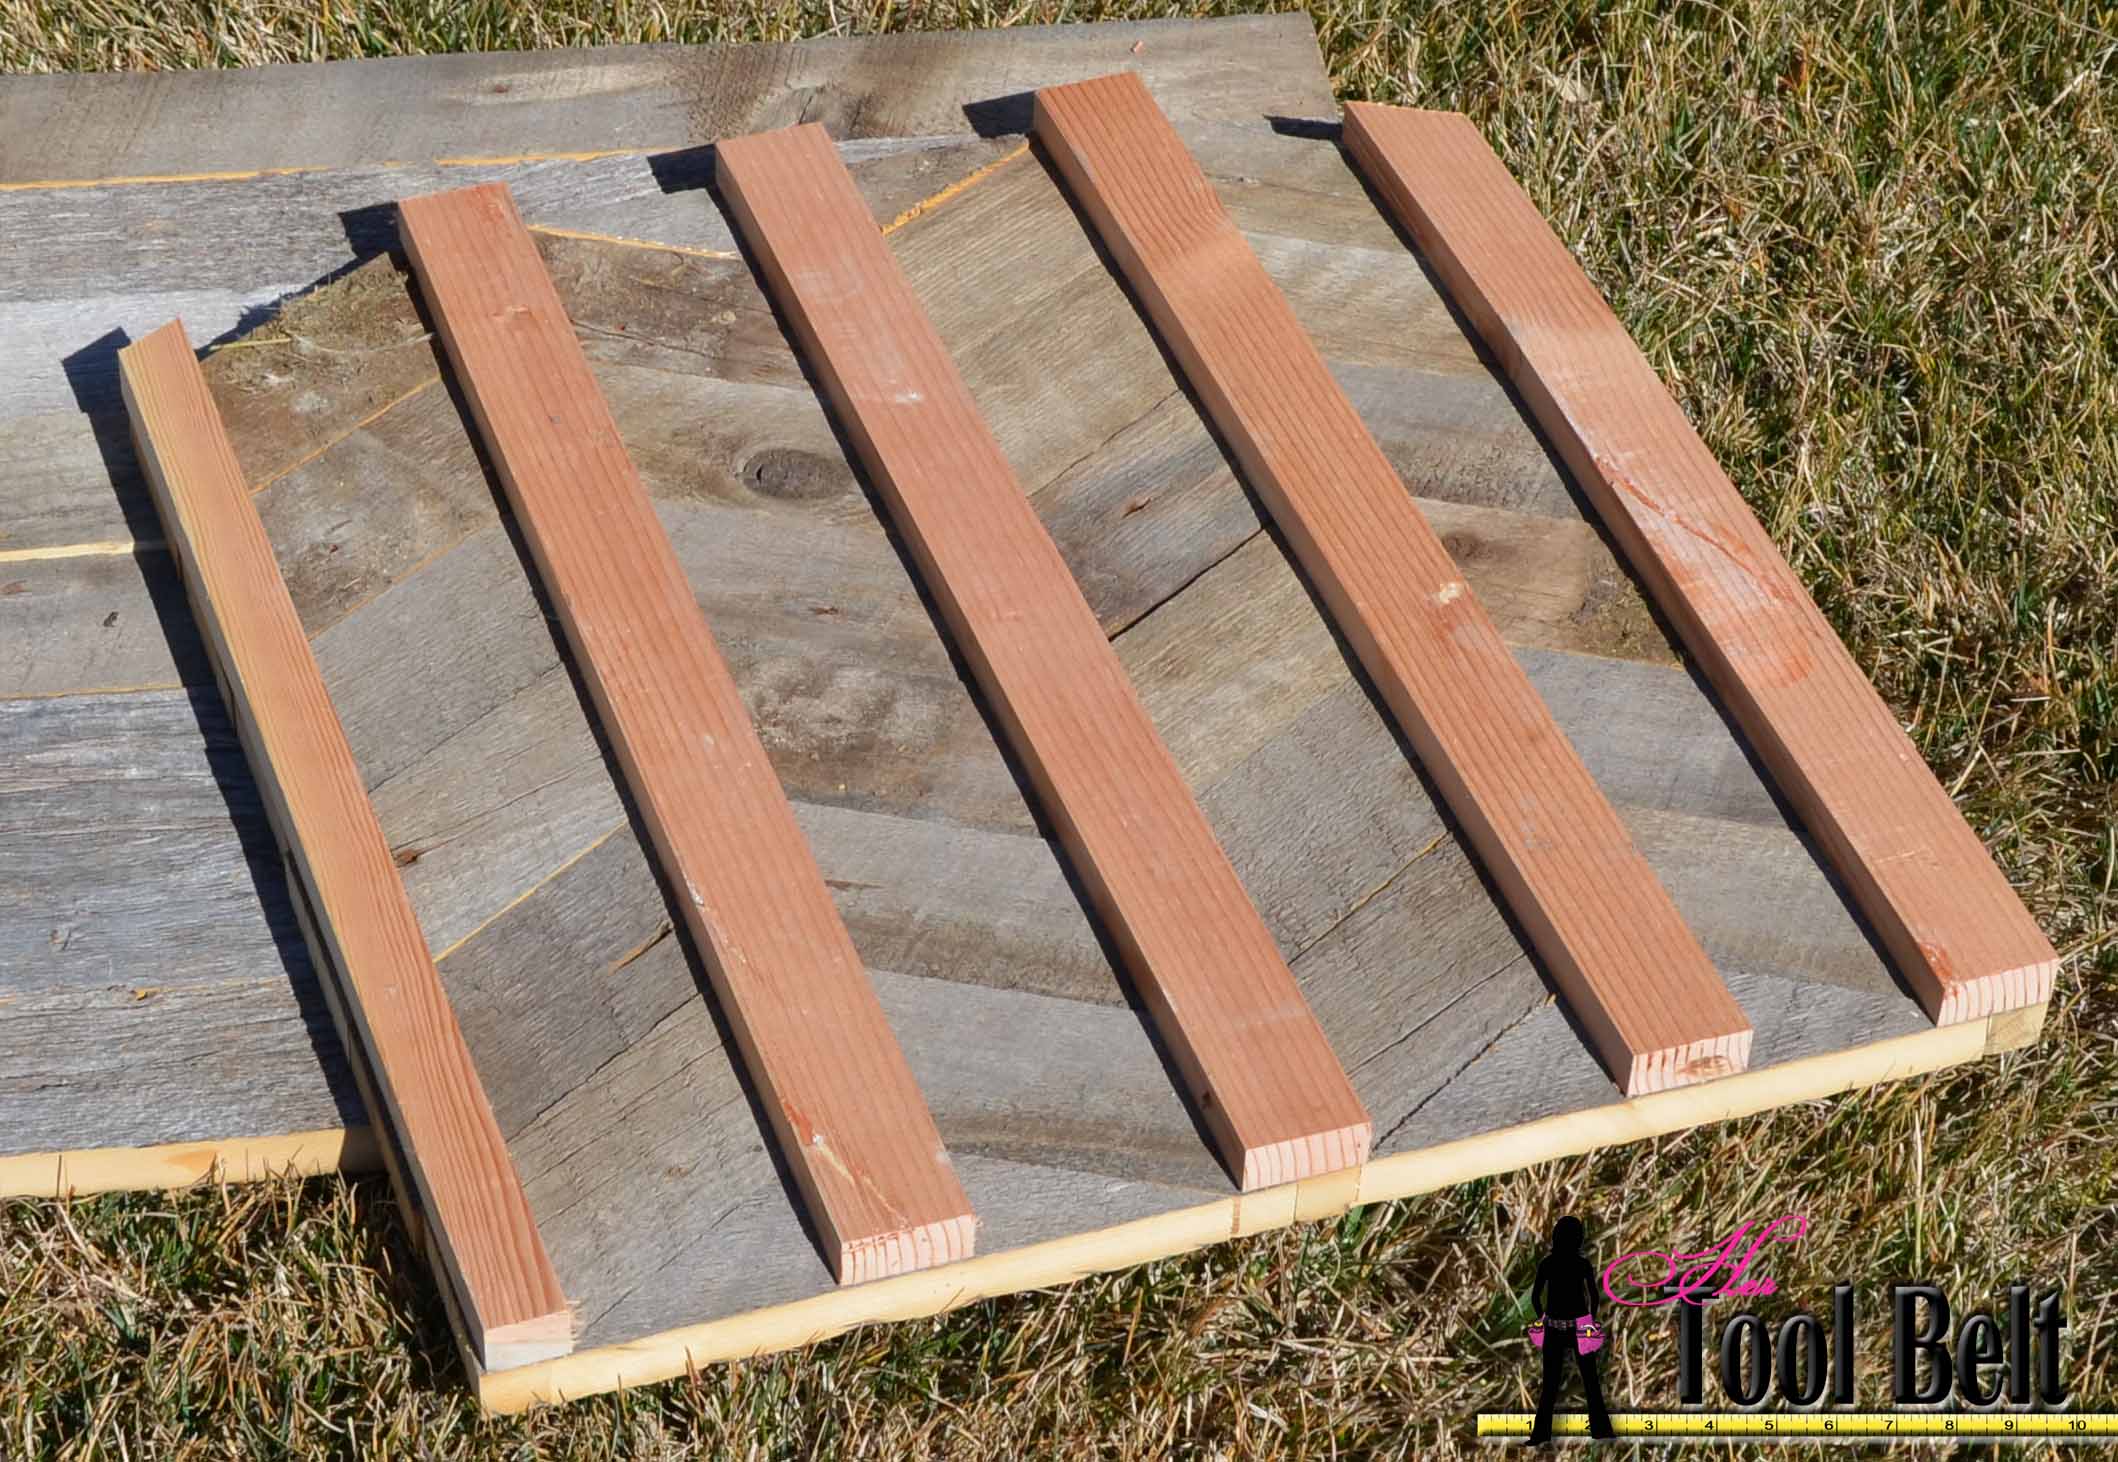
Next we need 5 pieces of scrap board that is about 1 1/2″ wide x 23″ long and 3/4″ thick. These will be the support pieces that we glue and nail the herringbone pieces to.
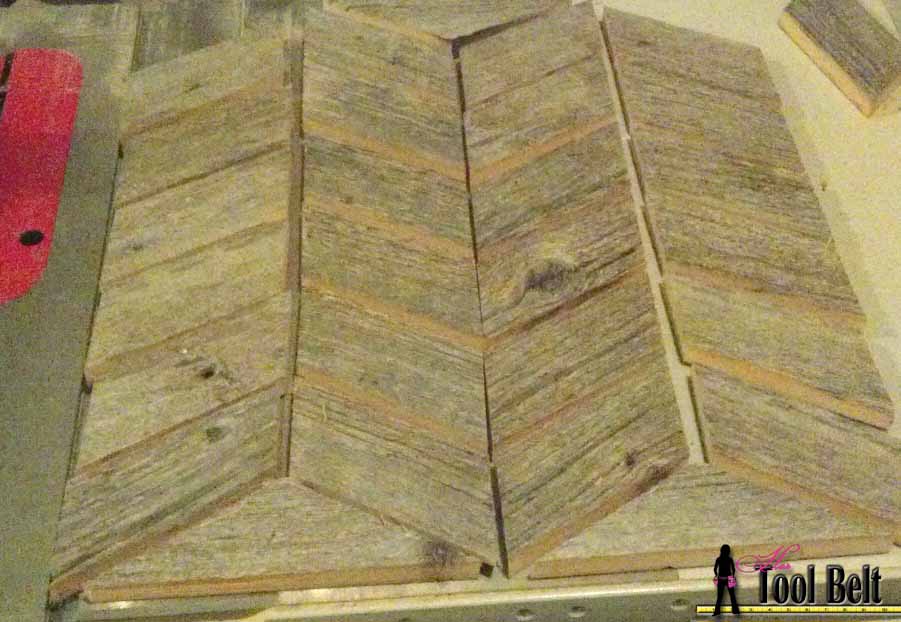
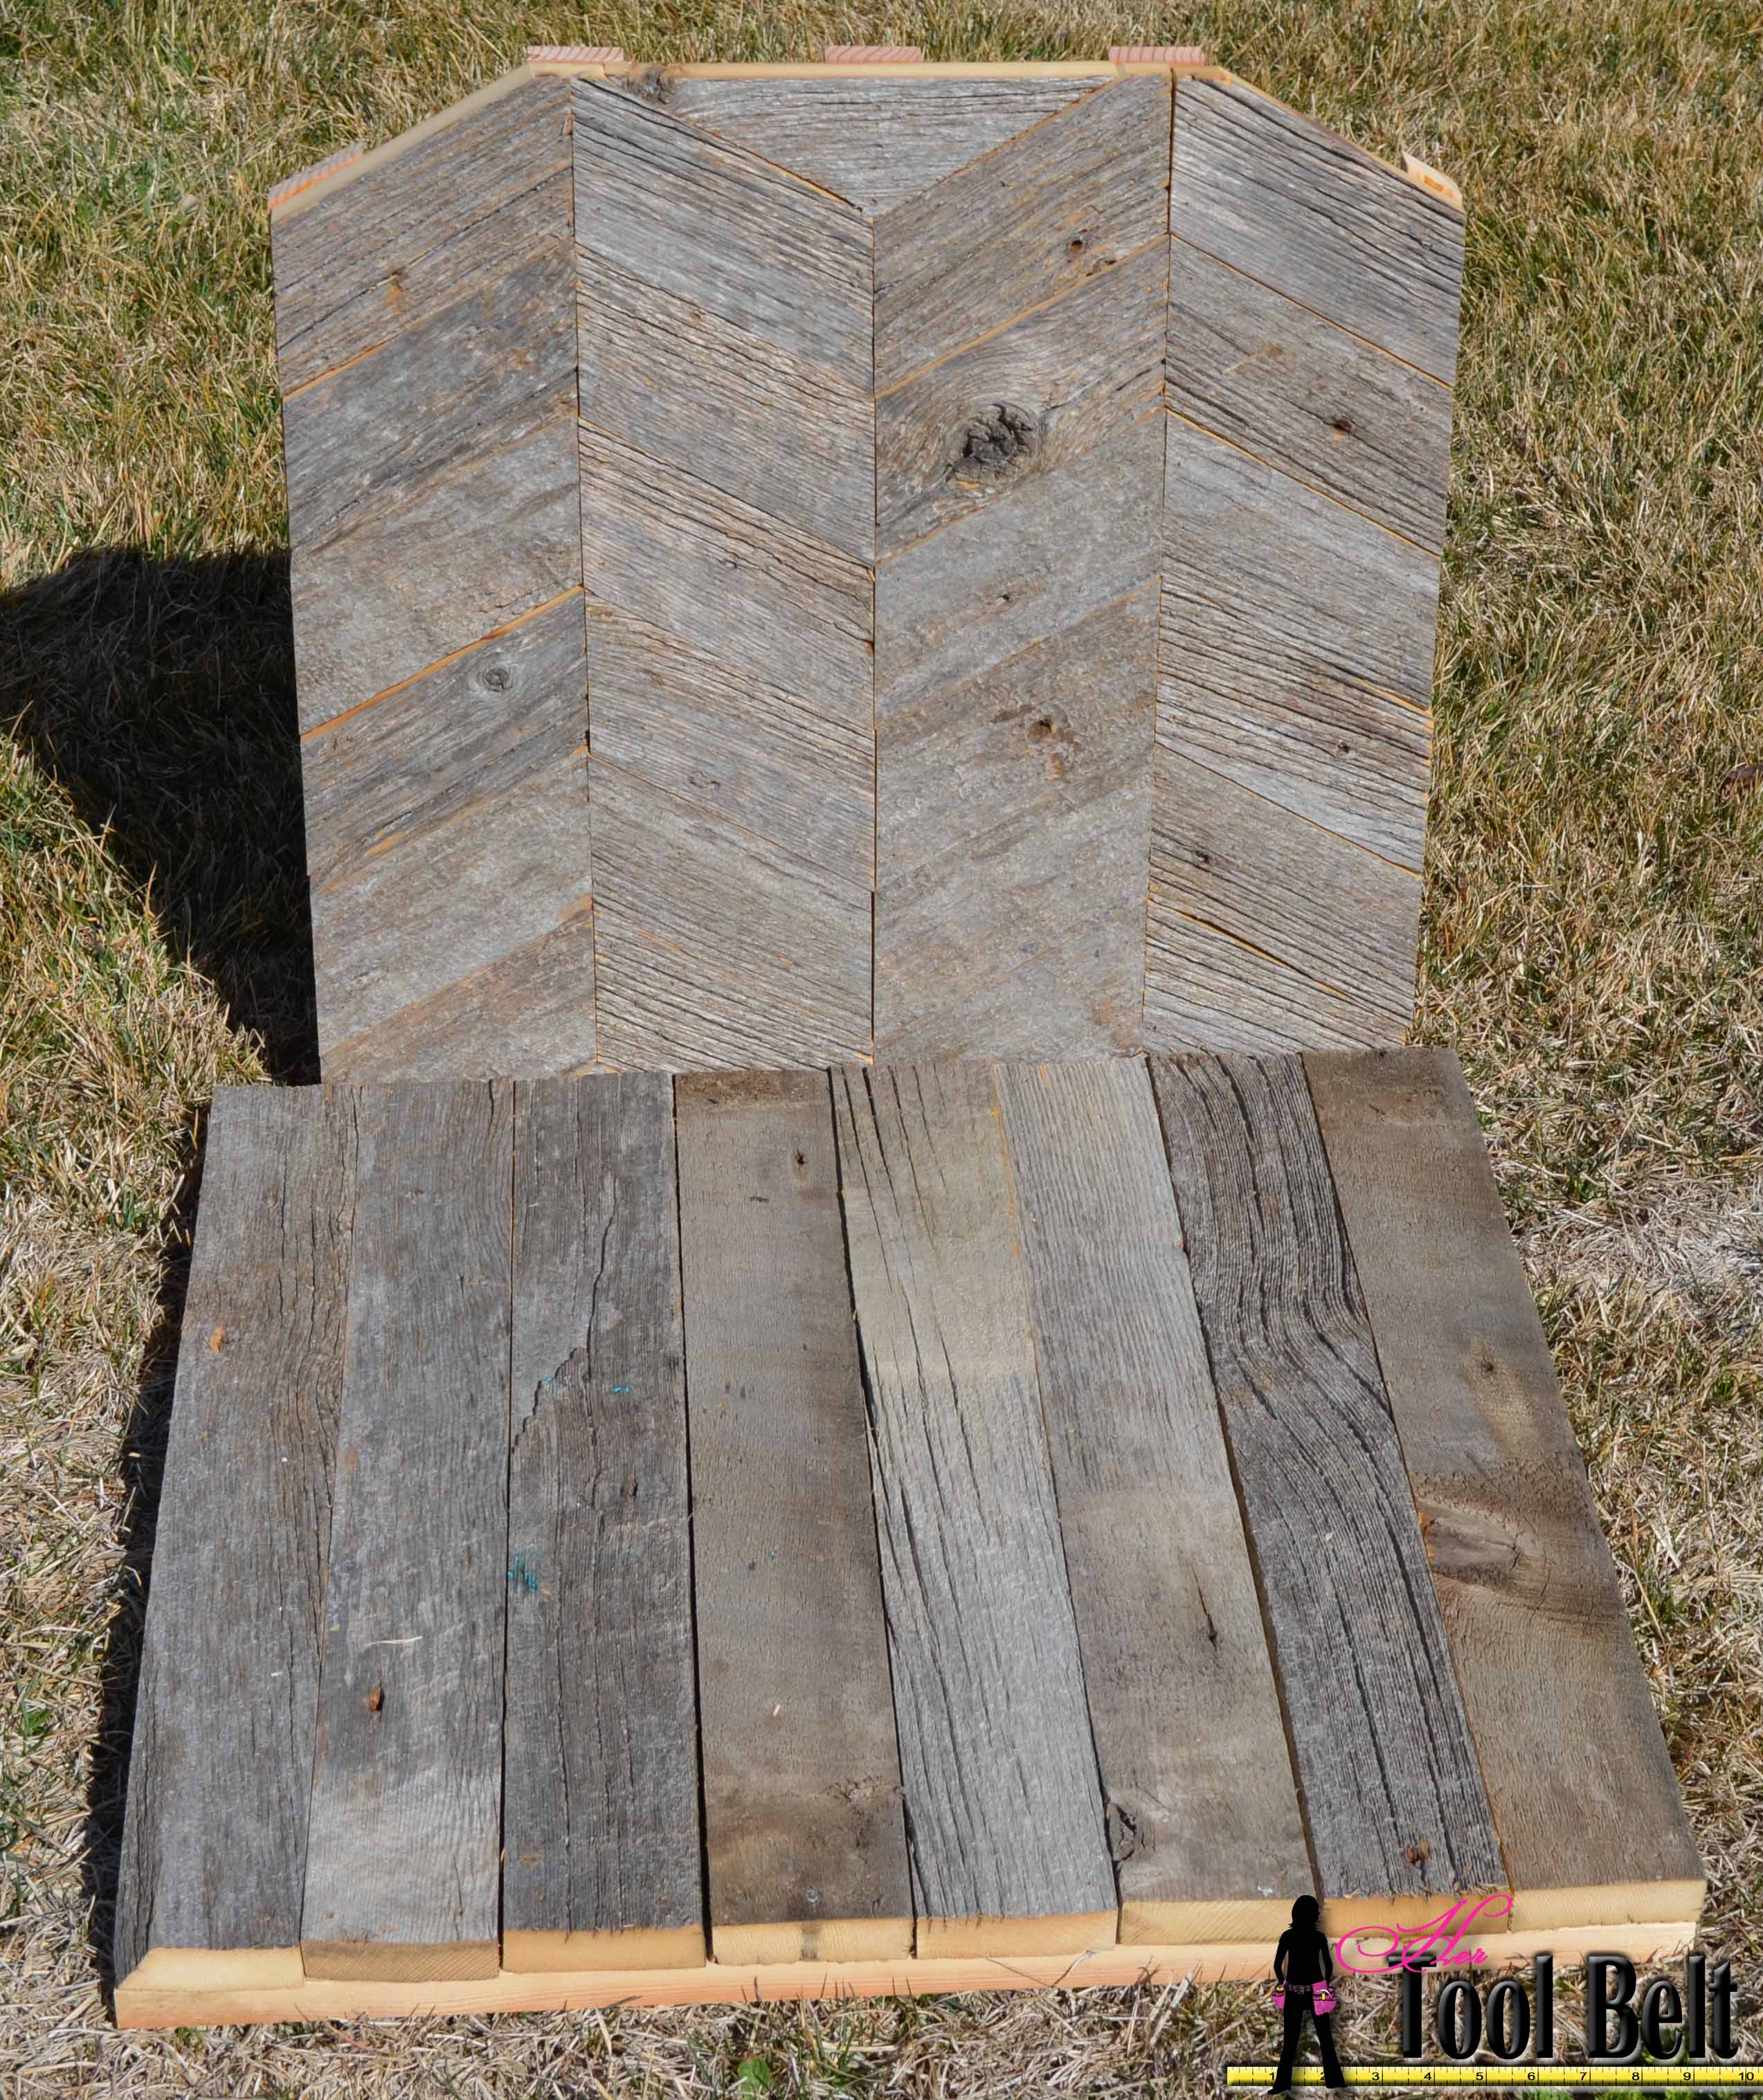
 Line up the support boards such that the herringbone pieces meet in the center of the boards, except the edges should cover the whole board.
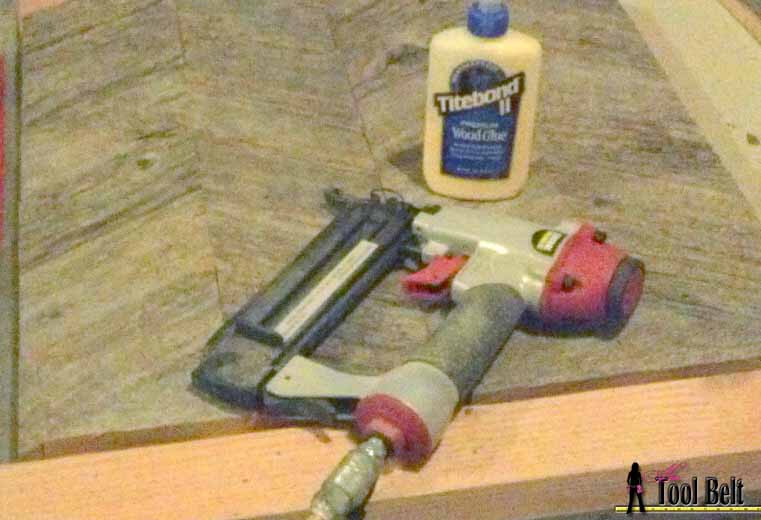 Run a bead of glue on the support board and glue the herringbone pieces to the supports. Use a brad nailer (this is a cheap-o one from Harbor Freight and works great). Nail the herringbone pieces in two places on each end with at least 1″ nails 1 1/4″ would be a little better.
Allow the glue to dry.
 Then you can trim off any extra material with your table saw. If you make a nice flush edge, the backdrop should stand up for you pretty well.
Rustic Plank Photo Backdrop
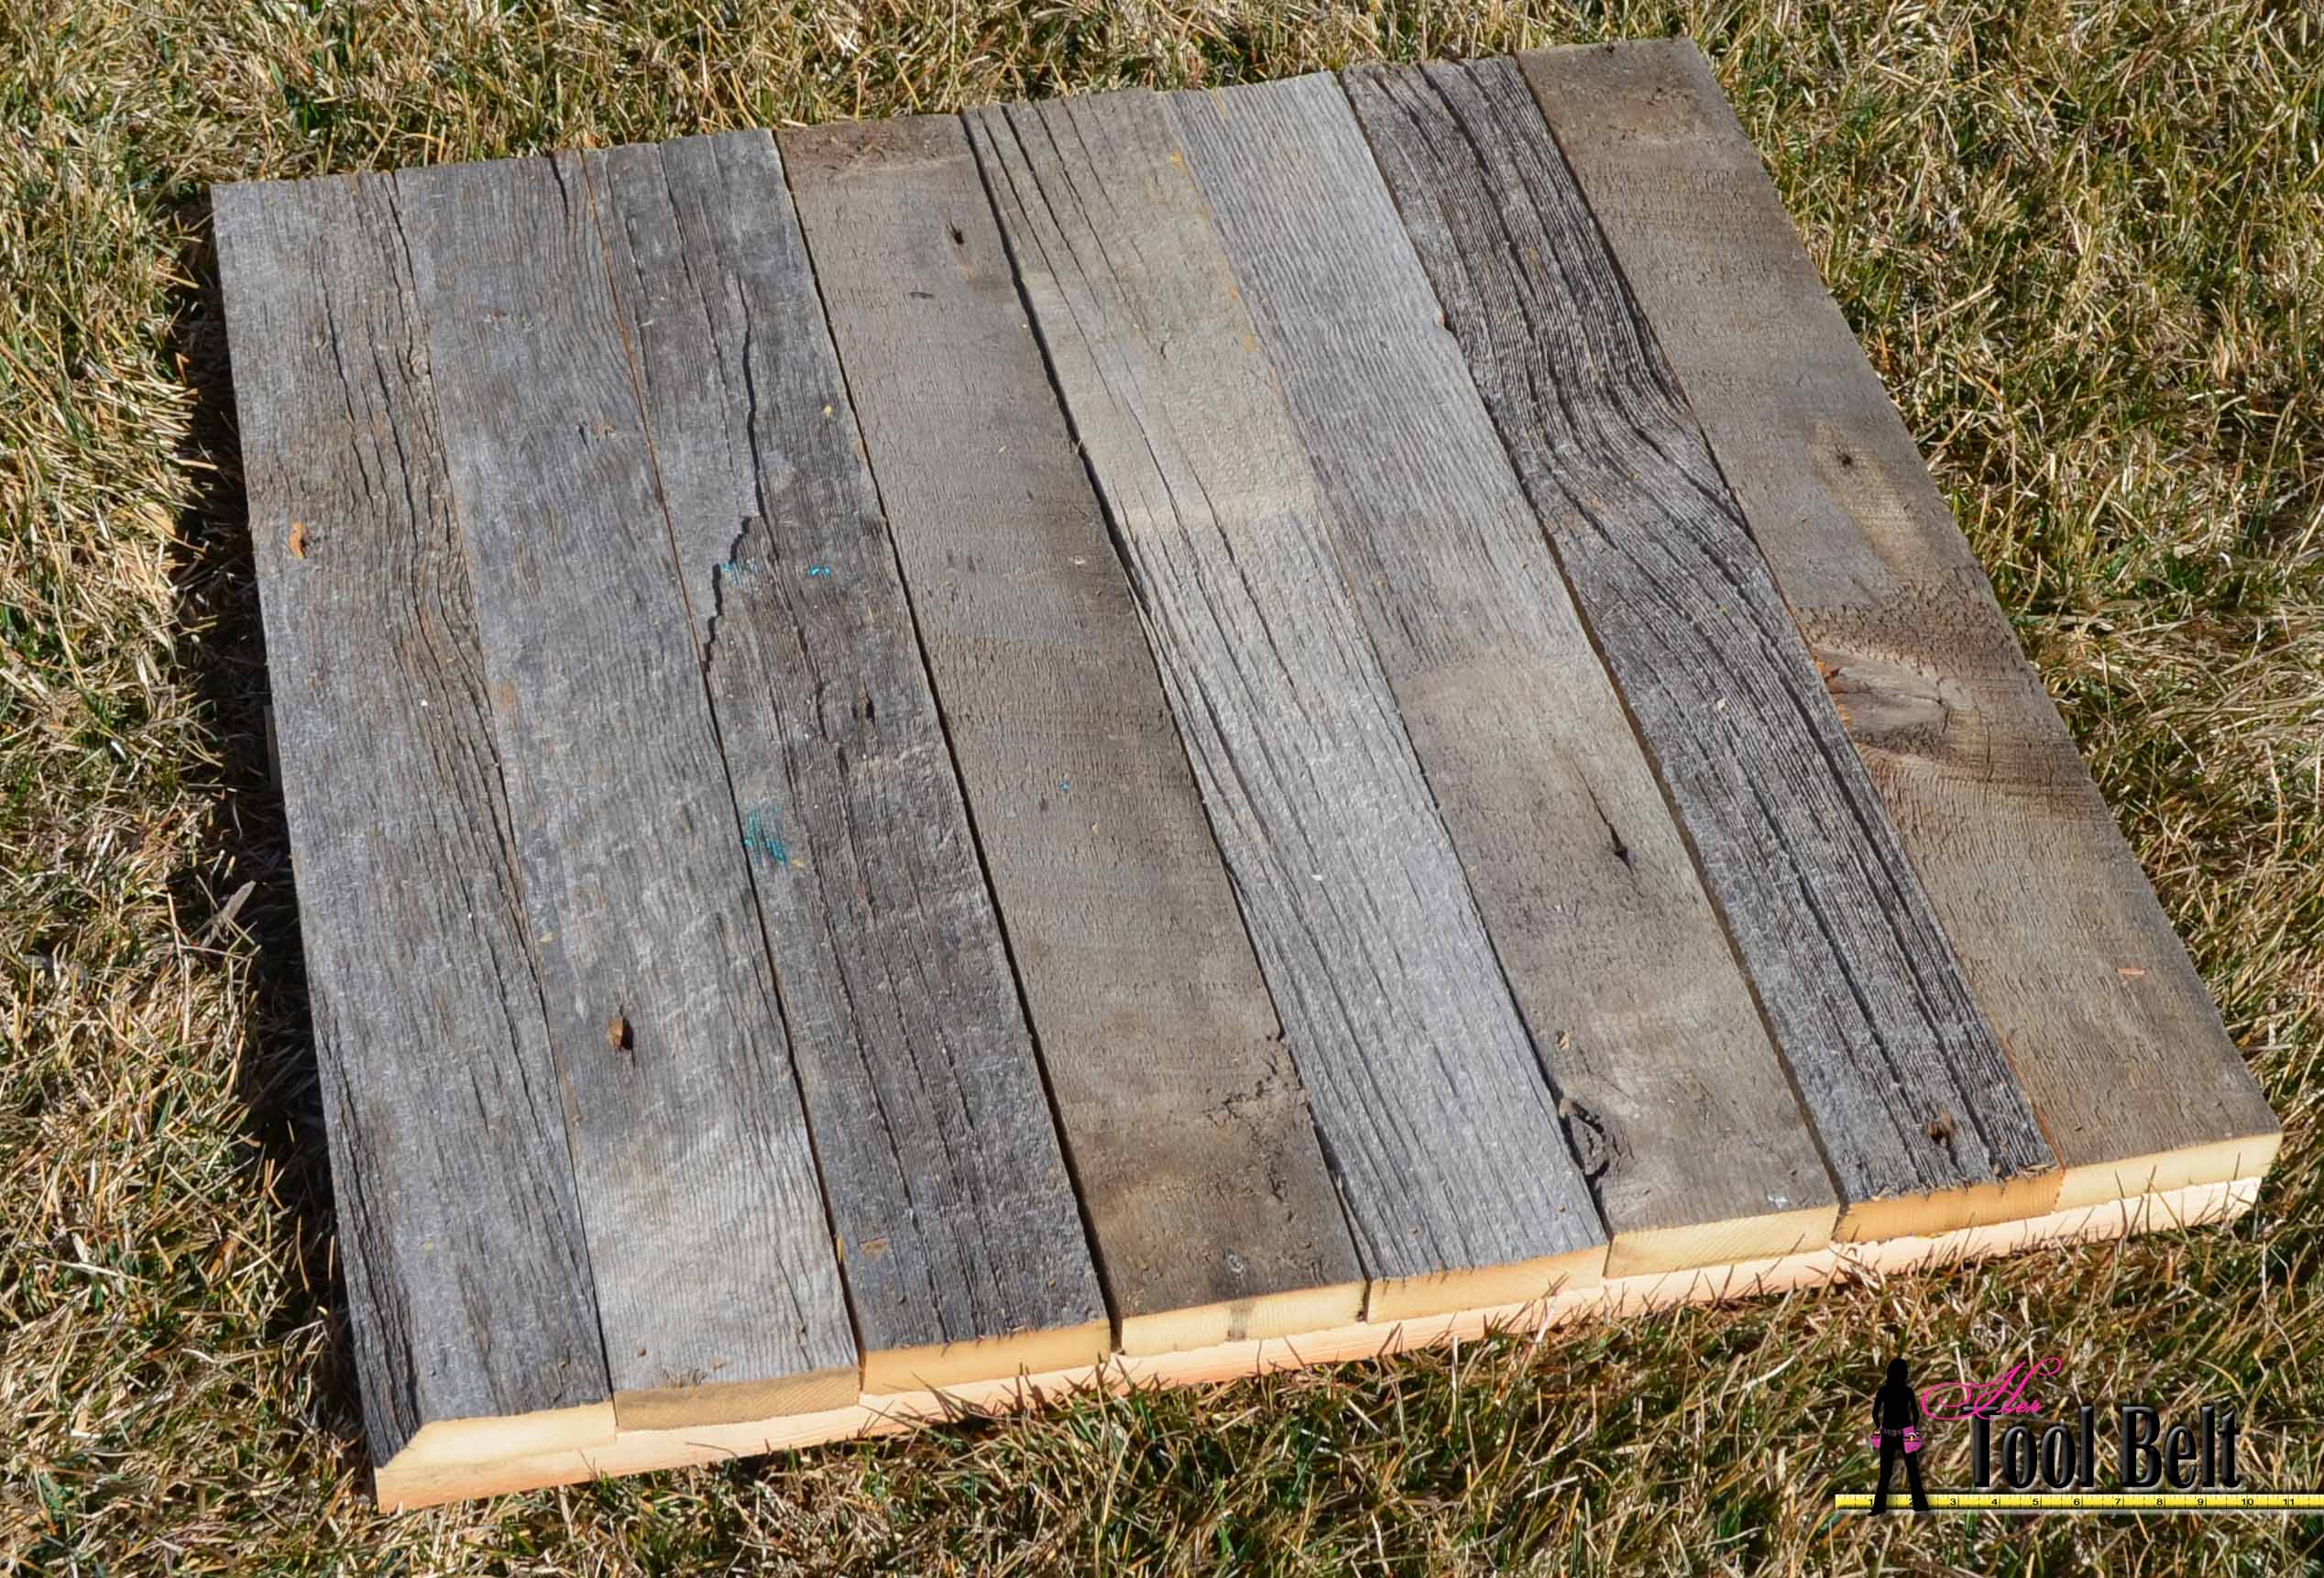 Cut your boards in 3″ strips. Cut 7 or 8 pieces that are 24″ long. Next you’ll need 3 pieces of scrap wood that is approx. 1″ wide x 24″ long x 3/4″ thick. These 3 boards are the supports that you’ll use to assemble the planks.
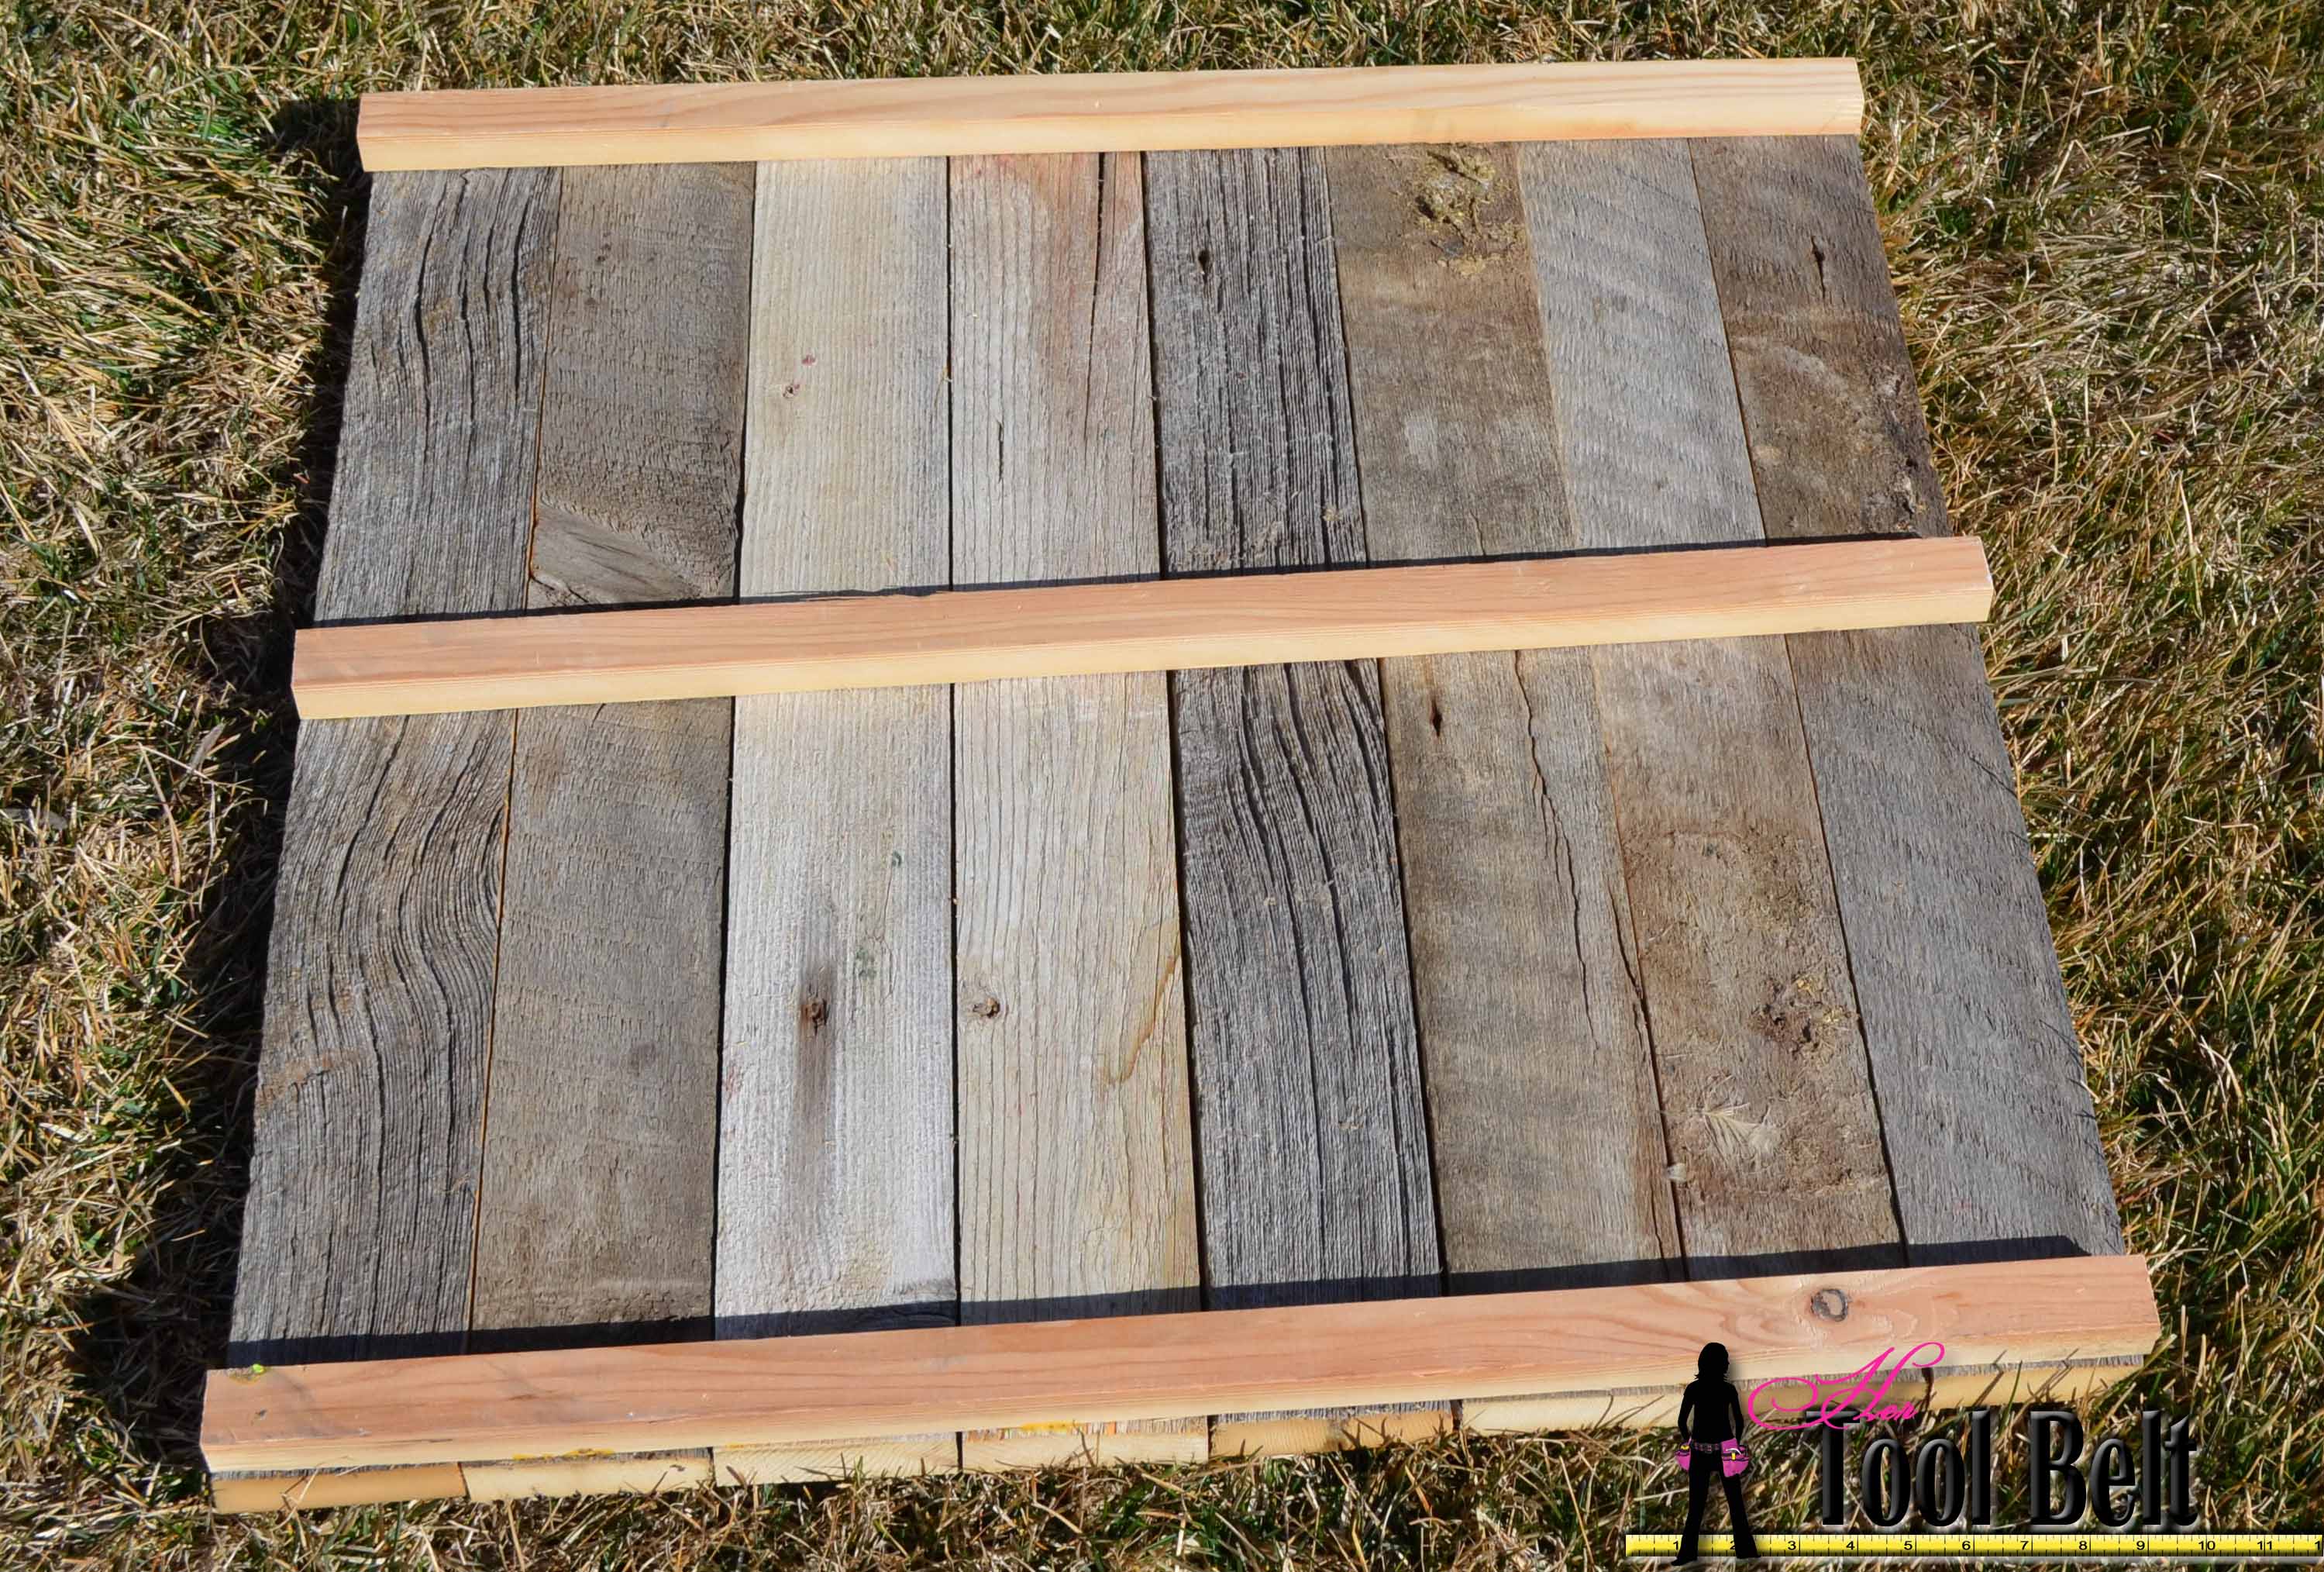
Run a bead of glue on each support board and place and nail the planks onto the supports. Allow the glue to dry.
Then you can trim off any extra material with your table saw. If you make a nice flush edge, the backdrop should stand up well.
 The fun thing about these photo backdrops is that you can interchange depending on what look you want for your pictures. I plan on making a few more plank style photo backdrops that are white and dark brown, colors will be fun too. If you don’t have scrap wood sitting around, you can buy the wood for really cheap. Home Depot sells Furring Strips that are 3/4″ thick x 3″ or 4″ and 8′ long for $2.12 and $2.18 respectfully. You need 2 furring strips to complete each backdrop. That makes these babies less that $5 each, sweet and totally worth it.
Now I need to figure out how to use my DSLR, ha ha 🙂
What a great project! I’ve added a link to one of our pinboards. Check them out at Pinterest.com/Homedepot
I love this idea for taking photos! I would love if you would share it on my meet up Monday blog party.
http://jennymaire.blogspot.com/
Jenny