This post contains some affiliate links for your convenience. Click here to read my full disclosure policy.
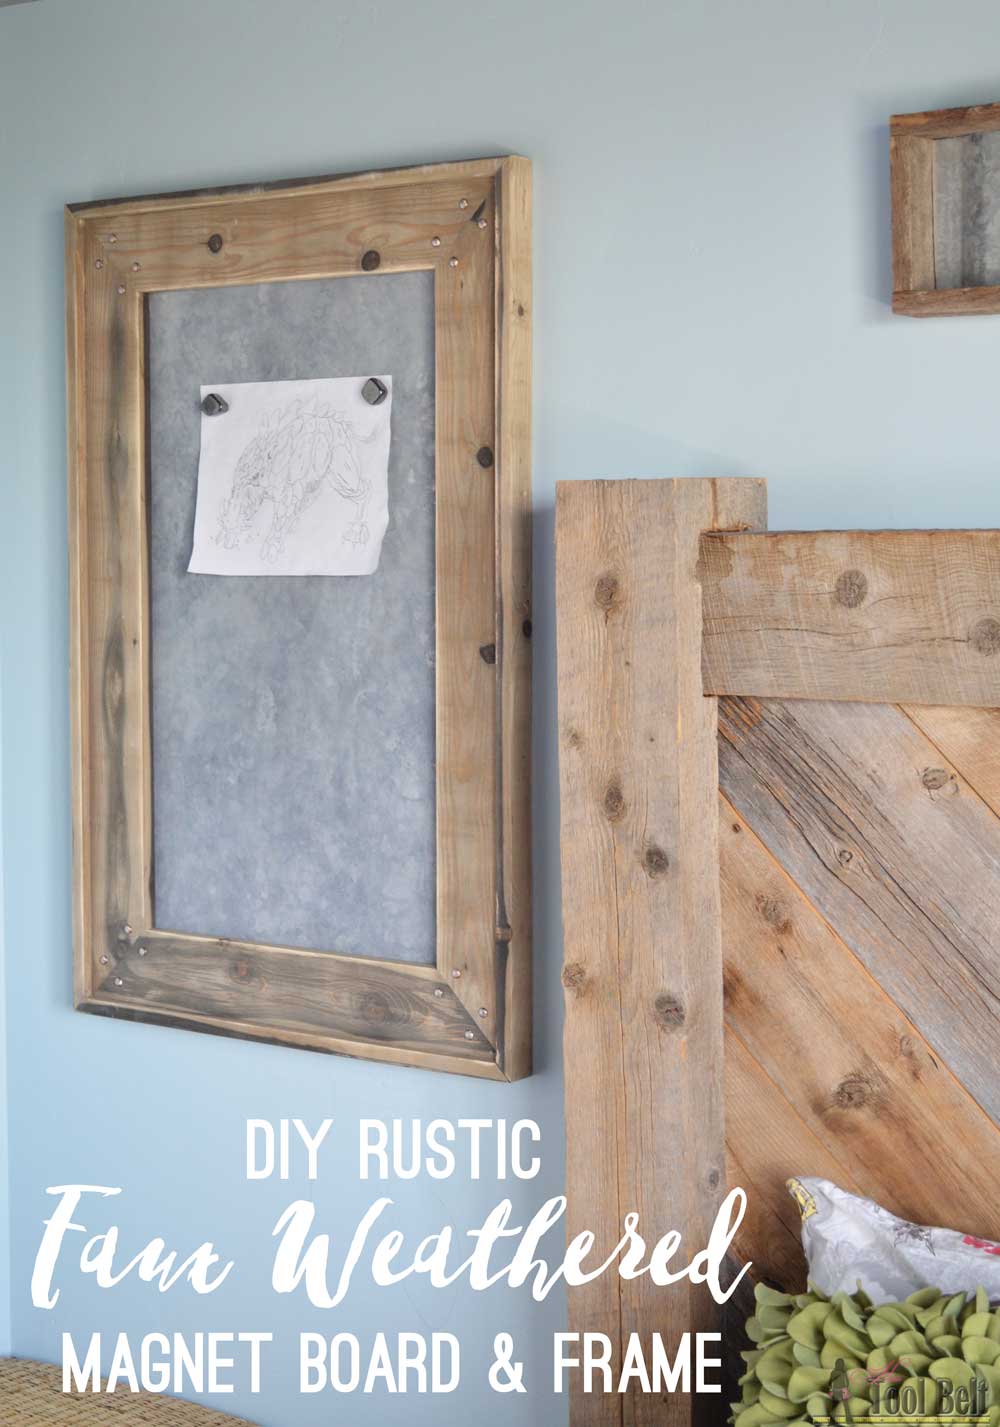
My son is in first grade and brings home lots and lots of art projects from school. He requested a magnet board for his room to show off the latest and greatest creation. Since his bed was built from a salvaged barn, I thought shiny galvanized metal and new pine might look funny by his very rustic bed. I remembered seeing my friend Mindi use Better with Age stain on some of her projects and really liked the look. While checking out Better with Age on Amy Howard Home, I noticed that she also has a zinc patina solution to make new sheet metal look old – sweet both problems solved. (I really want to try and do a console table top with that zinc patina, so this project is a good trial for that!)
I had a partially used piece of galvanized sheet metal laying around from a previous project, that I cut down to size with tin snips. Very shiny.

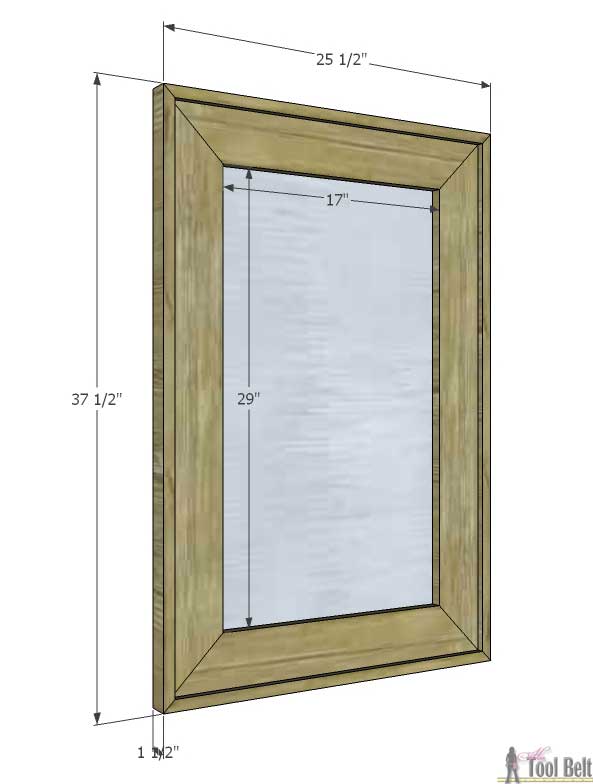
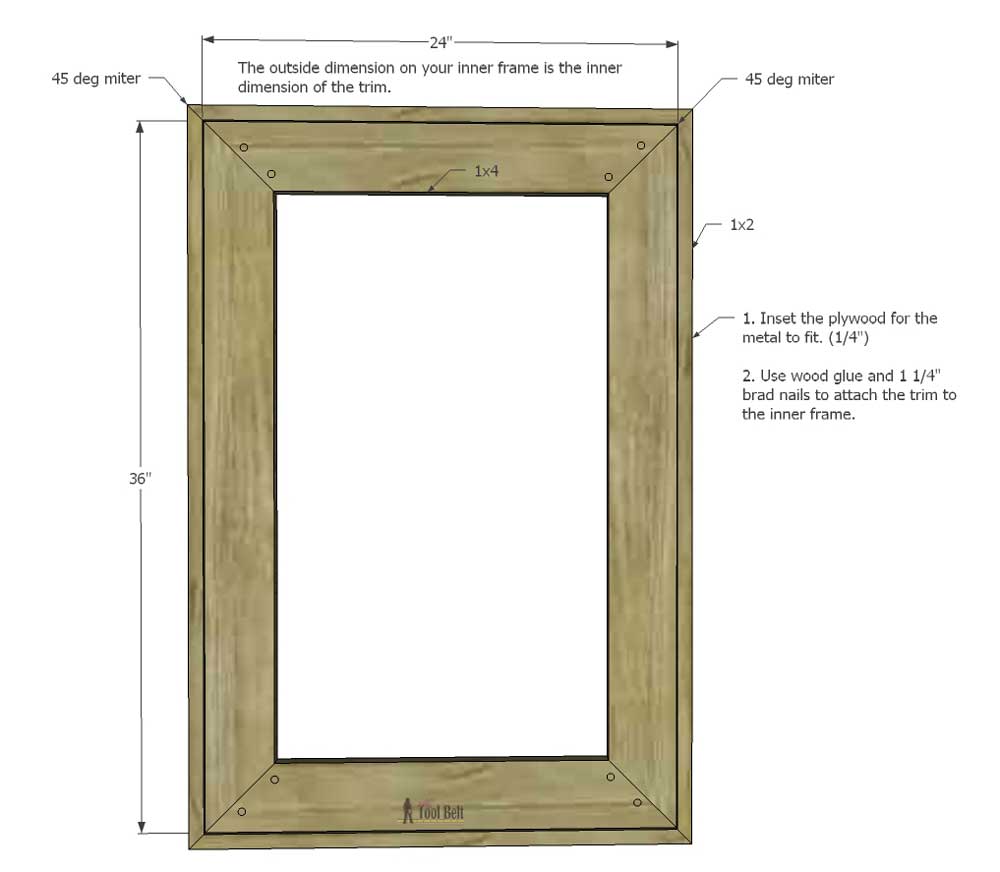
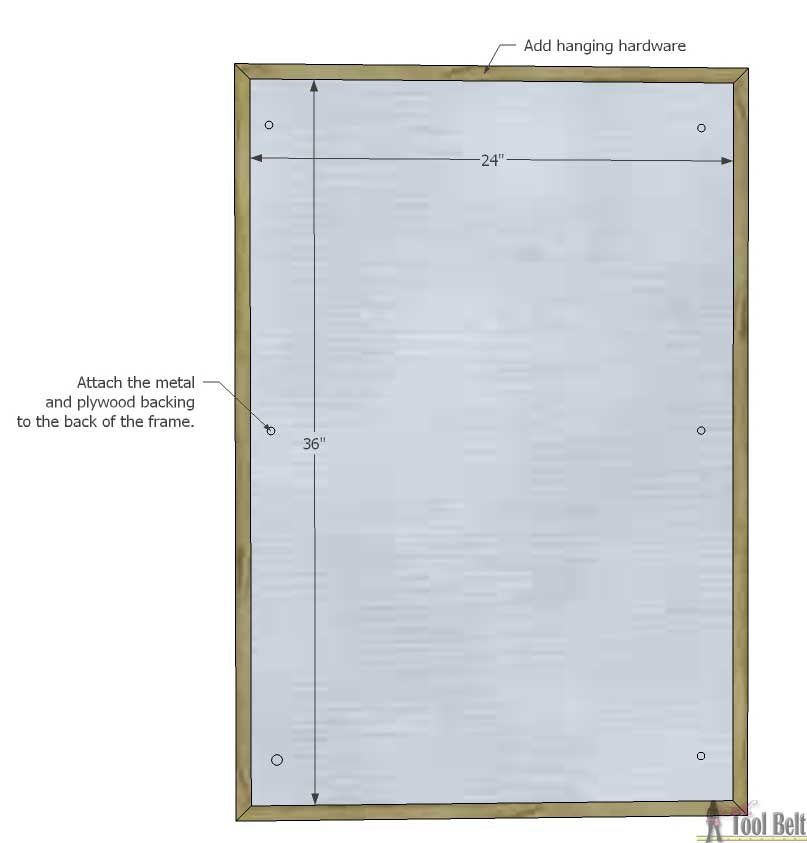
This metal was really the determining factor for the size of the magnet board. The metal piece I used was 24″ x 36″ after I cut off the top. You can really make the board and frame whatever size you want, just make the inner frame fit the metal.
How to Make a Rustic Weathered Magnet Board and Frame
Materials
- 1 – 1″ x 4″ x 10′ pine board
- 2 – 1″ x 2″ x 8′ pine board
- 1 – sheet metal
- hardboard/plywood as big as your sheet metal
- 1 1/4″ pocket hole screws
- 1 1/4″ brad nails
- 3/4″ screws
- wood glue
- sandpaper
- picture hanging hardware
- decorative nails – optional
- spray adhesive – optional to secure metal to plywood backing
- Better with Age stain
- Zinc Antiquing Solution
Cut List
- 2 – 1″ x 4″ x 36″ with 45 deg miter cuts on each end
- 2 – 1″ x 4″ x 24″ with 45 deg miter cuts on each end
- 2 – 1″ x 2″ x 25 1/2″ with 45 deg miter cuts on each end ***cut to fit***
- 2 – 1″ x 2″ x with 45 deg miter cuts on each end ***cut to fit***
- 1 – 24″ x 36″ hardboard/plywood backing for metal
- 1 – 24″ x 36″ sheet metal
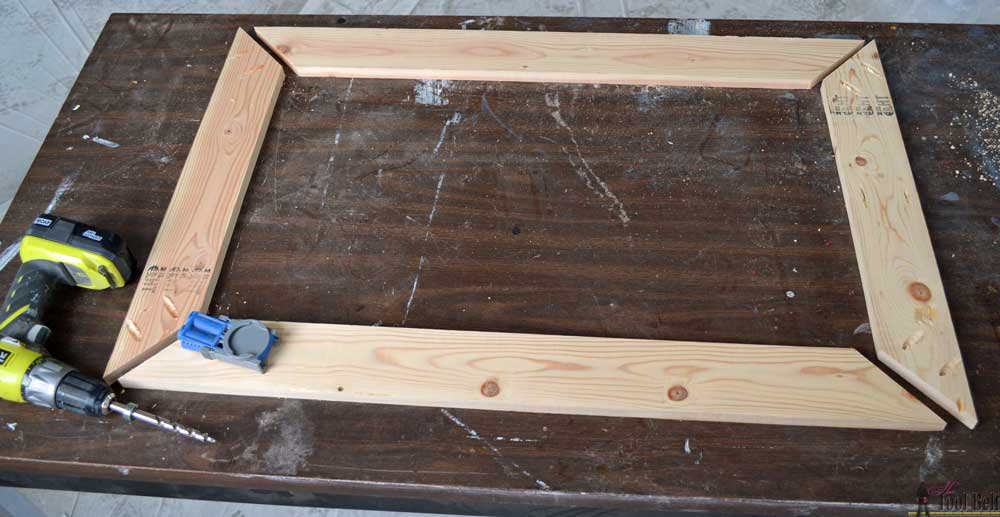
Building the wood frame
I sanded the boards before assembling the frame.
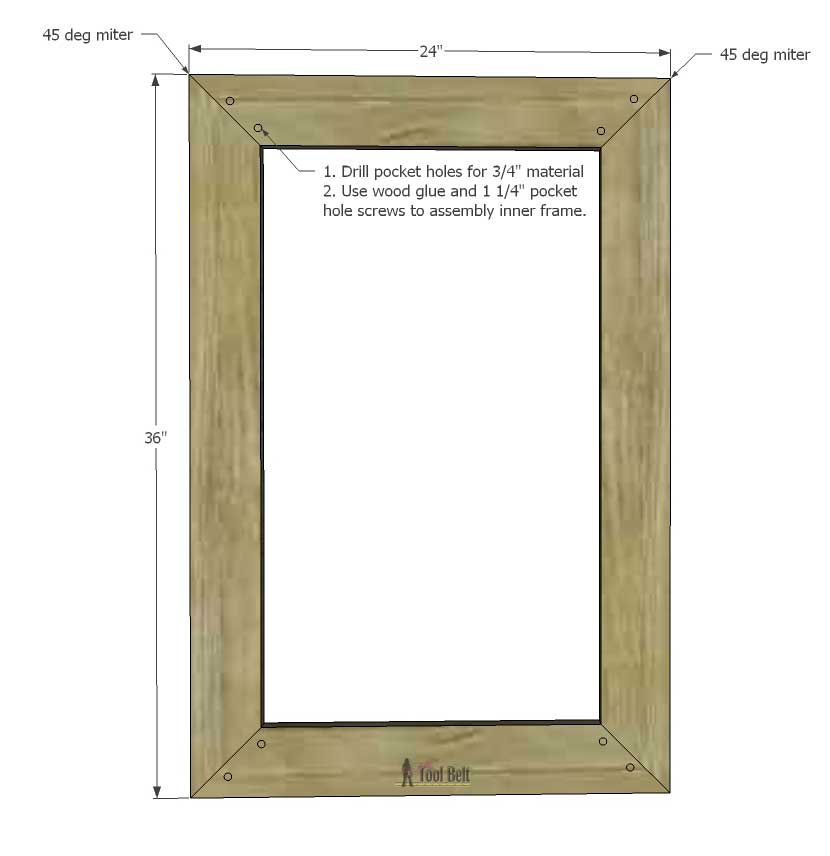
In the 2 – 24″ boards, drill pocket holes for 3/4″ material in each end. Use wood glue and 1 1/4″ pocket holes to secure each corner to a 36″ board. (I call this the inner frame)
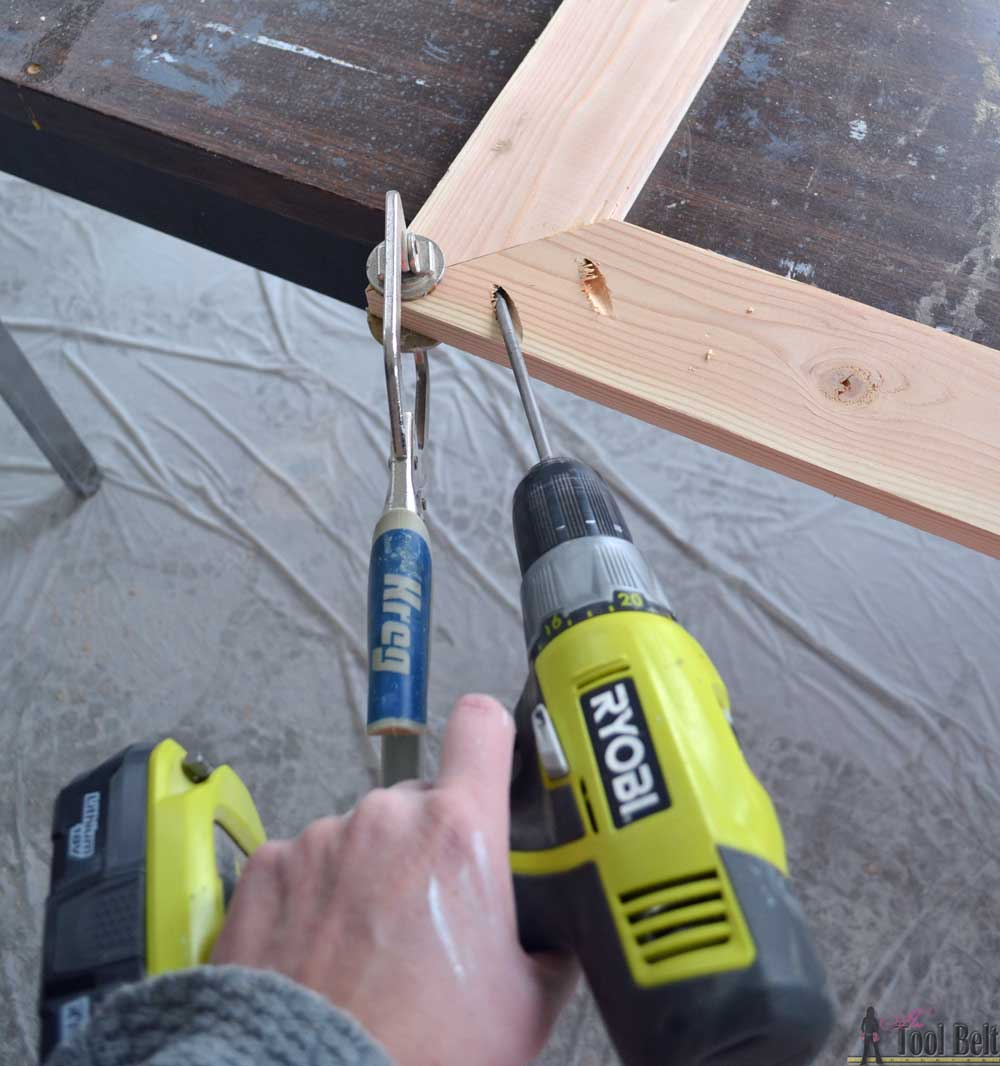
Pocket holes drilled.
Securing with screws. (And yes I almost always have some rogue paint on my hands 🙂 ).
Measure the inner frame outer dimensions (should be about 24″ x 36″). Cut the 1×2 trim pieces to fit around the frame with 45 deg miter cuts on each end. I inset the back so the plywood and metal will fit flush with the backside of the trim. The inset is about 1/4″.
Use wood glue and 1 1/4″ brad nails to attach the trim around the inner frame.
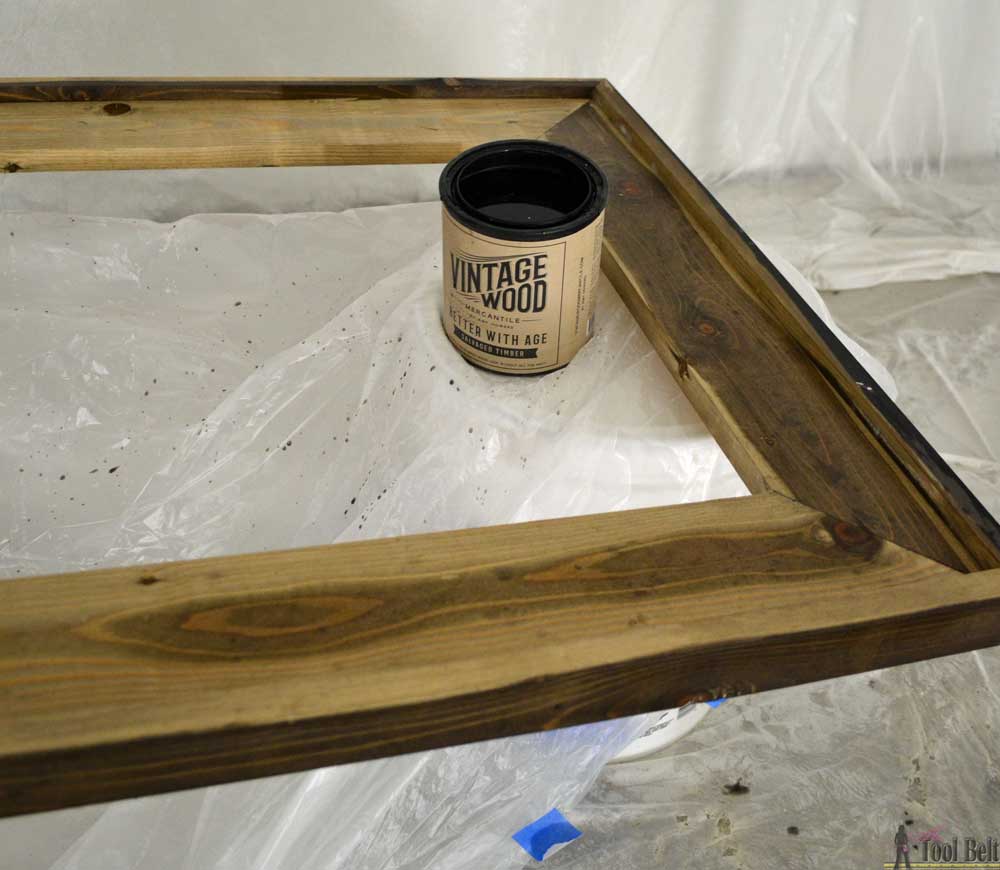
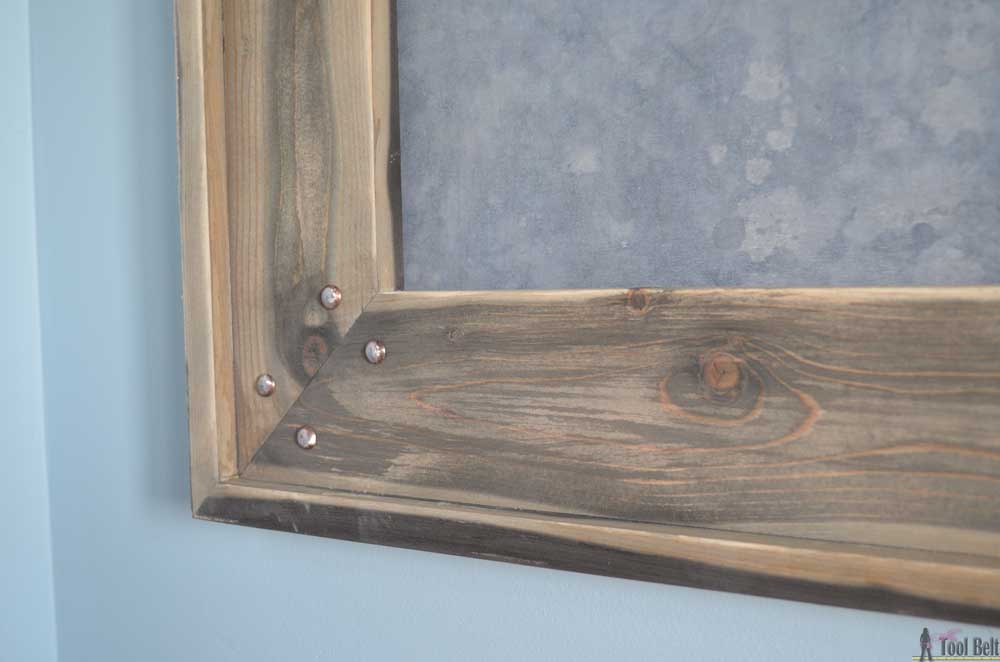
I stained the frame now and let the solution do it’s thing. It was so interesting to see the outcome, very fun. Some areas turned really dark, others light brown. When the stain was totally dried, I used a little sandpaper to take off any really dark areas. I splattered some of the stain onto the wood for ‘fly specking’, but it really didn’t seem to matter when dried.
Antiquing the metal
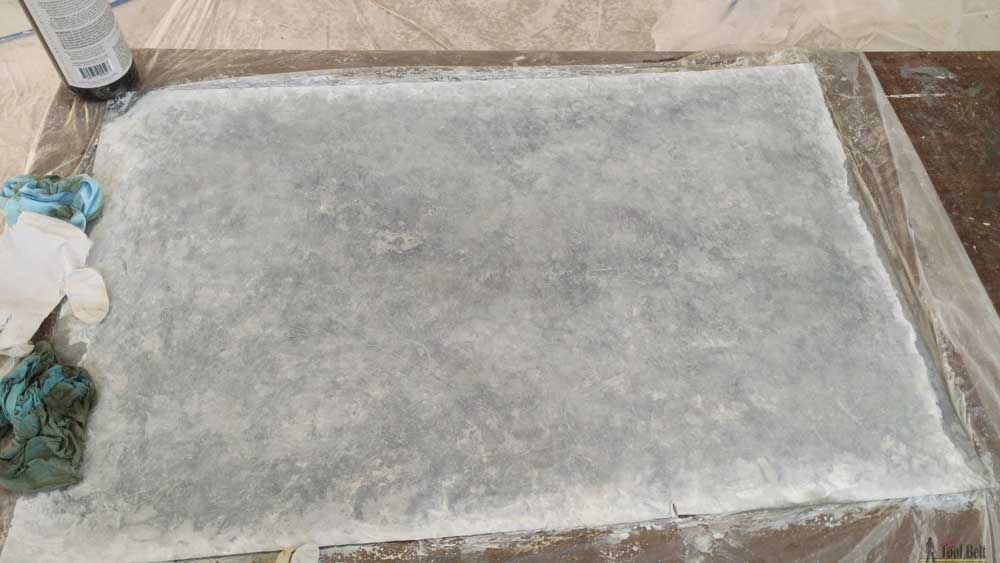
The zinc antiquing went really well, I followed the directions. First I cleaned the metal with degreaser and rinsed it with water. Then I applied a plenty of zinc solution. The metal turned black fairly quickly.
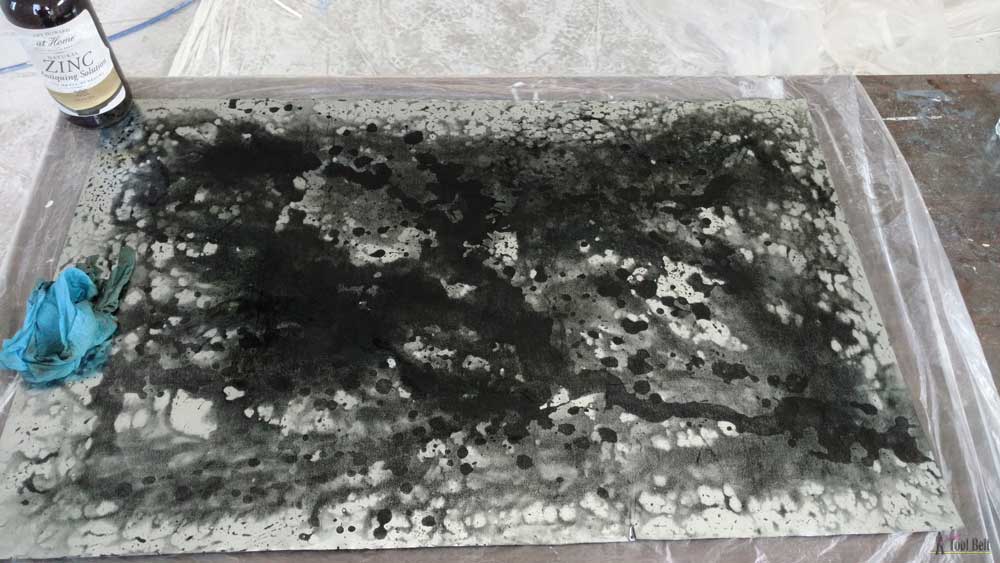
I used my rag and rubbed the solution into the metal, trying to get rid of shiny parts. Then I went back and dabbed it so it didn’t look like wipe streaks and let it dry.
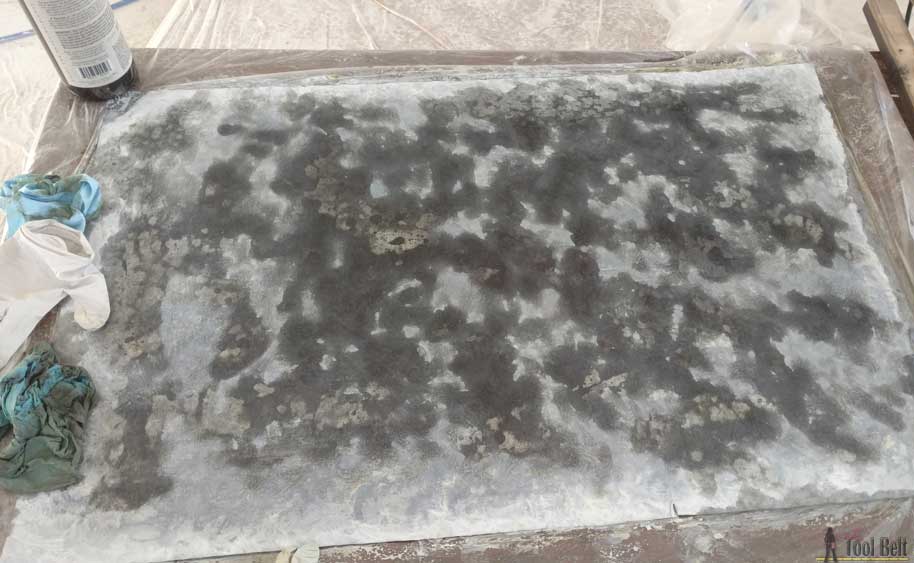
Here the metal is almost dry. After it dried for the night, I dusted off that powdery stuff. If it’s a high use area, Amy Howard suggests sealing it with clear wax.
I sprayed adhesive to the back of the metal and on the plywood and stuck the pieces together. I placed the plywood/metal in the back of the frame and secured with a few 3/4″ screws.
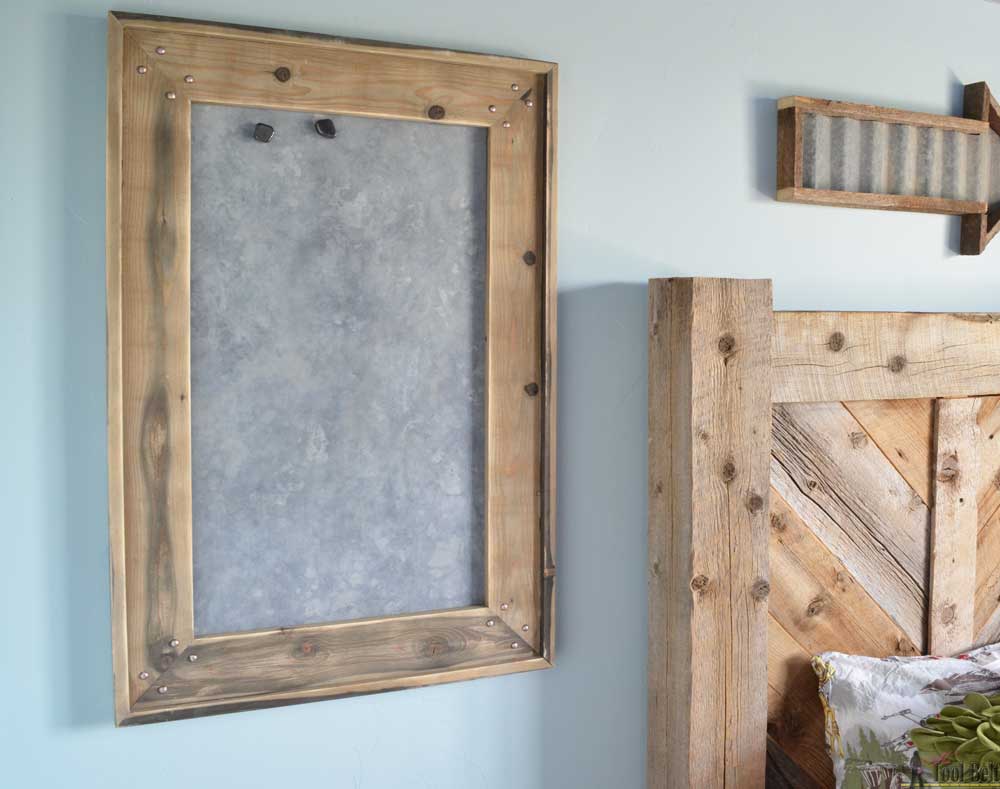
I roughed up some decorative nails and added 4 to each corner. I’m loving the variation in the wood!
I am impressed at how well the magnet board ‘new’ wood and metal go with my naturally aged barn wood and corrugated tin in the arrow.
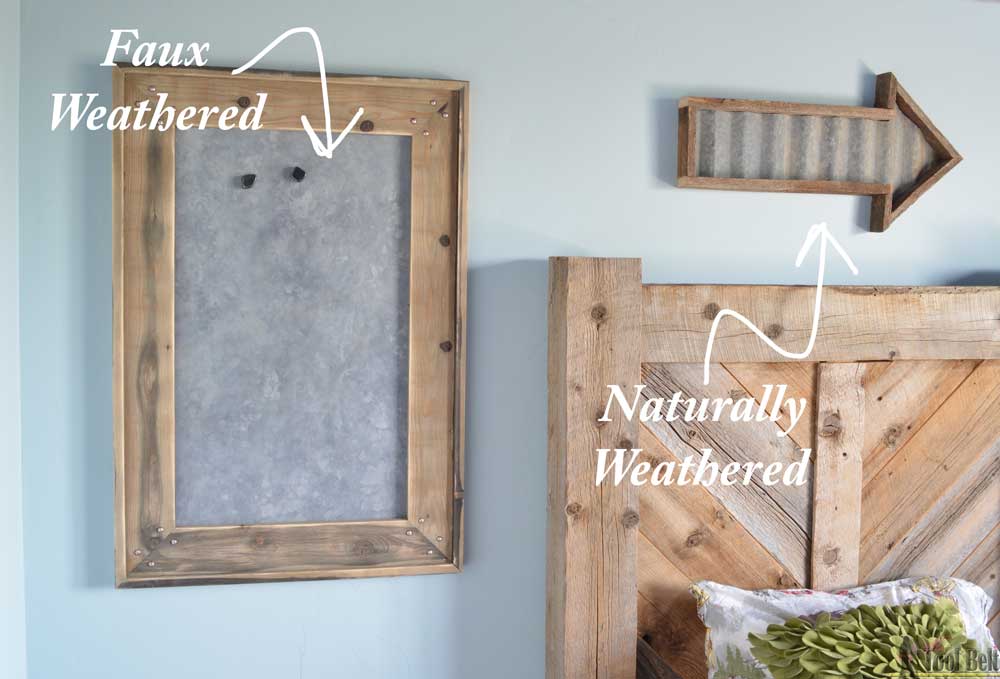
The magnet board works great, now the new request is to get more magnets.
I think it turned out fun, now to start planning that console table.
I received Amy Howard at Home product to use on this project, all ideas and opinions are my own.
Linked to link parties remodelaholic and savvy southern style
Oh Amy I LOVE how it turned out!! The frame is so perfect with all the wood variation, and the decorative nails are the icing on the cake! I really need to try that faux method on metal it looks fabulous! Pinned!