Basement Playhouse Build – Tiny House Toy Room Reveal

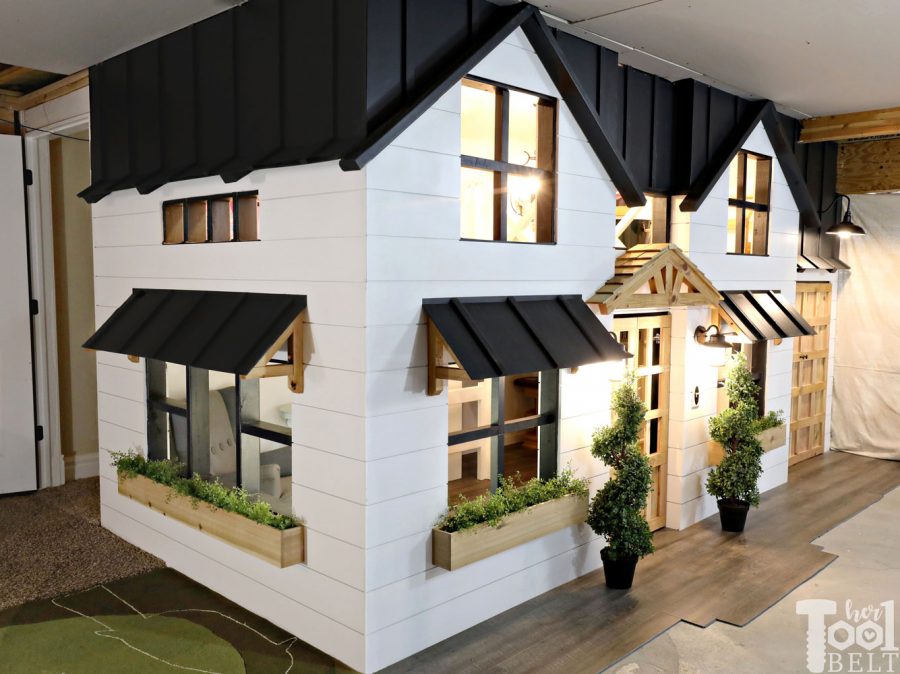
It took me about 6 weeks to chip away at this project, but I’m happy to say that the basement playhouse build (which is really a toy room shaped like a tiny house), is pretty much done! Yay! My kids are super excited and have been having fun inspecting everything as the project came together. My house may not be in style, but at least my playhouse is 🙂 I tried to make the playhouse in the modern farmhouse style…I love to drool over those houses on Instagram.

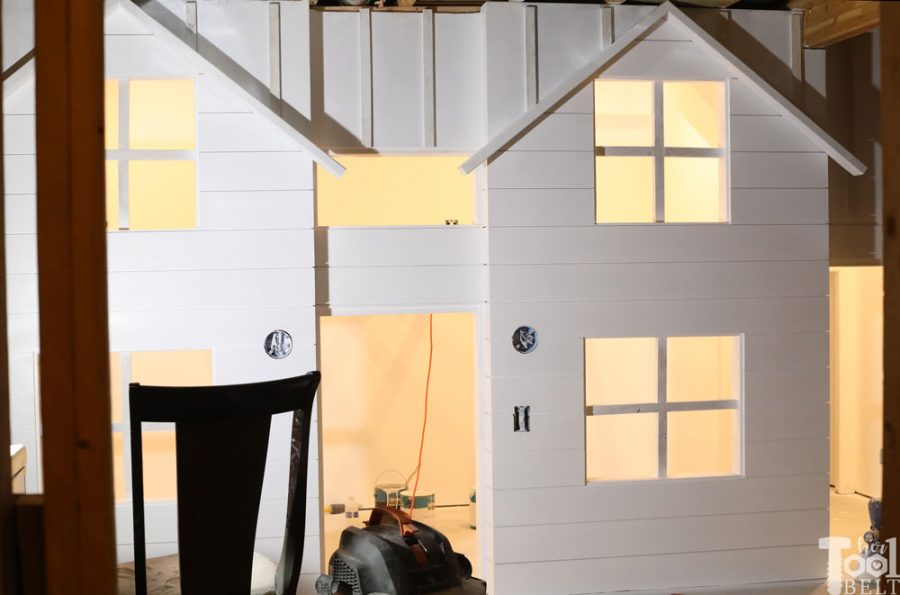
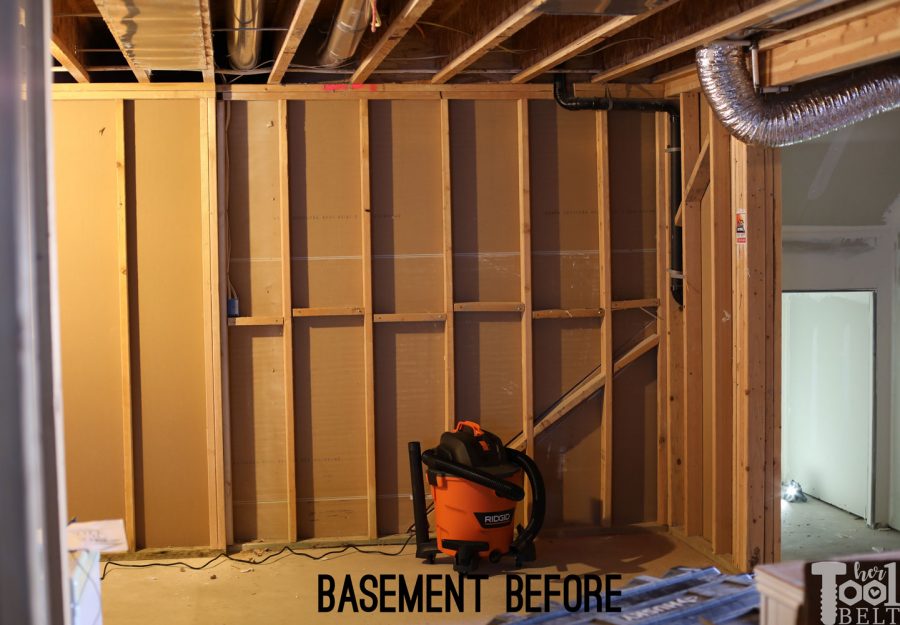
Remembering where I started…here’s the BEFORE.

This Mom built a basement playhouse for her kids. It's really a toy room shaped like a tiny house...come take a tour.

Sideview

This Mom built a basement playhouse for her kids. It's really a toy room shaped like a tiny house...come take a tour.

And the AFTER

What do you think?

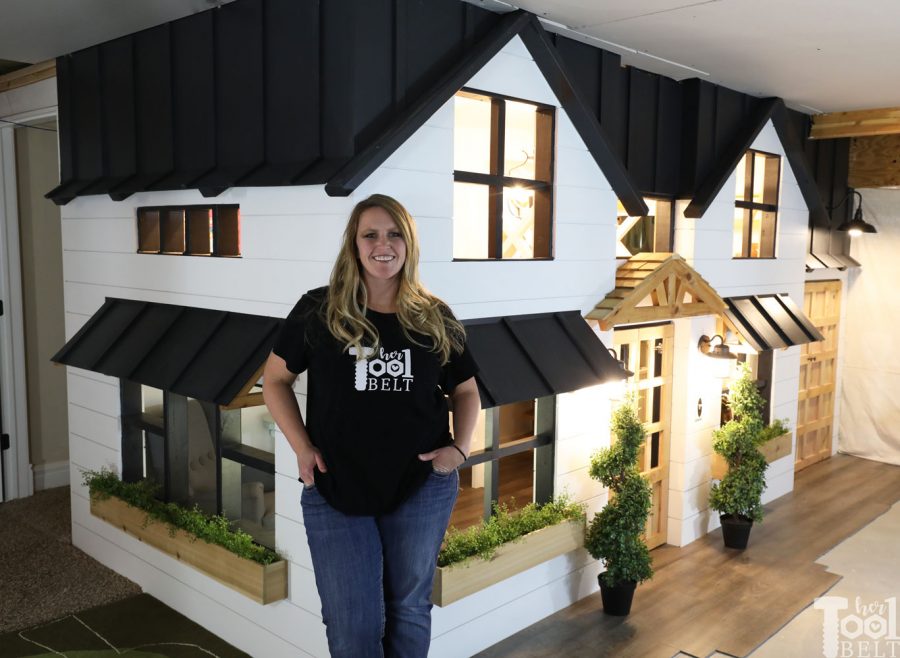
With me, for scale.

You can check out the tutorials for the whole playhouse build:

Continue reading

Basement Playhouse Build – Shiplap & Sheetrock

Progress on the basement playhouse is moving right along. In Part 2 of the build, I added the shiplap, sheetrock and the 2nd floor/ceiling. Adding the shiplap and sheetrock has been the most gratifying process, because it really made the playhouse take shape.  When designing the playhouse, I decided to put shiplap on the inside and outside of all the walls with windows. Then sheet rock on the other walls and ceiling (the regular basement ceiling). I framed the windows with 2×4 in the framing process of part 1. I didn’t want to waste the space of properly trimming out the windows, so when adding shiplap I left a 1/2″ reveal of the 2×4 framing to paint black later. This worked out really well.  After painting the walls and ceiling, I added the 2nd floor to the playhouse. It’s starting to look cute!

Part 2 of the basement playhouse build is shiplap & sheetrock. Lots of mudding, nailing, sanding and painting. It's really starting to take shape.

You can check out the tutorials for the whole playhouse build:

This post contains some affiliate links for your convenience. Click here to read my full disclosure policy.  Continue reading

Basement Playhouse Build – Framing

The Basement Playhouse Build includes tool reviews that are sponsored by The Home Depot. I have been compensated for my time and provided with product. All ideas and opinions are my own. This post contains some affiliate links for your convenience. Click here to read my full disclosure policy. 

I have always loved those darling basement playhouses and under the stair play areas that you see in home shows and on Pinterest. My basement is unfinished and really is an open slate to do whatever I want to with it.  I decided that instead of thinking about this project for a few years, like I usually do, I need to get it done while my girls are young and will still enjoy it.

Here’s the space that I’ll be building the playhouse. The back of the playhouse will share the wall of the stairs leading to the basement.
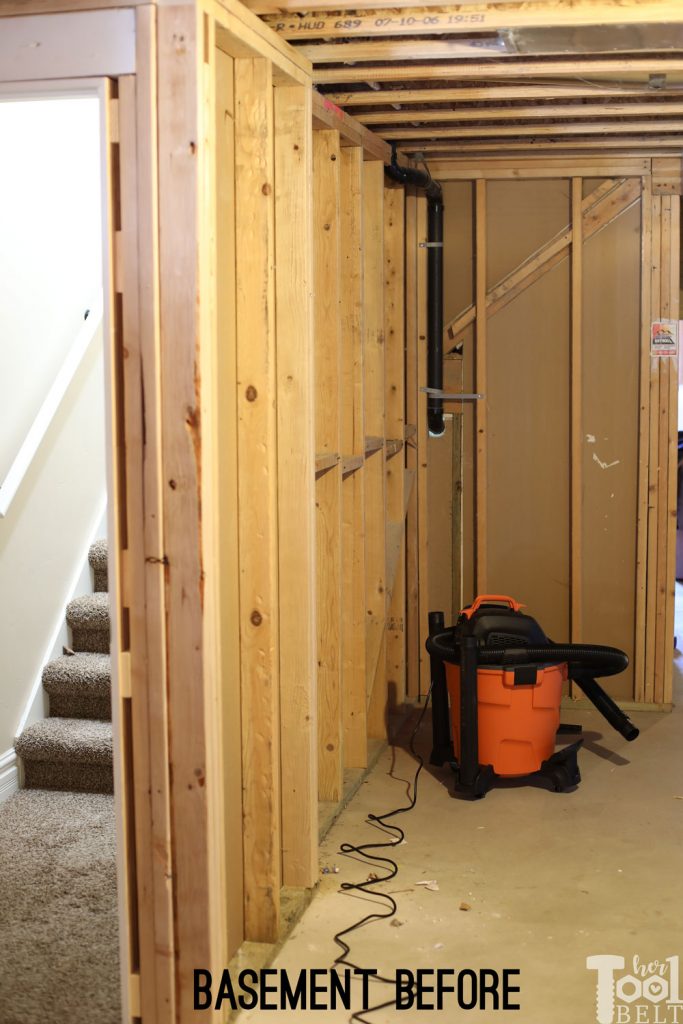
On the far right side, is a little under the stairs cove.  On the left side of the wall is a little pop out from when I had to move the door location.
This is what I came up with for the space. The playhouse will come out from the wall about 6′, and the main portion of the playhouse will be about 12′ long.
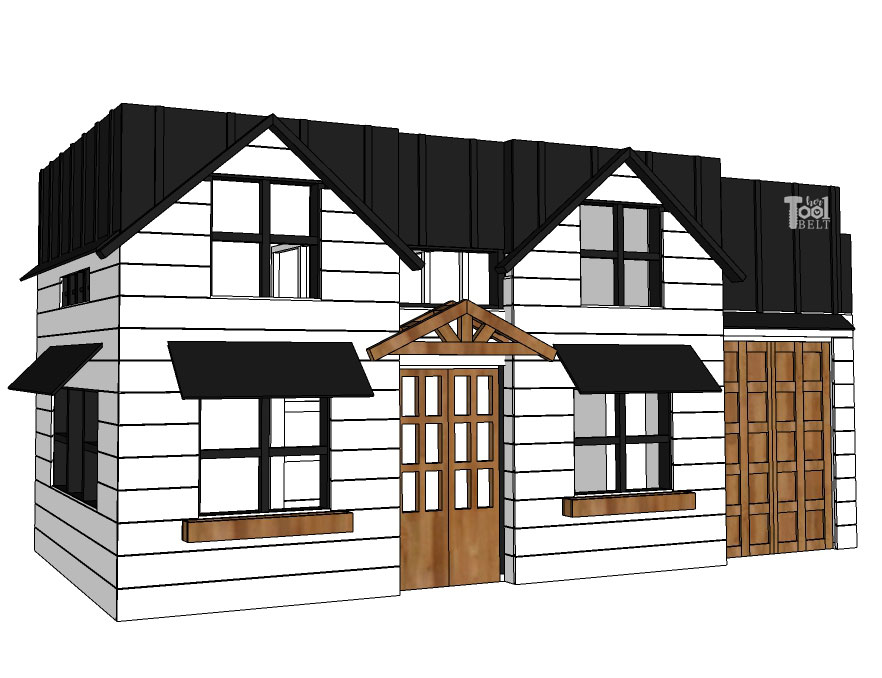
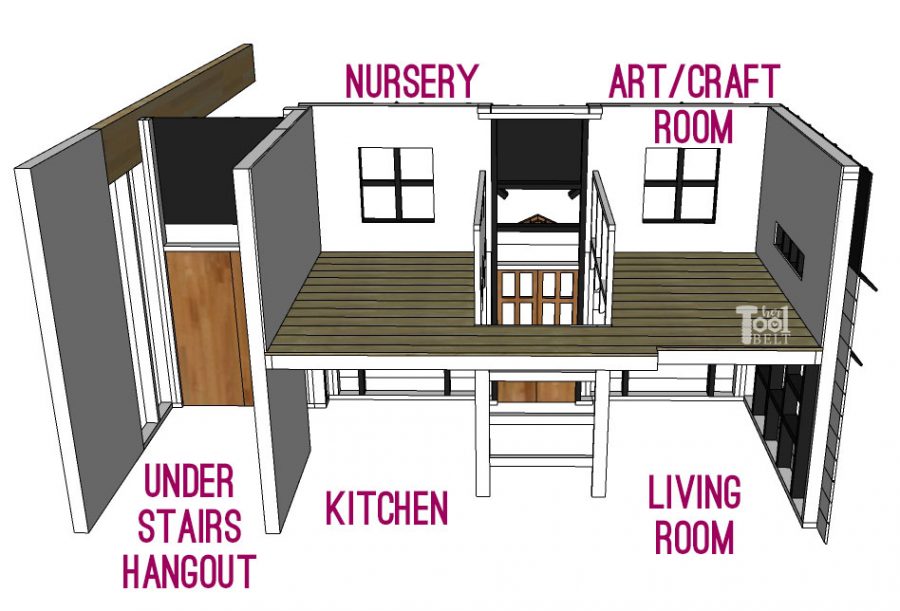
The playhouse will run along the wall of the stairs, and the ‘garage’ will go under the stairs. The main house will have 2 levels. On the main level will be the Kitchen and Living Room for ‘tea parties’ and such. Upstairs will have the Arts & Crafts Room and a Nursery for all of their stuffed animals that they love. Unfortunately my basement ceilings are only 7 1/2′ high, so it is a little squishy for my older daughter. But when both girls get too tall, I can remove the second floor if they want me too. I’m thinking that the under the stairs portion will just be a hangout place with big soft pillows and cushions.
I had to build around a number of odd things (multiple beams, walls, HVAC, plumbing) in my basement, which I’m sure every situation will be different. I’ll share the plans as if the playhouse is built along a flat back wall, then they’ll have to be adjusted as necessary.

You can check out the tutorials for the whole playhouse build:

With this build, I’m also reviewing a few tools as part of the #THDprospective program with Home Depot. I’ll be sharing my thoughts on these tools noted with *.

Continue reading

Ashley Nightstand – Free Plans

The Ashley Nightstand with tool review is sponsored by The Home Depot. I have been compensated for my time and provided with product. All ideas and opinions are my own. This post contains some affiliate links for your convenience. Click here to read my full disclosure policy. 

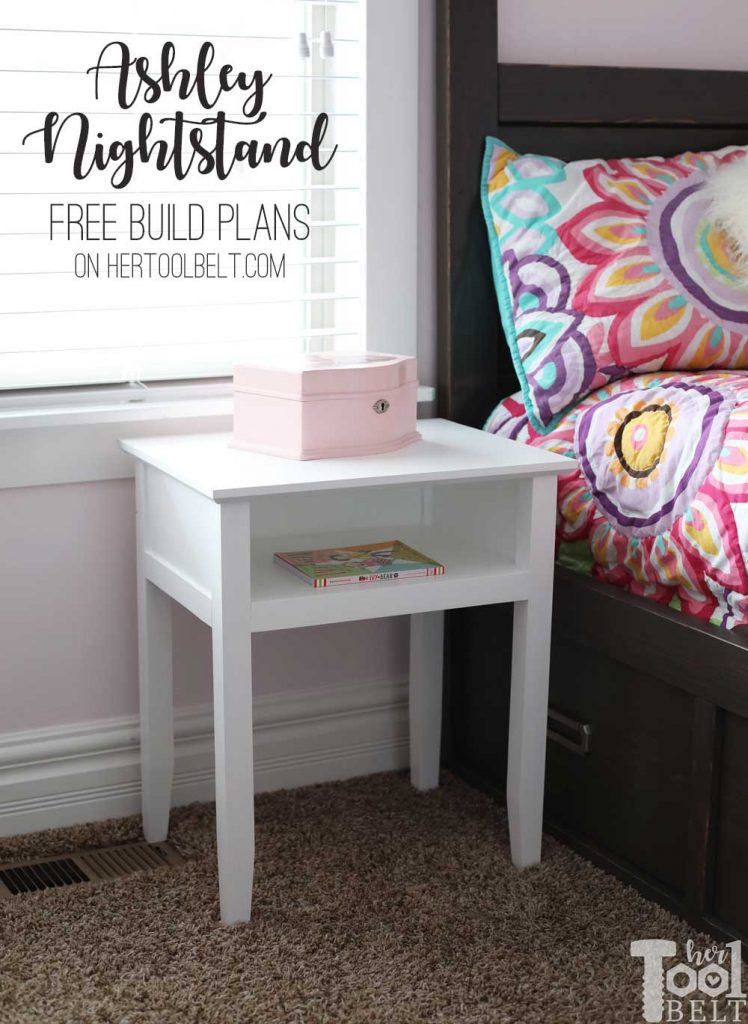
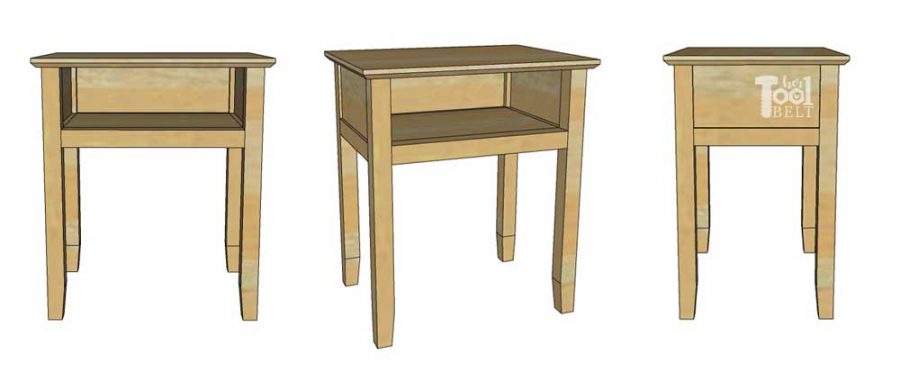
For my family Christmas party, all of the cousins (my kids, nieces and nephews) draw names for whom they give a gift to that year. My daughter, drew her tween cousin Ashley. Ashley really needed a simple nightstand to put her alarm clock on and store a book or two. One issue is that the nightstand needs to go over the only air vent in the room, so we wanted to do our best not to block the air flow. The best part of the Ashley nightstand is that I raided the scrap wood bin and the whole nightstand is scrap wood, yay for me! I had a few ends of 1×12’s that I used for the top and shelf, but I wrote up the plans using purchased 1×6’s and 2×2’s. The lumber for this cute nightstand is only about $15 (although wood prices around the country vary.)

The Ashley nightstand is a simple nightstand with an enclosed shelf. Build this nightstand for about $15 in lumber...or it's perfect to use up scrap wood. Free plans on hertoolbelt.com


The Ashley nightstand is a simple nightstand with an enclosed shelf. Build this nightstand for about $15 in lumber...or it's perfect to use up scrap wood. Free plans on hertoolbelt.comFront view              //                Isometric view               //              Side view

How to Build the Ashley Nightstand

Continue reading

Backpack Storage and Organizer

Backpack storage and organizer Plans and Tool Review is sponsored by The Home Depot. I have been compensated for my time and provided with product. All ideas and opinions are my own. This post contains some affiliate links for your convenience. Click here to read my full disclosure policy. During this build, I’ll be reviewing the Milwaukee hammer drill/impact combo, Diablo blades and Makita Subcompact circular saw and will share my thoughts on these tools.

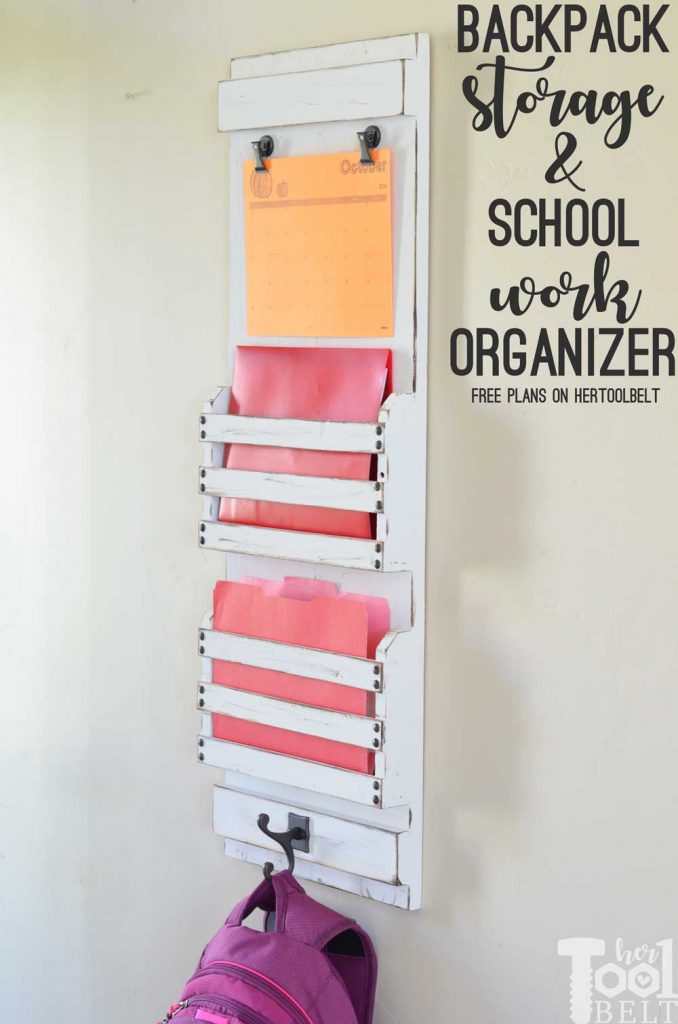
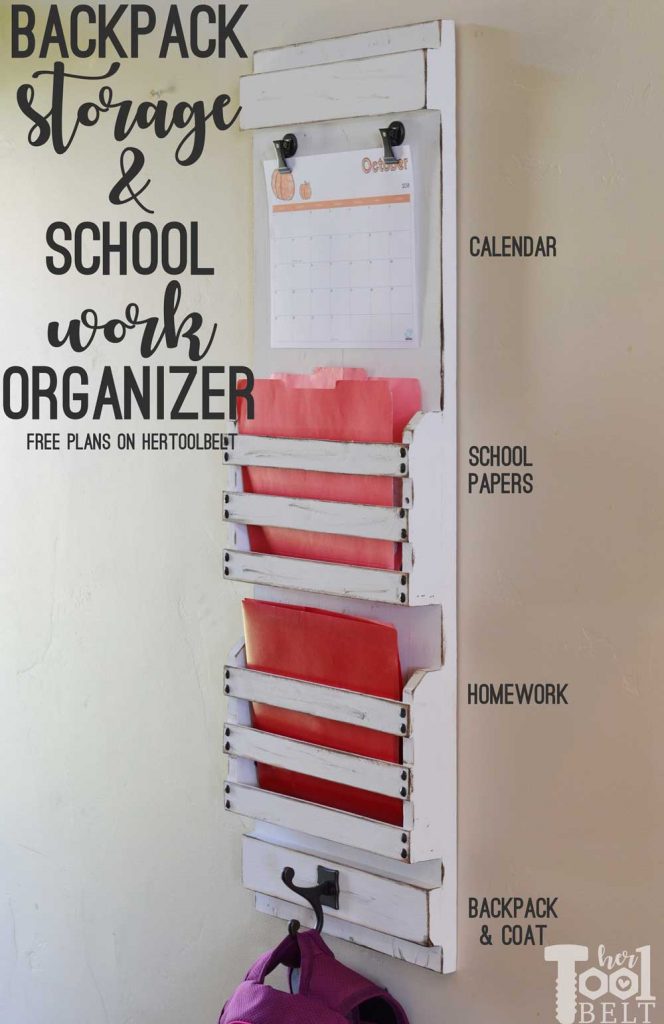
We are a little over a month into the school year and I have got to do something to organize backpacks, homework, school papers and calendars. Ugh, they are going to take over my life… joking… sort of. 😉 One child has papers that we have to hold onto long-term (longer than a week) and weekly homework, so I made one version with 2 baskets for folders and another version with 1 basket. There’s a space at the bottom for 1 or more coat/backpack hooks. At the top I have a space for calendars. These can be attached with clips, or if you want an erasable calendar, an acrylic calendar will be great. Another idea for the top space is an acrylic To-Do checklist.

Need to organize the school work/papers and homework? Free plans to build a backpack storage & school work organizer. Build it for about $10 in wood.Backpack storage and school work organizer functions.

Need to organize the school work/papers and homework? Free plans to build a backpack storage & school work organizer. Build it for about $10 in wood.

How to Build a Backpack Storage and Organizer

Continue reading