Entryway Remodel – Spring Renovation Challenge – Week 1 The Plan

My Mom was right!


I can admit it.


Years ago when my husband and I were looking to move to a better neighborhood, we came a crossed this house. It was 2009 during the housing crisis, and the house was bank-owned. The exterior was mostly finished, but the interior wasn’t. The drywall was all up, taped and textured, ready for paint, no cabinets, rough electrical and plumbing…you get the picture.  The house went through a number of offers, we didn’t think we would get it, but the other offers fell through and it was ours to buy.

My Mom came up to go through the house before we closed on it. When she got to the front entryway she said “you can’t buy this house, the front door opens right into the frig and kitchen sink”. Too excited about getting a deal on the house and moving into a better area, I said something sassy like “Don’t worry, you don’t have to live here”.  I know, I know…

Well sometime later I fully understood her dismay. A lady stopped by, but not a regular ol’ lady, this lady is one of those super clean people that doesn’t even have a speck of dirt in her garage, let alone her house. I was half way through doing the dishes at the moment, and with young kids, there were toys around on the floor. She looks around and I could see her skin crawl a bit and she says “Well I can see you have a lot to do here.” 🙂 Yep yep I do 😉

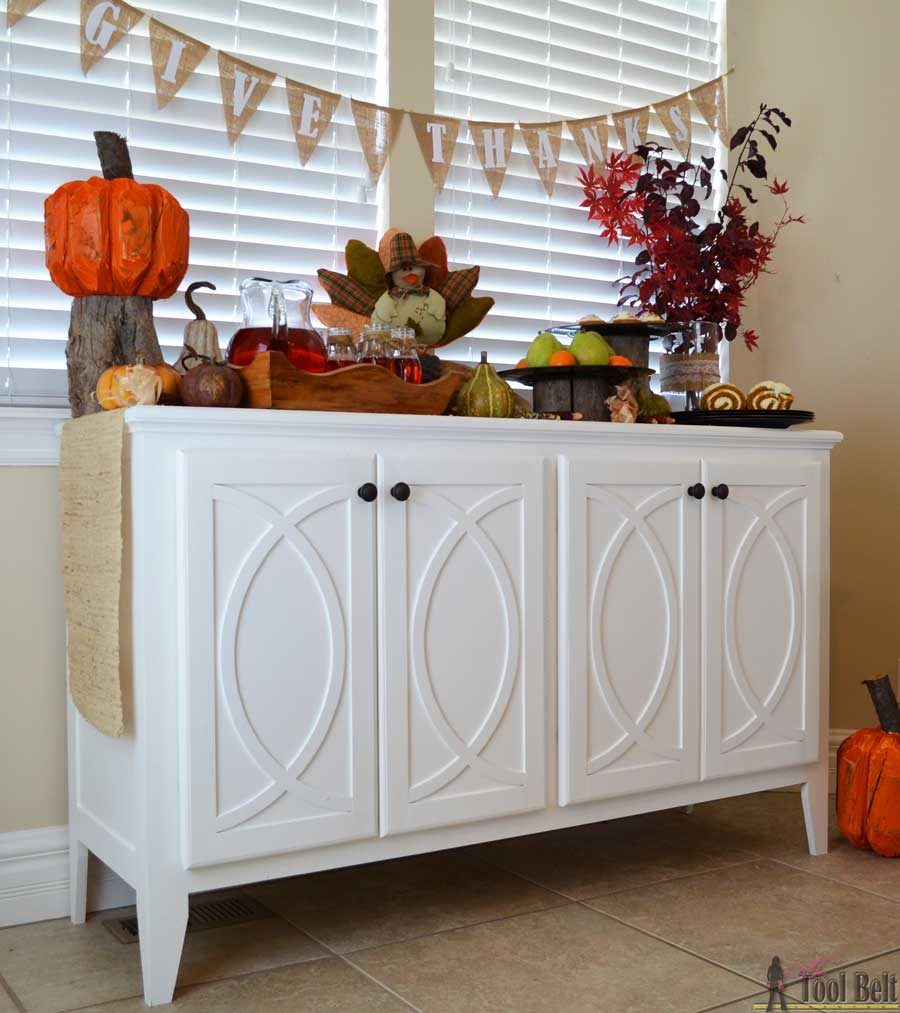
Anyway, I started contemplating the entryway situation and have been thinking about it for a few years. My spontaneity is about as quick as a sloth. I decided I wanted to block off the kitchen view and open up into the family room. However that layout would mean the door would open up into a wall, and I wasn’t sure if that was bad feng shui. I kept asking people for their opinion on my hair brained idea… Also my kitchen really doesn’t have much cabinet storage, my small kitchen appliances (rice cooker, pressure cooker, etc) end up over in my buffet. Ideally I’d like to use the buffet for other items, so added kitchen storage closer to the cooking area would be a huge plus!
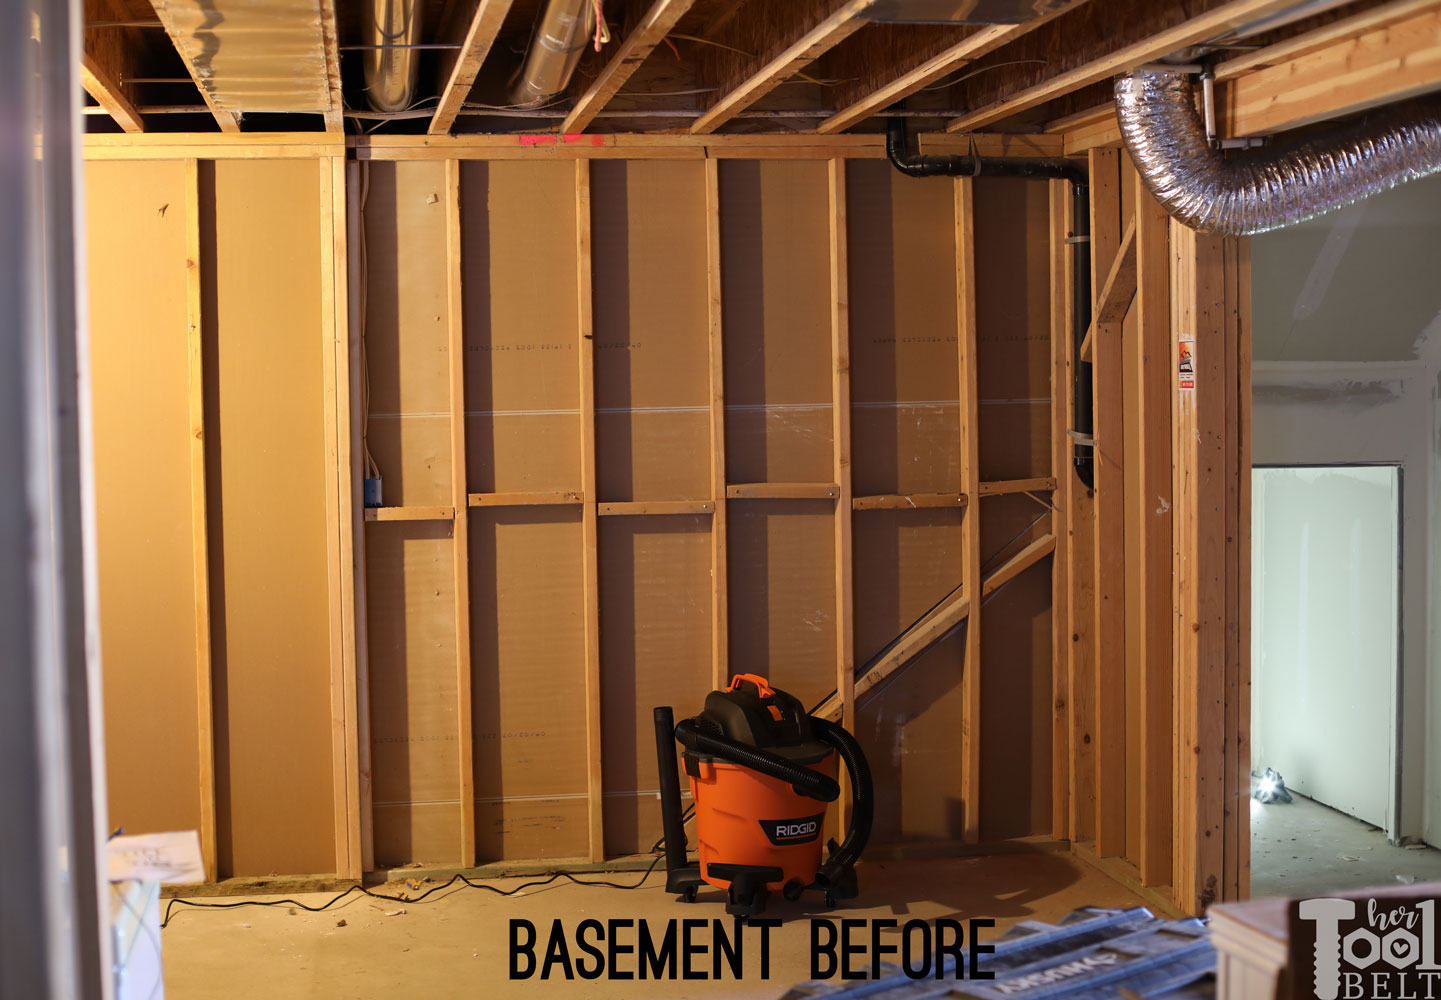
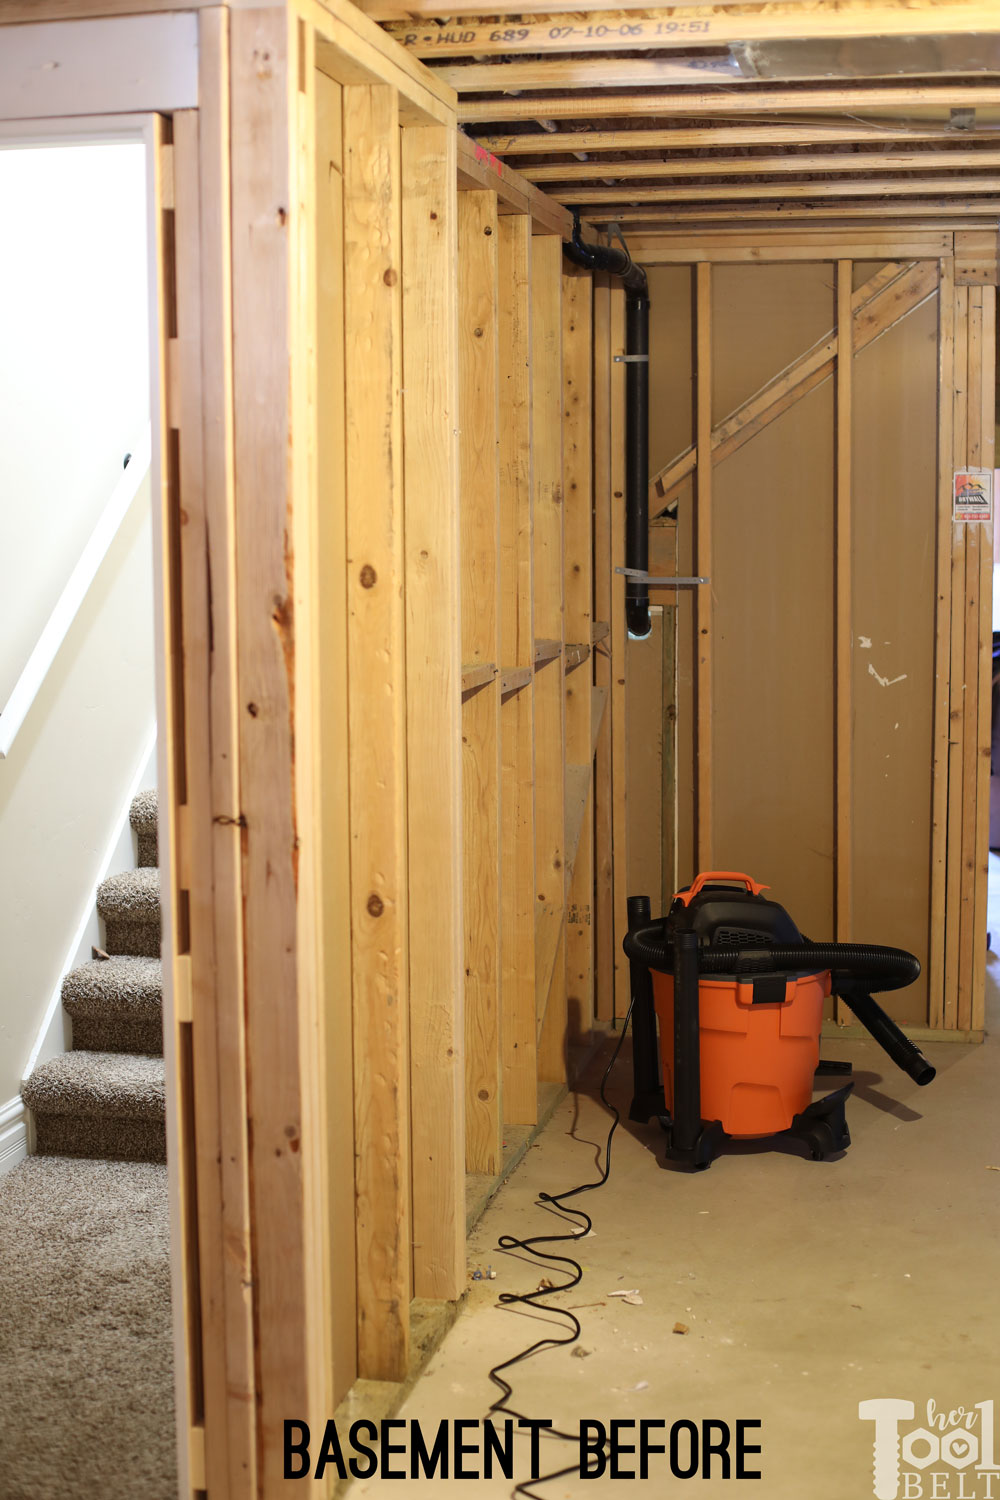
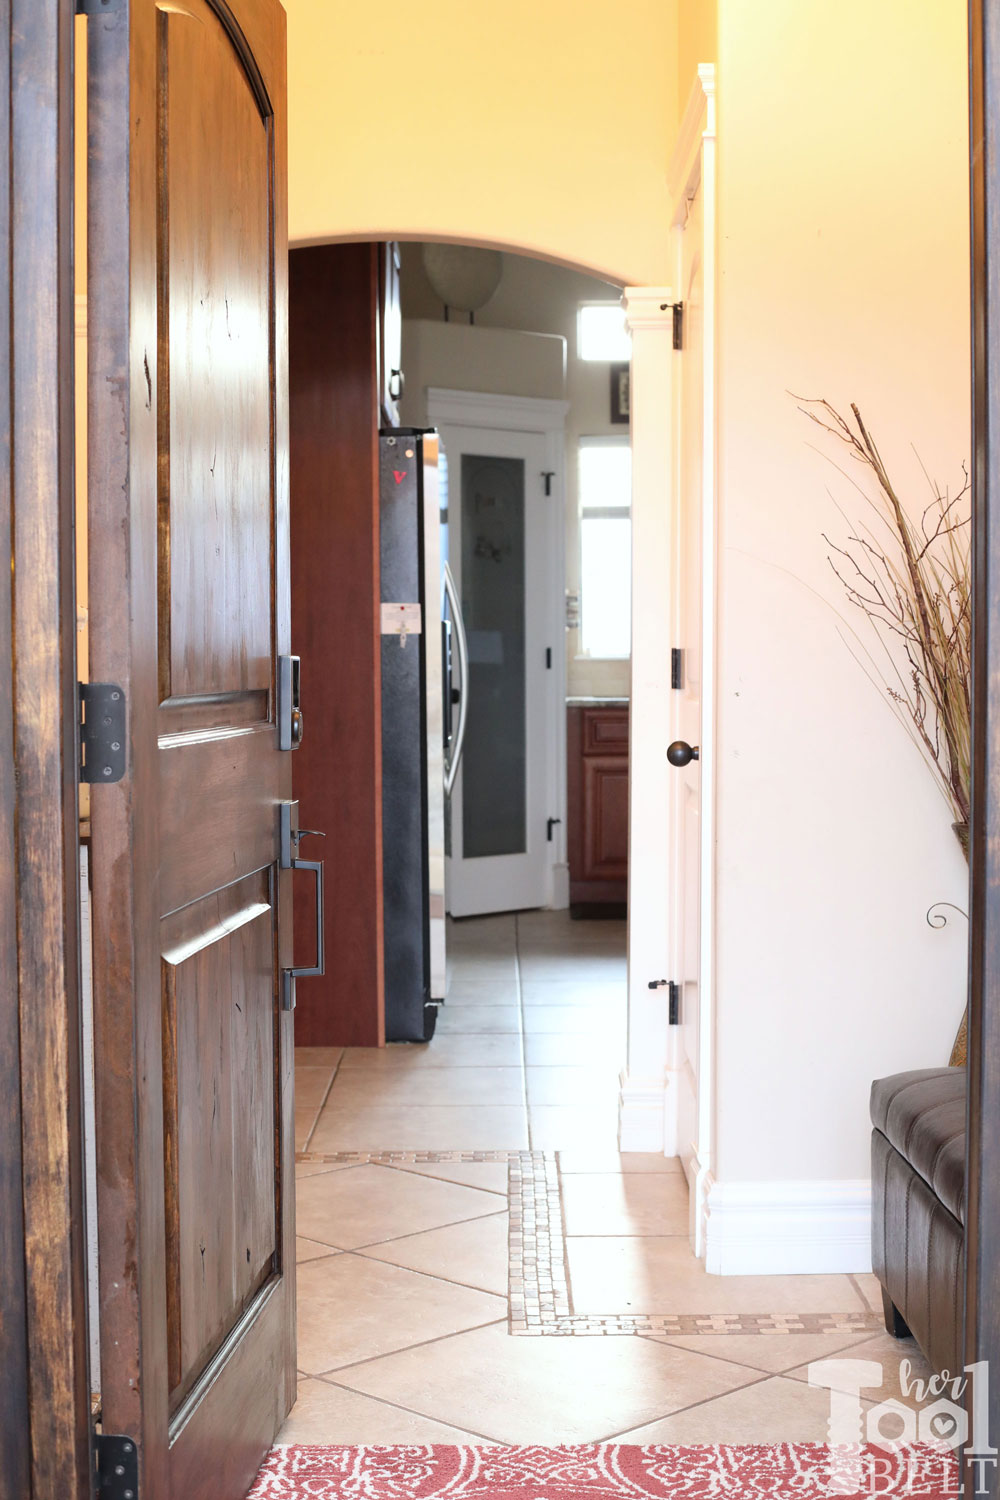
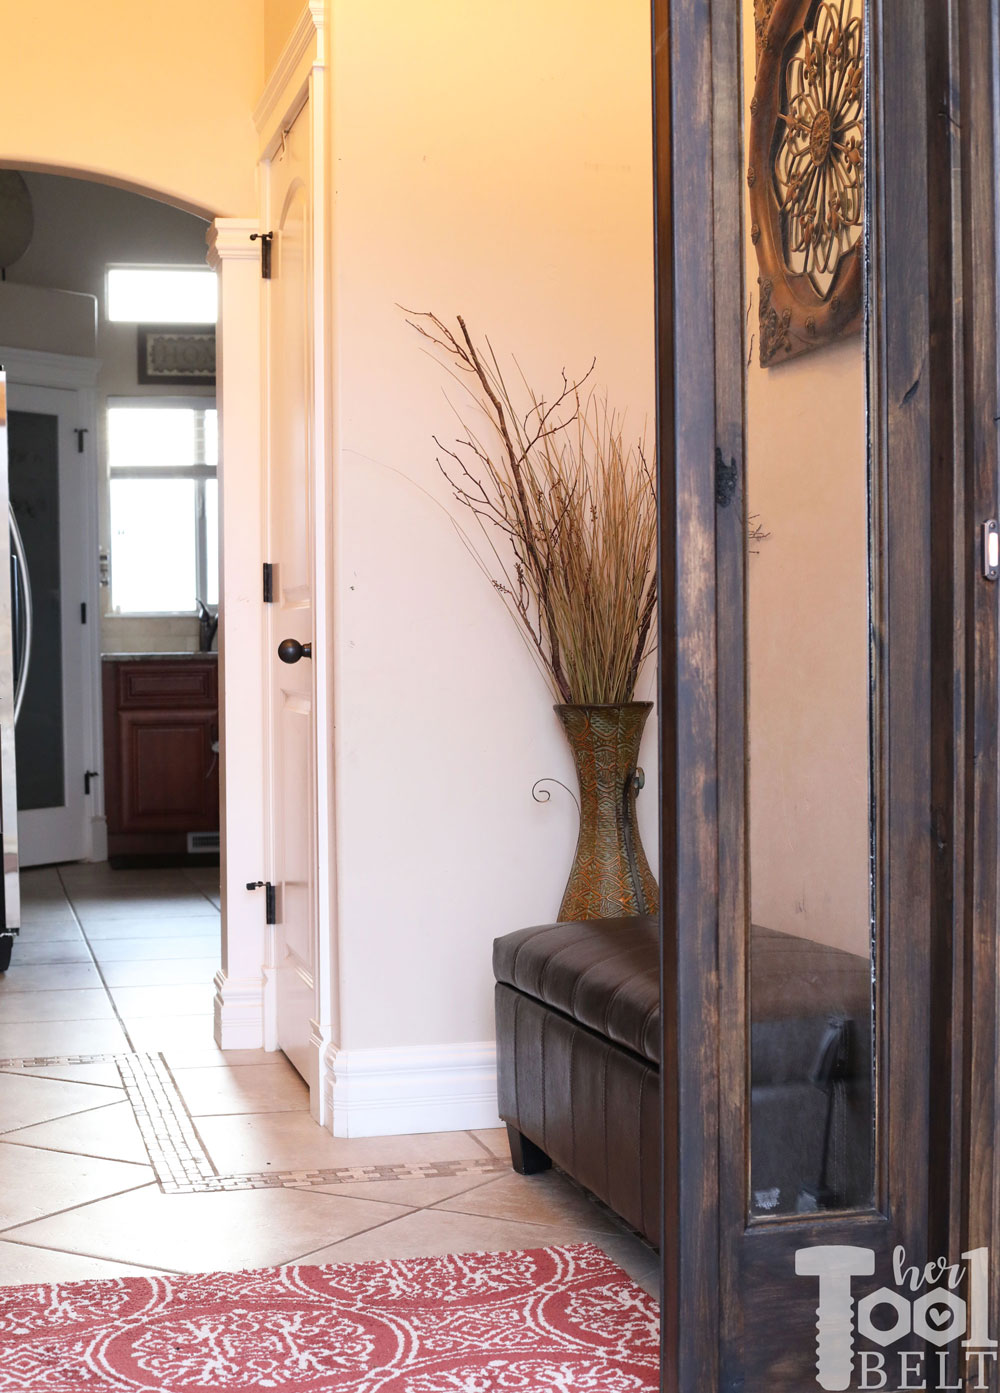
Current Entryway

The current entryway has a coat closet and bench on the right. The new opening will be where the bench is. The coat closet is the only closet in the house besides bedroom closets. The closet is narrow and not super useful, a few coats and the vacuum live in there.

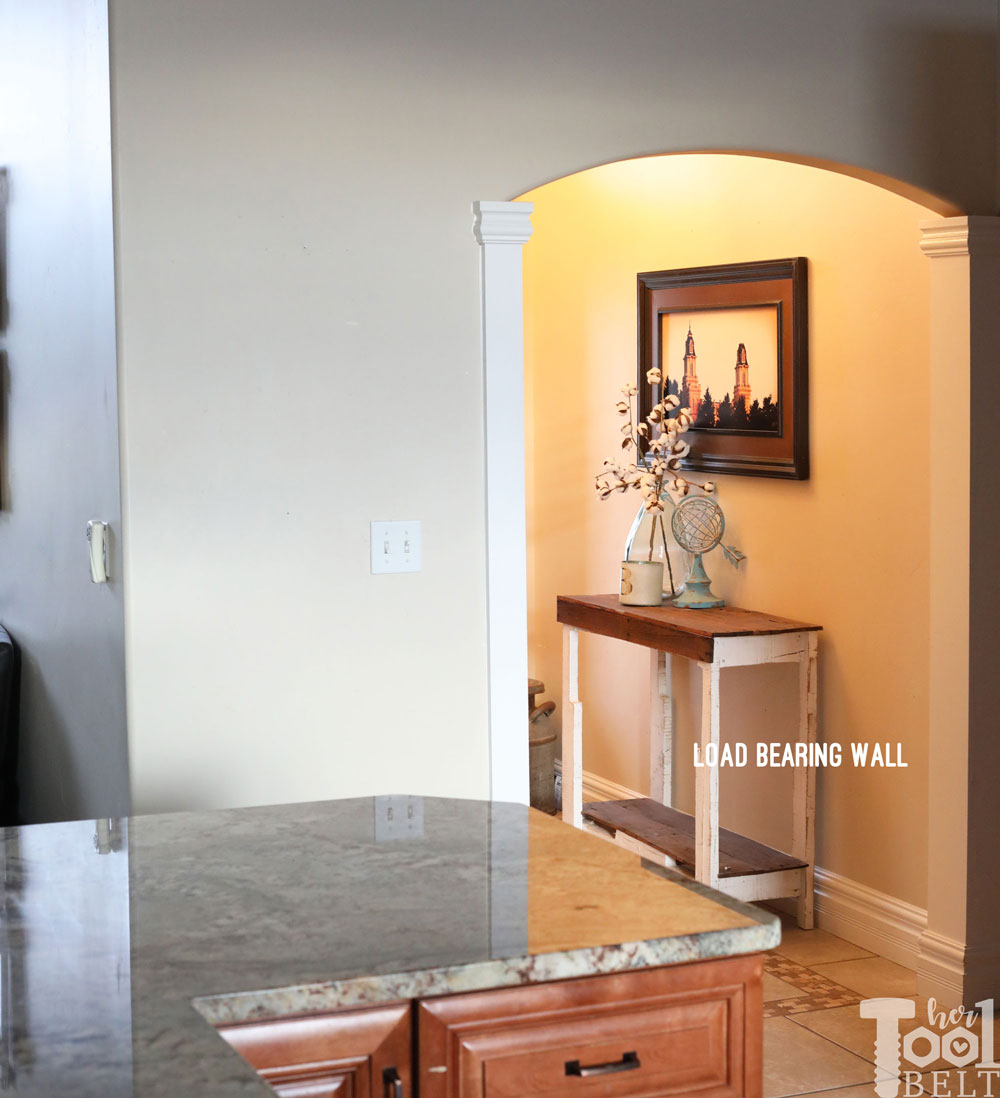
On the left side is a pallet console table that needs to go, a picture and a few knick knacks. That wall is a load bearing wall, and I’m not going to mess with it.

I have a simple craftsmanish chandelier that I really like, but want to change the yellow shades for clear glass. I also want to add some beams on the ceiling for interest!

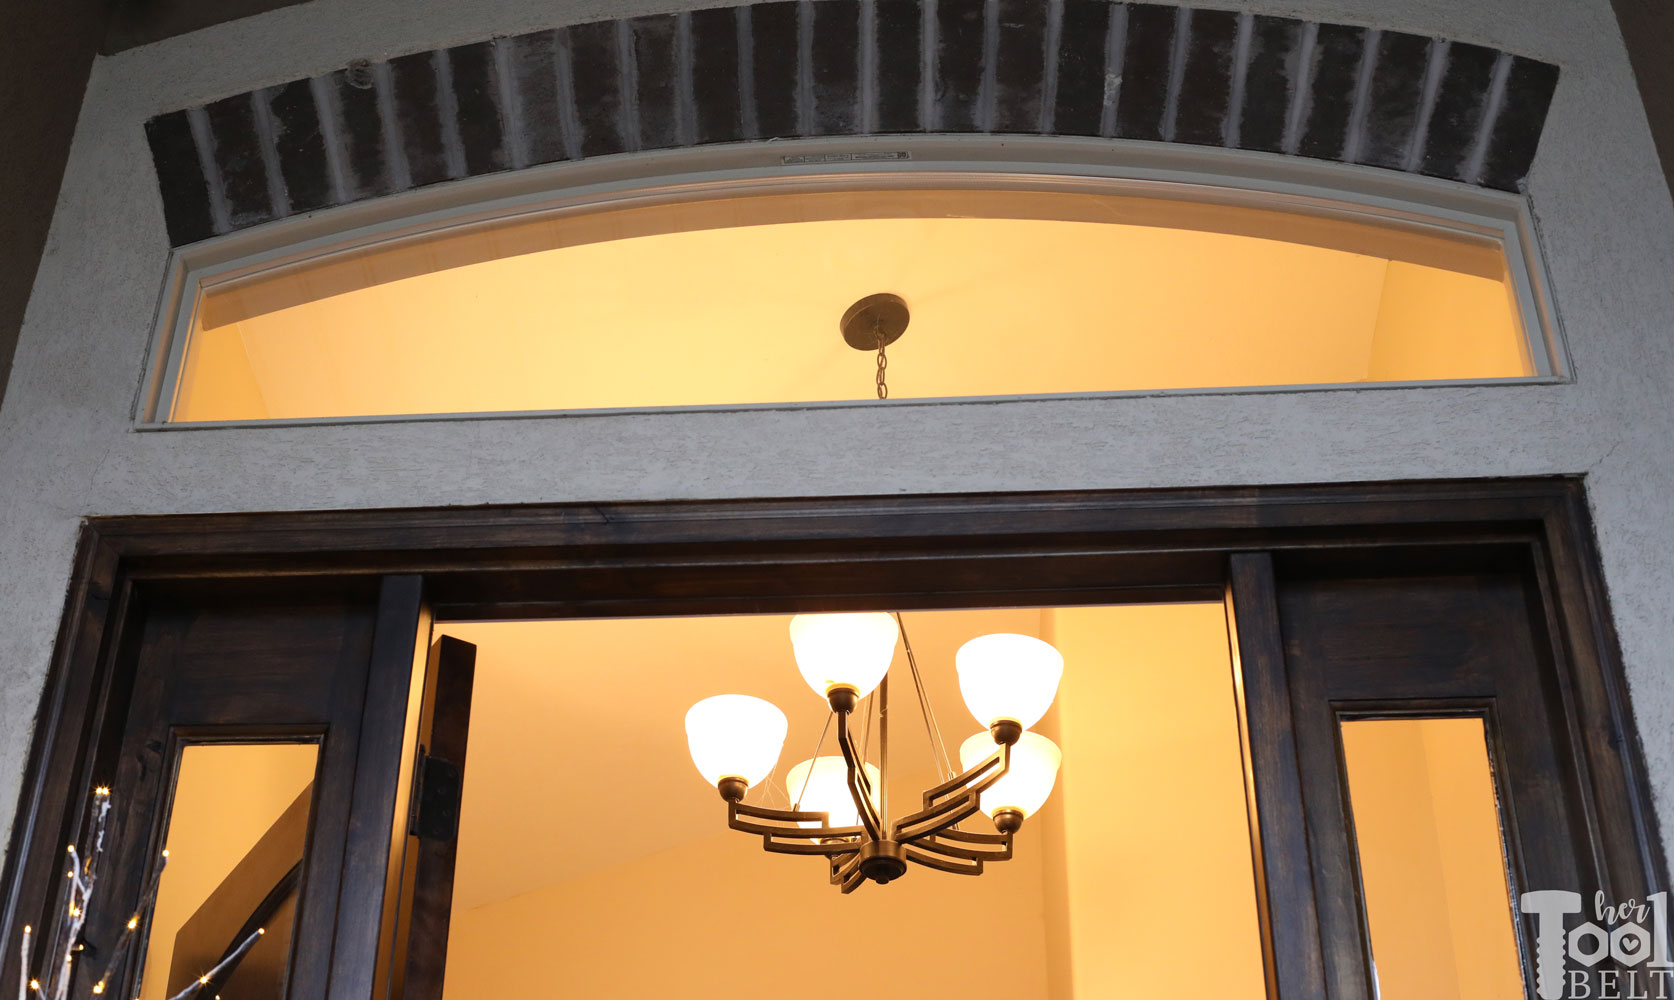
Looking at the space from the other side, the ceilings are vaulted and quite high.

On the opposite side of the bench/closet wall is a family room wall. The couch will have to be moved from off the wall with this change, but the room is decent sized so I think it’ll be fine.

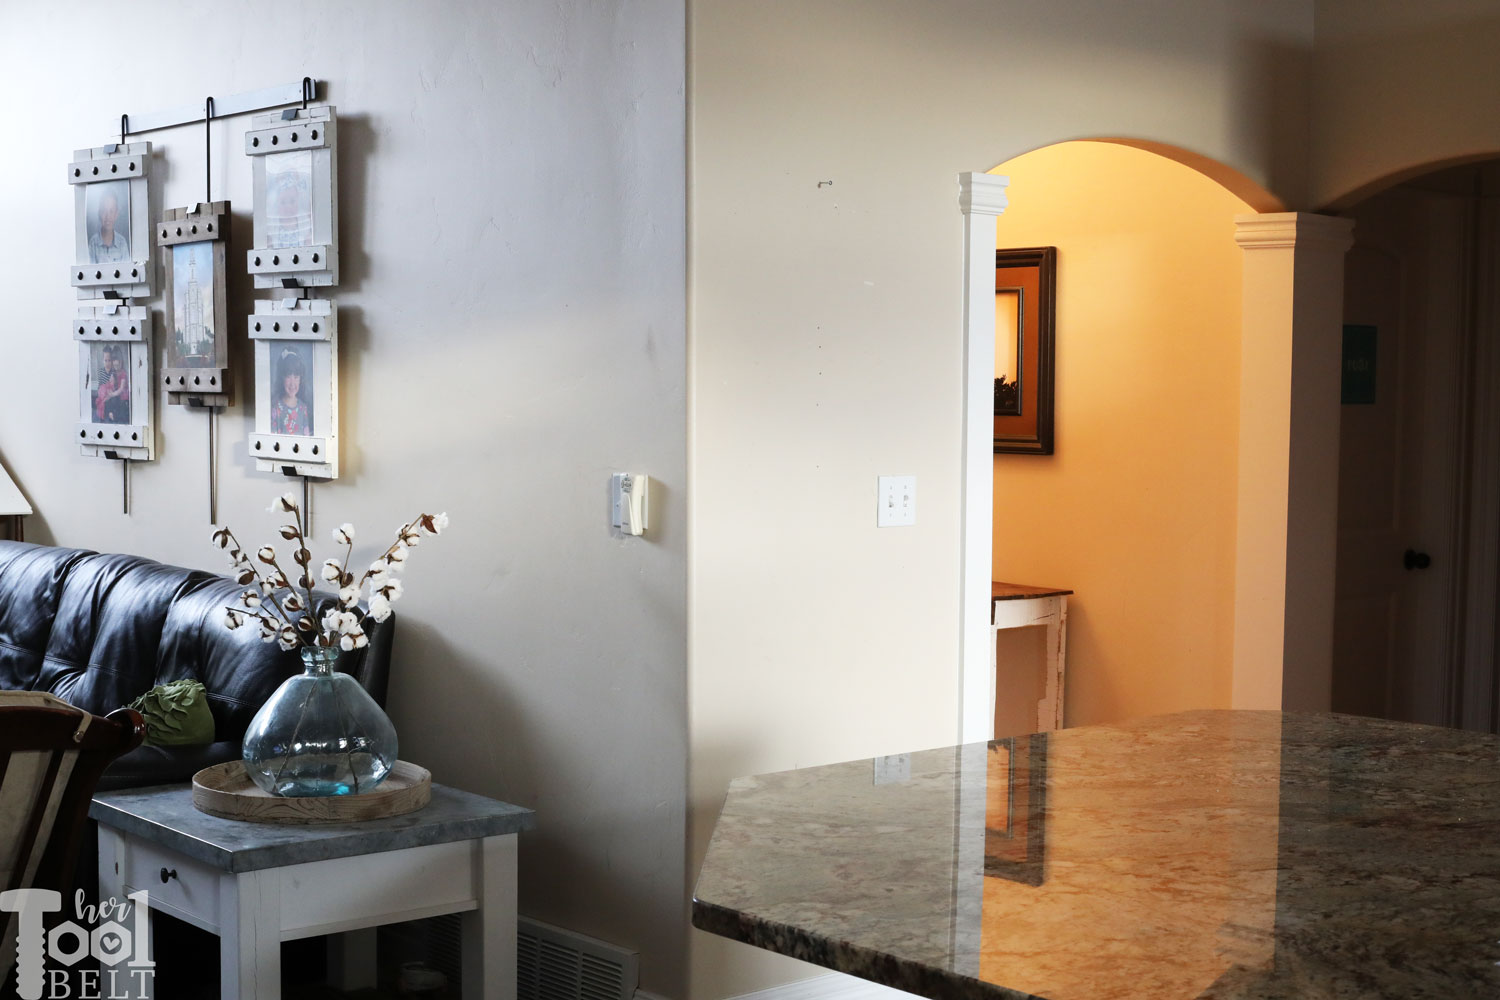
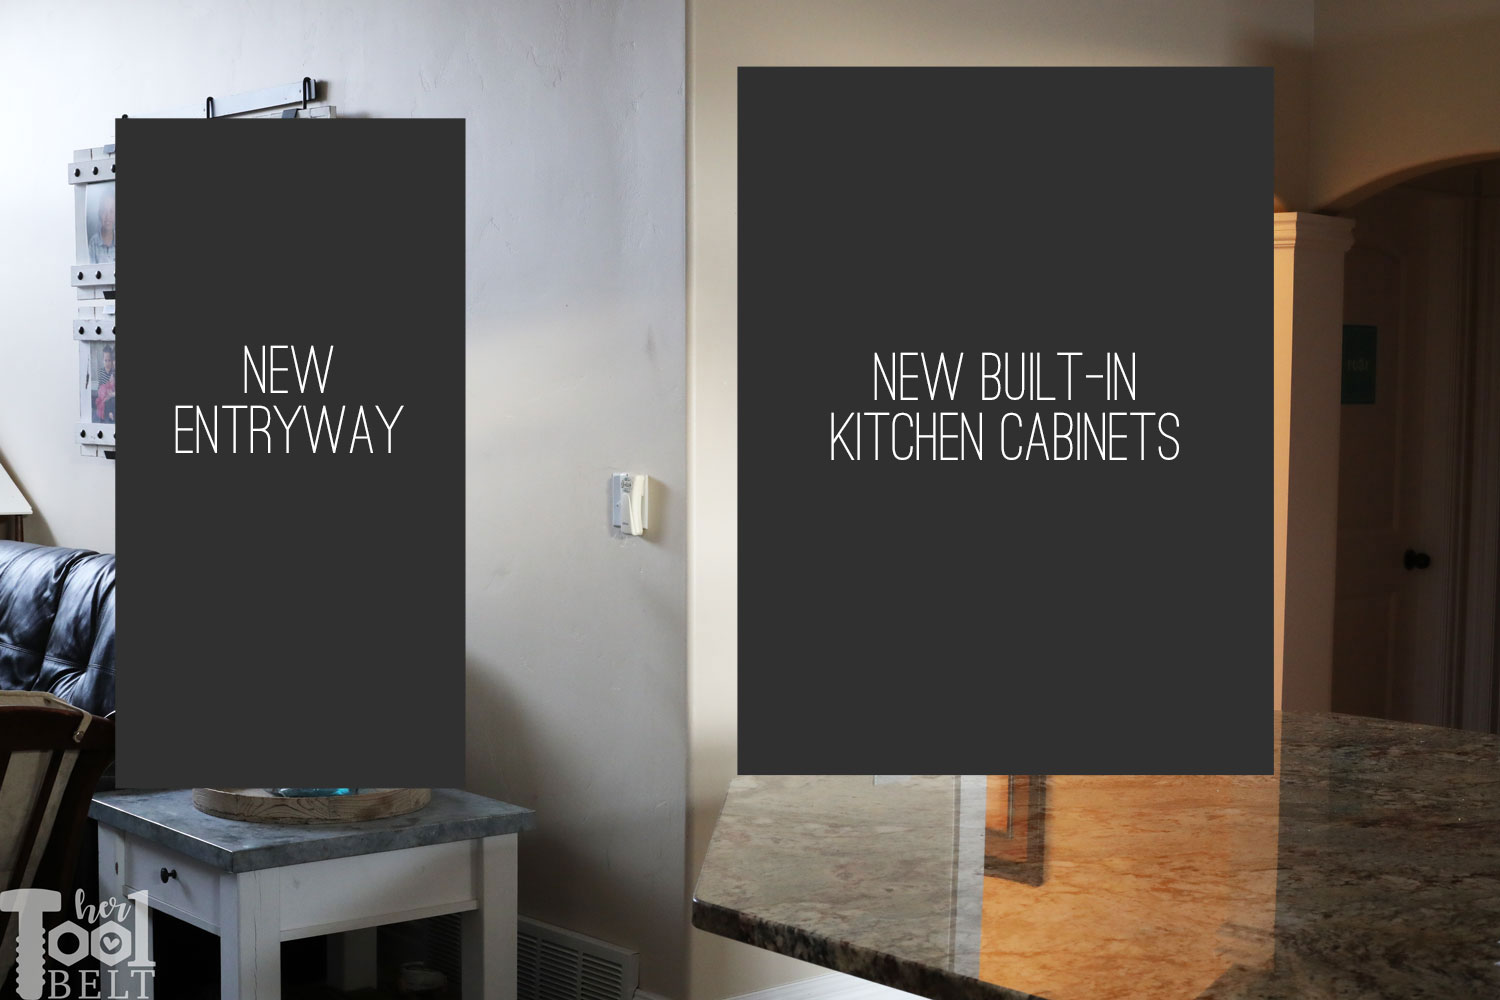
Where the big changes will happen.

I’ll be cutting the new entryway out of the family room wall. Then I’ll be enclosing the current opening with a wall of cabinets. I can’t tell you how nice that will be to have sooo much extra storage in the kitchen. However one of those cabinets will have to be dedicated to cleaning supplies and the vacuum, since I’m getting rid of the only closet. 🙂

To hold my feet to the fire, I jumped on the Spring Renovation Challenge hosted by Jeffrey Court. It is a competition, and I love a good friendly competition. However the competition is based on design, which I’m not so good on, but I’ll give it a try. Jeffrey Court is providing the tile used in this remodel.

For the new entryway, I’m going for a fairly clean modern farmhouse look. I am not very confident in decorating, so I like to have more architectural wow element.
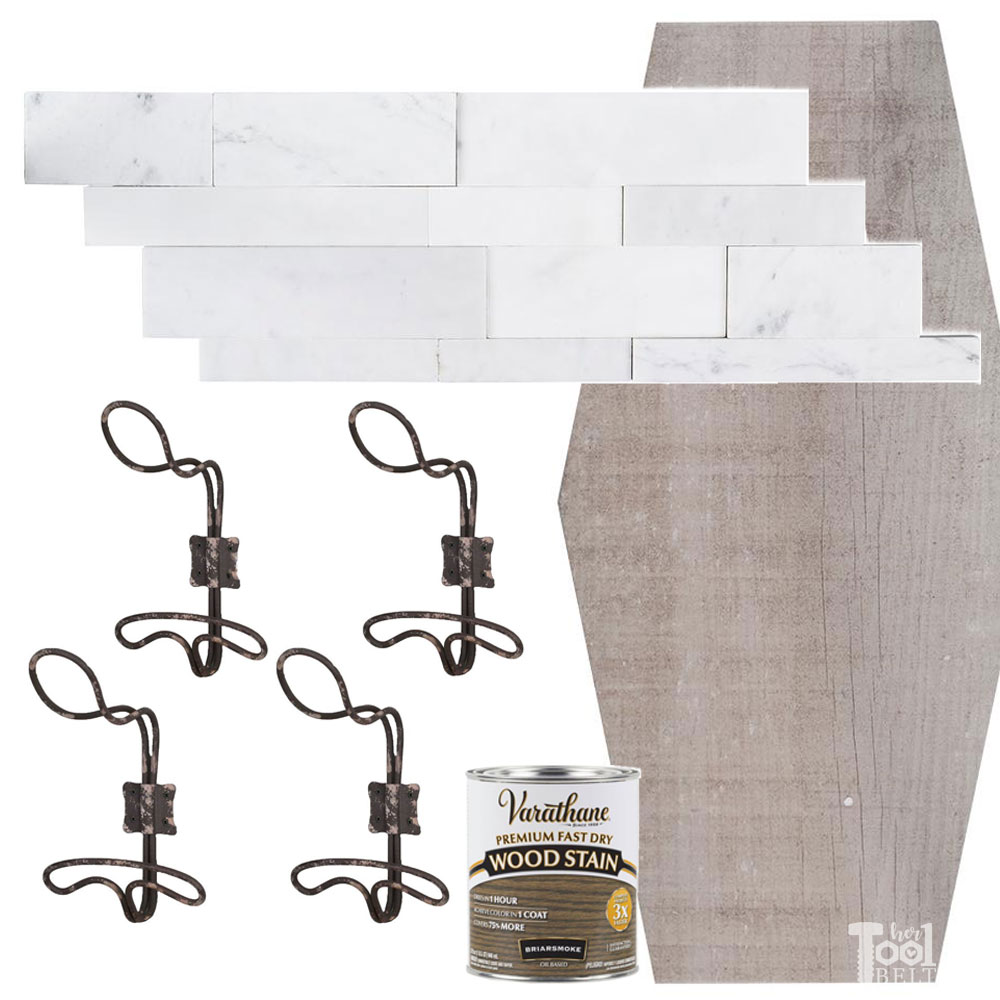
Tile Choices-

Here is a break down of the work:

  • Remove the closet and tile
  • Cut a hole in the wall
  • Frame new doorway
  • Add transom windows in doorway
  • Frame new wall
  • Move around some electrical
  • Build the wall cabinets on the kitchen side
  • Tile the floor
  • Tile the new wall
  • Add beams to the ceiling
  • Replace chandelier shades
  • Paint the walls
  • Make a coat rack
  • Build a console table
  • Build a shoe tray

Oh boy, that’s a lot of work. I better get cracking.

Check out all of the challengers in the Spring Renovation Challenge here.

Basement Playhouse Build – Tiny House Toy Room Reveal

It took me about 6 weeks to chip away at this project, but I’m happy to say that the basement playhouse build (which is really a toy room shaped like a tiny house), is pretty much done! Yay! My kids are super excited and have been having fun inspecting everything as the project came together. My house may not be in style, but at least my playhouse is 🙂 I tried to make the playhouse in the modern farmhouse style…I love to drool over those houses on Instagram.

Remembering where I started…here’s the BEFORE.

This Mom built a basement playhouse for her kids. It's really a toy room shaped like a tiny house...come take a tour.

Sideview

This Mom built a basement playhouse for her kids. It's really a toy room shaped like a tiny house...come take a tour.

And the AFTER

What do you think?

With me, for scale.

You can check out the tutorials for the whole playhouse build:

Continue reading

Basement Playhouse Build – Shiplap & Sheetrock

Progress on the basement playhouse is moving right along. In Part 2 of the build, I added the shiplap, sheetrock and the 2nd floor/ceiling. Adding the shiplap and sheetrock has been the most gratifying process, because it really made the playhouse take shape.  When designing the playhouse, I decided to put shiplap on the inside and outside of all the walls with windows. Then sheet rock on the other walls and ceiling (the regular basement ceiling). I framed the windows with 2×4 in the framing process of part 1. I didn’t want to waste the space of properly trimming out the windows, so when adding shiplap I left a 1/2″ reveal of the 2×4 framing to paint black later. This worked out really well.  After painting the walls and ceiling, I added the 2nd floor to the playhouse. It’s starting to look cute!

Part 2 of the basement playhouse build is shiplap & sheetrock. Lots of mudding, nailing, sanding and painting. It's really starting to take shape.

You can check out the tutorials for the whole playhouse build:

This post contains some affiliate links for your convenience. Click here to read my full disclosure policy.  Continue reading

Ridgid Angled Finish Nailer and Compressor Tool Review

The Ridgid Angled Finish Nailer and Compressor tool reviews are sponsored by The Home Depot. I have been compensated for my time and provided with product (tools). All ideas and opinions are my own. This post contains some affiliate links for your convenience. Click here to read my full disclosure policy. 

I have been in the thick of building my kid’s a fun basement playhouse (ie toy room) down in the scary basement. The playhouse design includes quite a bit of shiplap for the siding and interior walls. Adding all of the shiplap and tongue and groove floor/ceiling made for the perfect project to test out the Ridgid 15 ga angled finish nailer and Ridgid quiet compressor.

Ridgid Angled Finish Nailer Ridgid Quiet Air Compressor

Continue reading

60 Inch Round Table French Farmhouse Style

The 60 inch Round Table – French Farmhouse Style Build includes tool reviews that are sponsored by The Home Depot. I have been compensated for my time and provided with product. All ideas and opinions are my own. This post contains some affiliate links for your convenience. Click here to read my full disclosure policy. 

If you follow me on Instagram, you may have caught my stories of this dining table build, I was burning the midnight oil trying to finish it on time for Christmas.  My siblings rotate who we give a present to each year. I had my sister just younger than me and she was in desperate need of a dining table.  She really likes the 48″ round pedestal table that I built 2 years ago, however they are a family of 7 so that table is way to small for them.  She measured the dining space in her house and we decided that a 60″ round table will work the best for her needs. I went ahead and modified the size of the base for a 60″ round table. This table is inspired by this gorgeous one at Restoration Hardware, but the look was modified for readily available lumber.

For about $85 in lumber, make a french farmhouse style 60 inch round table. Free plans and tutorial.

BTW just ignore the wheels, I put it on wheels to haul it around, and thought it would be easier for her to move too. Once in place the wheels will come off :-).

Lessons learned from previous table

Having built a similar table a few years ago, I was able to implement a few “I wish I would’ves” to make the build go smoother and faster.

  • First off, I had a bunch of 4×4 and 4×6 posts left over from when I fixed my deck slope. I used these 4×4’s and 4×6’s with cross lap joints, instead of stacking 2×4’s and 2×6’s like I did on the 48″ table, it made assembly quite a bit faster and eliminated the need for wood filler.
  • Planing the boards first makes a smoother top and makes the base fix together better, because some lumber has a little curve. Plus my belt sander bit the dust, so planing was a real necessity in this case.

With this build, I’m also reviewing a few tools as part of the #THDprospective program with Home Depot. I’ll be sharing my thoughts on these tools noted with *.

How to Build a 60 inch Round Table with French Farmhouse Style Pedestal Base

Continue reading