We are in week 3 of the Jeffrey Court All-star Challenge hosted by Jeffrey Court along with Behr Paint and Frog Tape. This week I tackled some of the big building projects, some that have been waiting 10 years to be finished. 🙂 ha ha
Voting goes through July 12th at 11:59 pm EST. You can vote once per day. If you have a minute, I would sure love your vote.
Vote HERE
missed any master bath reno progress?
Been Building…
With the beautiful floor tile getting put down last week, I started worrying about my next big hurdle in the bathroom reno. I really need to get the vanity built and in place. I also need to find a counter-top for it. Being on a tight timeline, I realized I really should have had a counter-top company lined up weeks before. But alas here we are. I contacted solid surface companies for bids. I started looking through the classifieds for maybe something useable. Then I found an ad in the classifieds for bathroom countertops with sinks, that are made from kitchen remnants. Lucky for me, they have a quick turnaround and I should have a new counter-top next week. Woot Woot!
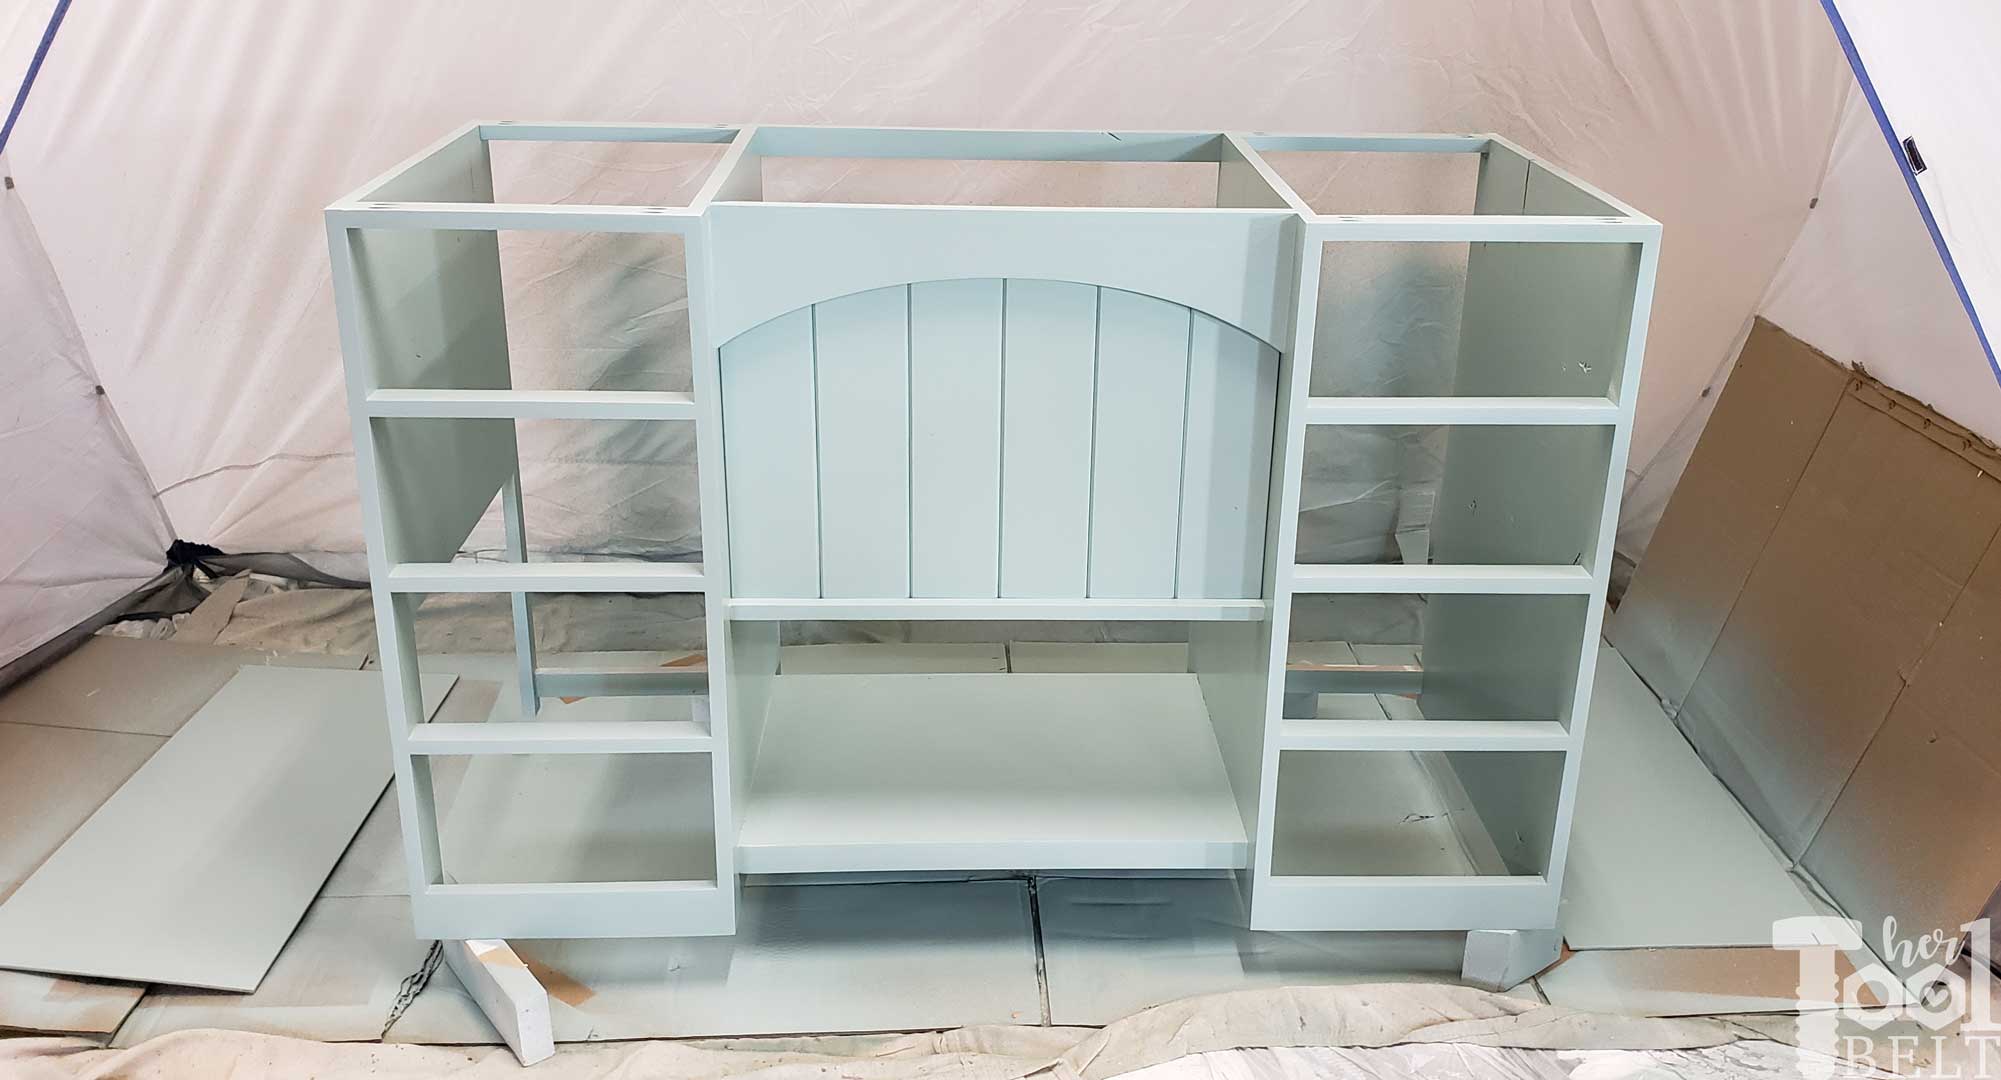
Building the Vanity
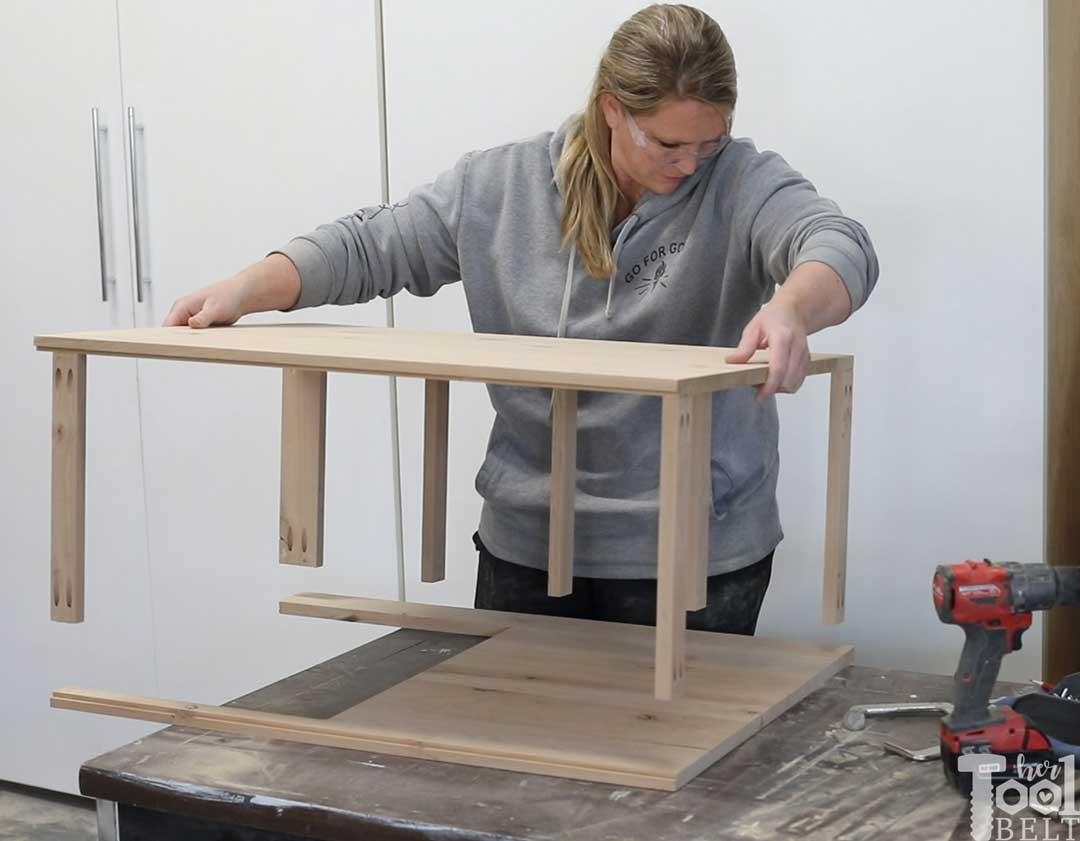
My new vanity is based off a unique vanity I saw in a home many years ago. It has an open lower center, great for baskets with towels. Then 4 drawers on each side. The original vanity’s top jagged in, following the shape of the inset. However I decided to just go straight a crossed and hopefully it works out.
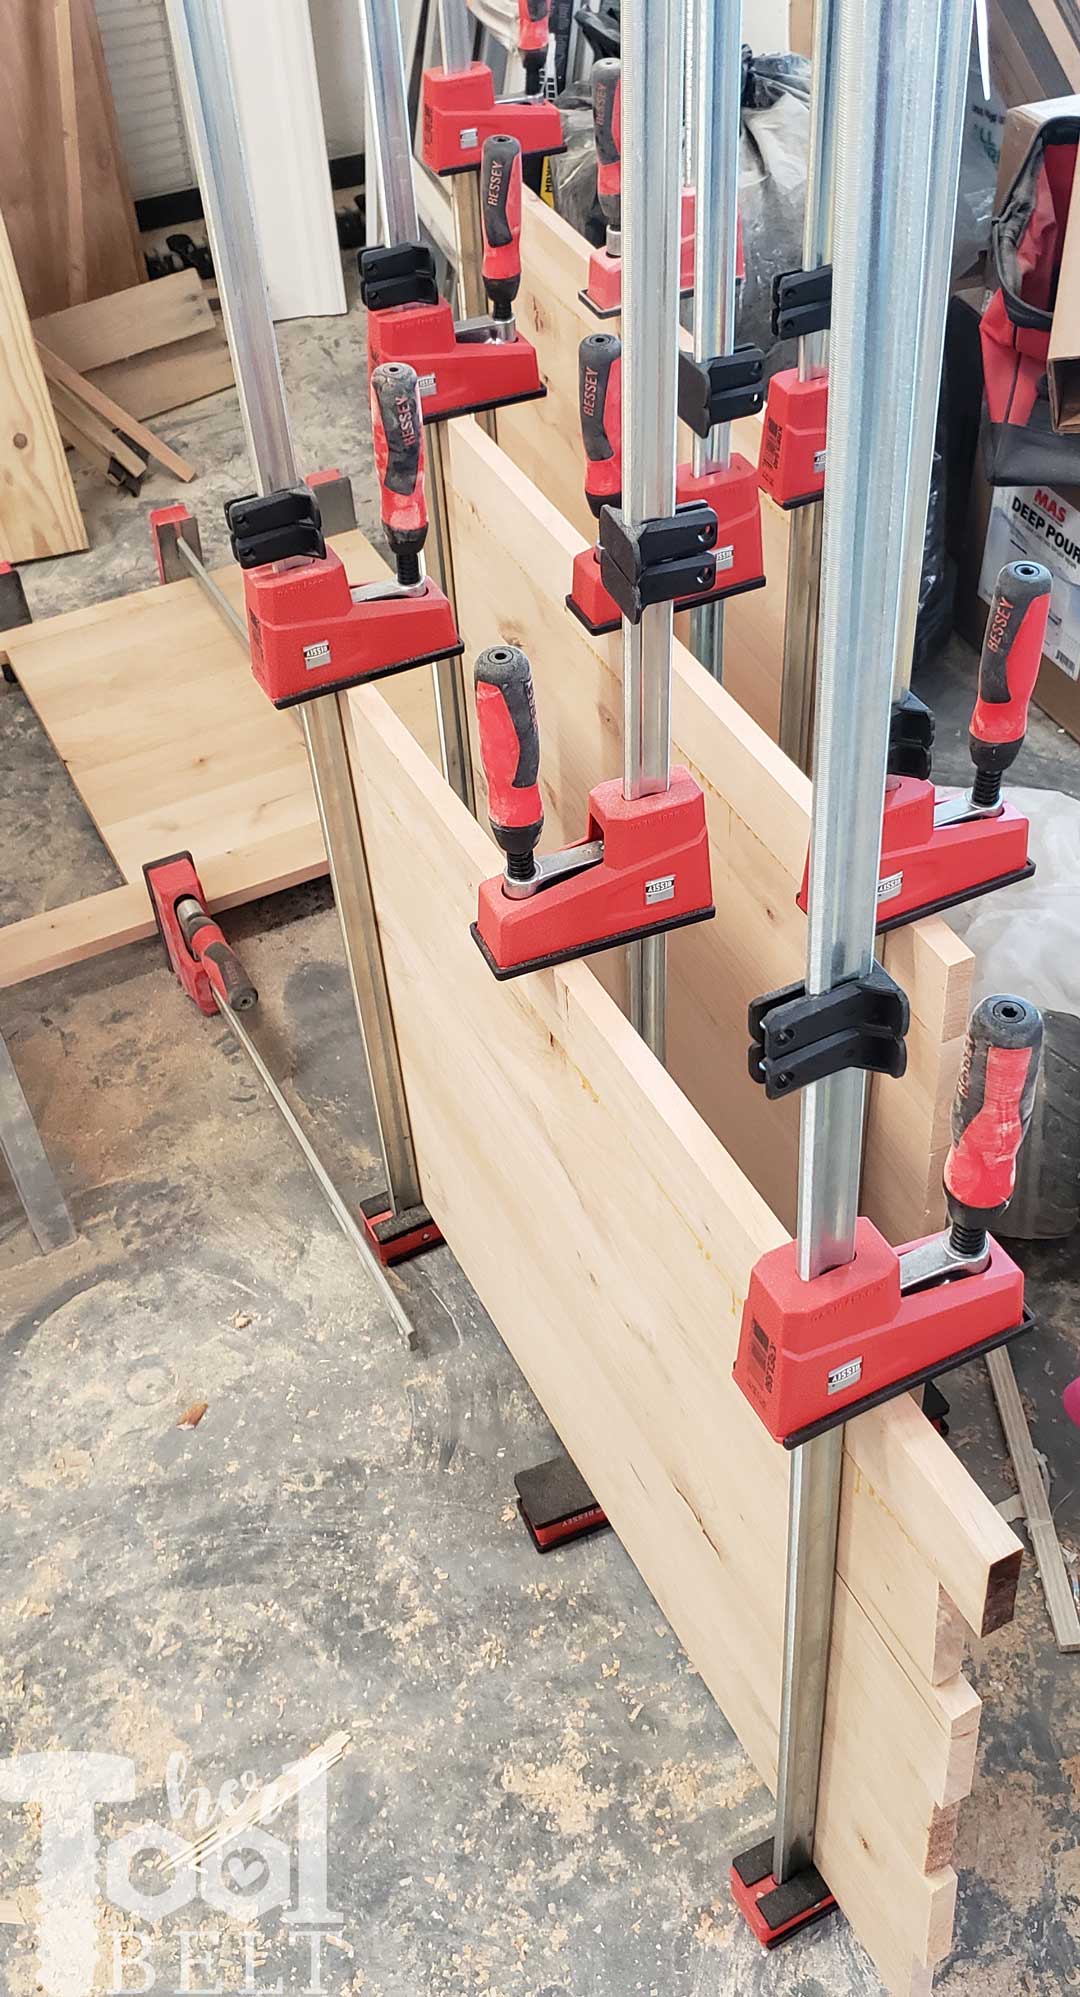
Last Fall I bought a pallet of 18″-36″ knotty alder cutoffs from a business for $1/piece. I have been trying to use those boards wherever possible. The saying that you never have enough clamps is true, as I was trying to glue up the 4 main panels for the vanity.
This vanity is basically 2 drawer towers that are bridged together. I am assembling the left drawer tower, it has an access hole for the jetted tub motor.
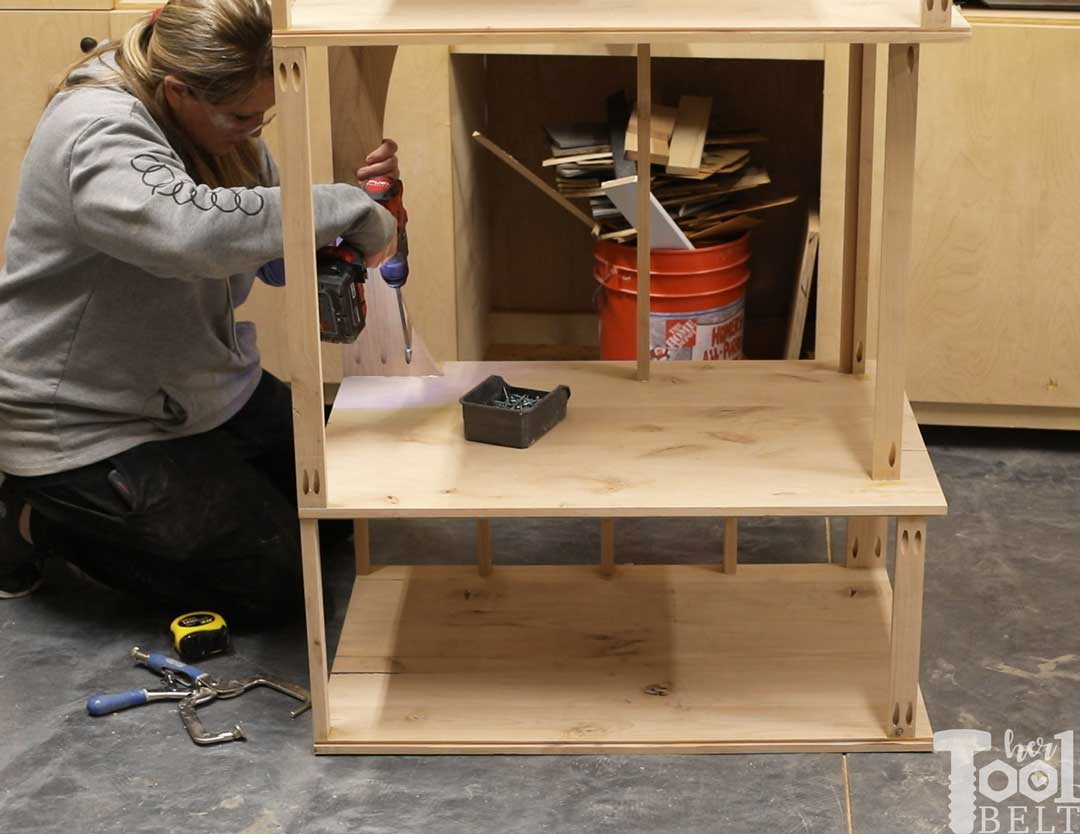
Then the two towers are bridged together with the center arch and lower shelf.
Painting the Vanity
I decided to go bold and do colored cabinets. The cabinet color is this serene Zen by Behr! I absolutely love blue/green colors.
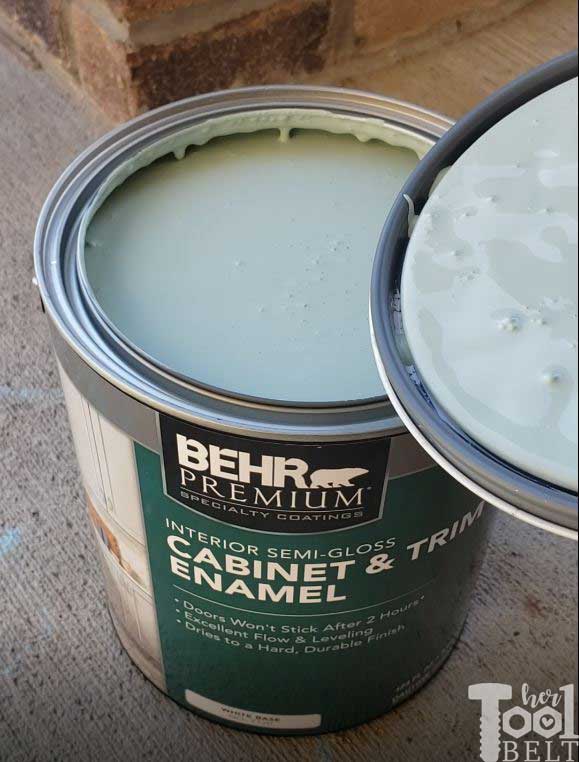
I first primed the vanity with KILZ primer and let that dry overnight. After the primer dried, I lightly sanded the vanity to remove any raised fibers and rough spots. Then I sprayed the vanity with Zen.
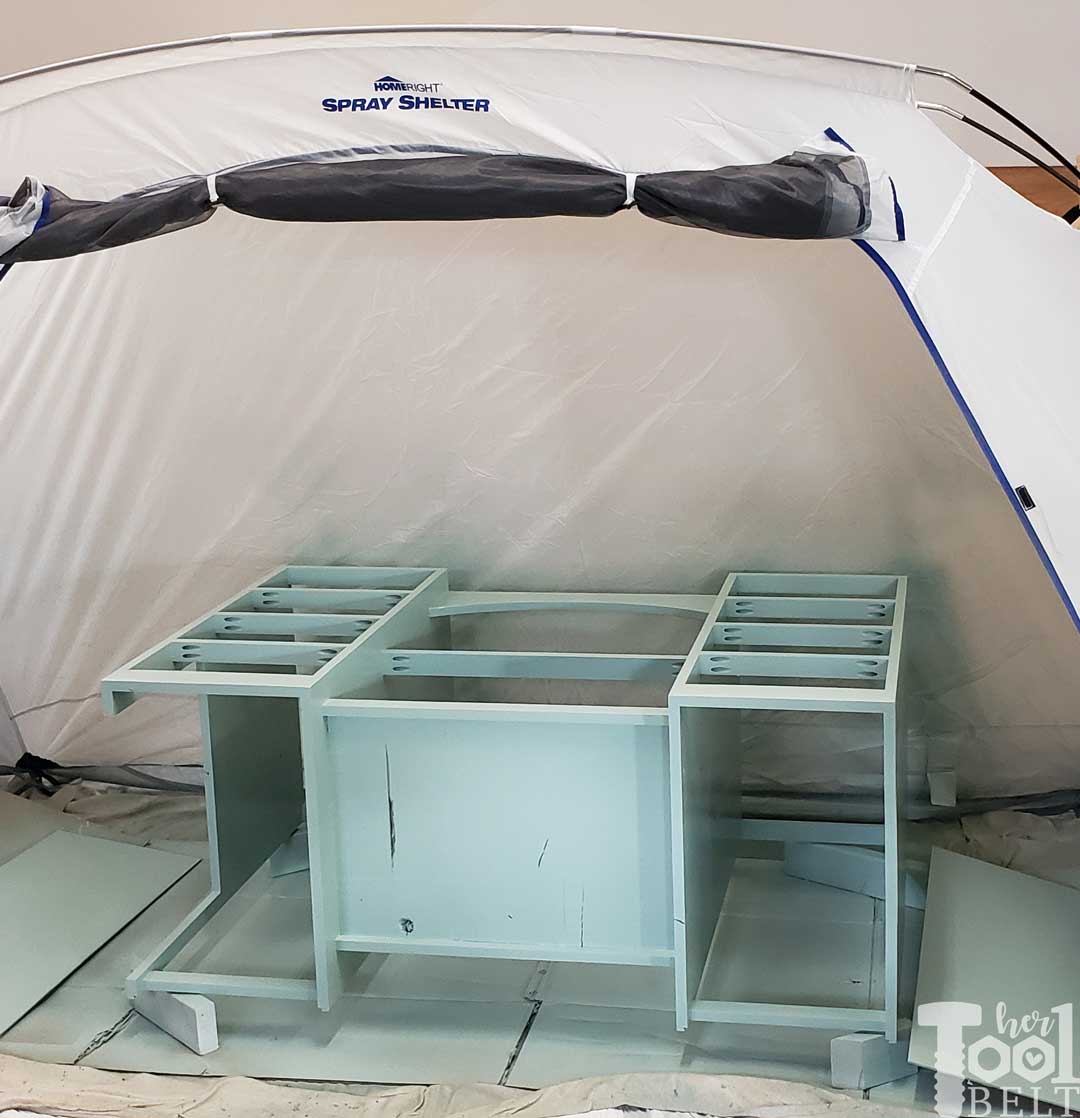
So I don’t know where I’ve been, but I didn’t realize until recently that Behr has specific cabinet a trim paint. It was a dream to spray with my HomeRight sprayer and left a lovely finish. (The paint starts to darken as it dries.)
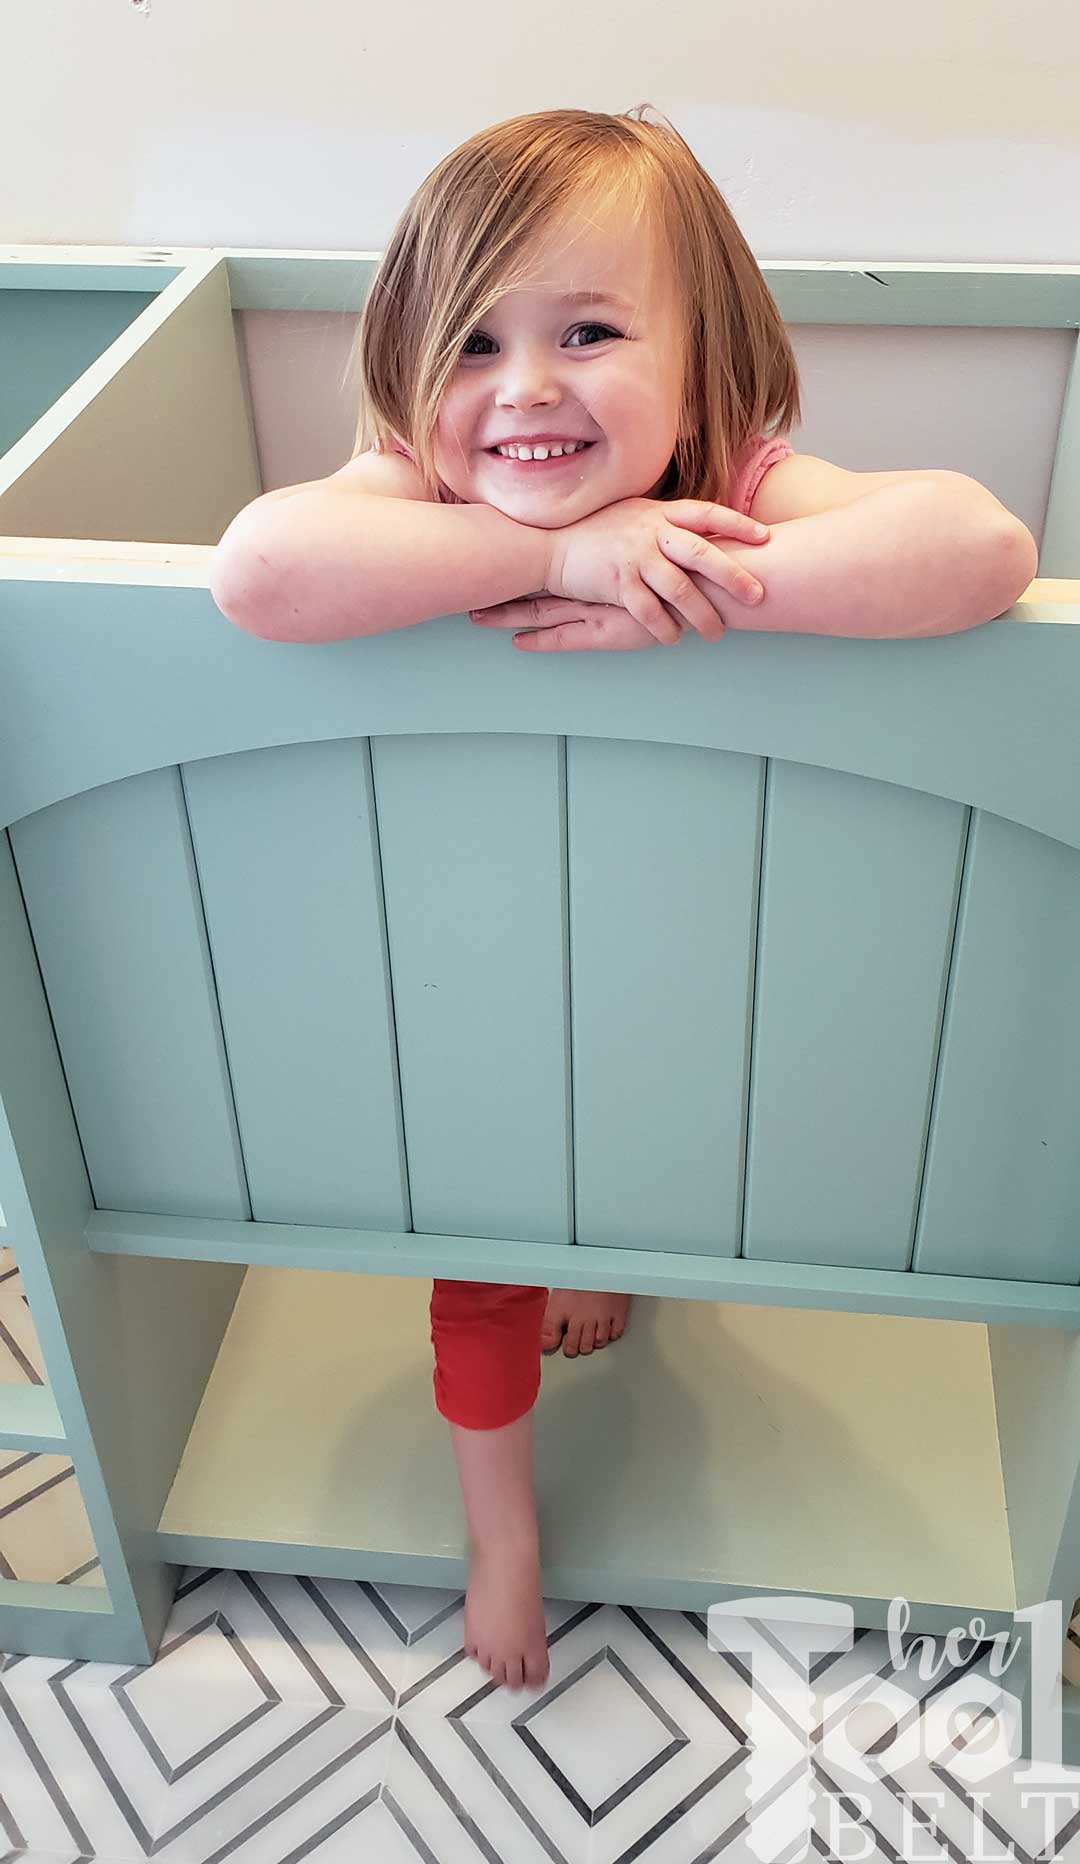
I installed the main carcass of the vanity into the bathroom, and attached it to the wall studs with screws. My little helper thought the ‘tunnel’ in the center was really cool! 🙂
More Building
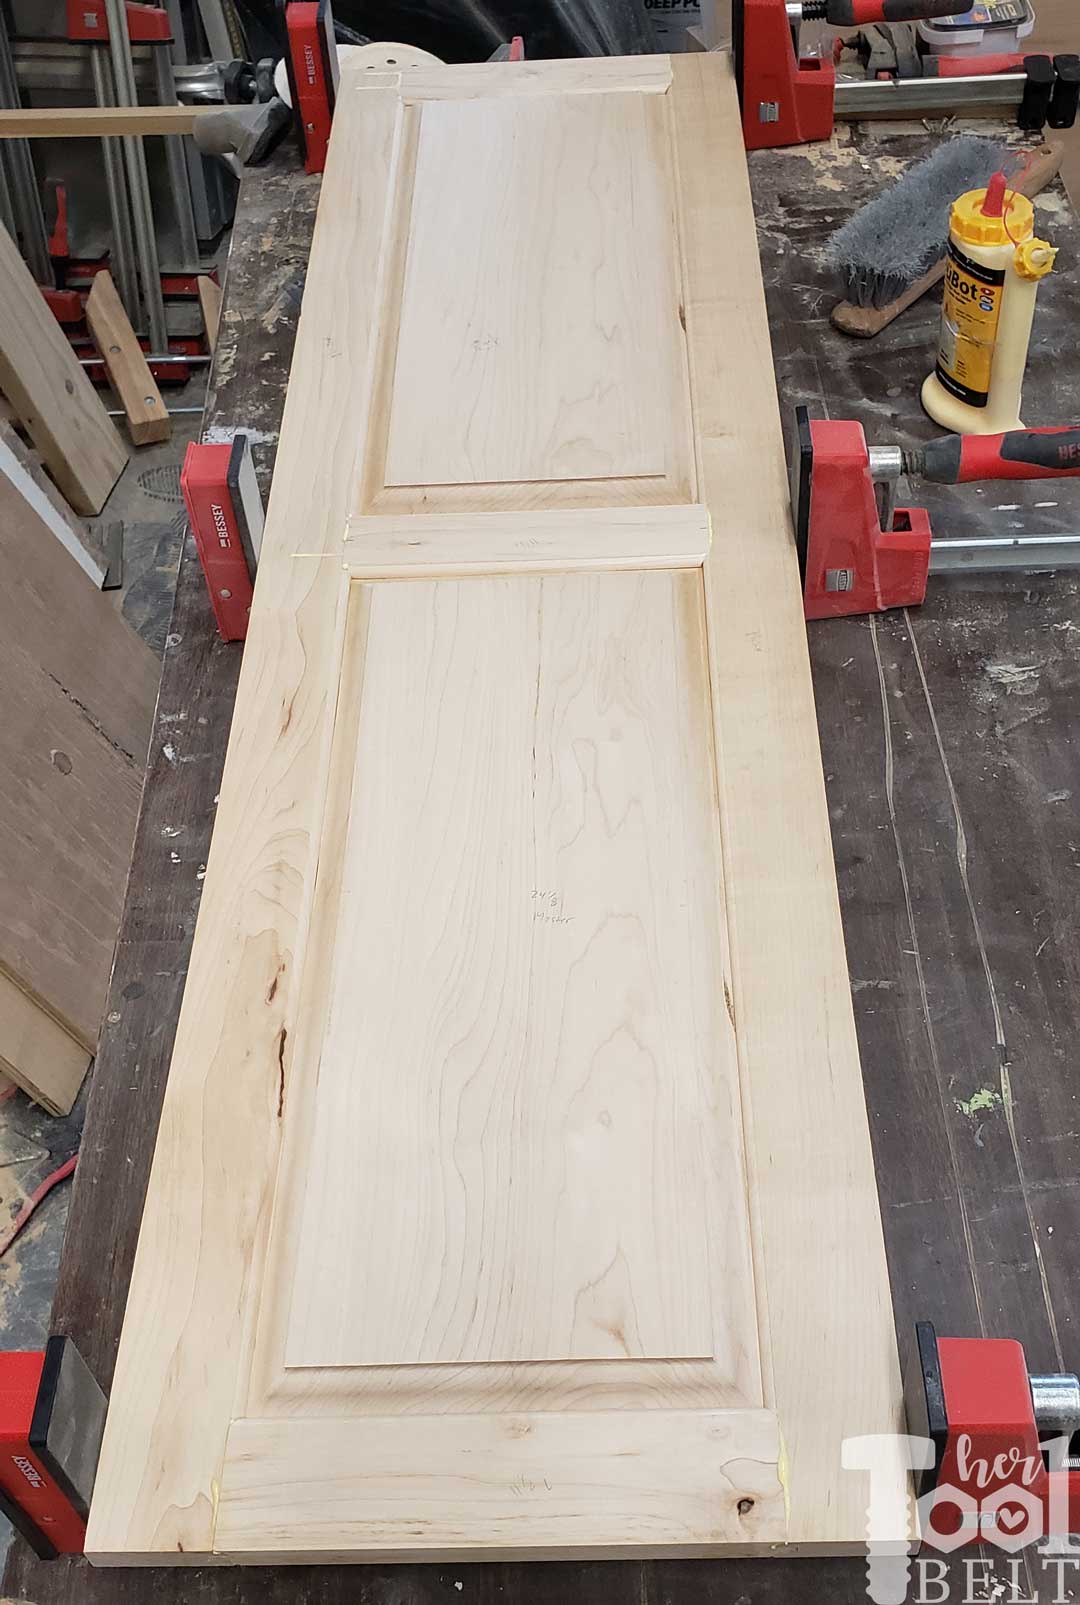
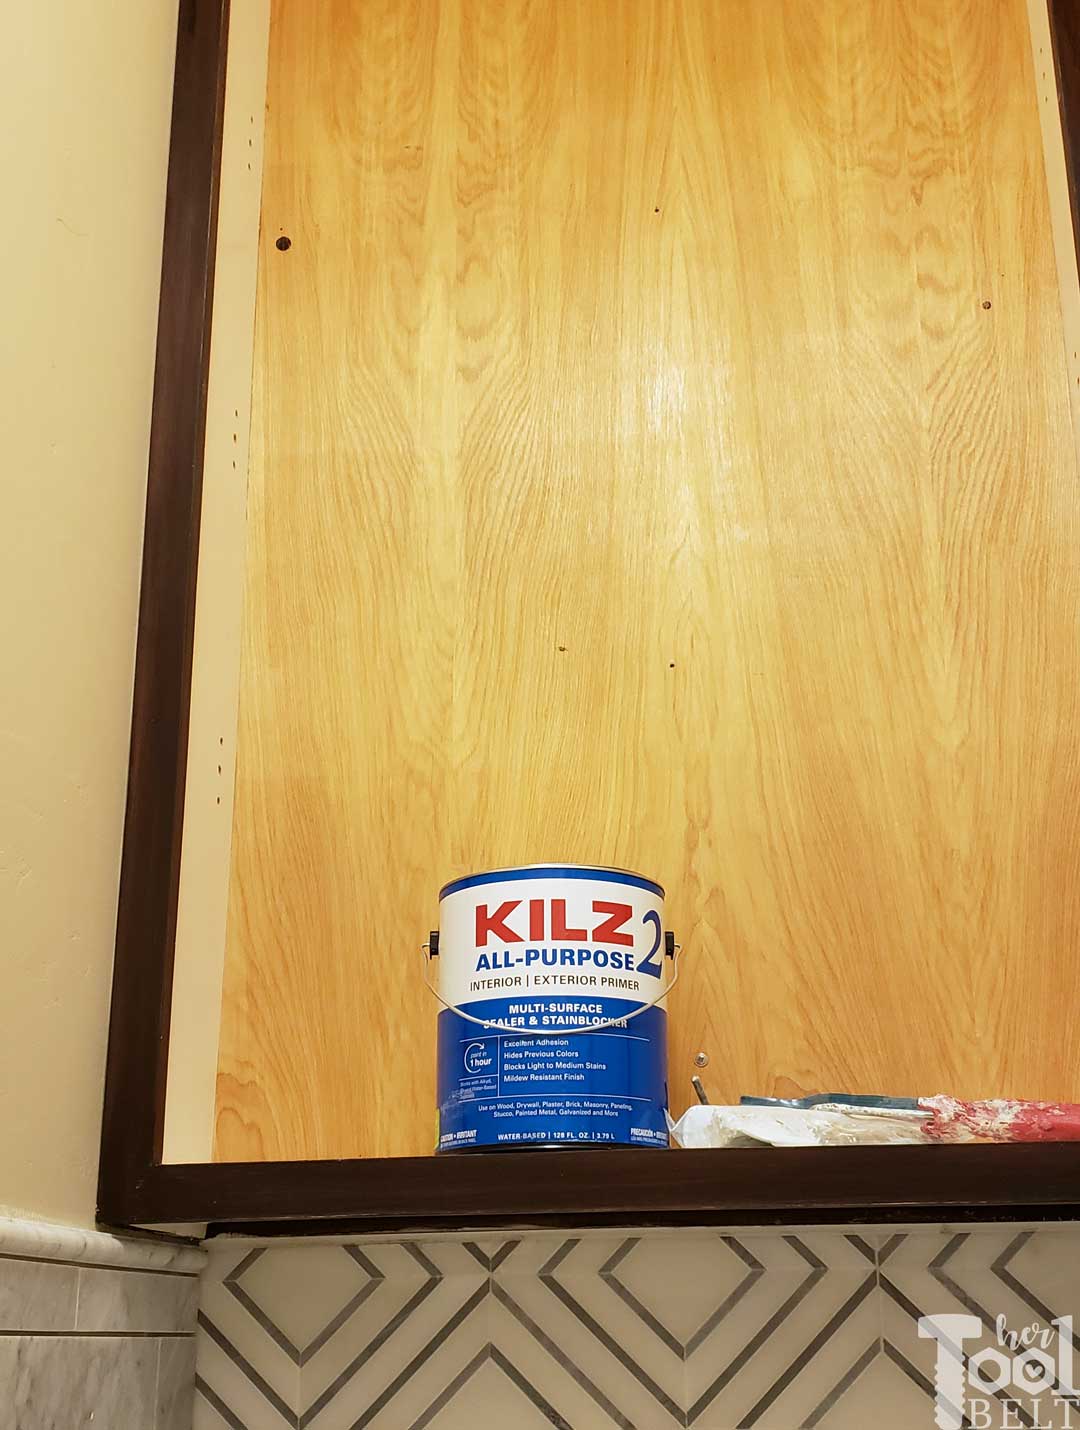
Well it’s about time I get those cabinet doors finished! I dug through my ‘to be finished’ project wood pile and found these raised panels I had cut for the master ‘above the toilet’ cabinet years ago. 🙂 I cut new stiles and rails and assembled the two cabinet doors. Yes that door is really long, about 54″ or so.
Painting the Cabinet and Vanity
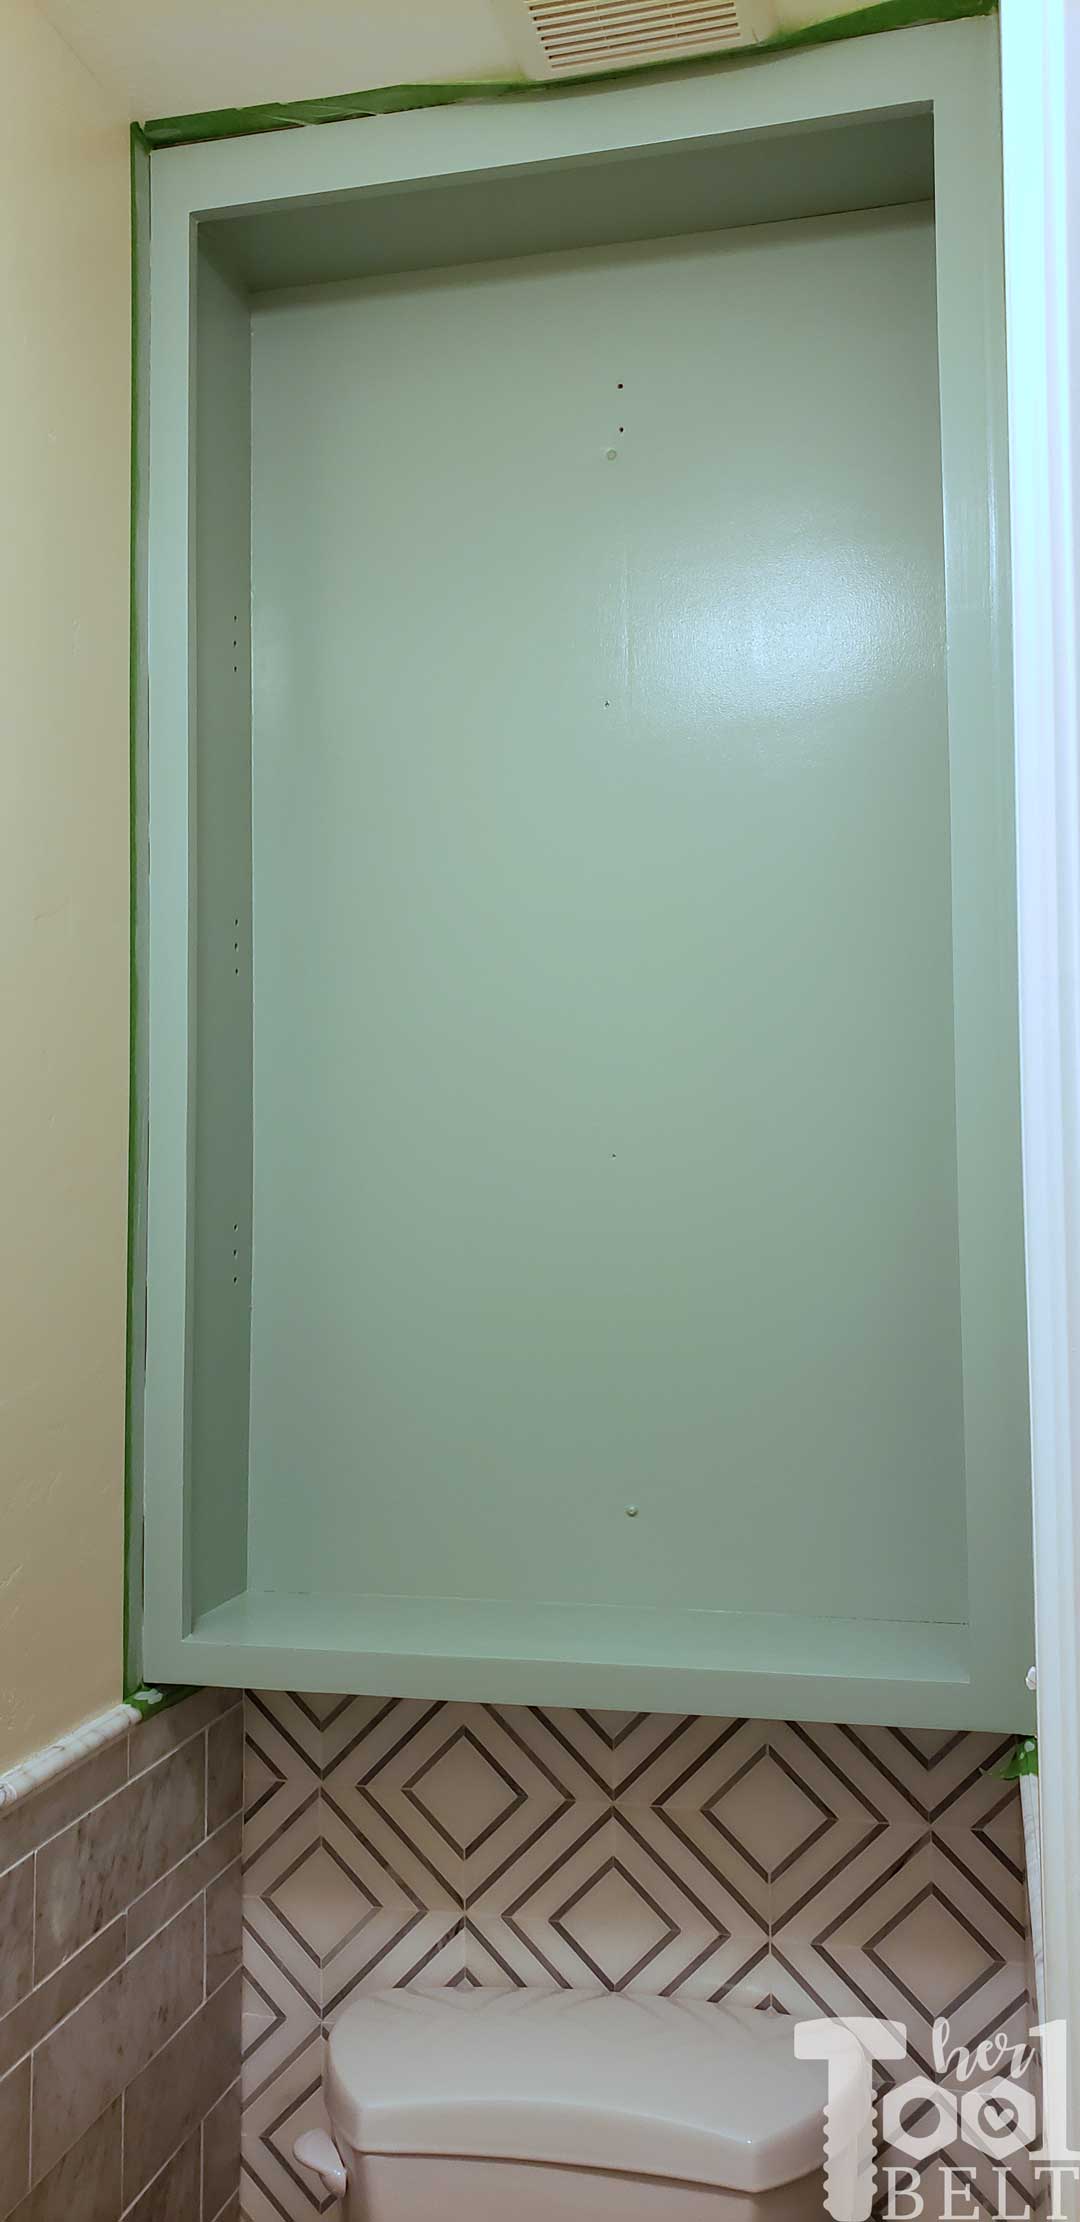
I said goodbye to my hideous 3 toned cabinet (still wondering what I was thinking.) I scuffed the shiny finish with sandpaper. Then the above the toilet cabinet and new doors got a coat of primer.
Followed by a couple coats of Behr Cabinet and Trim in Zen! Loving the color, I’m excited to see how it turns out.
Accent Tiles on the Wall
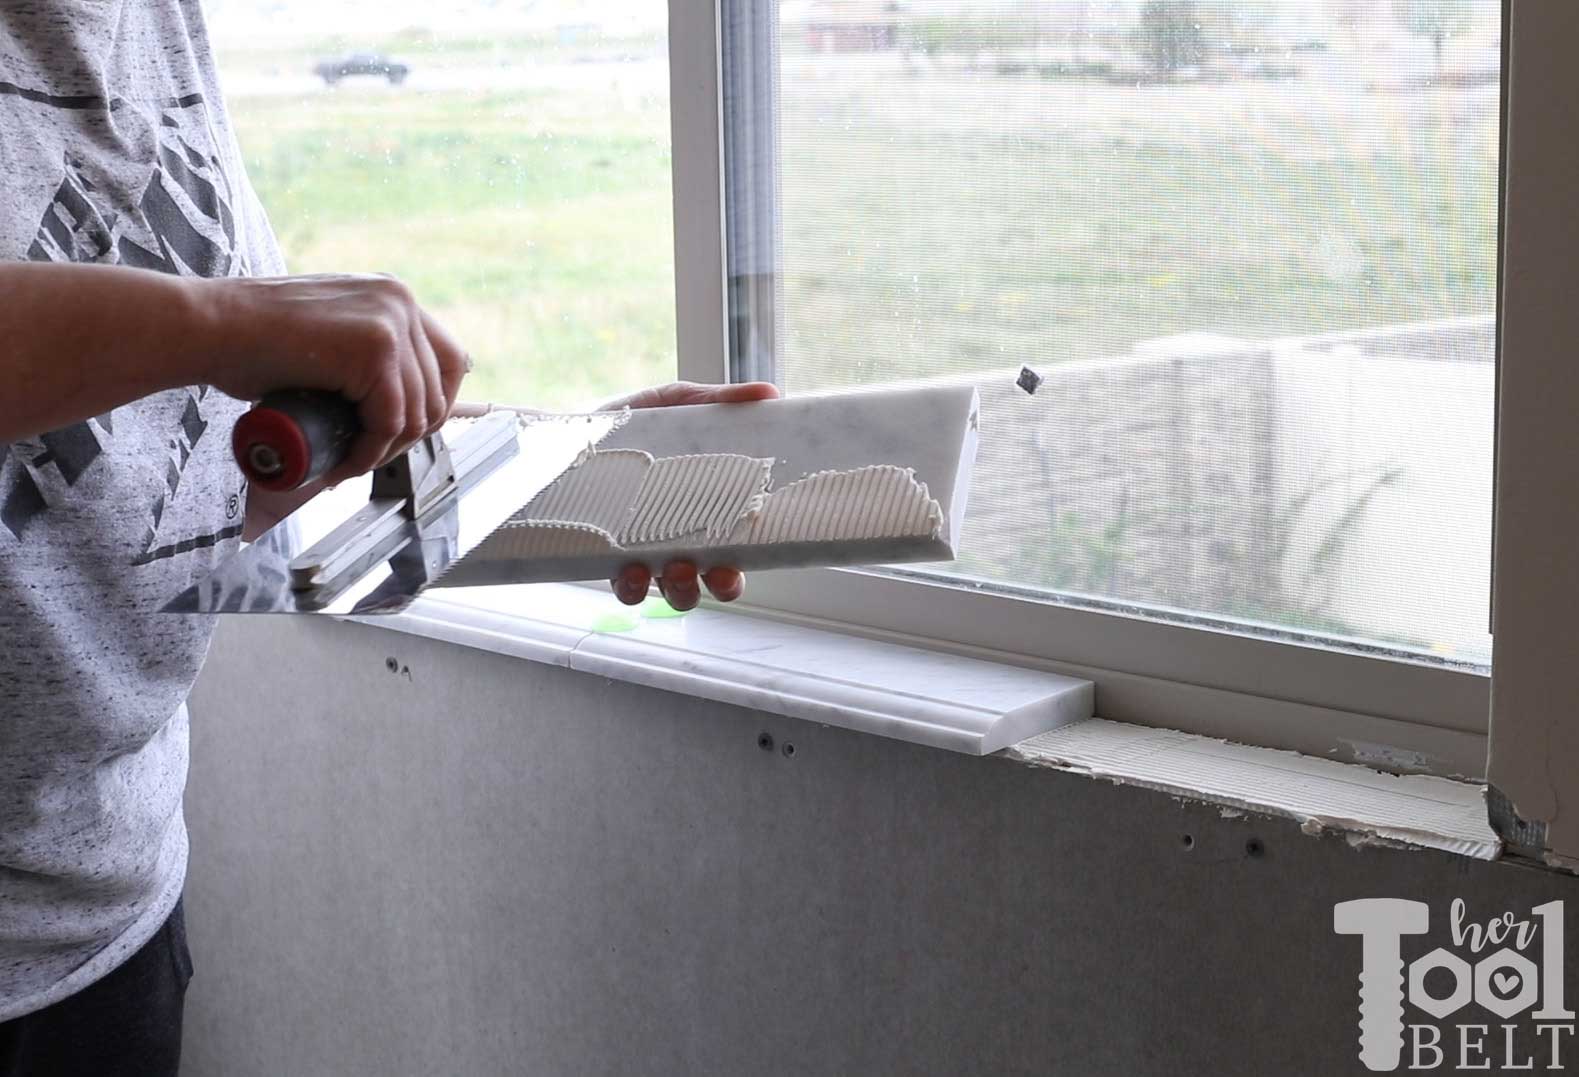
I finished installing cement board around the tub surround. In preparation to getting official measurements for the plantation shutters, I installed the tile windowsills. I thought the marble base tile trim pieces would be excellent windowsills, and I really do like the look.
Back in the toilet room, I did make some progress on the accent wall tiles. First I made sure to get these pretty Jeff Lewis base trim pieces nice and straight to start the wall tile. I really like the extra texture that the base trim pieces add.

Then I installed the gray marble 4×12 tiles in a classic brick pattern. They look really lovely in real life, and the gray coordinates nicely with the gray in the floor tiles. When I got near the top of my wall tile, I realized that I’d have 1/2 tiles, then bullnose trim. I decided to split the difference and try to make it look intentional.
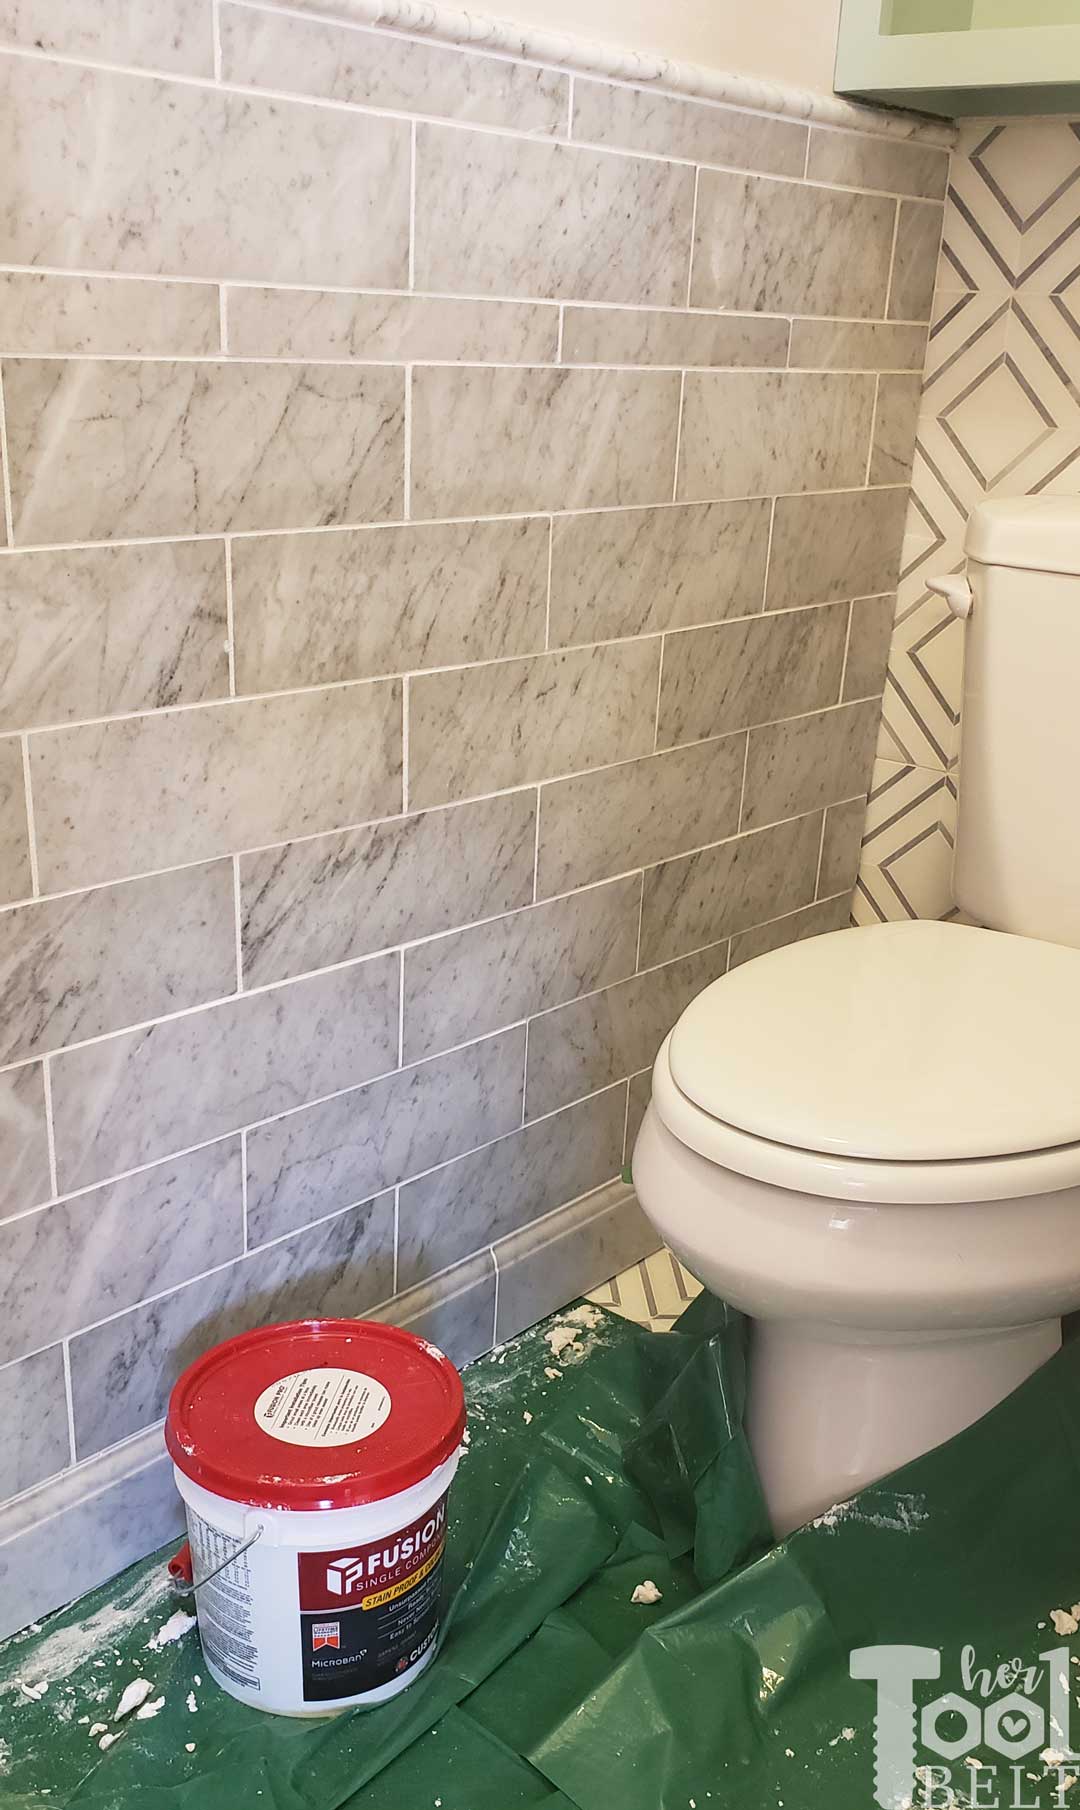
After the wall tiles were set and the adhesive cured, I used Fusion grout in bright white to grout the carrara marble. Frog Tape sent a project pack (you can see here). The Frog Tape drop cloth pads were a lifesaver to protect the floor tile from all of the excess grout. They were the perfect size for bathroom projects. The one side of the drop cloth pad is slick, which was perfect to knock off debris and reuse again for painting.
Man, time is flying, and I really need to kick things into gear next week. So much work left to do!
Breakdown of the Projects:
Rip up the travertineRemove the cultured marble tub surroundRemove old vanityTile the floor withBalancing ActAddMarble Base Trim TileandAccent Trim TileTile accent walls with Carrara Marble- Paint the bathroom
Build a new vanity- Build plantation shutters
- Trim out the windows
Build(and install 🙂 ) doors on the cabinetPaint cabinet- Replace lights
- Replace or refresh fixtures
- Replace mirror
Phew, better get to work.
oh my goodnesss, girl you got skills! That vanity is beautiful, I love the combo of the tiles with that minty green. Your daughter is so sweet, can’t wait tot see what you have up your sleeve next week!