We are in week 4 of the Jeffrey Court All-star Challenge hosted by Jeffrey Court along with Behr Paint and Frog Tape. This week I tackled plumbing, accent tiling and paint.
Voting goes through July 12th at 11:59 pm EST. You can vote once per day. If you have a minute, I would sure love your vote.
Vote HERE
missed any master bath reno progress?
Some things don’t go as planned…
Oh my, week 4 did not go as smoothly as planned. 🙂 I really thought I’d be close to being done, and just on to touch up. Unfortunately everything took so much longer than planned. Even though I might sound like I’m griping, the point is that set backs happen when remodeling and they can be successfully worked through. Just not always as quickly as hoped!
Plumbing
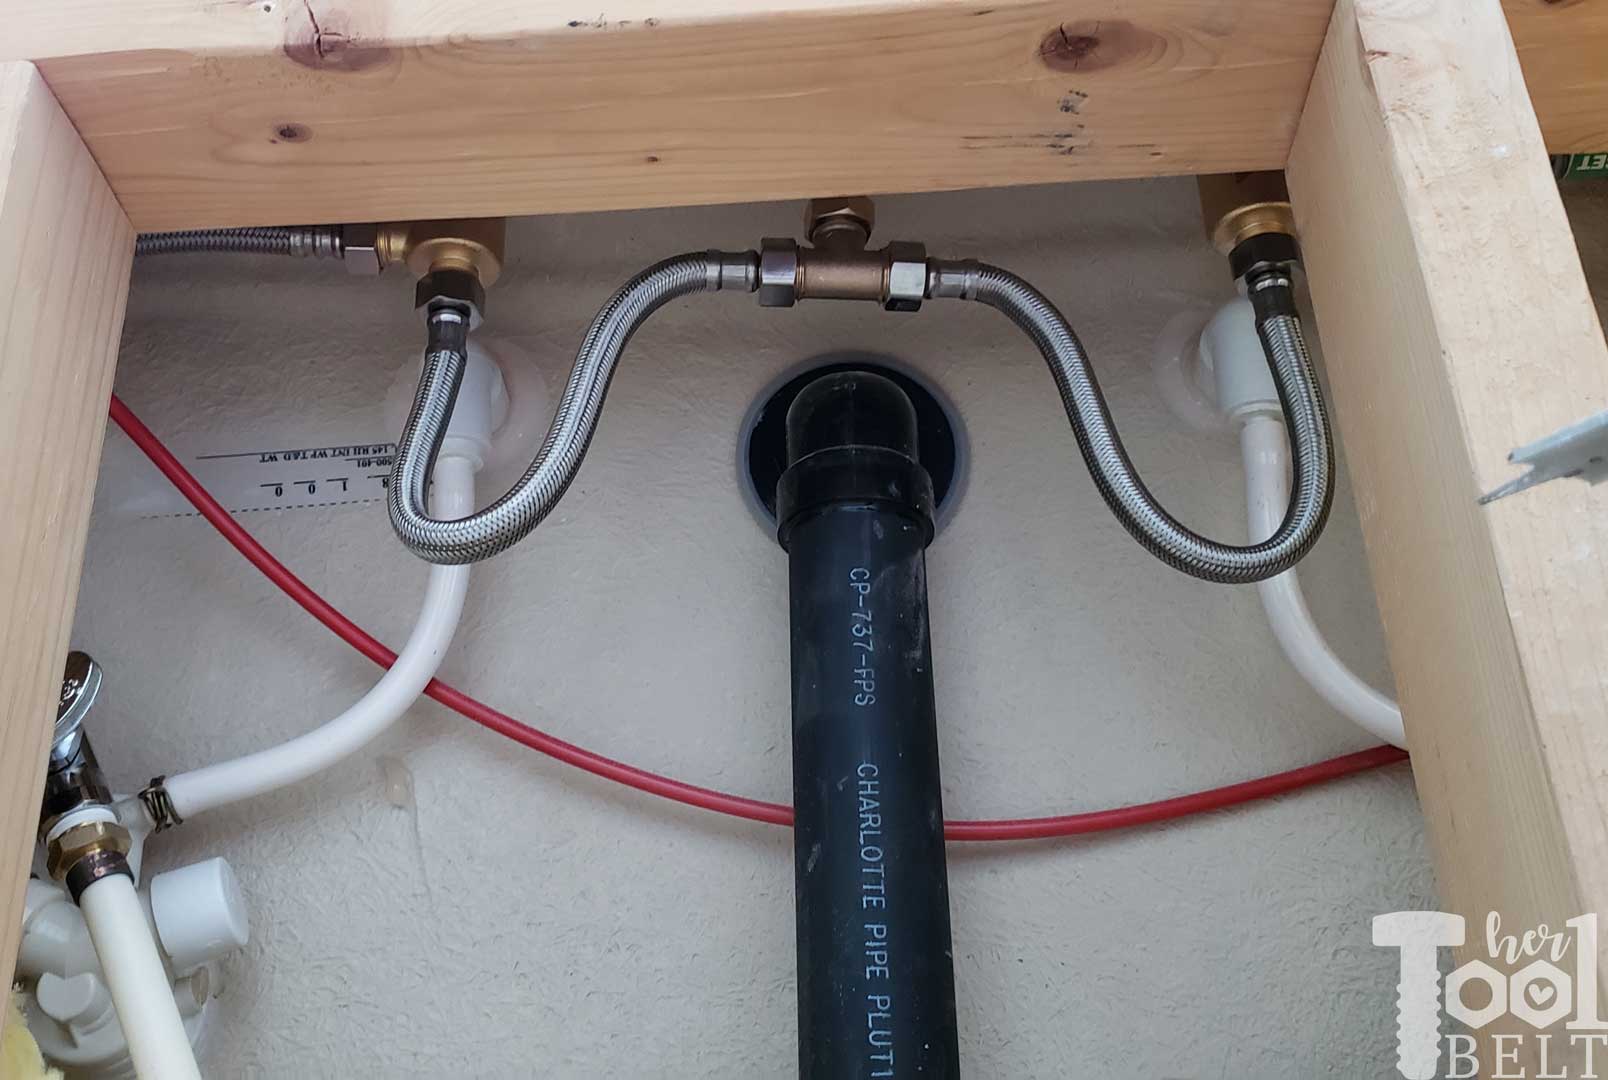
Oh the plumbing has been a bit of a challenge this week. It just can’t be easy can it?!? The plumbing really should have been a matter of quickly changing out the fixtures, no major changes. Famous last words, ha ha. Ok, it really wasn’t that bad, it just required 4 different trips to the hardware store!
The jetted tub faucet finally arrived. I was excited to get that swapped so I could get onto installing the tile around the tub. However when I dug into the plumbing, the old faucet was hard plumbed in with copper piping. There were no shut off valves to the tub. Luckily my husband recently bought a clamper thing to install the PEX clamping bands. I bought shutoff valves, and hoses and finally got the new waterfall faucet installed.
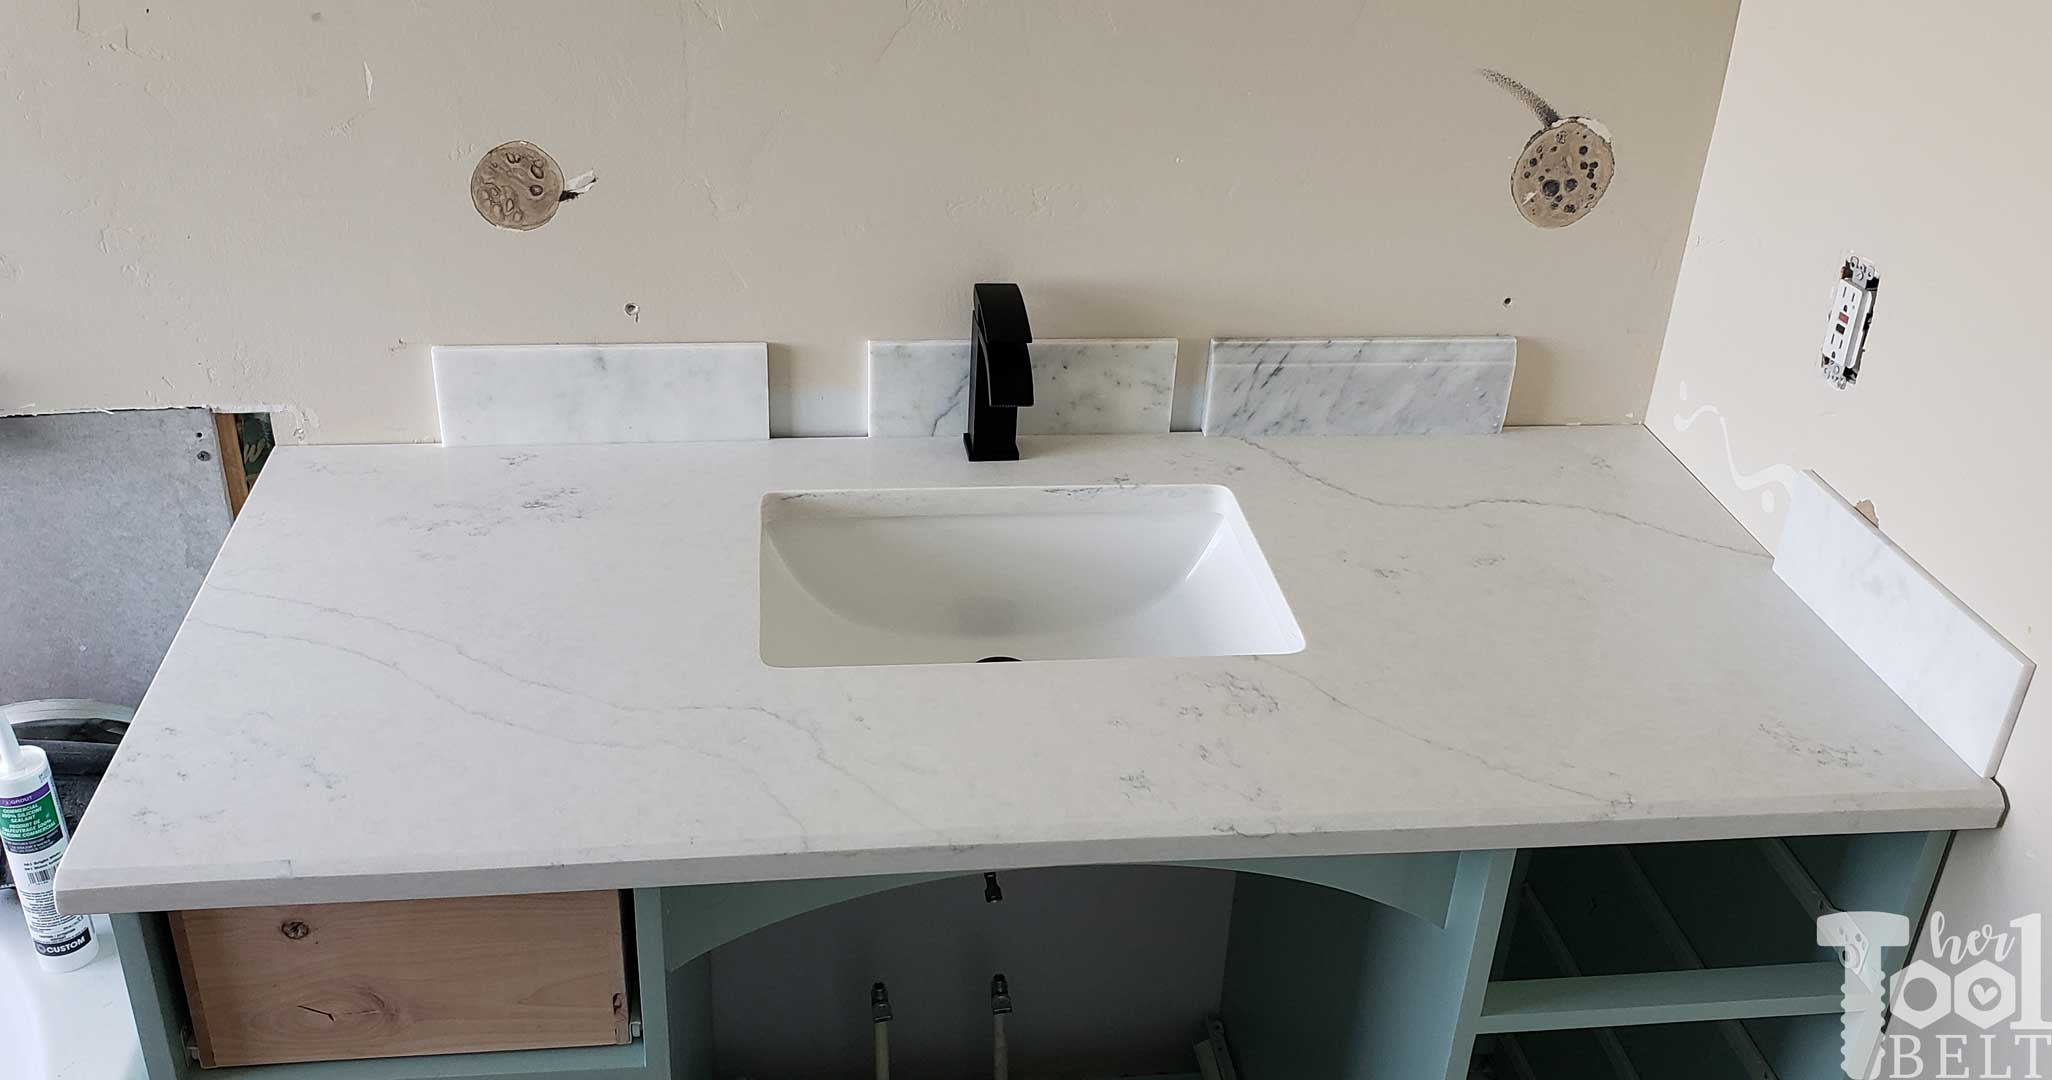
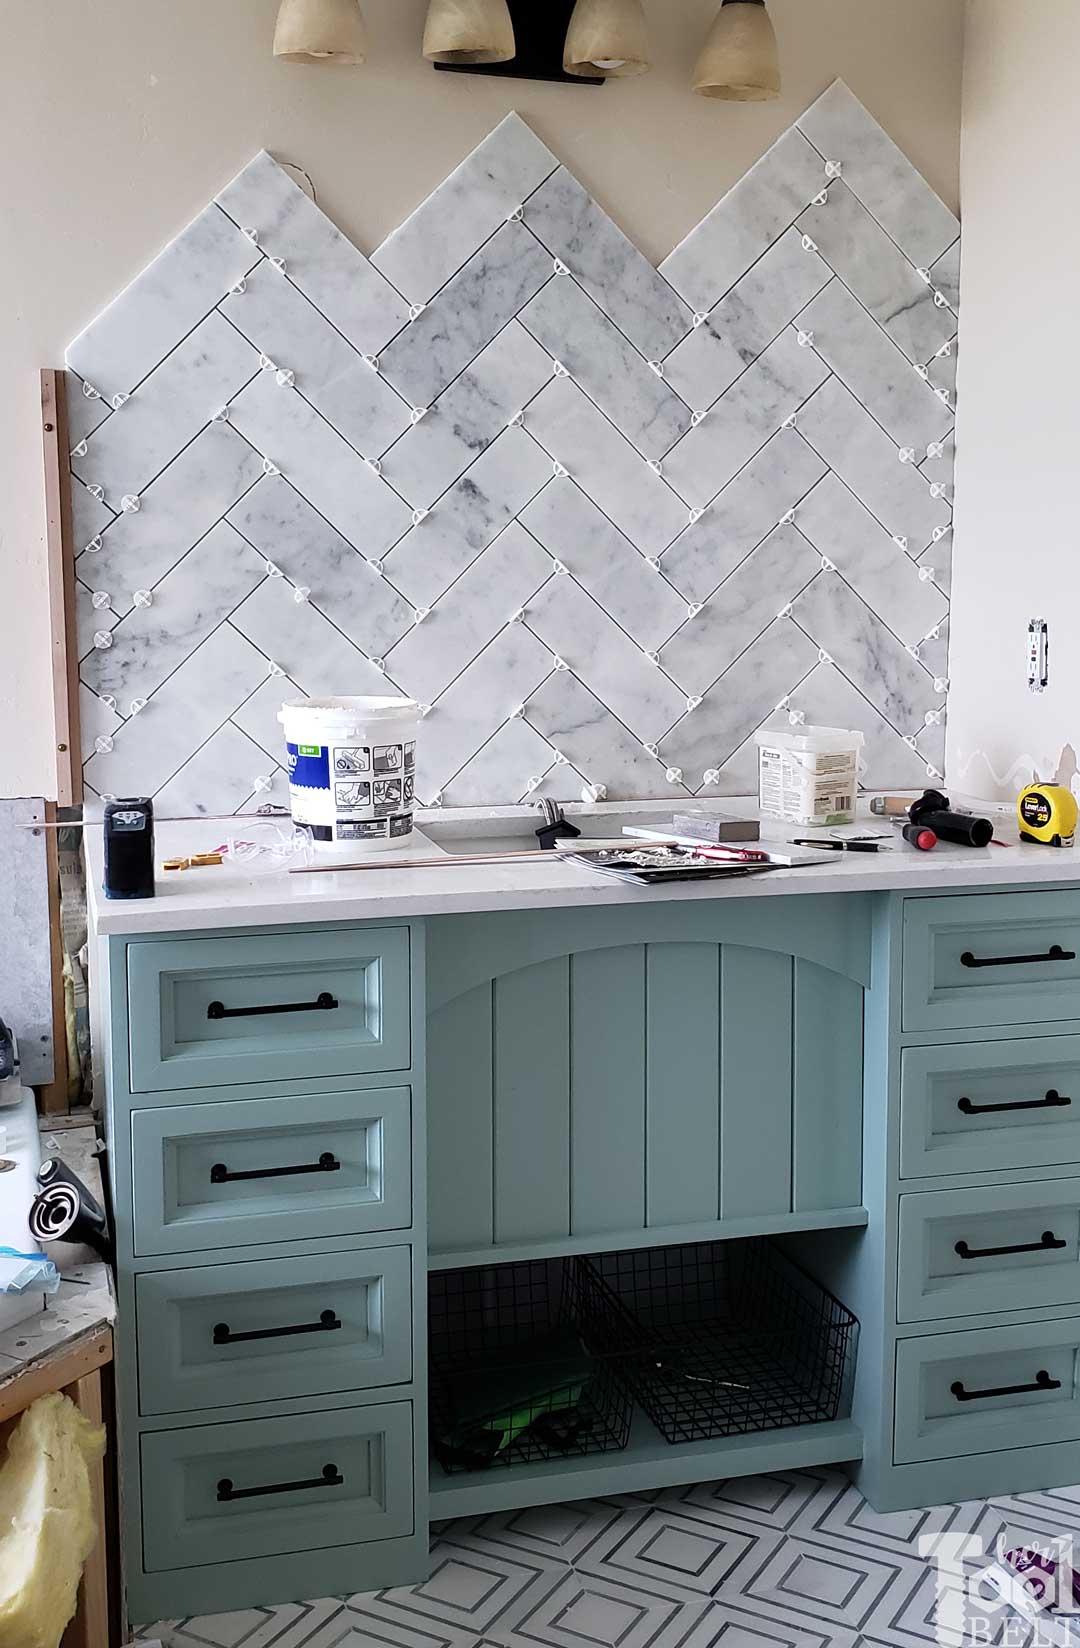
The new vanity countertop came, and it is beautiful. But…what should have been a hands off situation, ended up needing to be fixed. I bought the countertop from a guy selling bathroom countertops from his remnant pieces from larger jobs. It was a good price so I went with it. However, since my vanity style is a bit different, there ended up being a mistake and the sink was bonded onto the countertop backwards. So I had to grind off the sink and rebond it on, fingers crossed it stays on. ha ha.
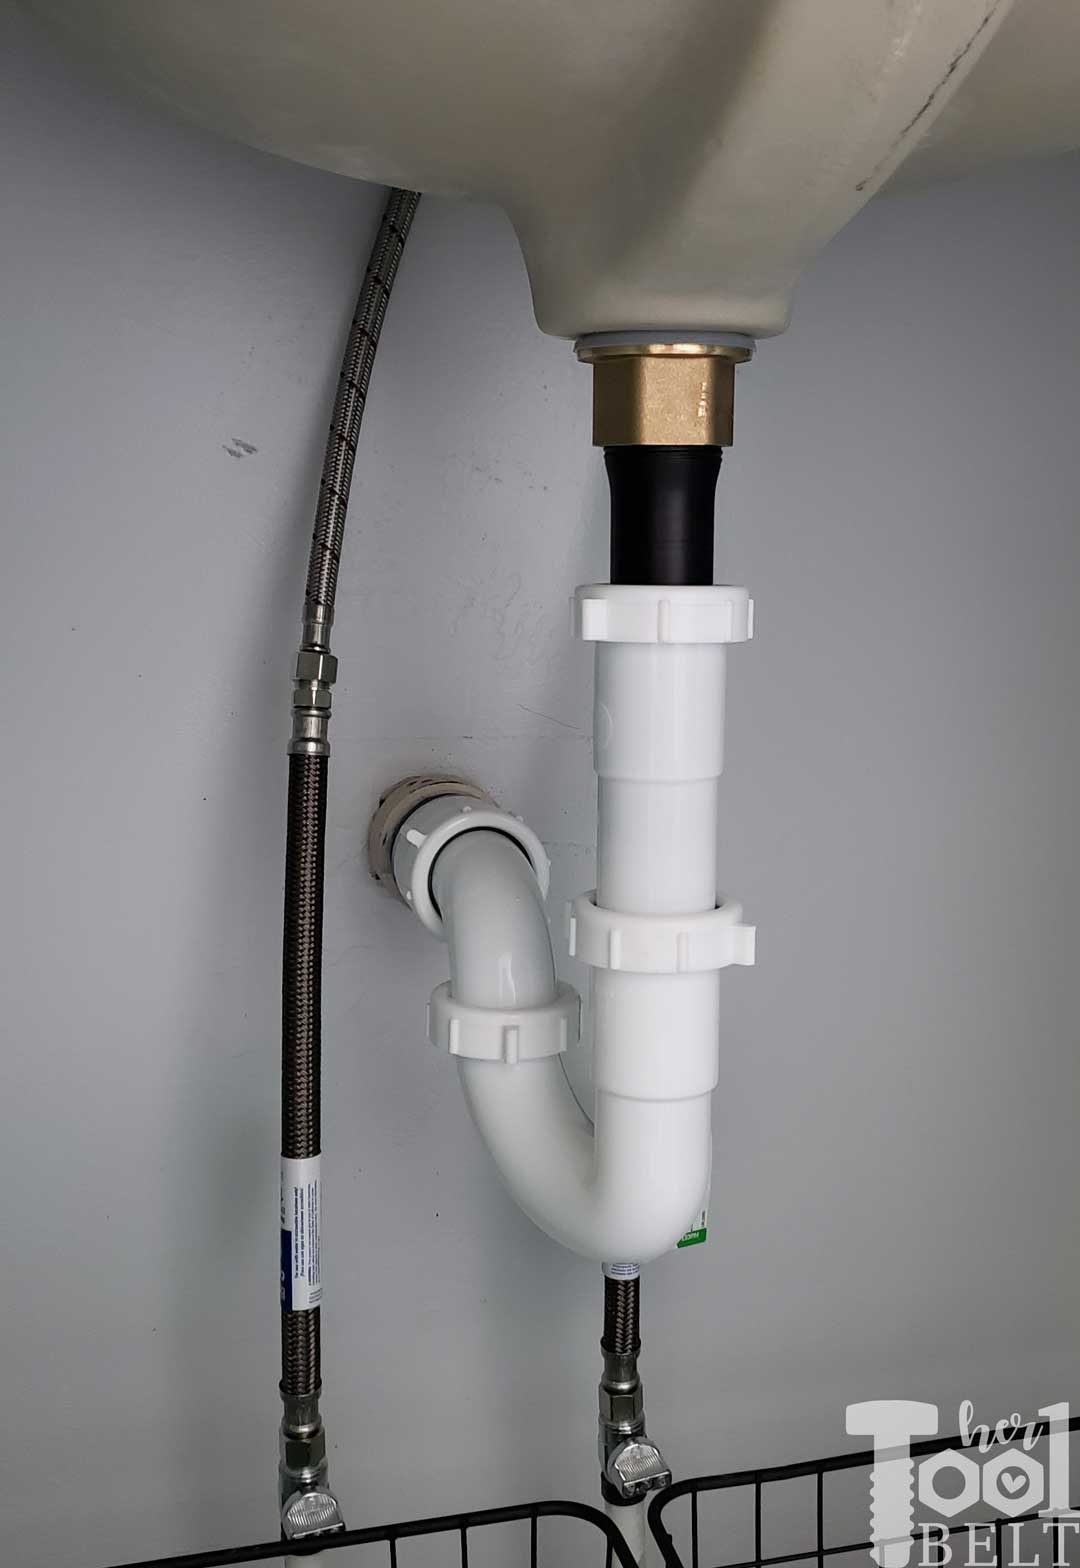
The unfortunate thing about the new sink placement is that it was in a bad position to attach the P-Trap back into the drain pipe. I stumbled over this for a few days, trying quite a few different options. The drain pipe needed to be 1/2″ to the left (or the sink to the right). But in the end I had to cut the drain pipe sticking out of the wall shorter and bond a new sleeve on. Finally the P-trap could successfully reattach to the drain. YAY
And of course the supply lines for the faucet were way too short and required extensions. I’m working really hard to keep Home Depot in business right now. Ha Ha
Back to the vanity. I installed the vanity before drawer runners were installed. The 22″ drawer runners hadn’t arrived yet, and the countertop was ‘ready’ to be installed. I finally got the drawer runners installed and finished up the drawers.
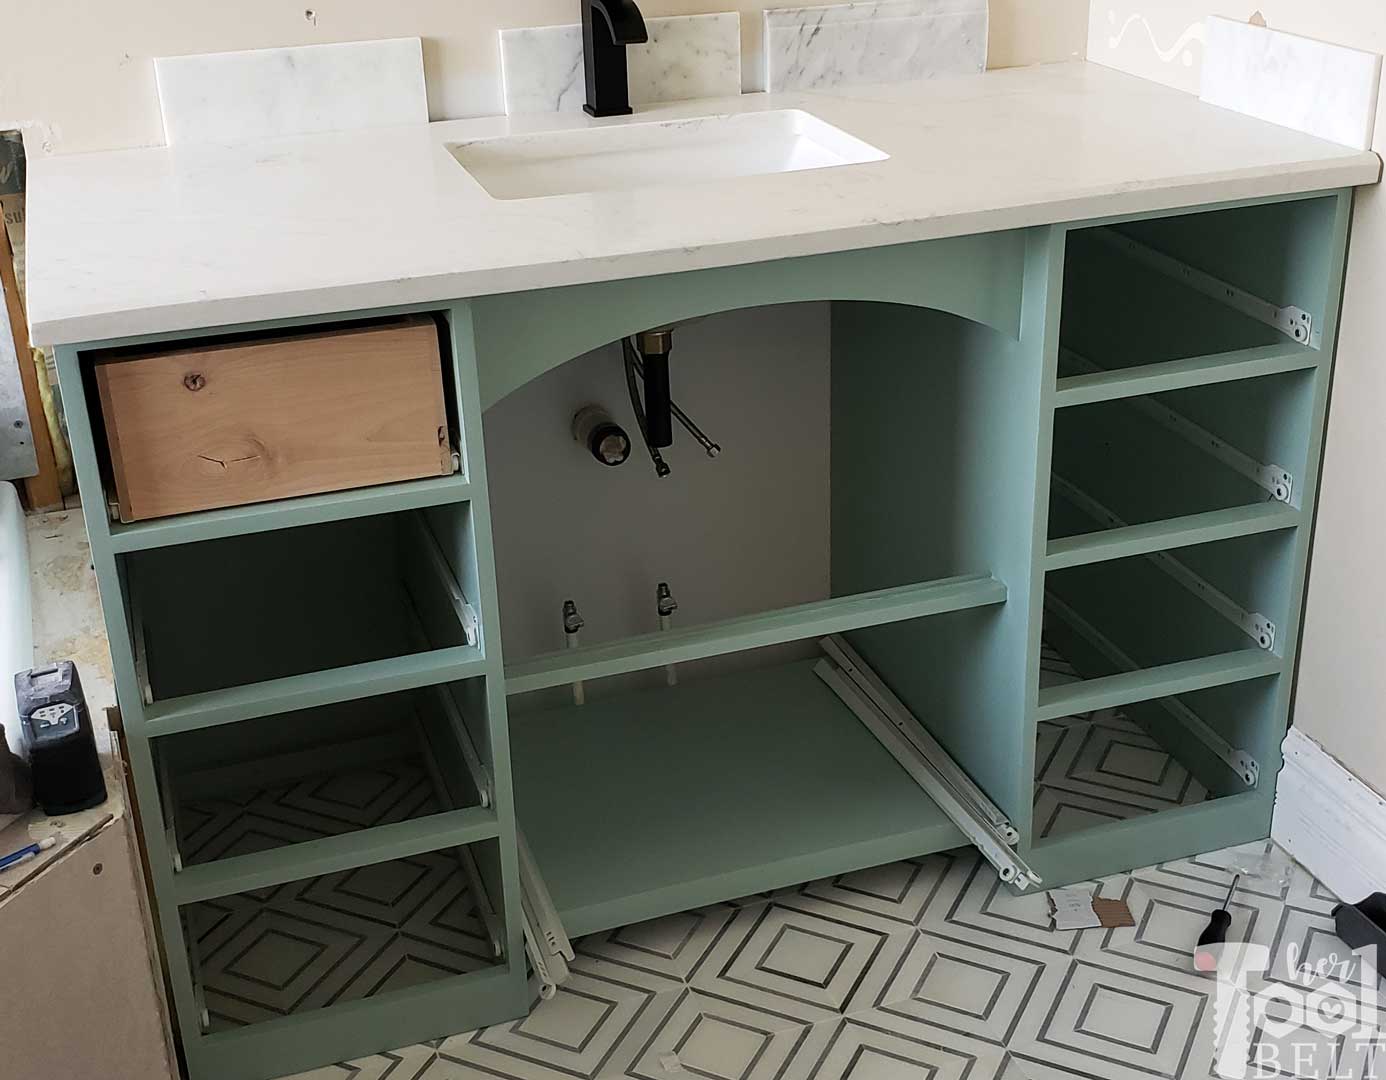
To save space, instead of making a separate drawer front, I routed trim and add that to the front of the drawer.
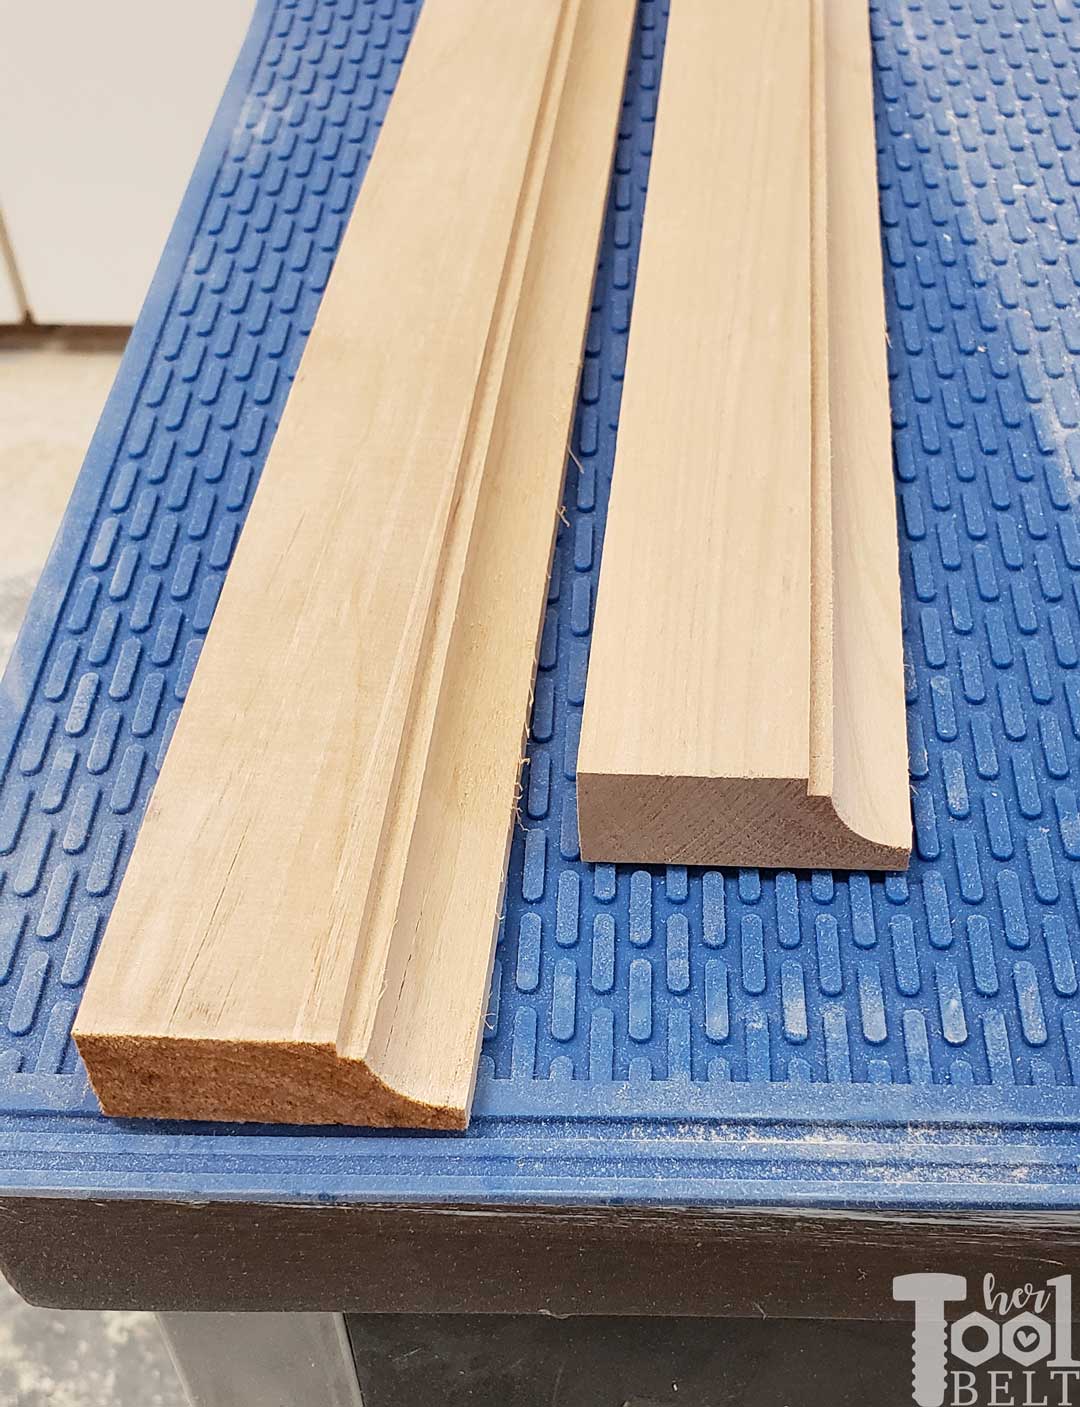
My hair brained idea, actually worked really well, and the drawers look so lovely all painted up. Isn’t that cabinet paint dreamy? It is Behr Cabinet and Trim in Zen!
Some progress has been made to create the back splash for the vanity. The back splash is Jeffrey Court Carrara marble in a herringbone pattern.
Plantation Shutters
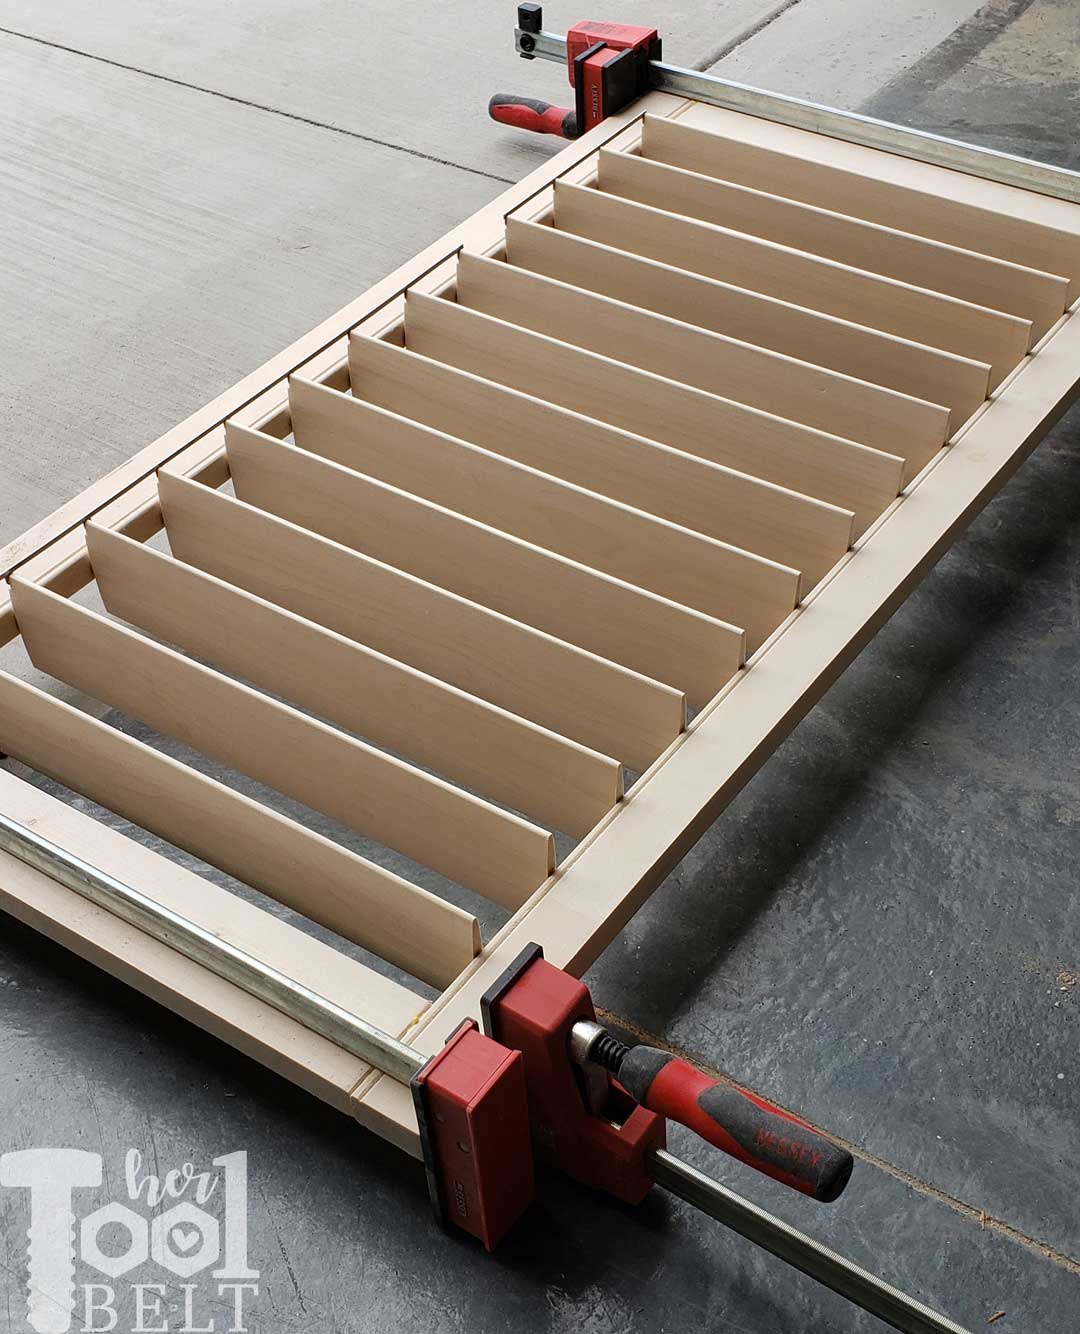
I really wasn’t sure if I’d get to the plantation shutters build for the windows. But I decided just try and squeeze them in. Years ago I bought all of the jigs needed to build plantation shutters, and Rockler has a free shutter wizard program that gives you the exact plans for your window. The shutters are made out of 5/4 basswood. The shutters were actually really fun to make, I loved the louver pieces after they were routed. The louvers remind me of little airplane wings. 🙂 I decided to go with the hidden control arm option, instead of the center arm down the middle.
Once the shutters were glued up and sanded. I painted them with a couple coats of KILZ primer, lightly sanding between coats.
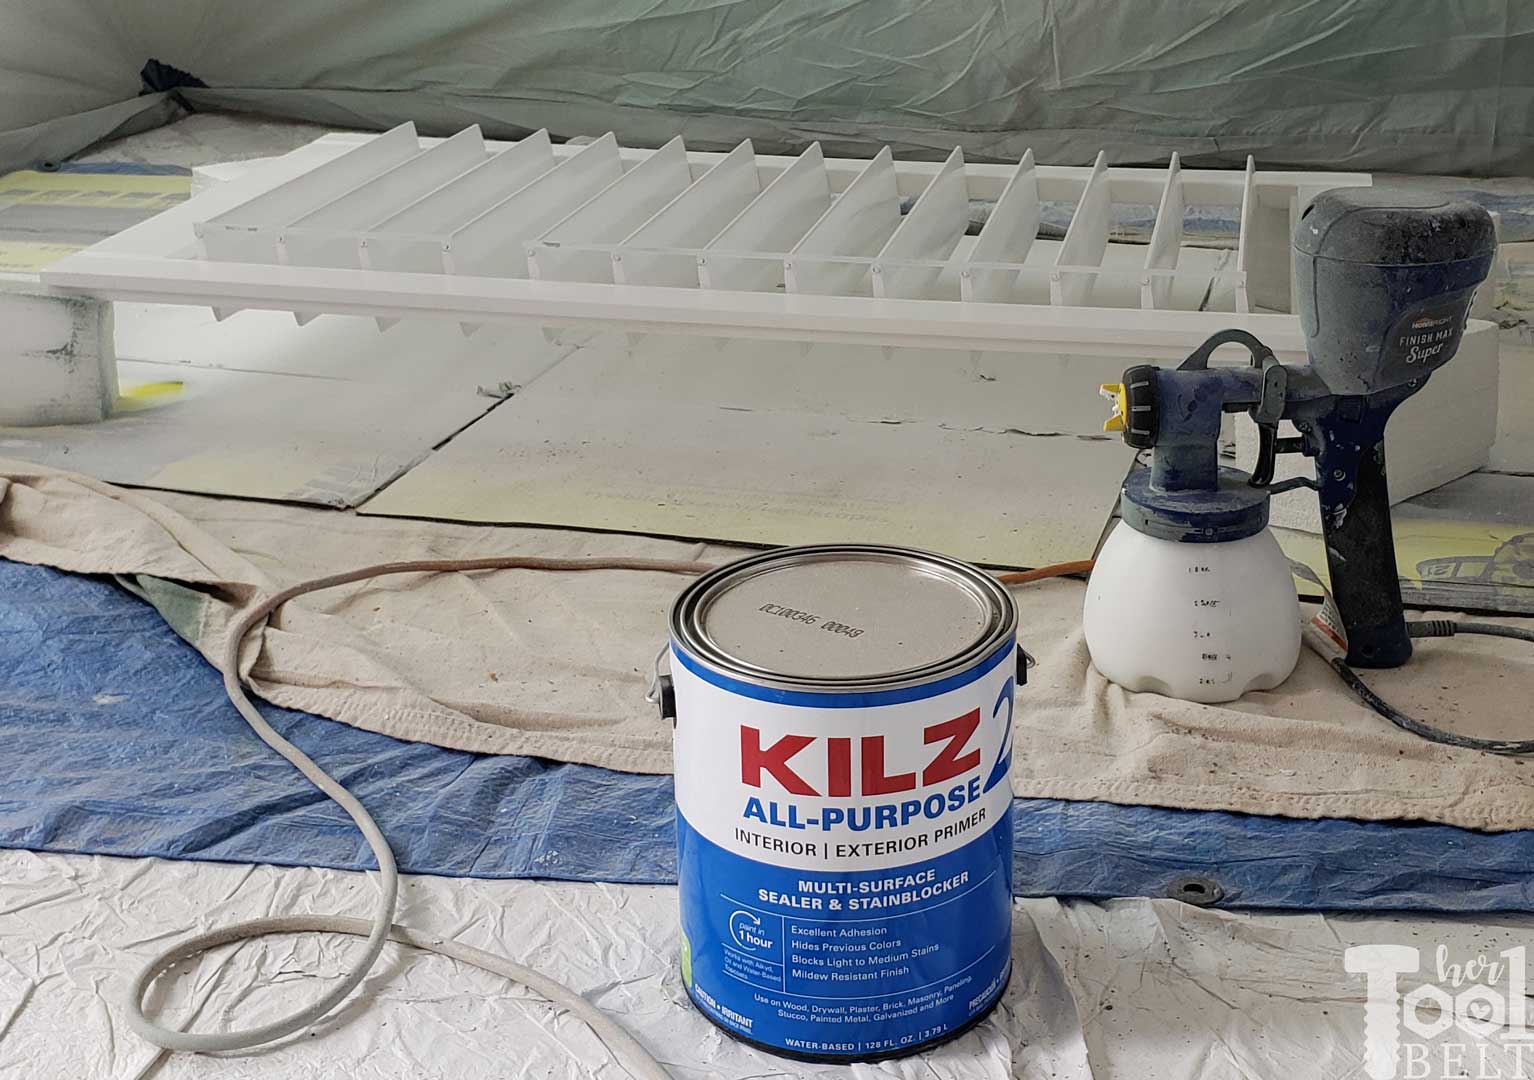
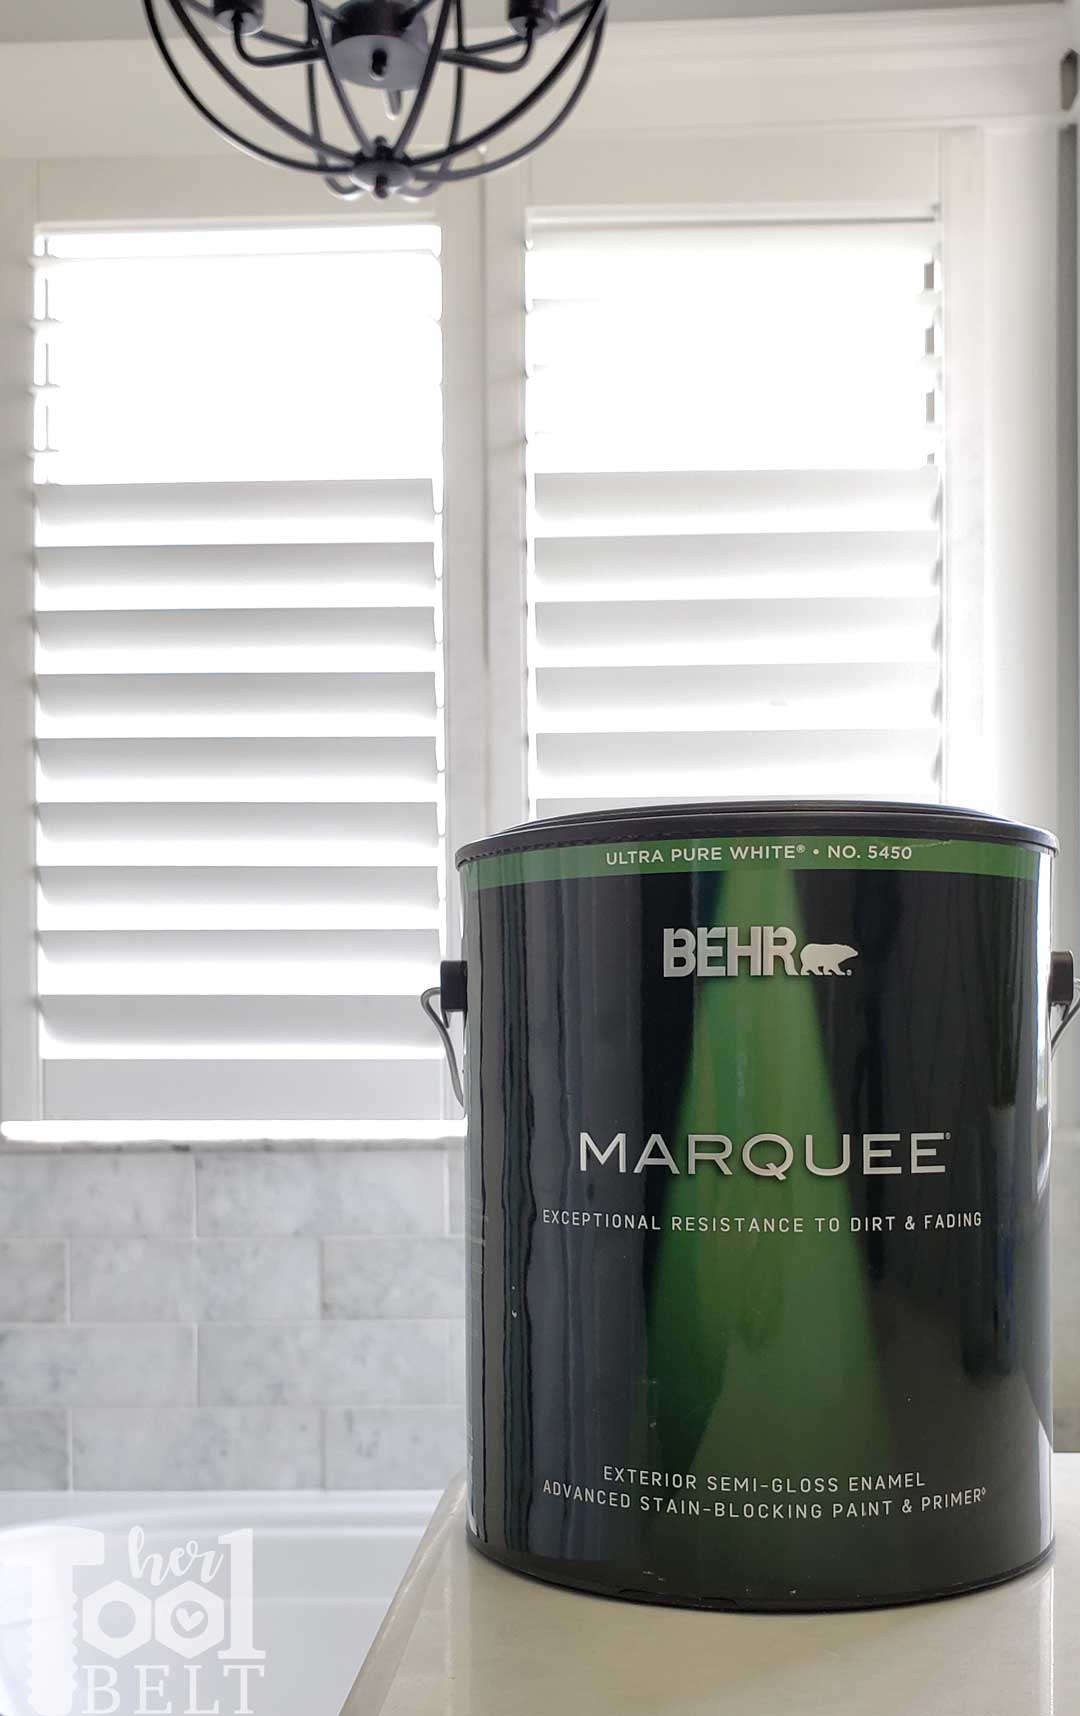
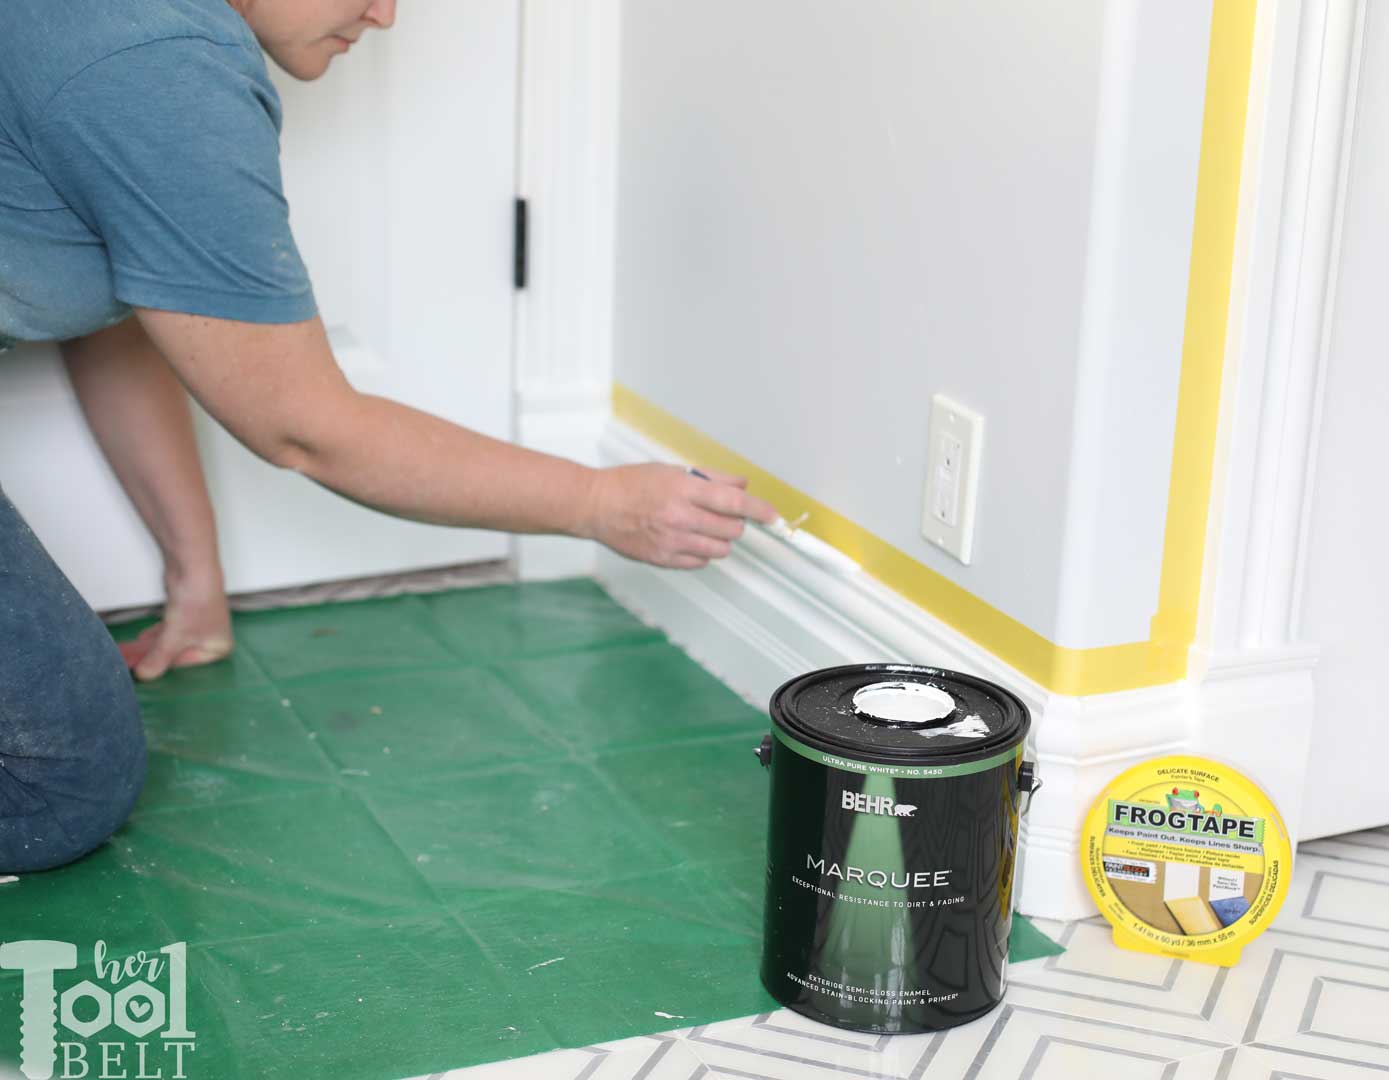
I debated and debated on what paint type to use to paint the shutters. Since I had problems with my vinyl blinds turning yellow, I wanted to make sure the paint had UV protection. I finally settled on Behr Marquee Exterior in Ultra Pure White. The finish on the shutters turned out wonderful!
Painting the Bathroom
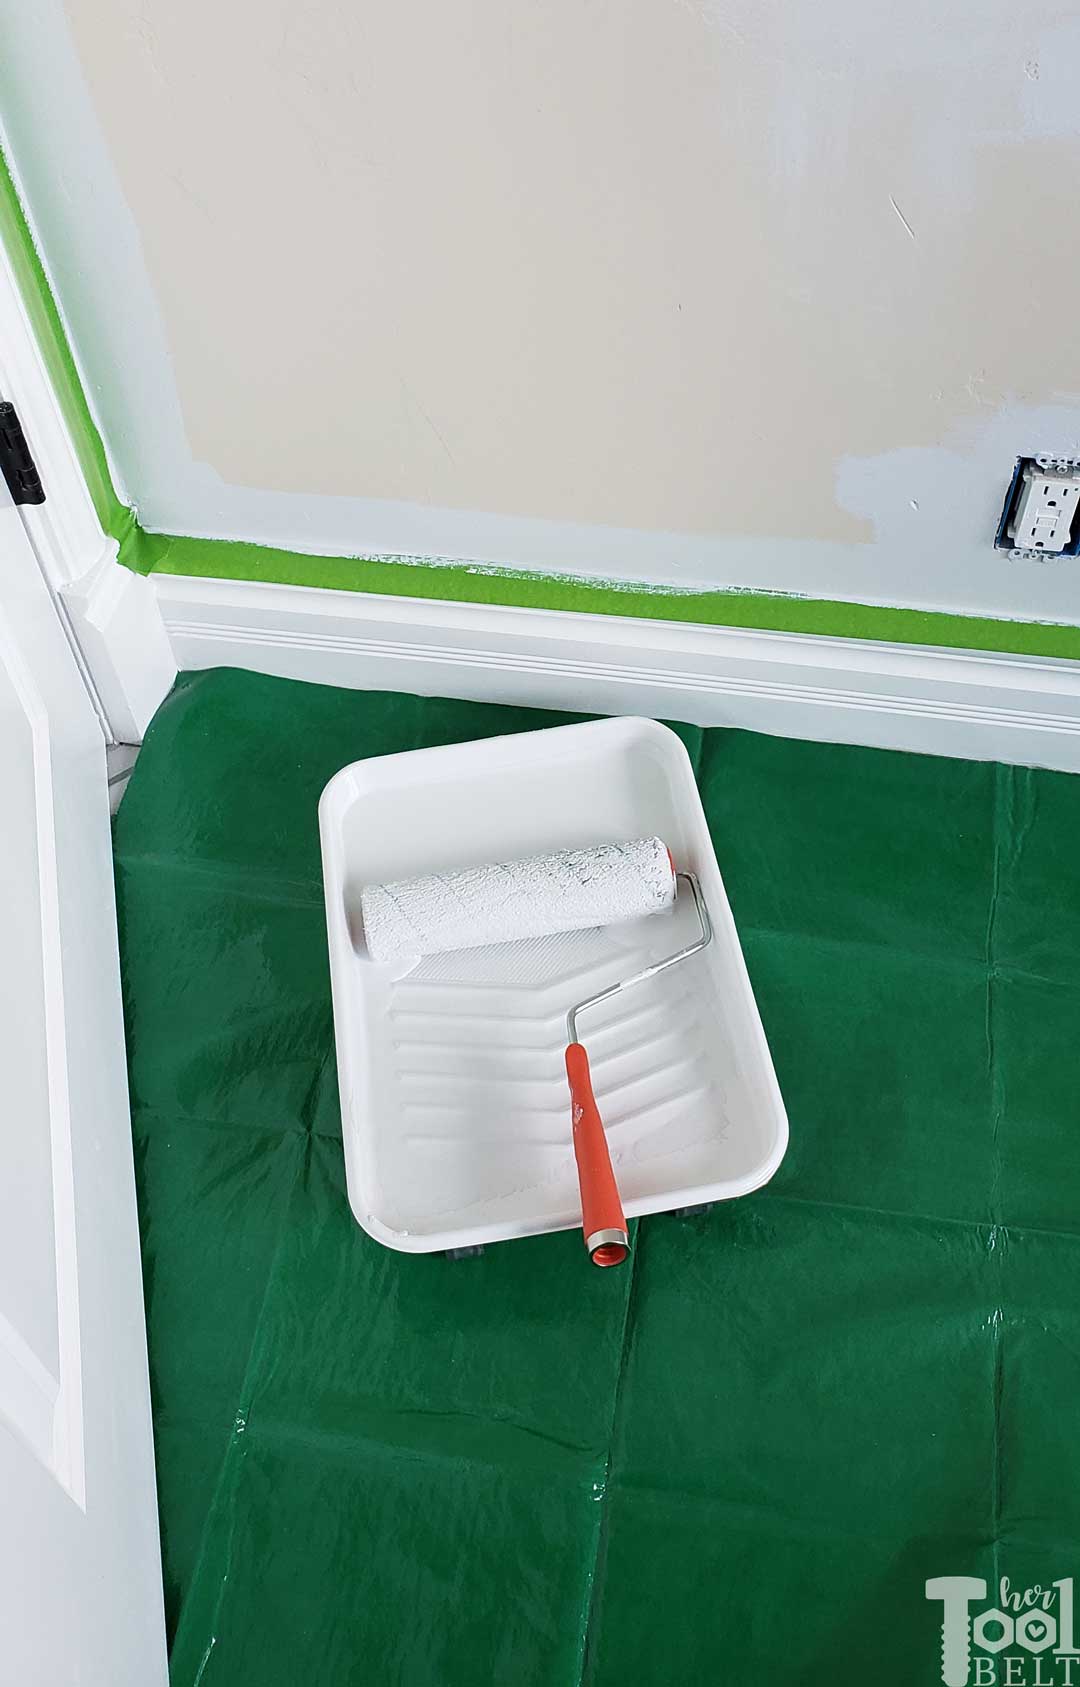
Bye Bye Beige! I am so ready for a color change in this bathroom. To get ready for paint I masked all of the walls and ceiling with Frog Tape.
For the bathroom walls, I picked a very subtle neutral color called Evening White in Behr Ultra.
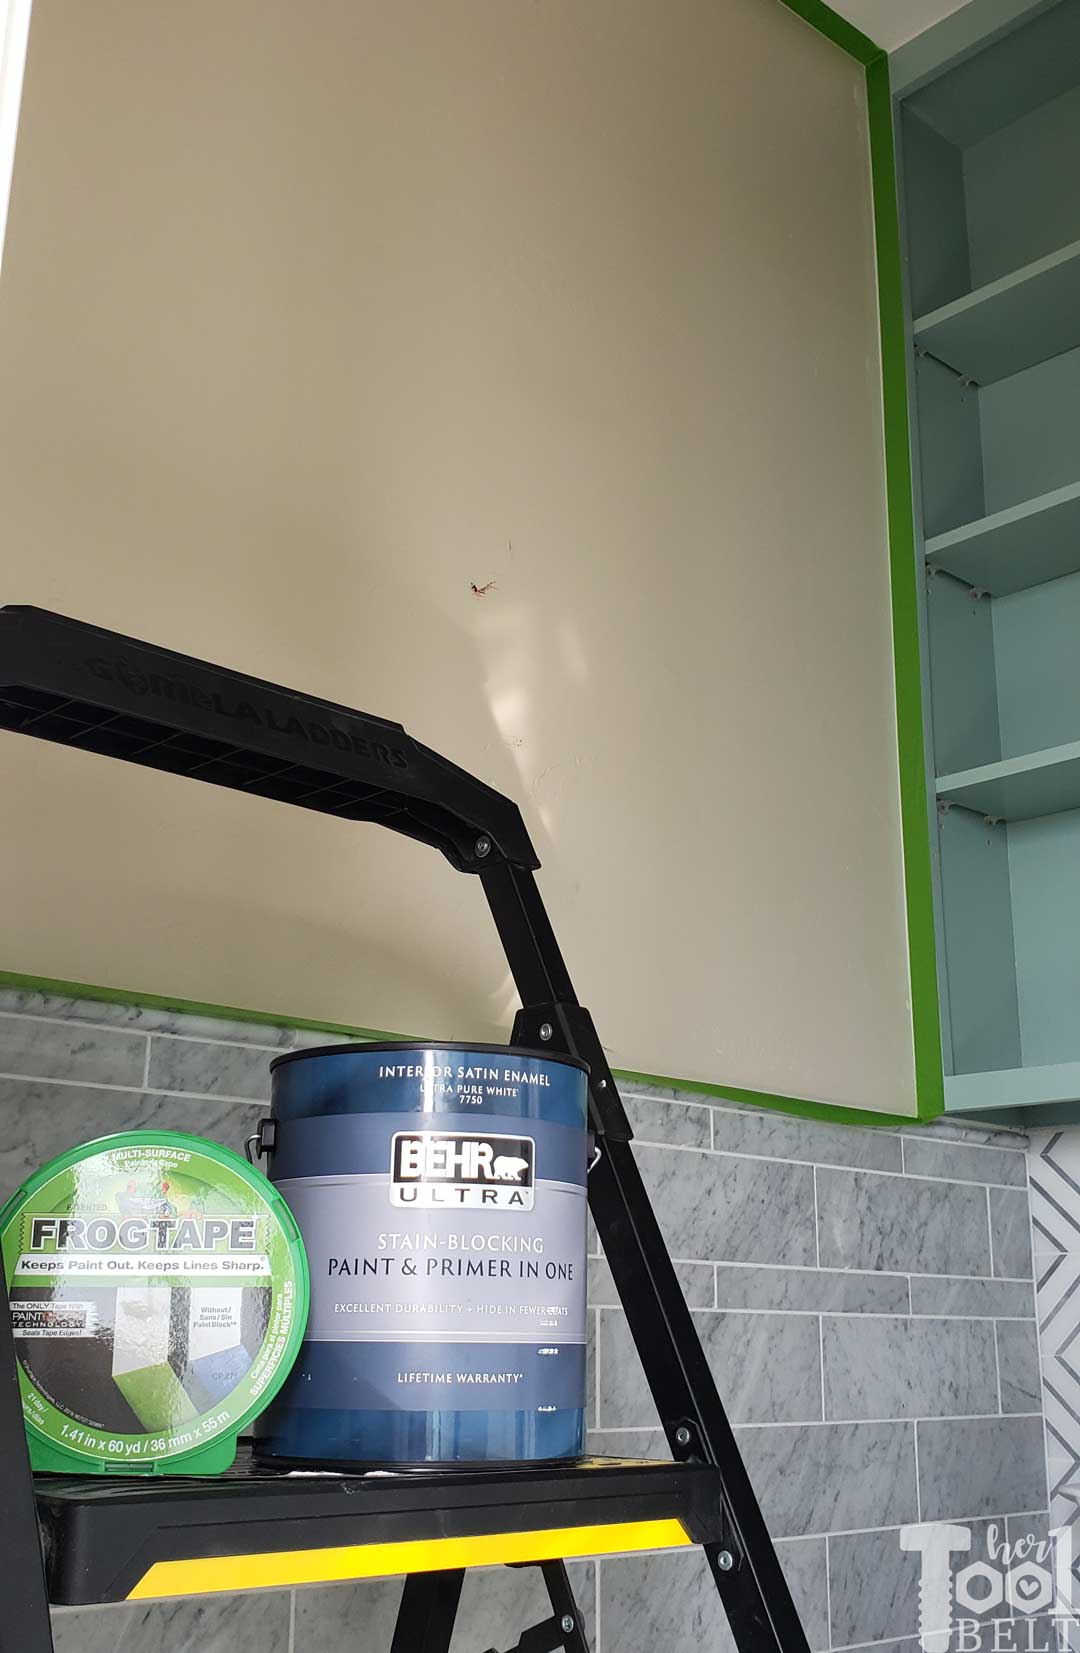
Evening White is a very light gray color with a slight hint of blue. I didn’t realize it was bluish until I put it on the walls, but it is a nice color and goes well with the marble tiles.
Then I used the delicate surface yellow Frog Tape to mask off the walls (after they dried) to paint the trim. The yellow delicate tape is for surfaces of paint that haven’t fully ‘cured’ yet. I painted the trim with the same paint from the plantation shutters, Behr Marquee exterior ultra pure white.
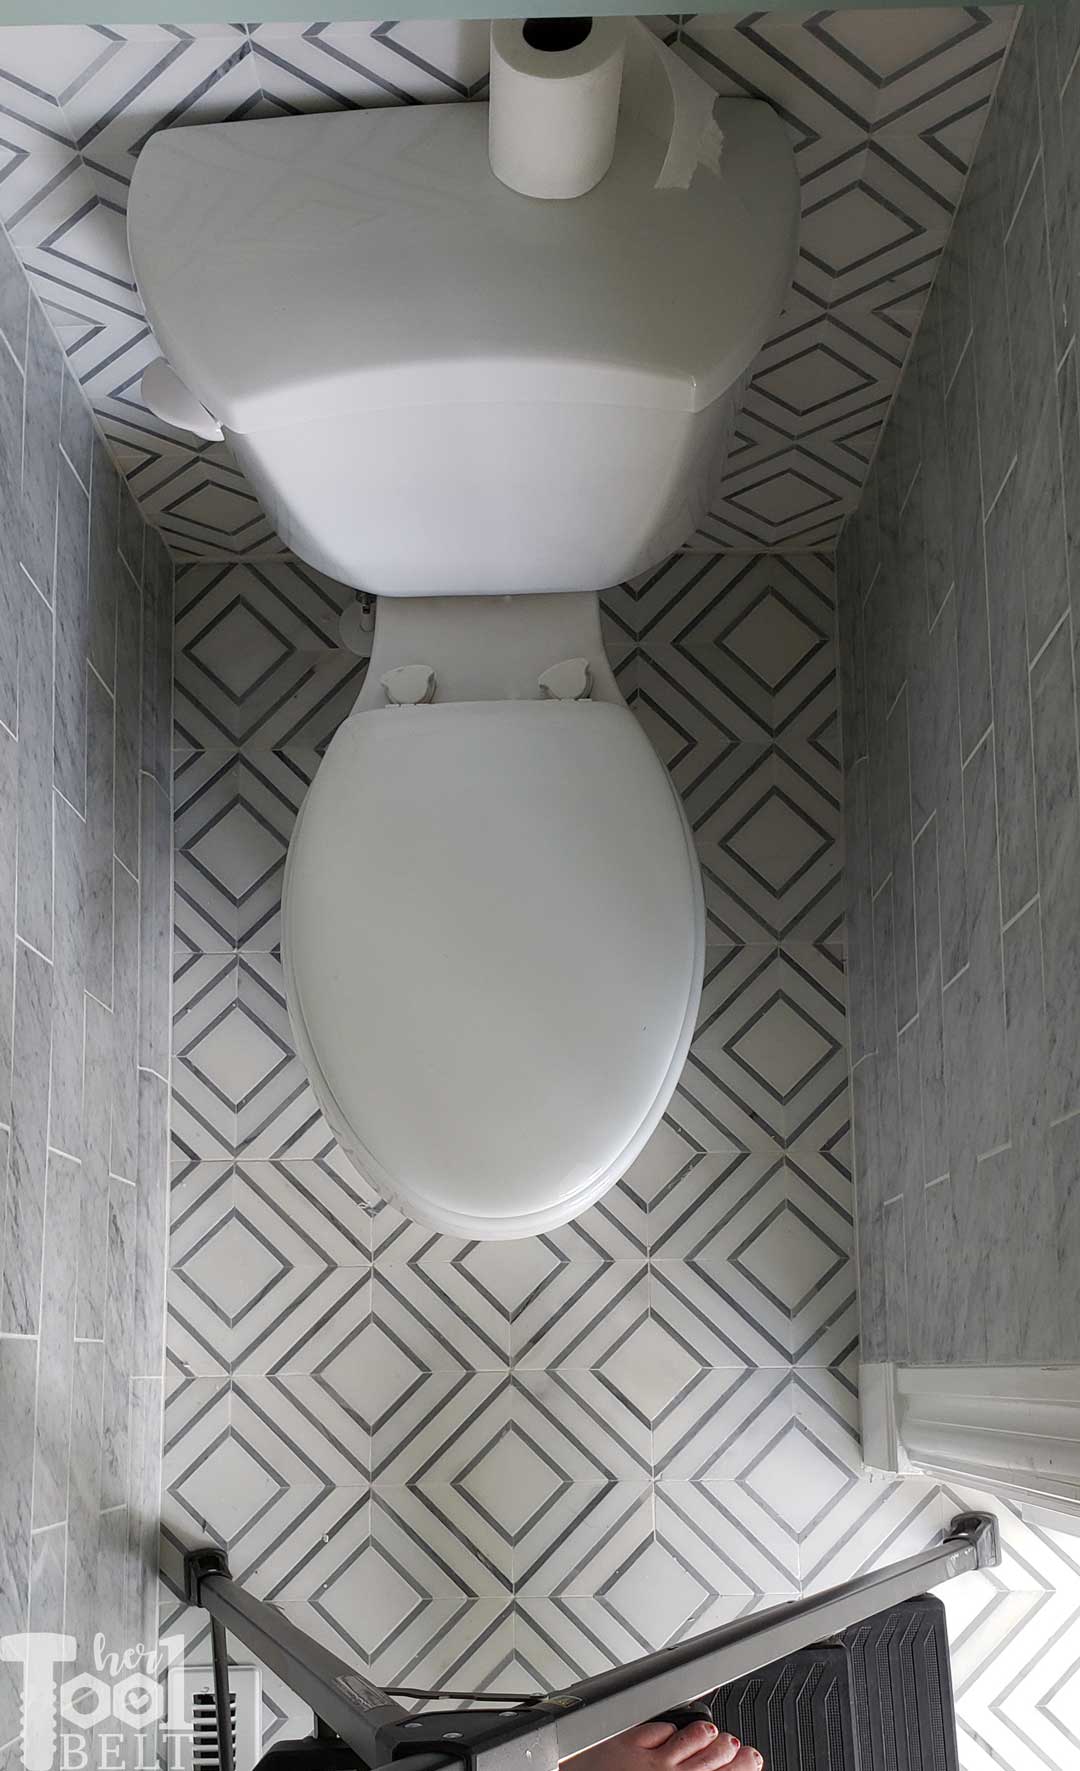
My view while painting, I love that tile!
I’m seeing glimpses of hope on this project, but there is so much to do in 1 week. EEEEEKKKK.
Breakdown of the Projects:
Rip up the travertineRemove the cultured marble tub surroundRemove old vanityTile the floor withBalancing ActAddMarble Base Trim TileandAccent Trim TileTile accent walls with Carrara MarblePaint the bathroomBuild a new vanityBuild plantation shuttersTrim out the windowsBuild(and install 🙂 ) doors on the cabinetPaint cabinet- Replace lights
Replace or refresh fixtures- Replace mirror
Phew, better get to work.
I love all your projects. I especially love the Plantation shutters because I price some for 3 windows in the bedroom and they were too costly to buy. Now, I might consider making my own. Thanks for that info. I LOVE your vanity and the tiling above is a pattern I really like. You’re almost there. Good luck.